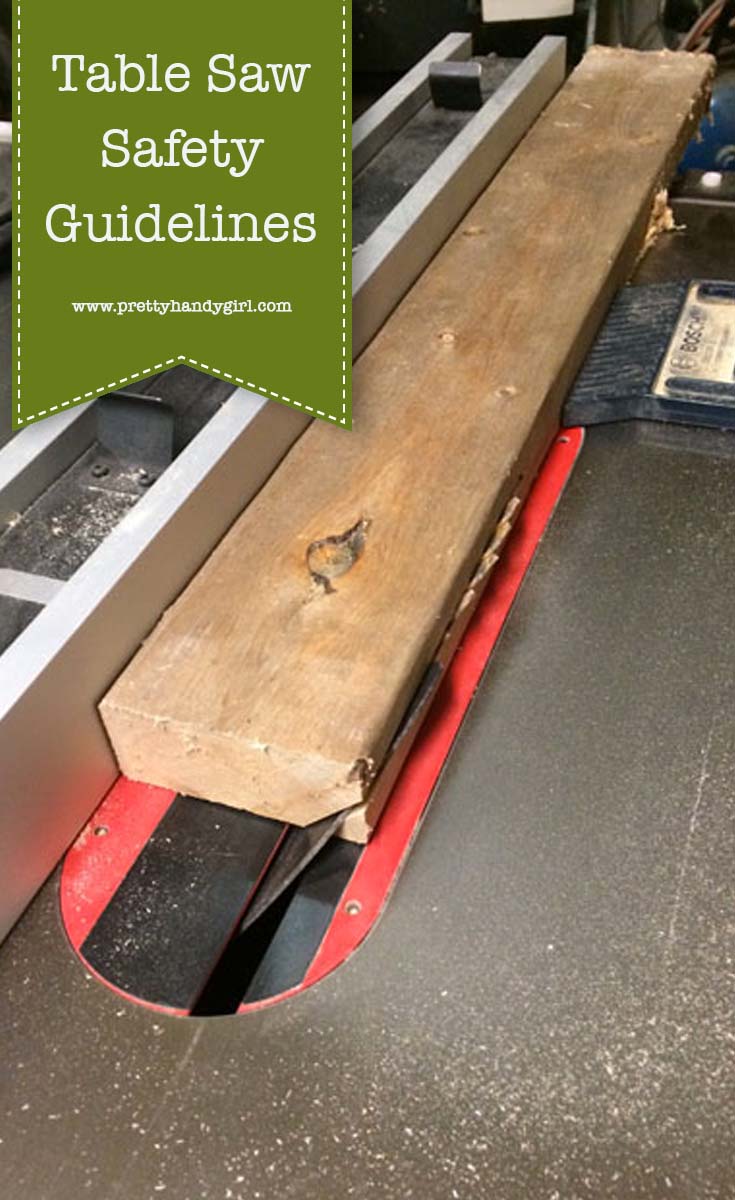
Table Saw Safety Guidelines by The Sawdust Maker
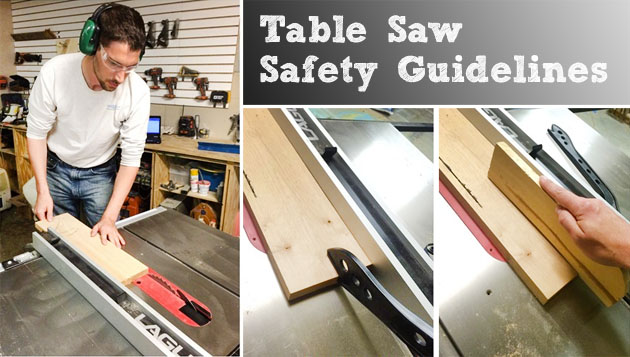
Friends, it’s Nick from over at The Sawdust Maker! A site devoted to helping others take their woodworking skills to the next level. While I am in the middle a joint series on my website, I wanted to take a minute to talk to you about table saw safety.
The table saw is the most used tool in my shop. It also happens to be the most intimidating tool for most beginners to use. So lets get a grasp on these basic safety guidelines to follow.
Before we dive into this, I want to urge you to find your table saw manual and read it. Wait, what? Yes people… actually read these things. It will cover the basic safety rules as well as any safety features specific to your saw.
Now, before you turn your saw on, do the following:
- Make sure you’re not wearing loose fitting clothes. This doesn’t mean you need to wiggle into your skinny jeans… just make sure nothing is accessible for the blade or work material to catch.
- If you are wearing long sleeves, roll them up past your elbow’s.
- Keep shirt pockets free of items.
- Remove any jewelry.
- Wear non-skid, well fitting shoes… last thing you want is to slip or trip into the blade!
- If your hair is long, pull it up into a ponytail.
- Wear ear and eye protection.
- Don’t operate while tired or under the influence. Keep those creative juices for your design process!
- Unplug your machine and do the following:
- Visually check your saw for damaged components:
- Check the power cord
- Check the Blade
- Look for Gum or Pith on the blade, clean it if it is dirty.
- Check the carbide and make sure it isn’t chipped or missing teeth.
- Keep it sharp. It is a lot cheaper than replacing them and will help keep those burn marks down!
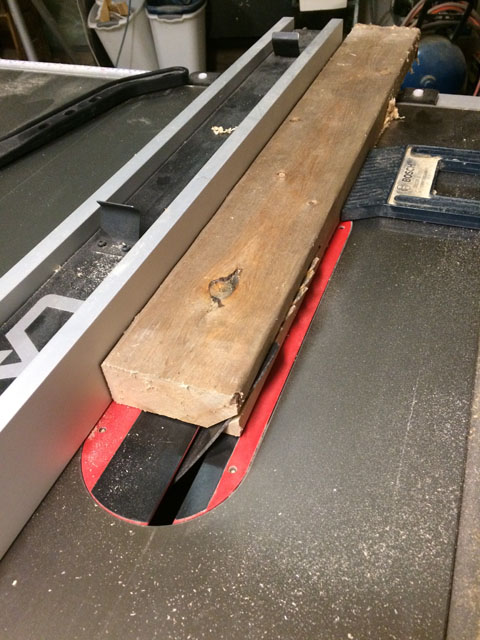
- Check to make sure that the guards, splitter, riving knife are in place and free of damage.
- Check the alignment of the fence, ensuring it is parallel with the blade. A quick reference is to line it up with the t-slot and visual check to see if it is aligned.
- Ensure the blade is tight.
- Check the belts for excessive wear.
- Check the alignment of the splitter/riving knife.
- Is there enough room around you for the board you are wanting to cut? There is nothing more annoying than getting part way through a cut and realizing that you don’t have enough room to finish the cut!
- Visually check your saw for damaged components:
Now we are almost ready to cut a board! Here are some things to keep in mind when stepping up to the whirling beastly hunk of iron.
- Keep the splitter and riving knife in place at all times to help prevent dangerous kickback.
- Use a table saw blade guard whenever possible, this will help keep your fingers out and dangerous wood chips/knots in.
- Lower the blade below the table surface when the saw is not in use.
- The table saw blade height should be set so that the carbide teeth of the blade extend a little beyond the height of the work piece. Between 1/4 – 3/8”.
- Don’t reach over or behind the table saw blade.
- Never position your hands or fingers in the path of the table saw blade.
- Keep a 4-6” margin of safety all the way around your table saw blade. This is a DO NOT ENTER zone!!!!
- Never back a board out of a cut.
- Cutting a bevel? Place the rip fence on the side opposite of the bevel cut. (see below)
- Know what you are cutting into to avoid nails, loose knots, etc.
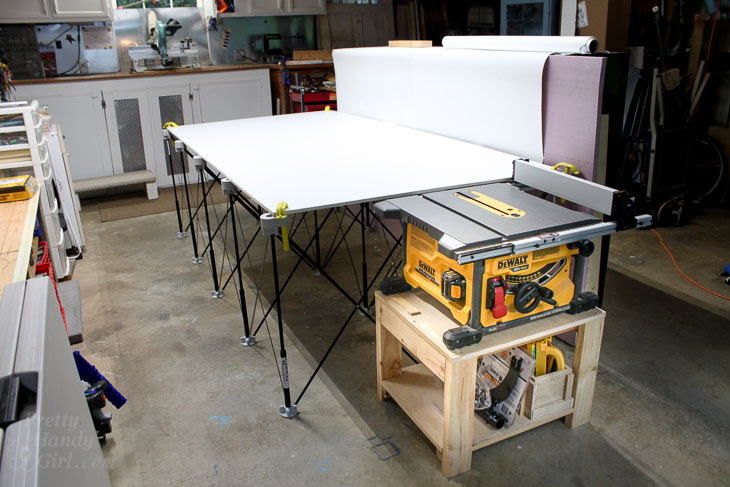
- Always have additional out feed support in place at the back of the saw table.
- Don’t release the work piece until it is all the way past the back of the table saw blade.
- Don’t cut stacked material.
- Keep your work area clean. It would be a shame if those scraps sitting in front of your saw caused you to face plant into your saw.
- Unplug the saw when you are changing the blade.
- Do not stand behind the blade or the work piece. Trust me, if a board is going to kickback, it will come out of there like a bullet. Last thing you want to do is stand in its flight path!
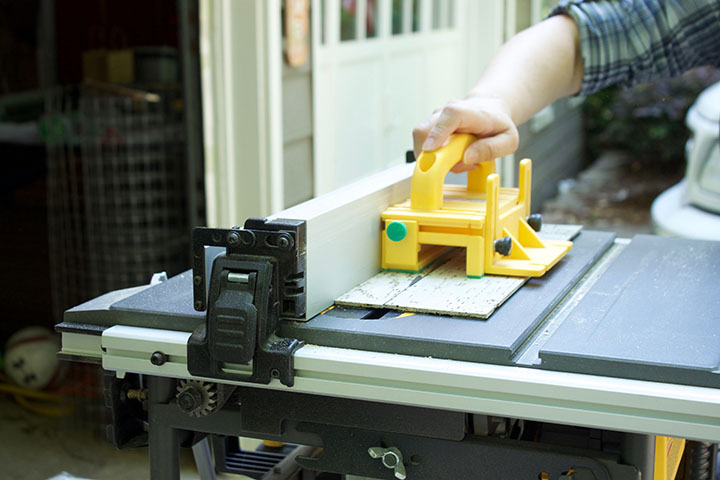
- Use a push board, stick (GRR-Ripper) when making rip cuts narrower than 6 in.

Ways to Prevent Kickback
- Don’t use the miter gauge and the rip fence together. This is a guaranteed invitation for the board to bind and kickback.
- Use the miter gauge or a sled for all crosscutting and the rip fence for ripping.
- Never rip wood that is twisted, warped or doesn’t have at least one straight edge.
- Don’t saw a piece freehand.
- Use a sliding table for cutting large sheet goods or cut down to a manageable size with a track saw, panel saw. There are several ways to accomplish this. You can clamp a board down to the sheet good and use that as a straight edge for your circular saw.
- Use feather boards when ripping.
- Use zero clearance inserts not only will this help keep your cuts crisp, it will also help keep small pieces of wood from meeting your pretty face. Again trust me, getting hit in the face with a loose knot is not fun.
- Use the proper blade for the job, Most of us use a combination blade. which is good for both ripping and cutting boards. Don’t know your blades? Check out my post here. I did an in depth tutorial on selecting blades.
- Don’t overfeed your blade. If you are bogging down your saw, you are probably pushing your workpiece through your saw too fast. This is another way to have a board kick back.
I found that a lot of individuals are nervous to operate a table saw for the first time. I get it… there is something about hearing the motor start, seeing the blade spin and feeling the wind off the blade. If you feel this way, find someone knowledgeable to supervise and practice!
I know this is a lot of information all at once. But if you respect your investment, keep it tuned up, keep your body parts away from the blade and get out of the way from those flying parts… all that’s left is to go out have FUN!!!! and build something today.
Thanks, It has been an honor to borrow Brittany’s platform today!
![]()
Pin for later!
Thank you, Nick. There is a lot of good information here. I am rather familiar with my table saw. However, when I’m self taught, I might have left gaps in the knowledge I’ve sought out for myself. I’m definitely going to have to start following your blog.
These are some very good points to keep in mind when using a table saw.
No matter how experienced you are they are great reminders for all of us who do not use the table saw on a daily basis. Thanks !
I love using my dad’s table saw, but I’m going to have to follow Nick’s blog now so I will know how to do it safely when my dad is not around to supervise me!! He taught me to use all his power tools and I guess he did it right because I have all my fingers and no scars!!