Sculptural Branch Jewelry Display Holder
Okay, I admit it. I’m a little infatuated with branches lately. Maybe it is because winter is here and all those bare skeletons of trees have me fascinated. Or maybe it is because my neighbor has been taking down a lot of trees — which really baffles me, but I digress — and the perfect branch was beaconing me from the curb.
As I walked home with the branch held high like a trophy, my neighbors surely figured out what I would make! A branch jewelry holder to hold ALL my jewelry.
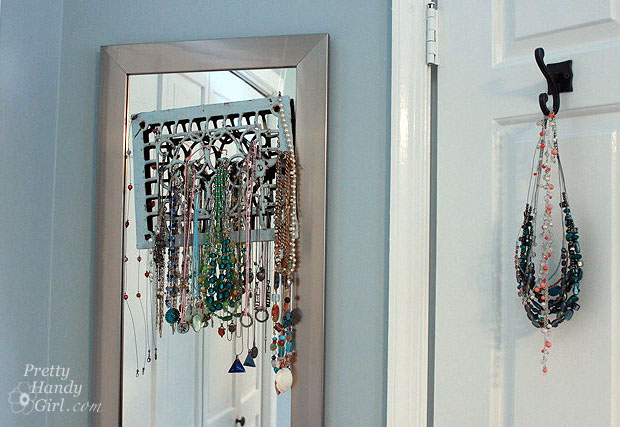
Sure I had a jewelry holder already, but it was sagging under the weight and was begging for some relief. One of the fish line strings snapped a few months ago and I started hanging necklaces on the back of the door hook. This makes for some eye opening sounds when the dog pushes his way into the room at 3am. Not good. It was high time I found a solution!
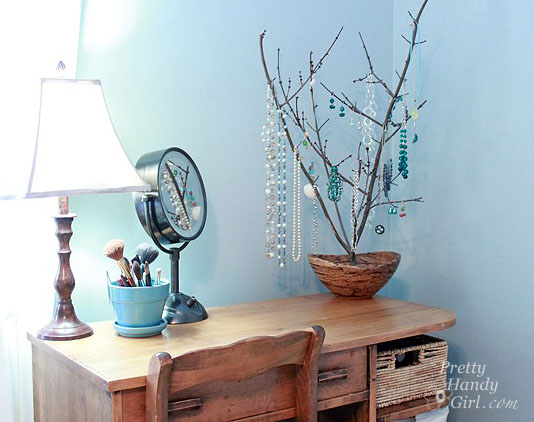
Unfortunately (or fortunately), I have a lot more jewelry and didn’t want to mount mine to the wall. So, I thought a sculptural twig jewelry holder that sits on my dressing table would be more fitting for my needs.
Finding the perfect branch turned out to be easier than finding the perfect base. I thought about making a cross to support the bottom. Then, I thought about drilling a hole into a plate. But, the solution was cemented once I saw this bamboo bowl at Target on clearance.
What?! You want the tutorial? Oh right, I forgot for a minute this was a tutorial blog. I started daydreaming while looking at all that shiny jewelry.
Materials:
- Freshly cut hardwood branch
- Freshly cut log (preferably hard wood tree)
- Gorilla glue
- Saw
- Plyers or pruners
- Drill with several sized bits
- 2″ wood screw
- Clothes pin
- Baby wipes
- Bowl for base
- Screw
- Painter’s Tape
- Clamp
Instructions:
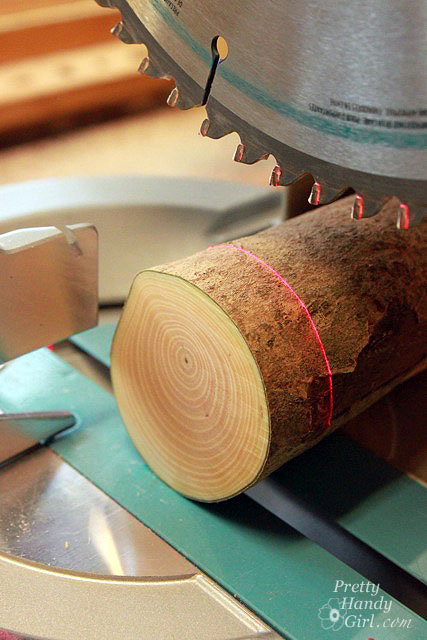
Cut, a 1.5″ disk from a newly cut log. (I used a miter saw, but you could use a handsaw just as easily.)
The disk will become a support for the branch to give it more stability when it is loaded with jewelry.
Cut the large branch down with a handsaw or limb pruner. (I chose a 22″ tall section with a thick base.)
Select a drill bit that is the same diameter as the base of the branch.
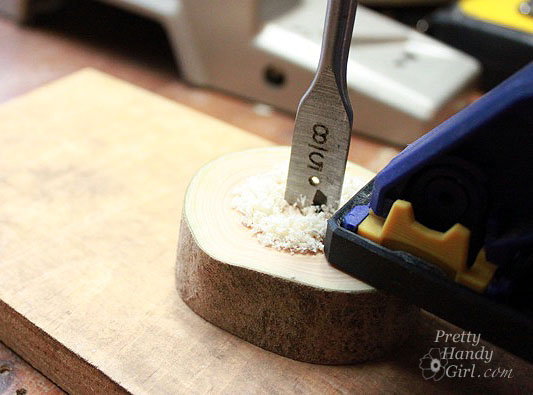
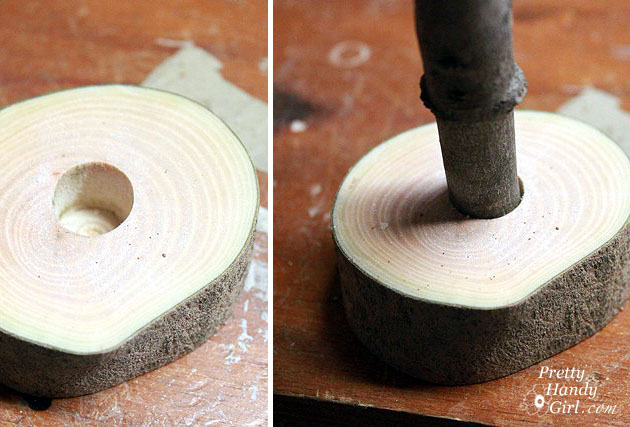
Clamp the log disk onto a scrap piece of wood and drill a hole the width of the branch about 2/3 of the way through the disk. The point of the spade bit will hopefully poke through the bottom, but not the rest of the bit.
Test fit the branch. Make sure it can be seated far enough into the wood disk for stability.
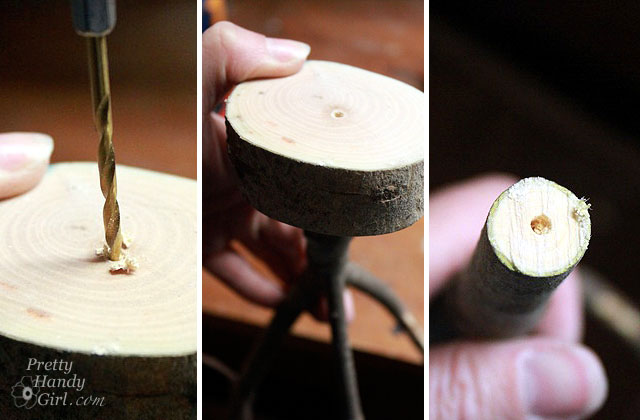
Turn the branch and disk over to view the bottom of the disk. If you used a spade drill bit, hopefully that point came through slightly so you can find the center of your disk. Insert a small drill bit (slightly smaller than the width of the 2″ screw) into the hole. Drill a small hole through the bottom of the log disk and into the branch about 1/2 – 3/4″ (keep the branch inserted into the disk until you finish drilling.)
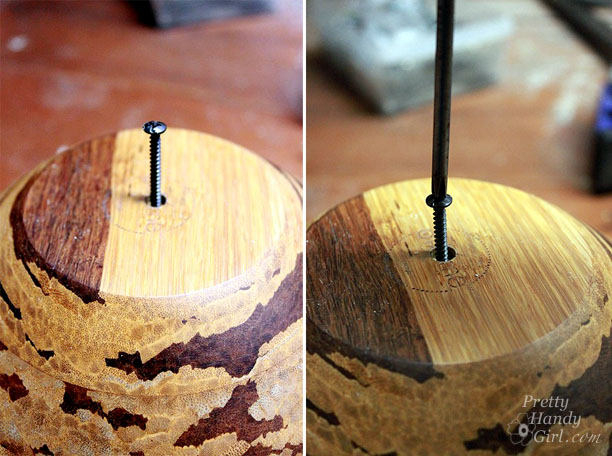
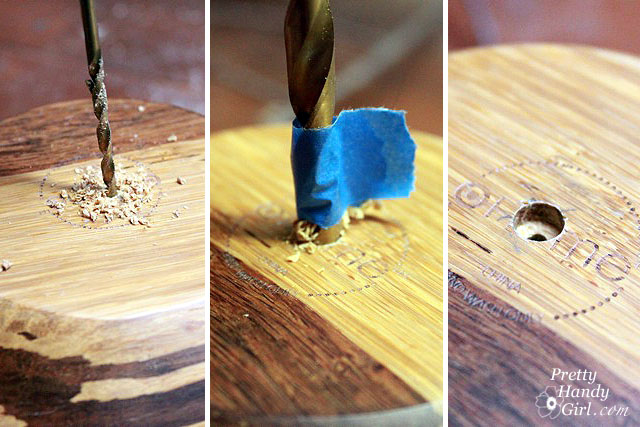
Use the same small drill bit to drill through the center of the base of the bamboo bowl (turn it upside down on your work surface.) Next choose a drill bit large enough to create a countersink hole for your screw head. I put a piece of tape to mark how deep I needed the countersink hole to go. Not too deep, you don’t want to go through the bowl, just deep enough for the head of the screw to sit inside.
Squeeze a small dollop of Gorilla Glue into the large hole in the disk and then insert the base of the branch. Let the glue harden for an hour.
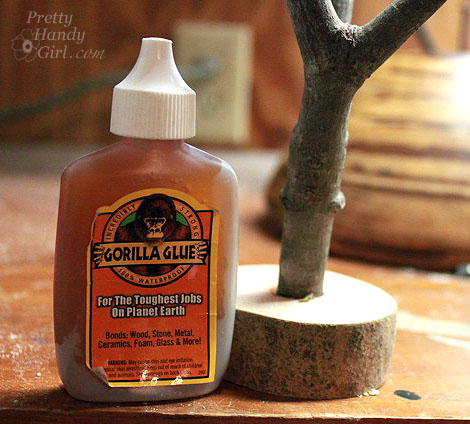
Once the branch is firmly glued into the disk, turn it over and put some Gorilla Glue around the base of the disk and the center.
Set the disk and the branch into the bottom of the bowl.
Thread the 2 inch wood screw through the bottom of the bowl, through the disk and into the branch via the predrilled hole you made earlier. Gently tighten the screw until it fits snugly inside the countersink hole and the branch is secure.
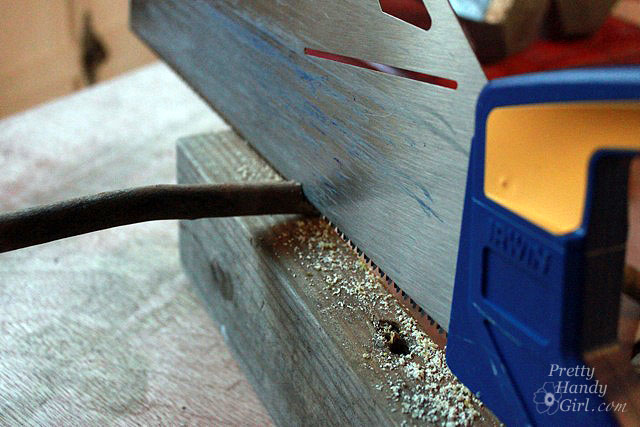
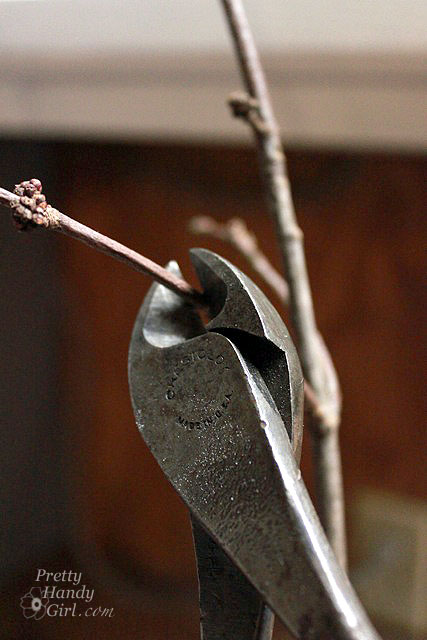
If Mother Nature has not provided enough smaller branches on your holder (or you have way too much jewelry I do), you’ll want to add more branches to the holder. Cut some small branches off the unused tree limbs. Use a saw, pruners, or wire pliers (use whatcha got!)
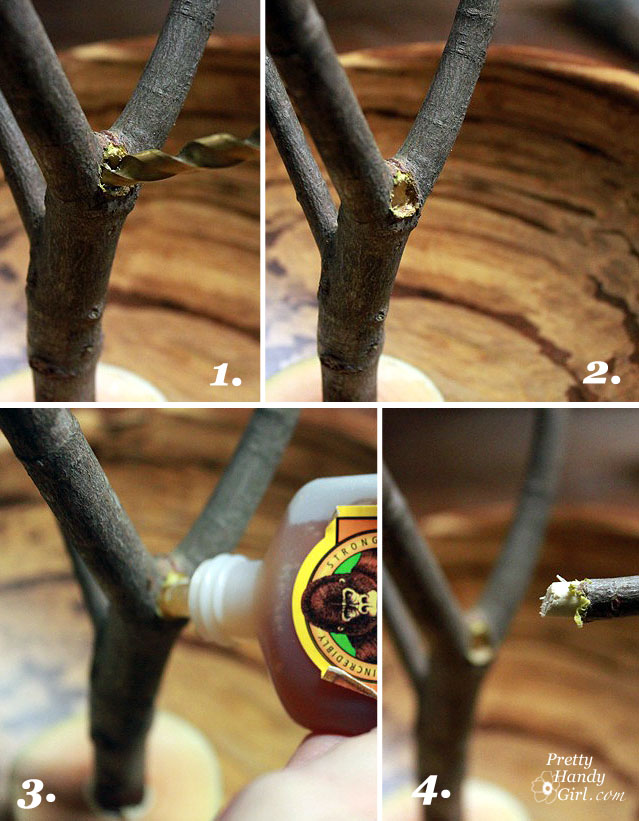
Then match up a drill bit with the width of the littler branch. Drill a hole into a sturdy section of your branch. Add a small amount of Gorilla Glue and then press the small branch into the hole. Instant graft! (I have to admit, I felt like I was tampering with God’s creations here. Forgive me if I’ve committed a sin.)
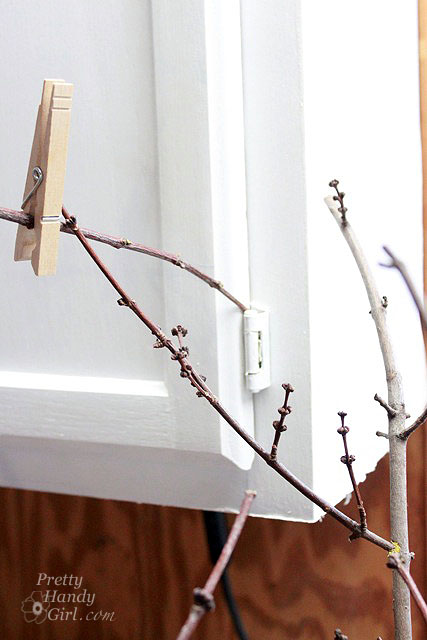
Continue to check on your grafted branch to make sure it stays seated into the hole until the glue hardens.
Support your grafted branch onto other branches or prop it up to help keep it in position as it dries.
Continue to graft branches on as needed. I added about four new branches to mine. Can you see the fake ones?
Once the glue has dried, clean off any wood shavings and dirt.
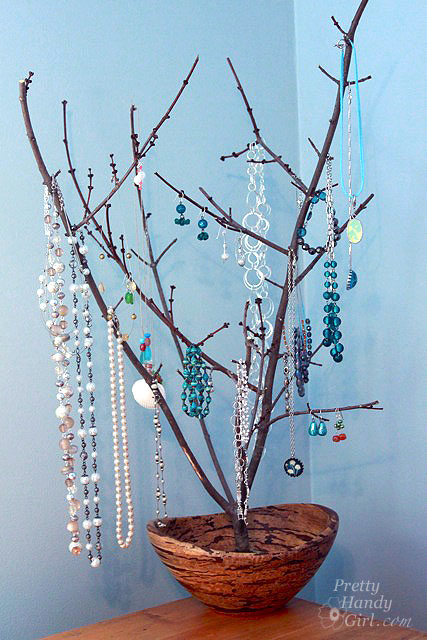
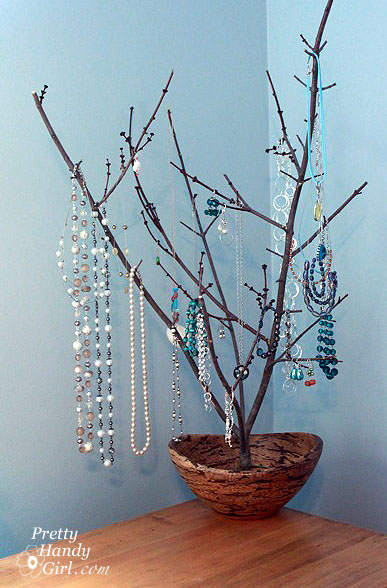
Store your bangles and bracelets in the bowl.
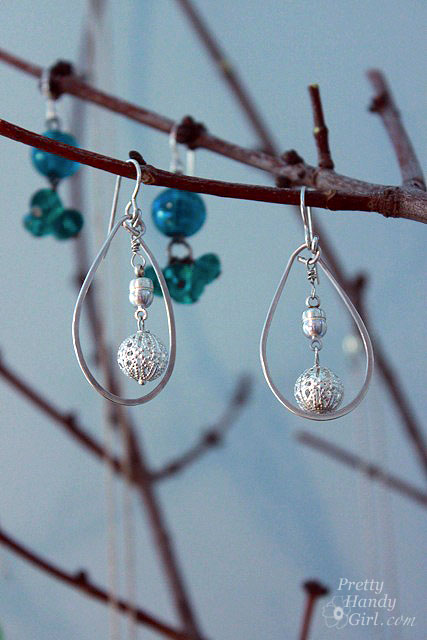
Earrings hang nicely on the small branches like little ornaments.
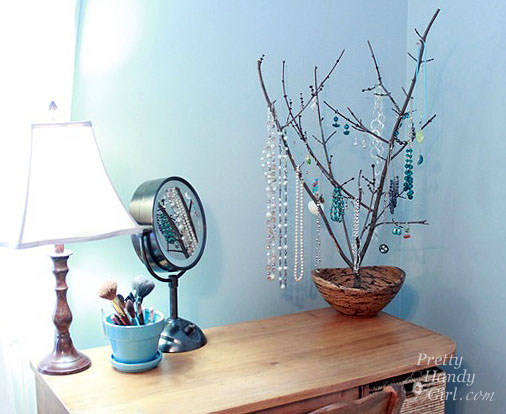
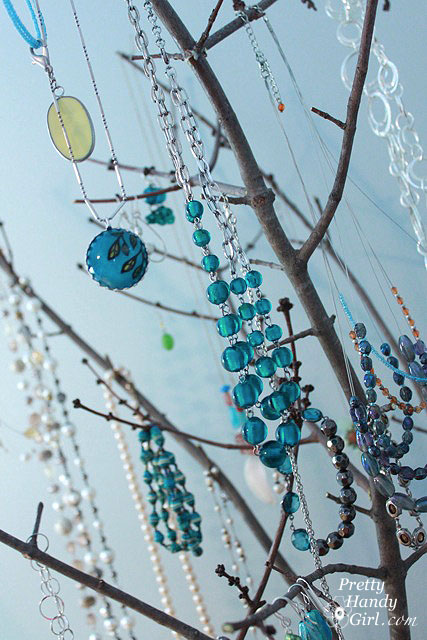
Then hang your necklaces on display! I’m really enjoying seeing these beauties in the morning.
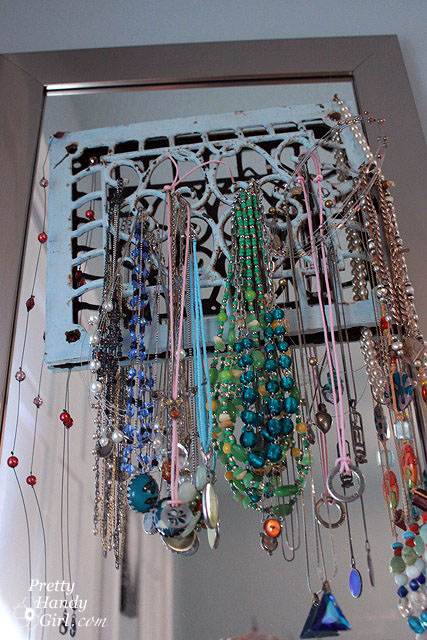
Much better than the cramped and sagging heating grate:











I never realized it could be so simple and easy! 😮
It’s like NASA spending a million bucks on the development of a pen that could write in space (no gravity, no inkflow). When could have just used pencils.
LOL. Glad my directions looked easy to follow.