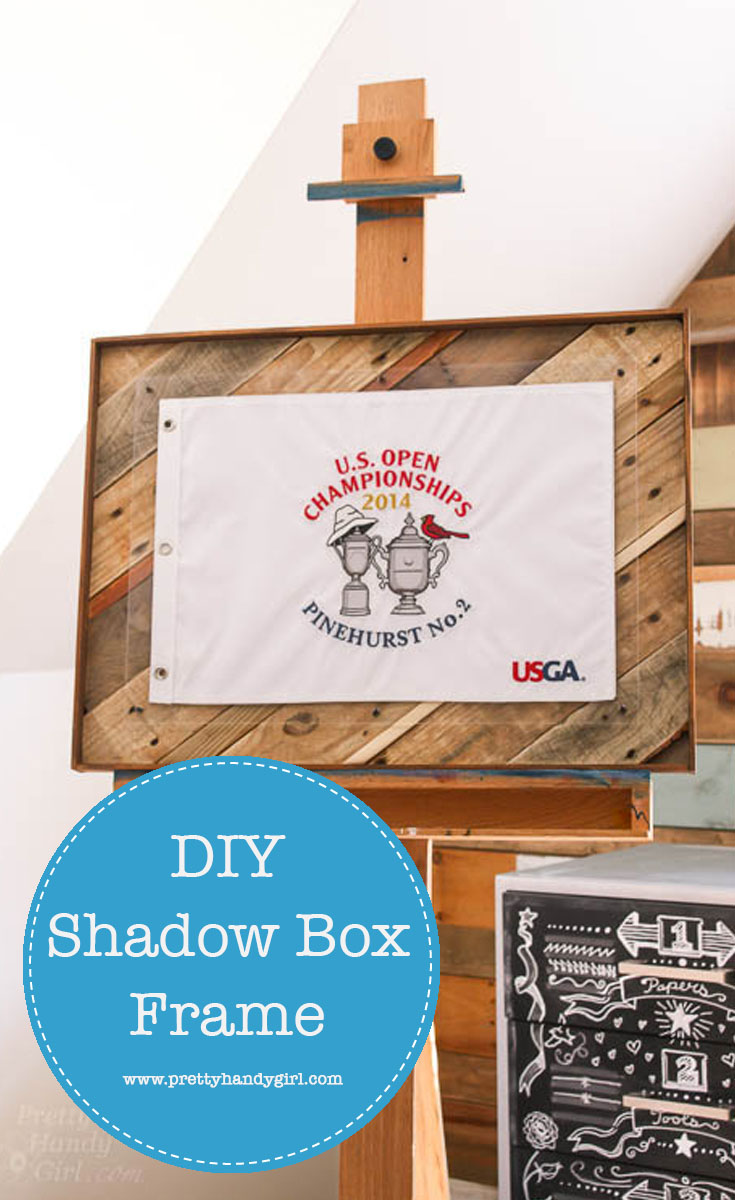
Scrap Wood Shadow Box Frame
Okay all you woodworkers. You know as well as I do that you have an ever growing scrap wood pile that you don’t want to throw away because you know you’ll use it one day.
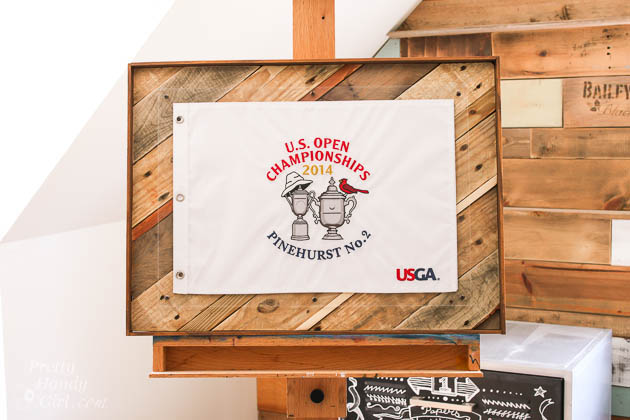
Well, today is that day! I challenge you to use some of that scrap wood to make a Scrap Wood Shadow Box Frame like this one.
But, if this isn’t your cup of tea, Sawdust Girl has an entire link up party of scrap wood projects. And you can link up your own scrap wood challenge too!
Okay, so the truth behind this project is that Pretty Handsome Guy has been begging me to frame his U.S. Open flag from Pinehurst almost two years ago. My poor hubby rarely asks for anything, and I figure he waited long enough.
Materials:
- Scrap wood
- Backer board (scrap bead board, masonite, thin plywood)
- Construction glue
- Lattice edging
- Wood stain
- Plexi-glass
- D-hooks
- Drill bit
- Drill
- Double stick foam tape
- Brad nails
- Nail gun or hammer
- Machine screws
- Saw (miter, jigsaw or Dremel UltraSaw)
Optional: Gorilla Glue
Instructions:
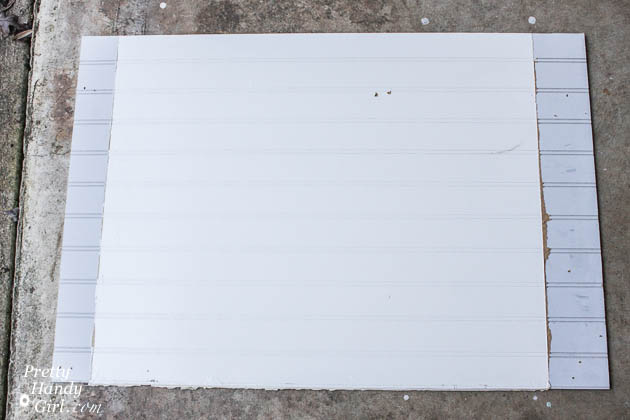
Cut backer board to the size you want for your frame.
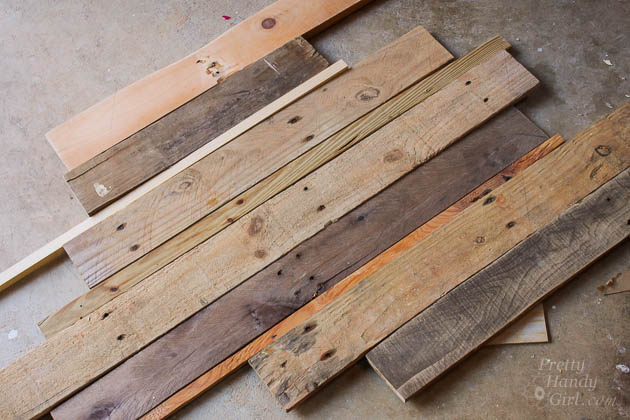
Lay out your scrap wood on top of the backer board until it is covered completely.
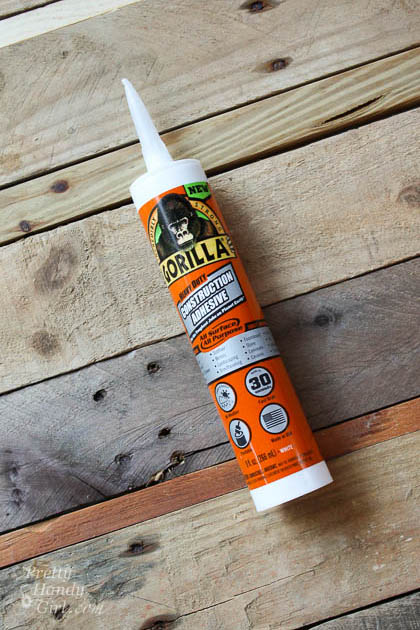
I tried Gorilla Glue Construction Adhesive on this project (Gorilla Glue sent me a tube of glue to try out.) It dried and held all the scrap wood firmly.
Lift up one piece of scrap wood at a time and apply construction glue onto the backer board.
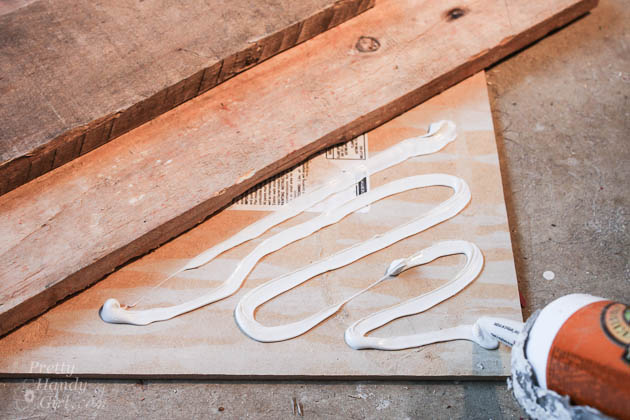
Replace the first piece of scrap wood and remove the next board to apply construction glue.
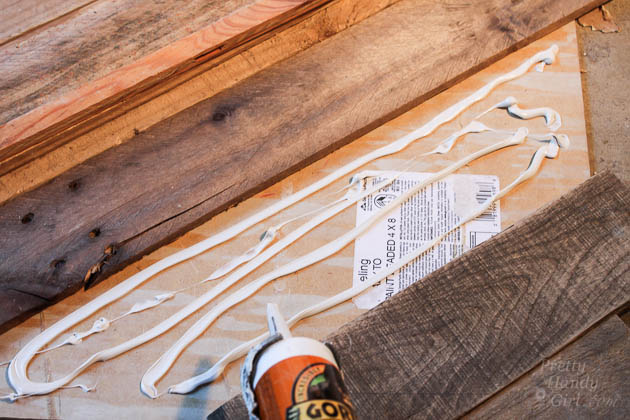
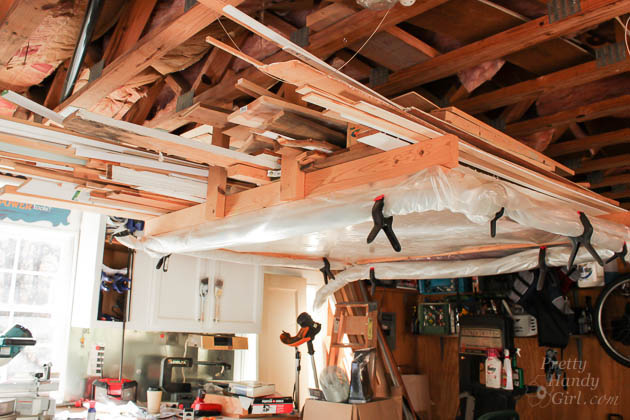
Continue gluing until all your scrap wood is glued to the backer board. Set weights on top of the wood as the glue dries.

Allow the glue to harden overnight. Use a saw to trim the edges of the scrap wood to the size of the backer board.
Lay your art (or flag) onto the scrap wood. You can use double stick foam tape to keep the art/flag from moving.
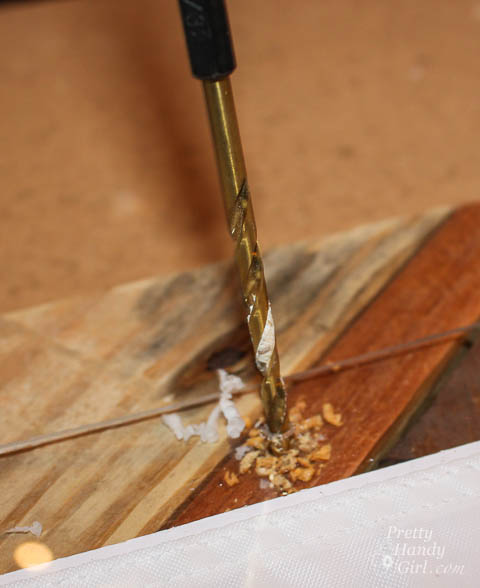
Cut plexi-glass to size. (Mine is inset several inches inside the frame.) Drill holes into the plexi-glass and through to the wood.
Screw the machine screws through the plexi-glass and into the wood. If the machine screws are loose, you can secure them with a drop of Gorilla glue in the wood hole.
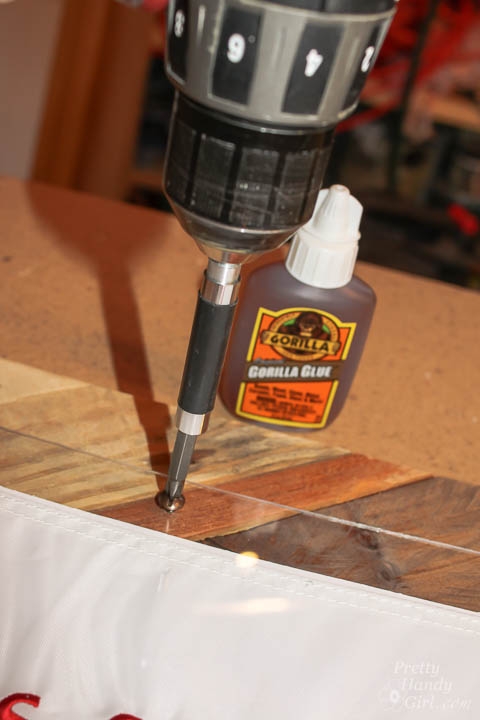
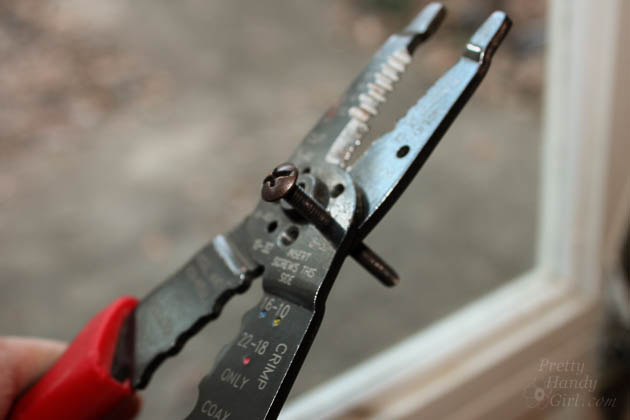
If your machine screws are too long, you can use wire cutters to cut them.
Mark the lattice against the frame. Cut it down to size.

Stain the lattice. (Minwax sent me these Wood Finishing Wipe on Stain Cloths to try. After using them on several projects, I can honestly say, these things are the bomb because they are easy to use; they dry fast; and you toss the cloth when you are done.)

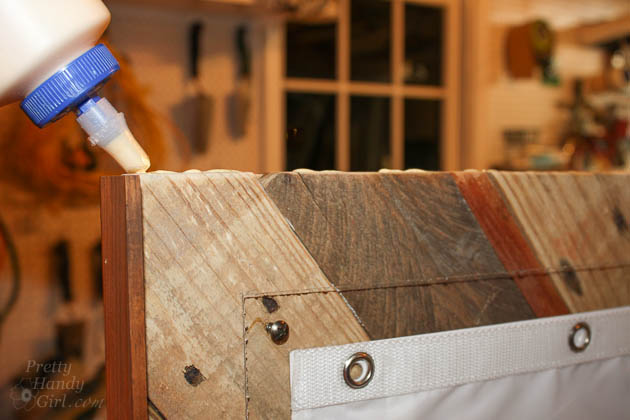
When the stain has dried, add some wood glue to the edge of the scrap wood frame.
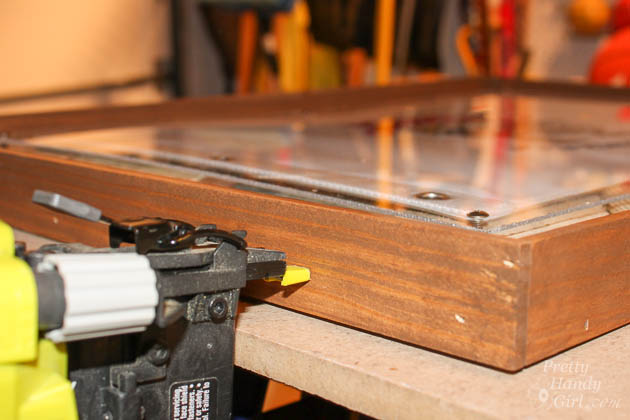
Nail the lattice pieces onto the edges.
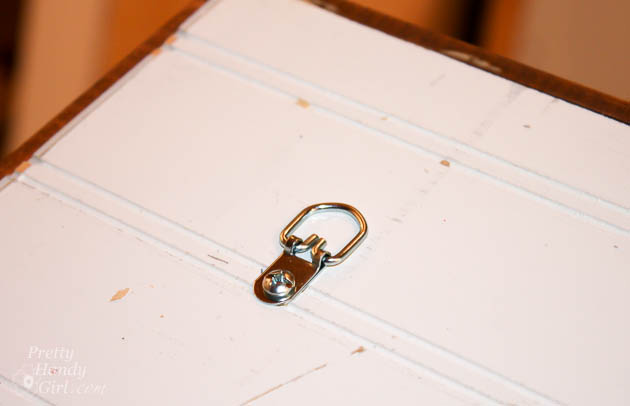
Flip the frame over and add D-hooks on the back for hanging.
Hang this unique Scrap Wood Shadow Box Frame and enjoy!

Handsome Guy loves that his U.S. Open Flag is finally framed. He says this can be considered his Christmas present, but I’ll still buy him something this year.
So tell me, do you have the scrap wood to make your own Scrap Wood Shadow Box Frame?
![]()
Pin for later!


That looks very nice — curious though, why do you specify machine screws when you’re putting them into wood? Wouldn’t wood screws work better?
Brittany,
Great job on checking this project off your to-do list!
I am sure I have everything I need to make this project…. I hoard all scraps.
gail
This is so smart looking, great tutorial, thank you!
Thanks Colleen.
Very nice, Brittany. How do you cut your plexiglass, on the table saw?
Julie, thanks for the compliment. I usually use my band saw, but I bought a glass and plexiglass cutter at the Home Show recently. It has a glass cutting wheel and a blade on it like this: http://amzn.to/1joNDeq
I tried a similar knife but had bad luck snapping the pieces so I switched to the table saw, with plexi sandwiched between two scrap pieces of OSB. (When I did my cuttig I must admit I was very nervous)