
Saving Etta: Master Bathroom Reveal
 Saving Etta: Master Bathroom Reveal
This is a master bathroom reveal I’ve been dying to share with you. The master bathroom in the Saving Etta house acted as a room I could experiment in and test some ideas for my own personal bathroom (that is currently stuck in 1978). I used a lot of elements I had pinned for my own bathroom ideas. Many of them looked amazing, but a few of the elements I learned are not as amazing as I thought they were. Regardless, I am thrilled with how the master bathroom turned out.
But, before we move to the reveal, I need to give a big thank you to the Saving Etta sponsors. As you all know, I’m very particular about the brands I work with and I can honestly say my sponsors are the cream of the crop when it comes to selling products for your home and lifestyle.
The Bathroom Before:
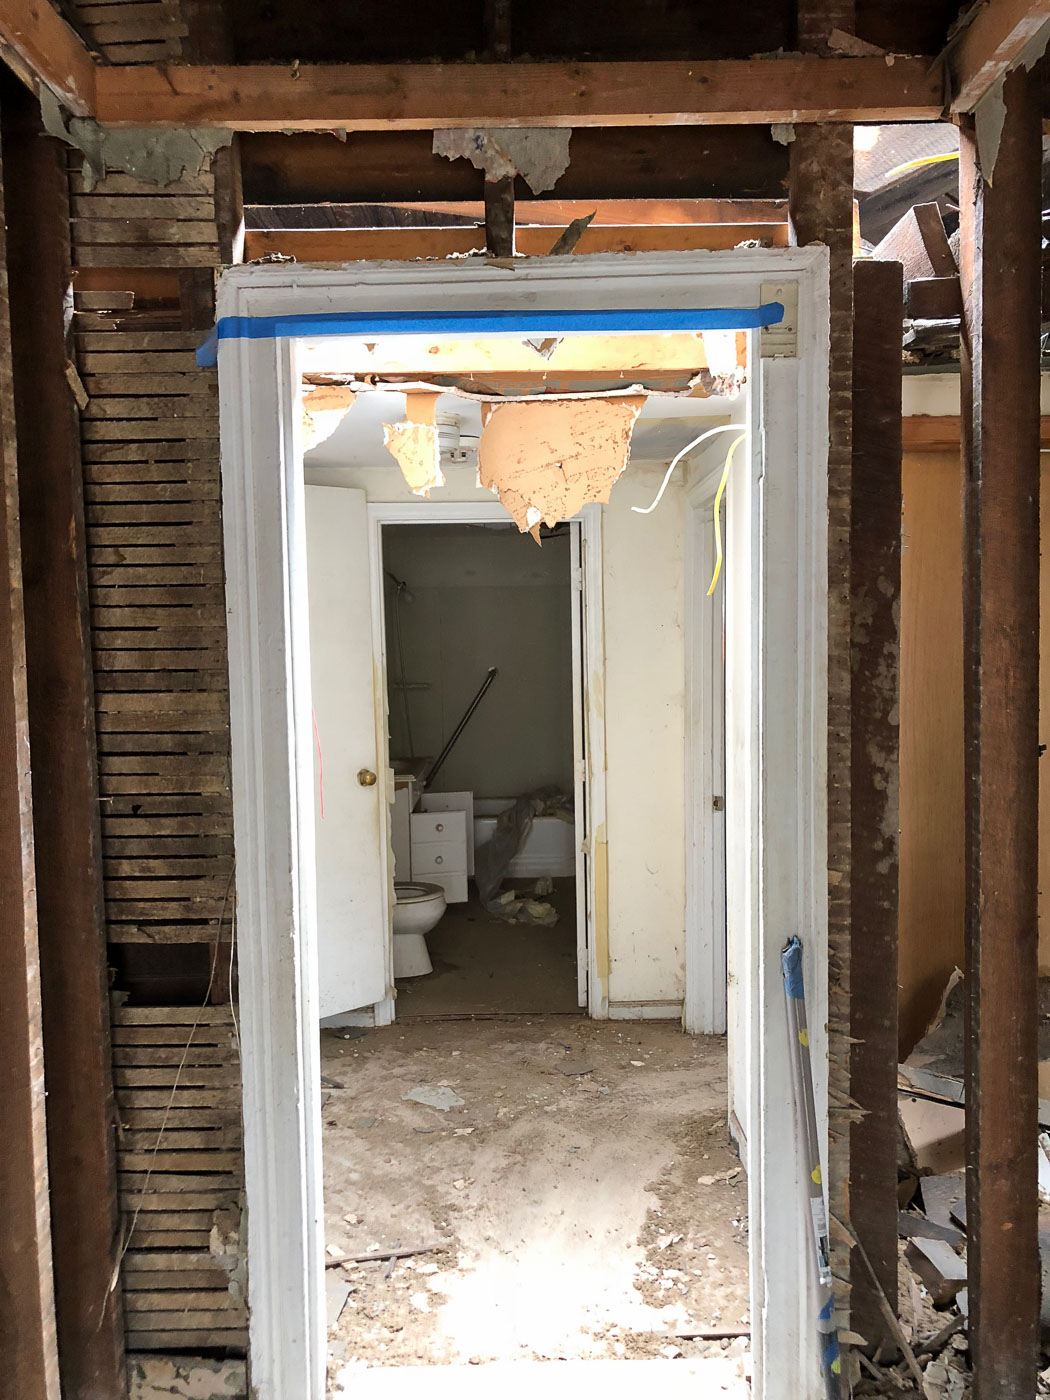
When I bought the Saving Etta house, there was only one bathroom. And it was one sad excuse for a bathroom. The size was decent, but the condition was abysmal. The leaking roof had done a number on the ceiling and walls.
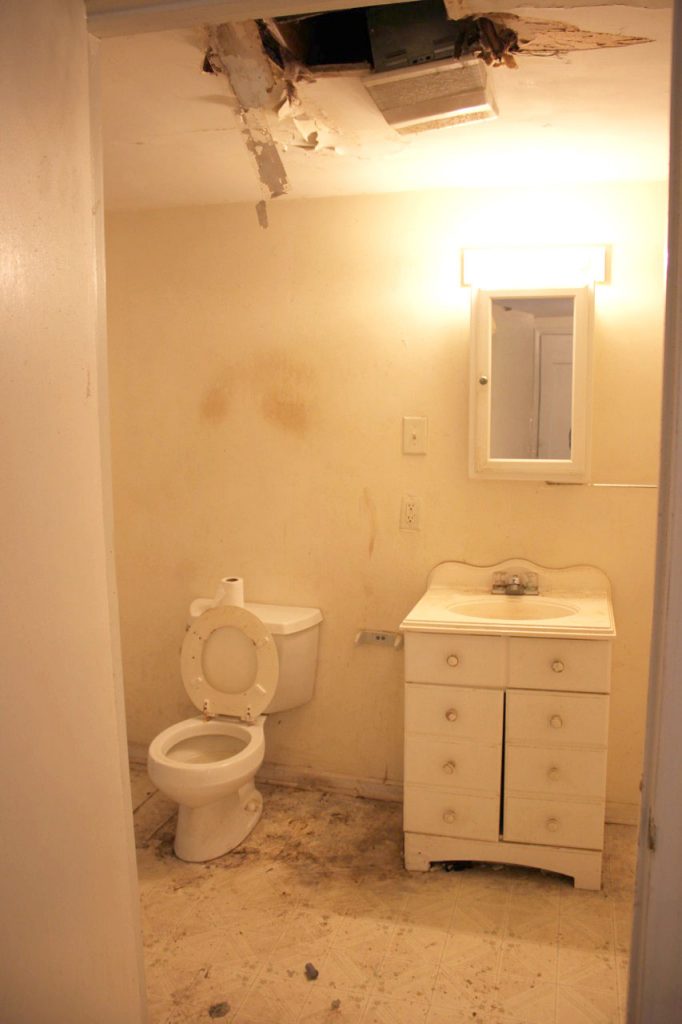
There was so much mold in this one room, that I closed the door and sealed it up with plastic while I began demo in the other rooms.
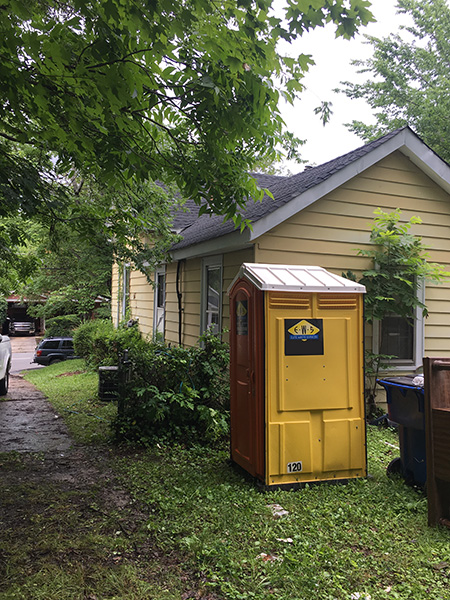
In fact, I much preferred the port-a-potty to the indoor bathroom (which should explain how awful Etta’s original bathroom was.)
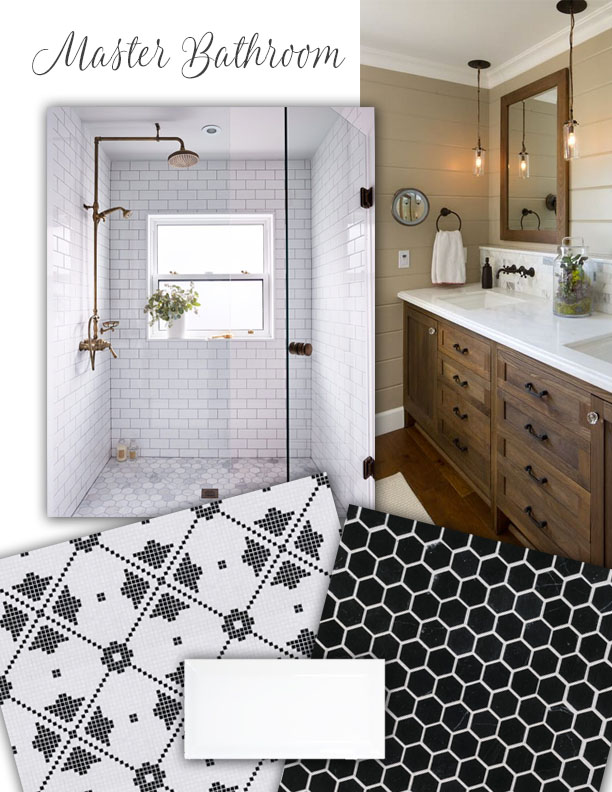
While demo progressed, I put together a mood board for the new Master Bathroom. You can see more inspiration photos and sources in the Master Bathroom design plans.
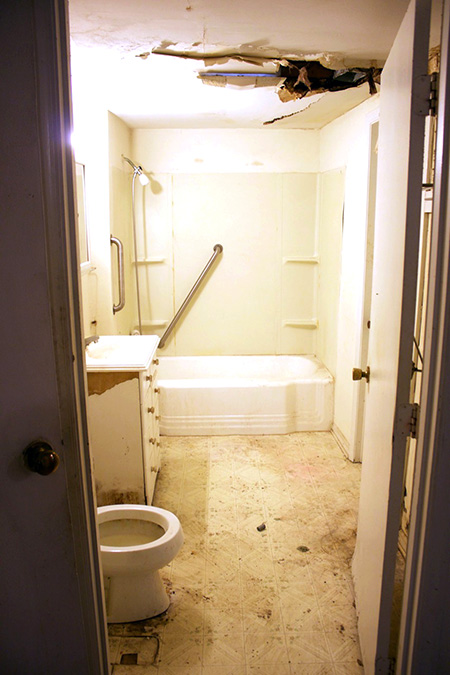
Demolition and New Framing:
This is the last time I laid eyes on that poor sad original bathroom. I never touched anything in that room. There wasn’t anything worth salvaging. Even the tub was in rough shape.
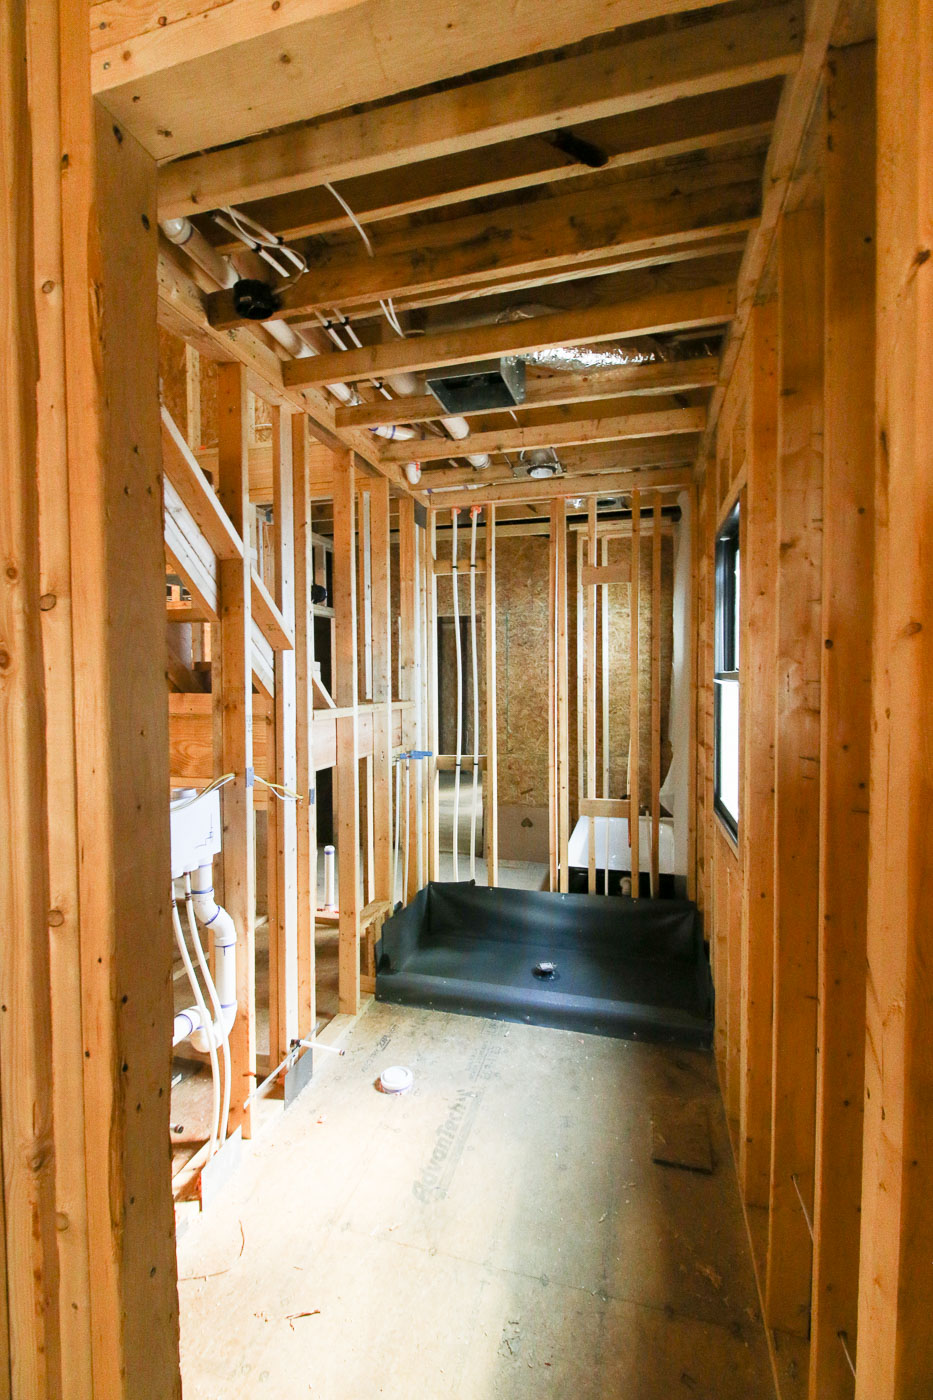
As soon as the back of the house was removed, work began on building the new addition in its place. But, once framing started, things really began to take shape. My plumber installed the shower pan for me.
The drywallers installed the Purple drywall in the bathroom (this drywall should never mold!)
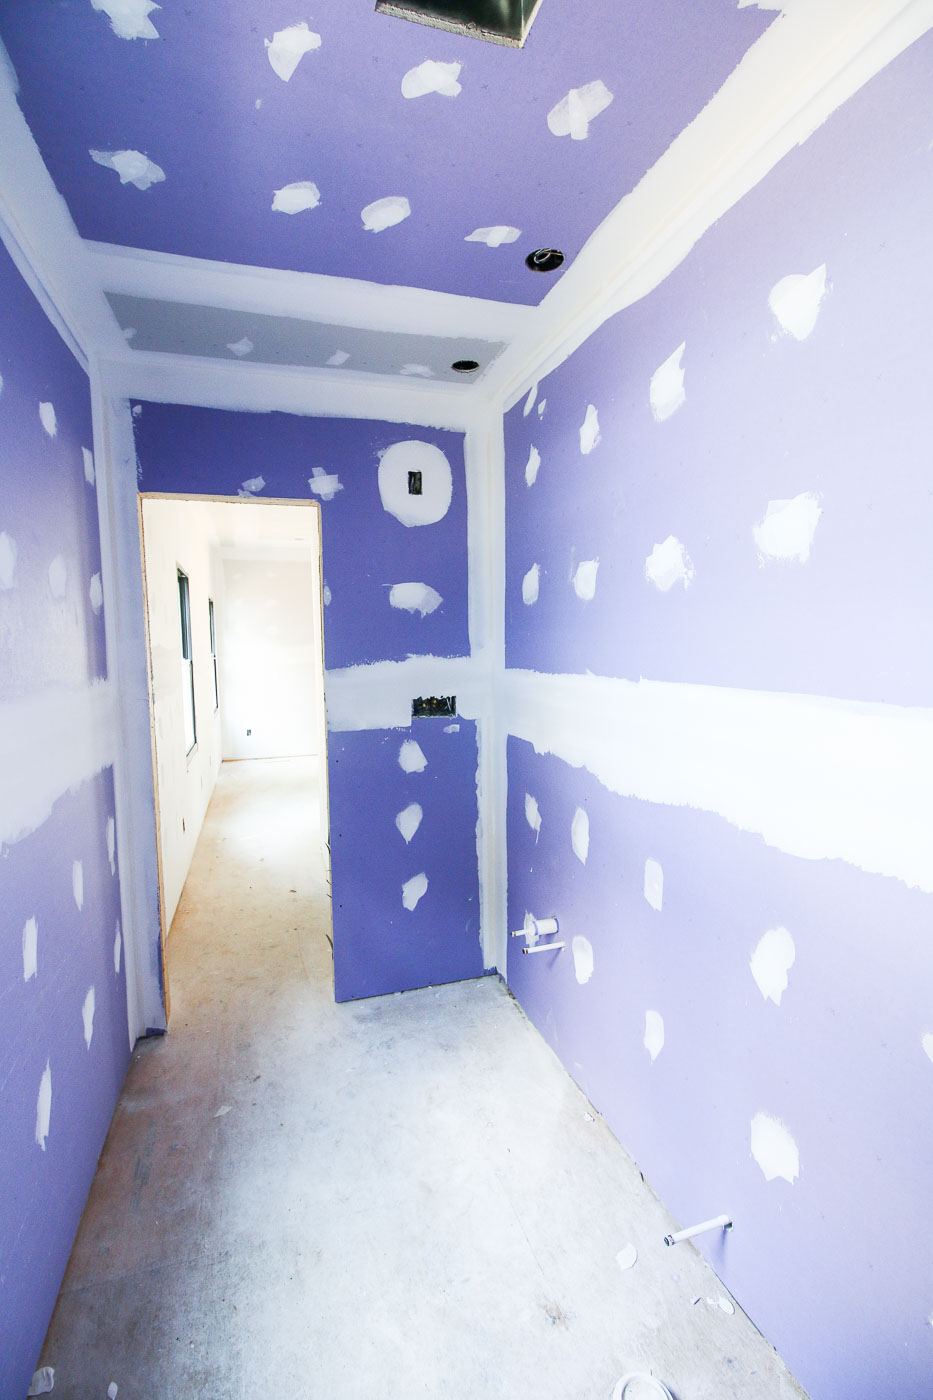
There was some debate between my subcontractors about water-proofing the shower in the master bathroom. I finally added some thick plastic and caulked the seams around the shower niche to prevent any future issues with moisture.
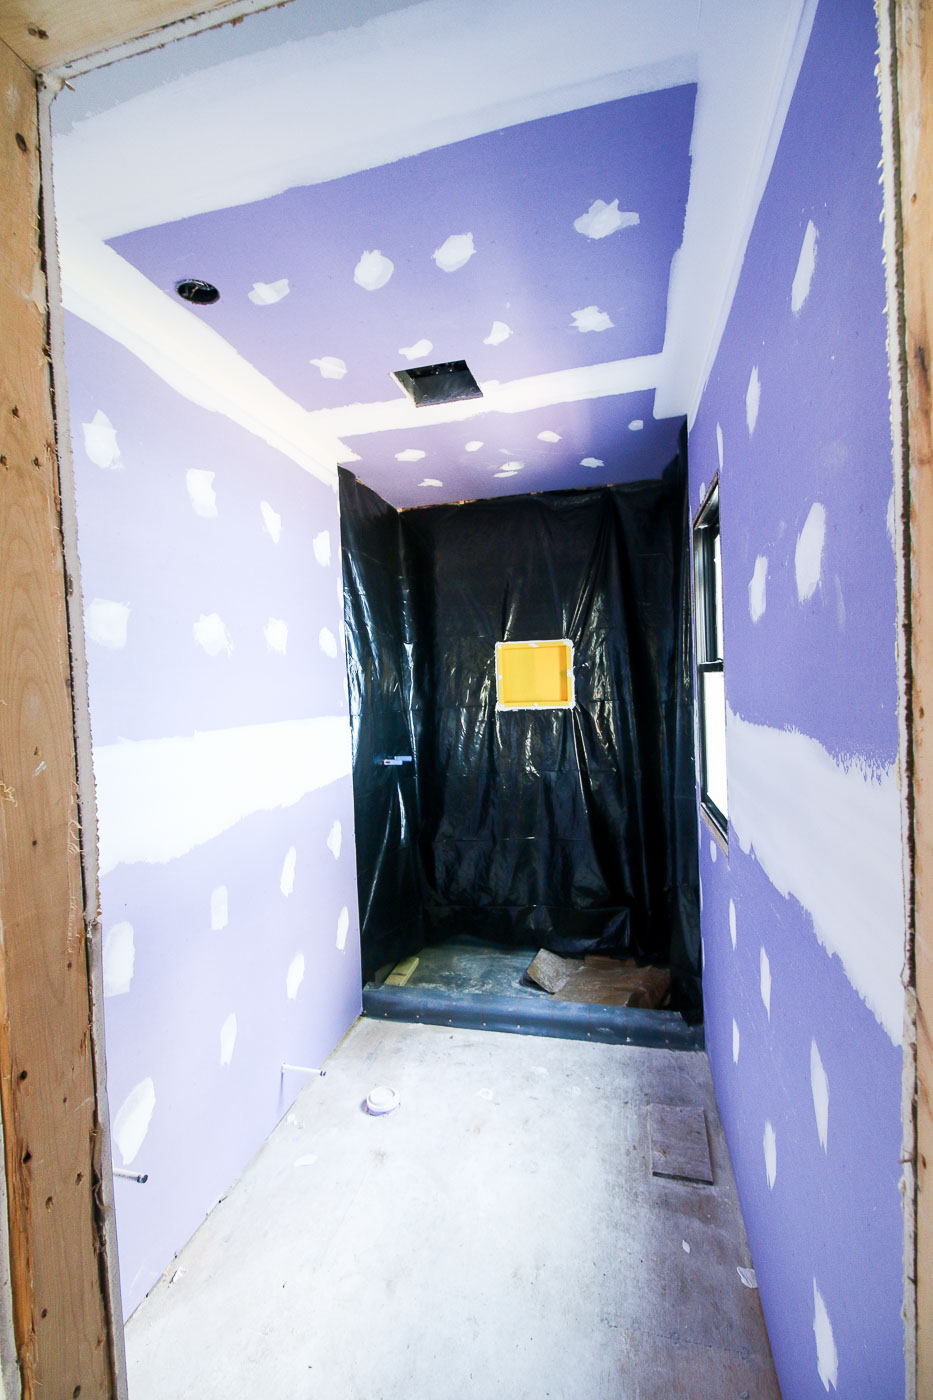
Then PermaBase cement board was installed over the plastic by my drywallers.
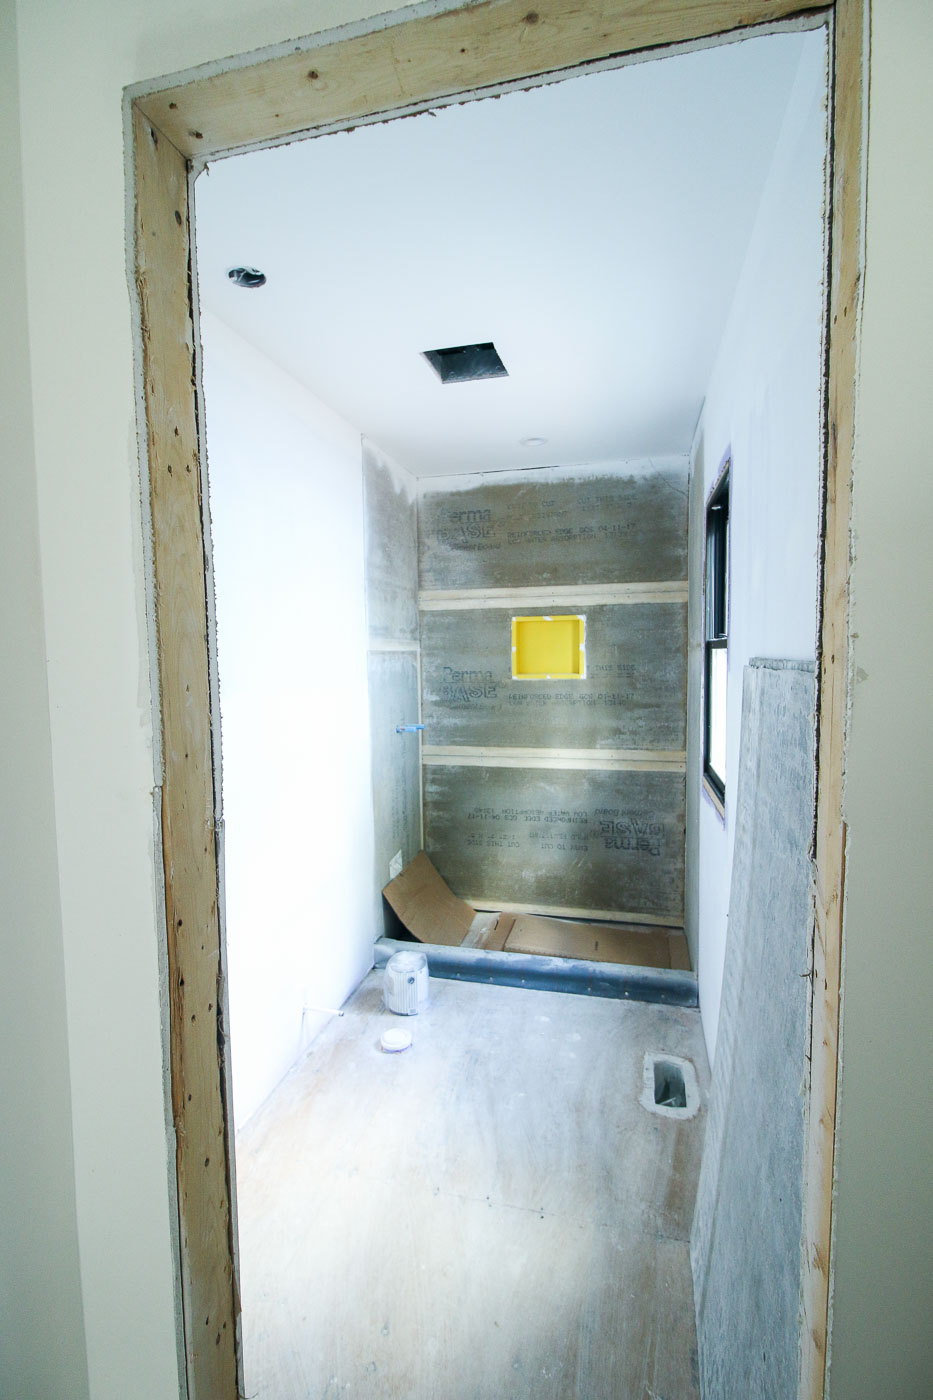
This is one thing I learned from this experience. Next time I will let the tile setters install the backer board for the tile. Apparently my drywall installers did a very sloppy job and I ended up paying my tile setters to fix their mistakes.
For my own personal bathroom, I’m planning on trying some of the Schluter materials instead of the cement board. In fact I’ll be taking a two day class in a few weeks to learn proper installation techniques.

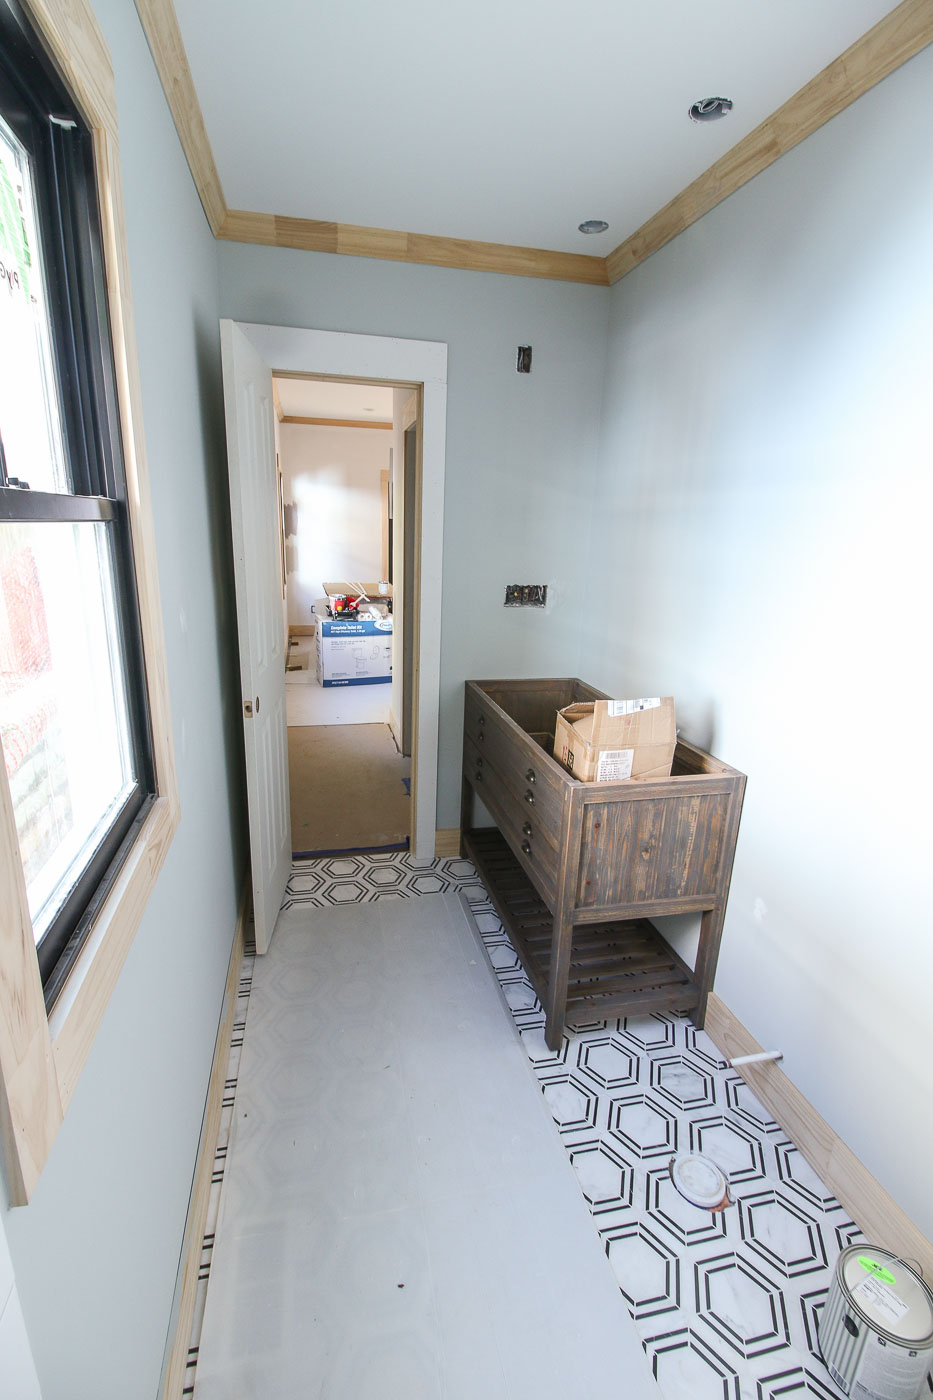
Once the tile floor went in, and the walls were painted Wedding Band gray from Magnolia Home paint, we were able to move the vanity and the toilet into the bathroom so the wood flooring could be installed in the rest of the house.
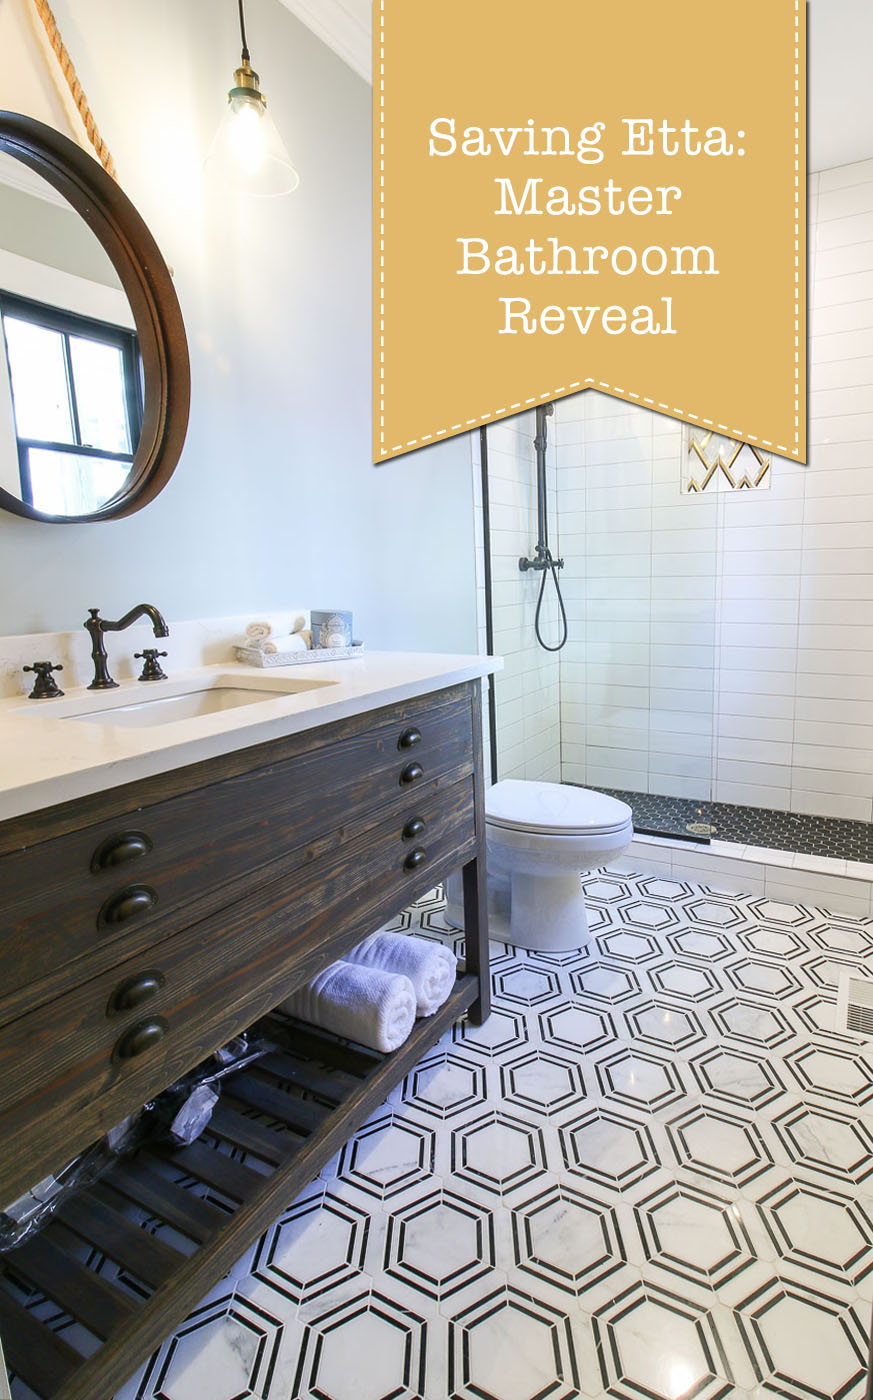
The Master Bathroom Reveal:
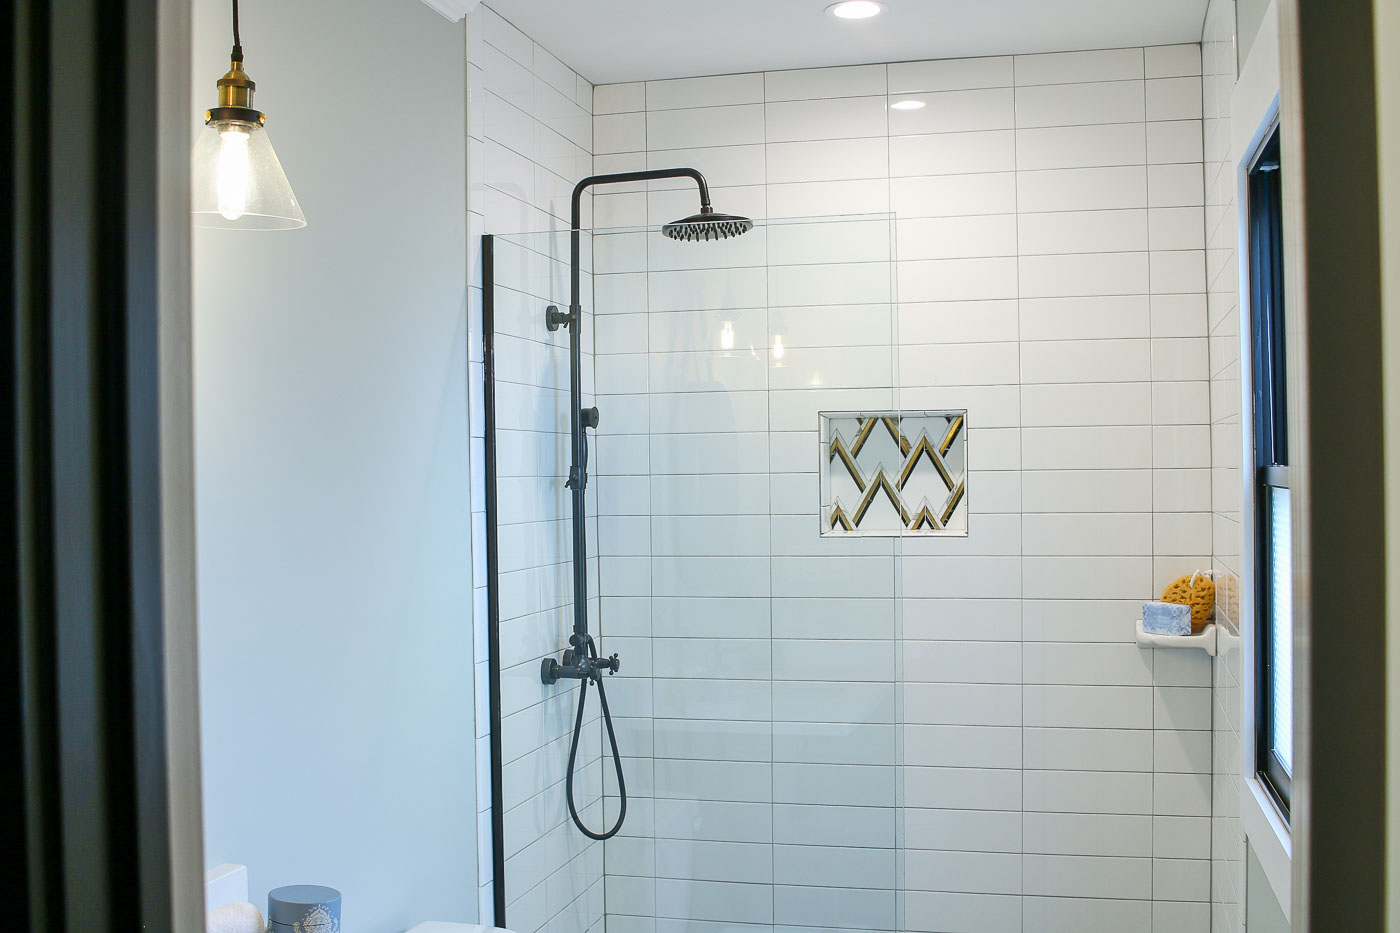
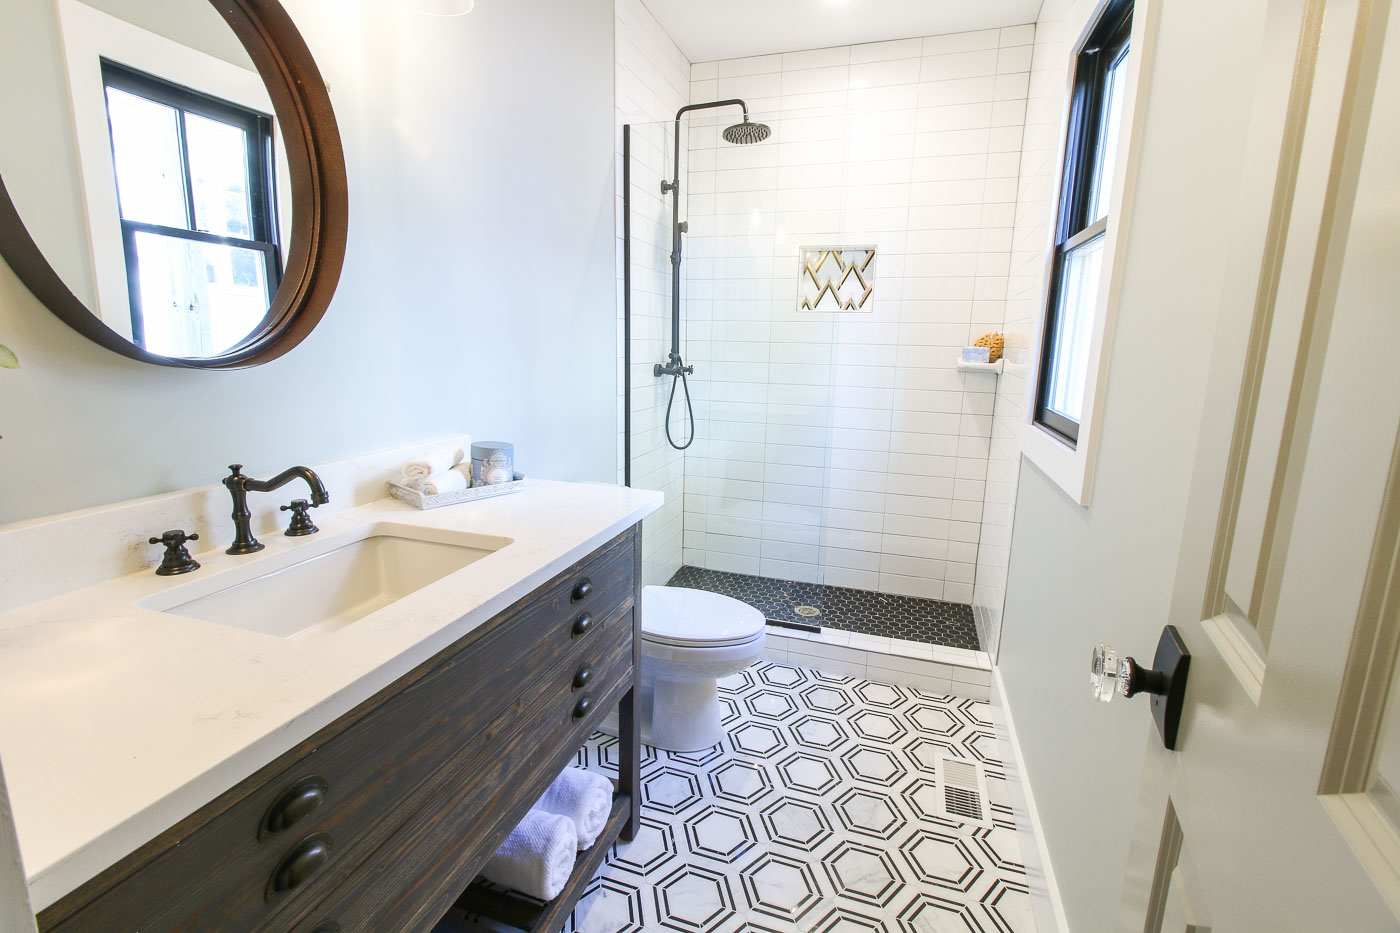
Ready to see the final reveal of the master bathroom? I can’t wait for you to see this! The style I steered toward in this small 5′ x 8′ bathroom is modern farmhouse.
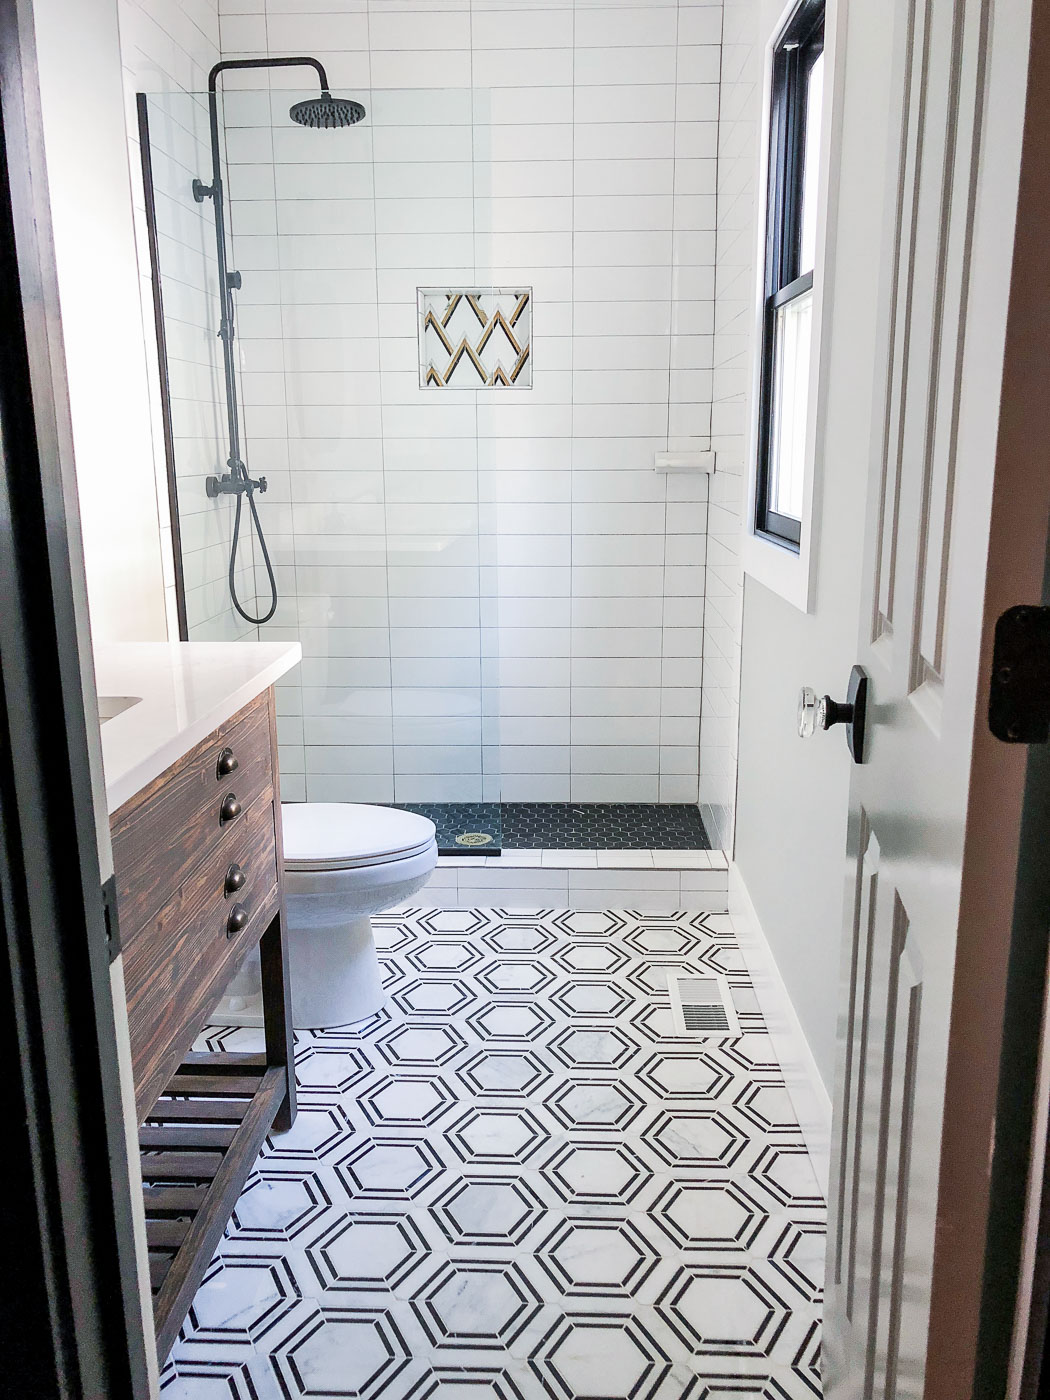
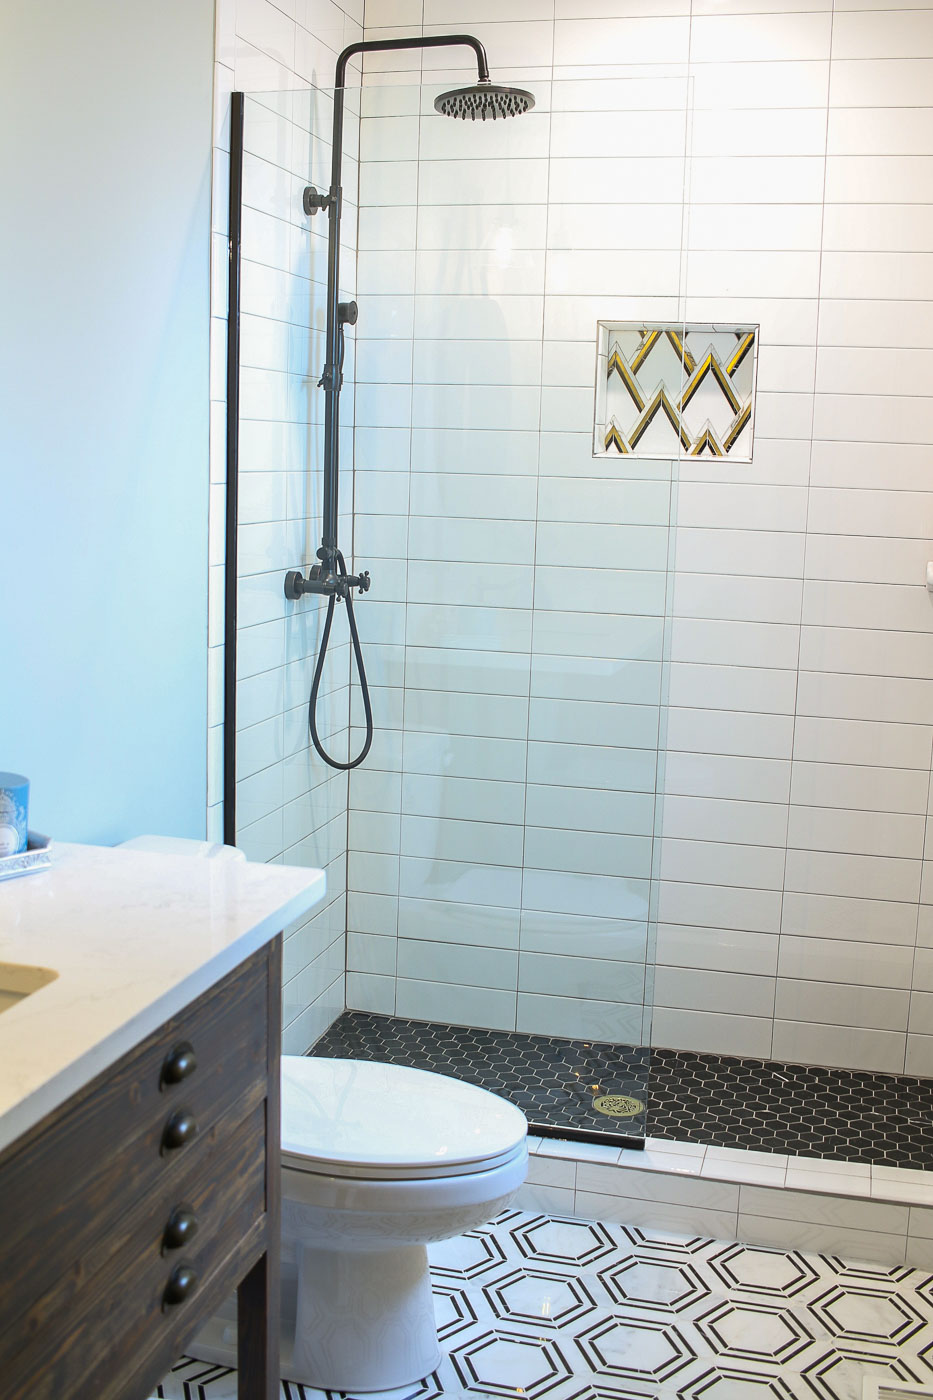
I kept the elements clean, but also timeless. The rainfall shower head (with exterior mounted plumbing) appealed to my sense of a classic look.
The exhaust fan looks underwhelming, but let me tell you, it ROCKS! Really!
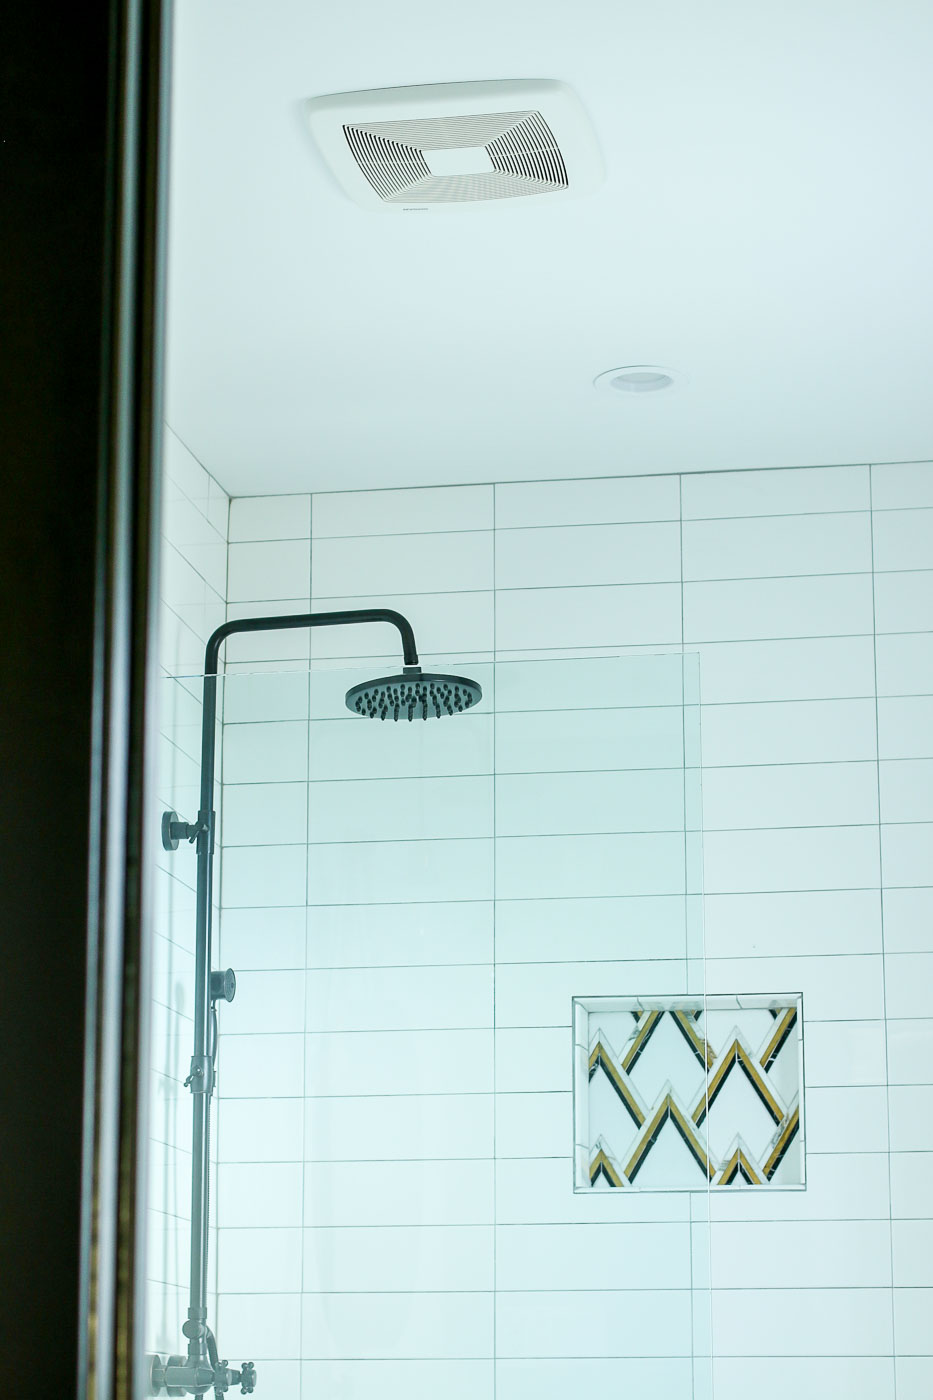
Inside the fan is a bluetooth speaker from Nutone. All you have to do is pair up your bluetooth device with the fan and you can rock out to tunes in the shower. My only complaint is the speaker won’t work when the fan switch is turned off. But, luckily the fan is ultra quiet.
Okay, I know, the shower niche tile is a real show stopper. It’s from Best Tile, but I’ll have to find out what it’s called.
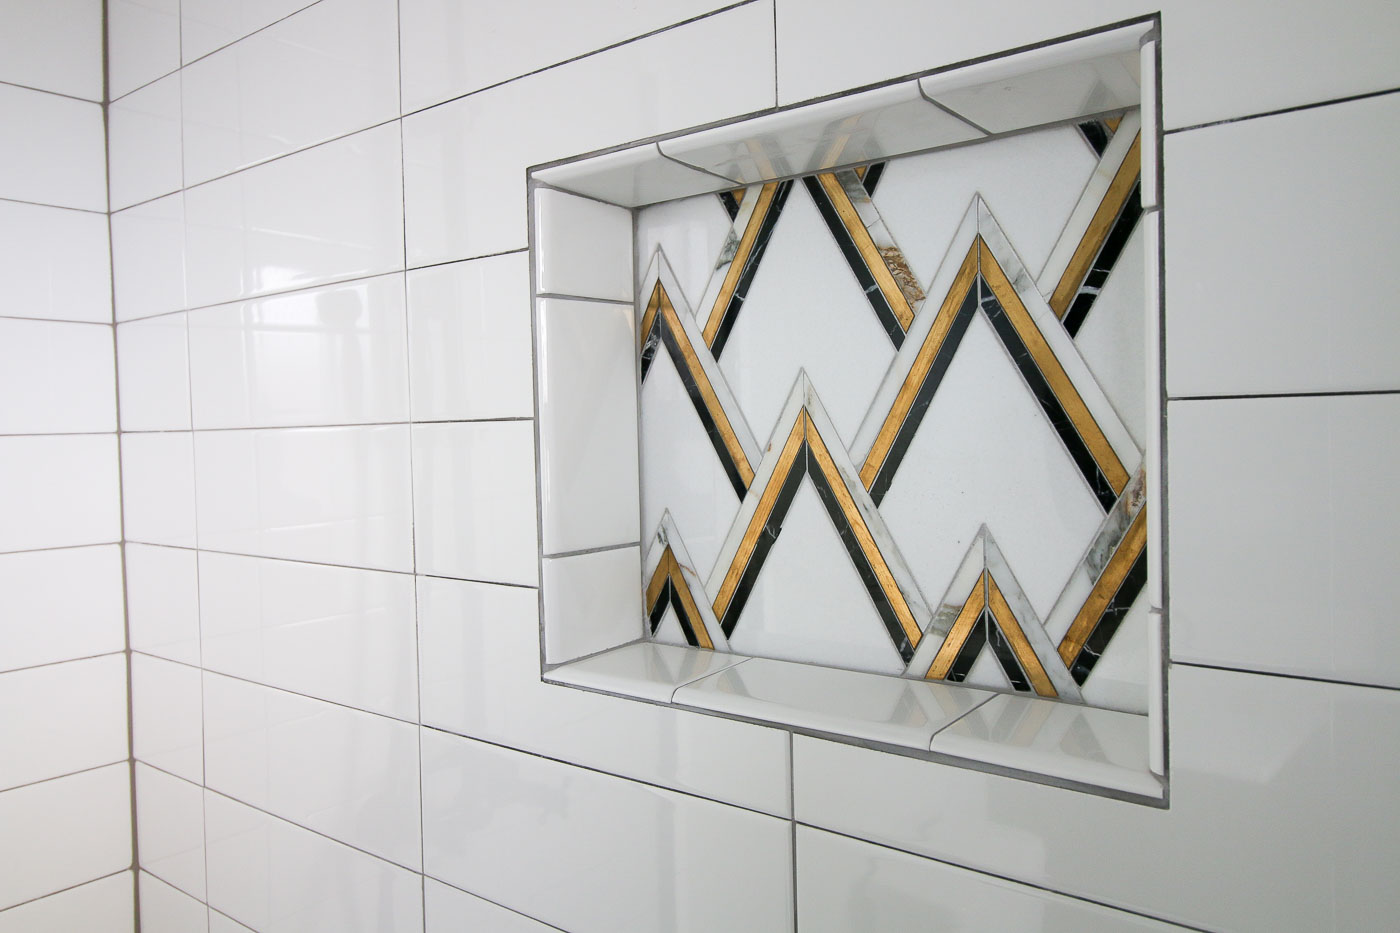
Even though I added a shower niche, I insisted on putting in a soap tray in the corner.
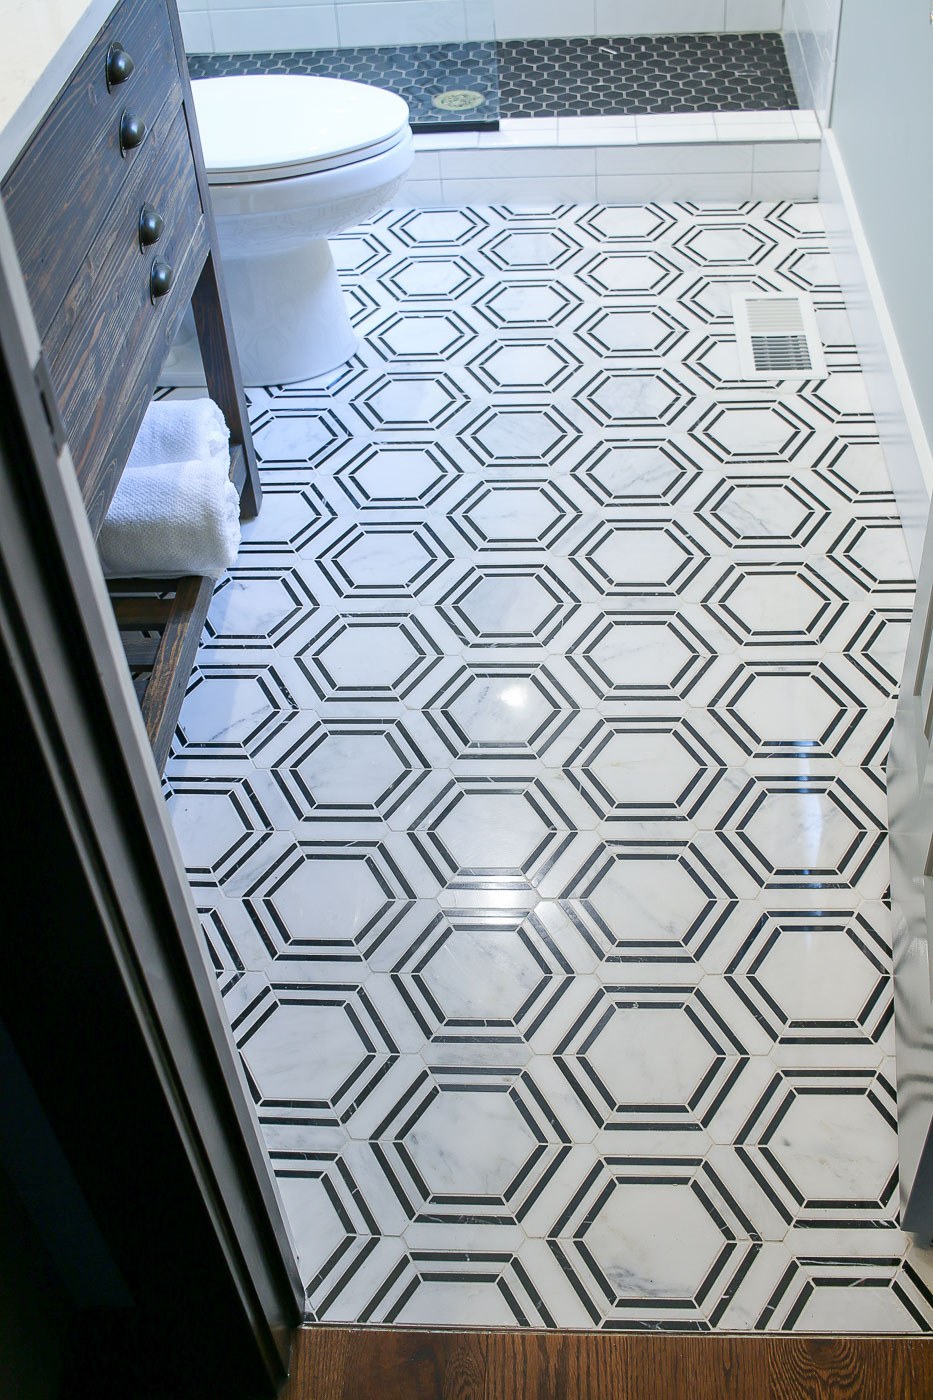
Now for the other tile choices that will knock your socks off. The floor has a beautiful marble hex tile from The Builder Depot.
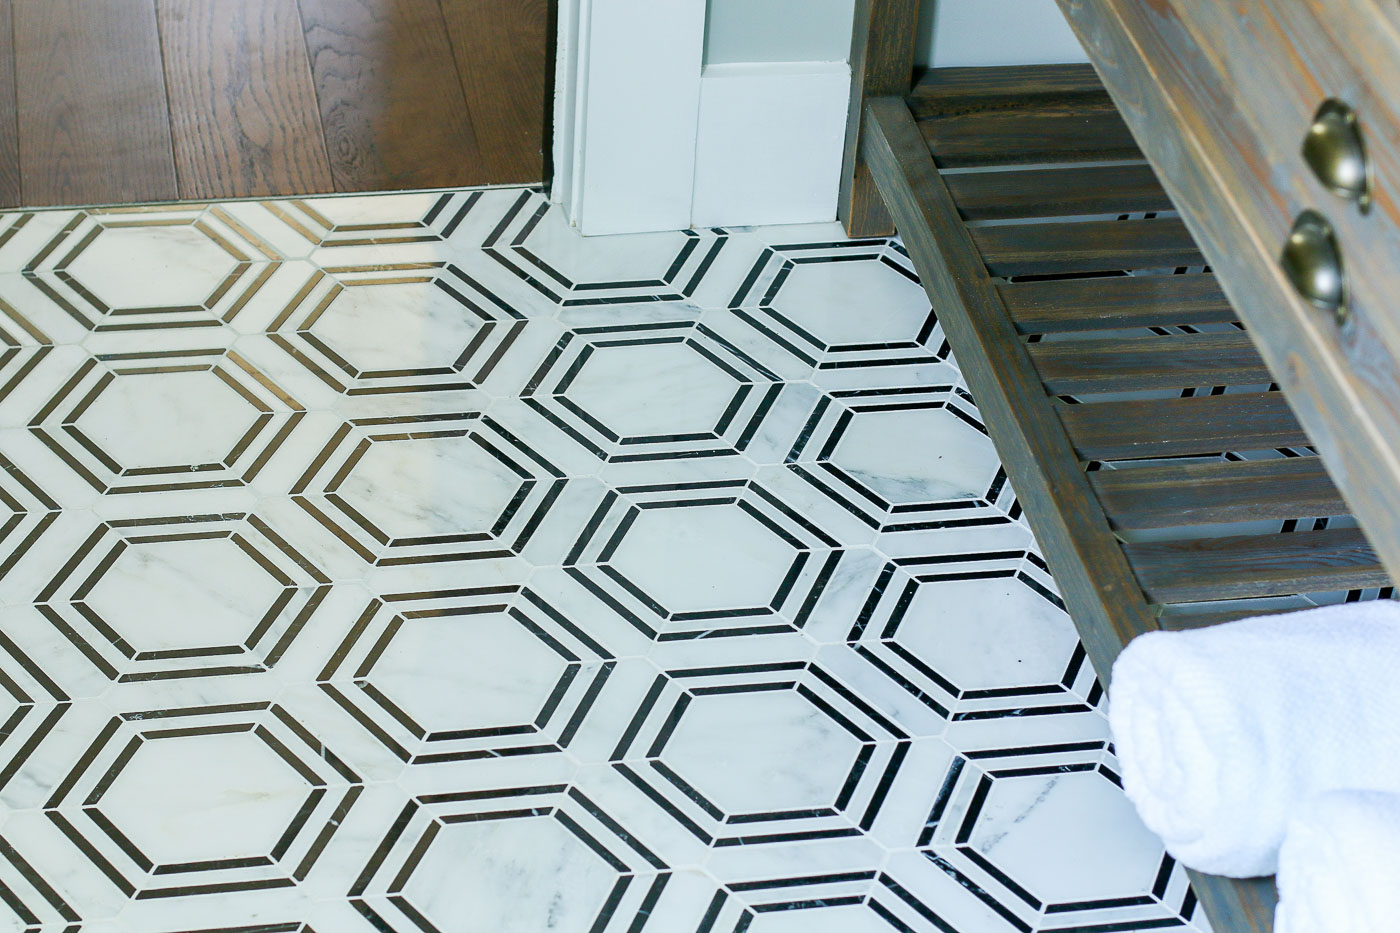
This tile is most likely coming into my house! Although, I may look at the honed version of the same flooring.

The black and white tile theme continues into the shower floor. I couldn’t resist these 2″ black marble hex tiles for the shower floor.
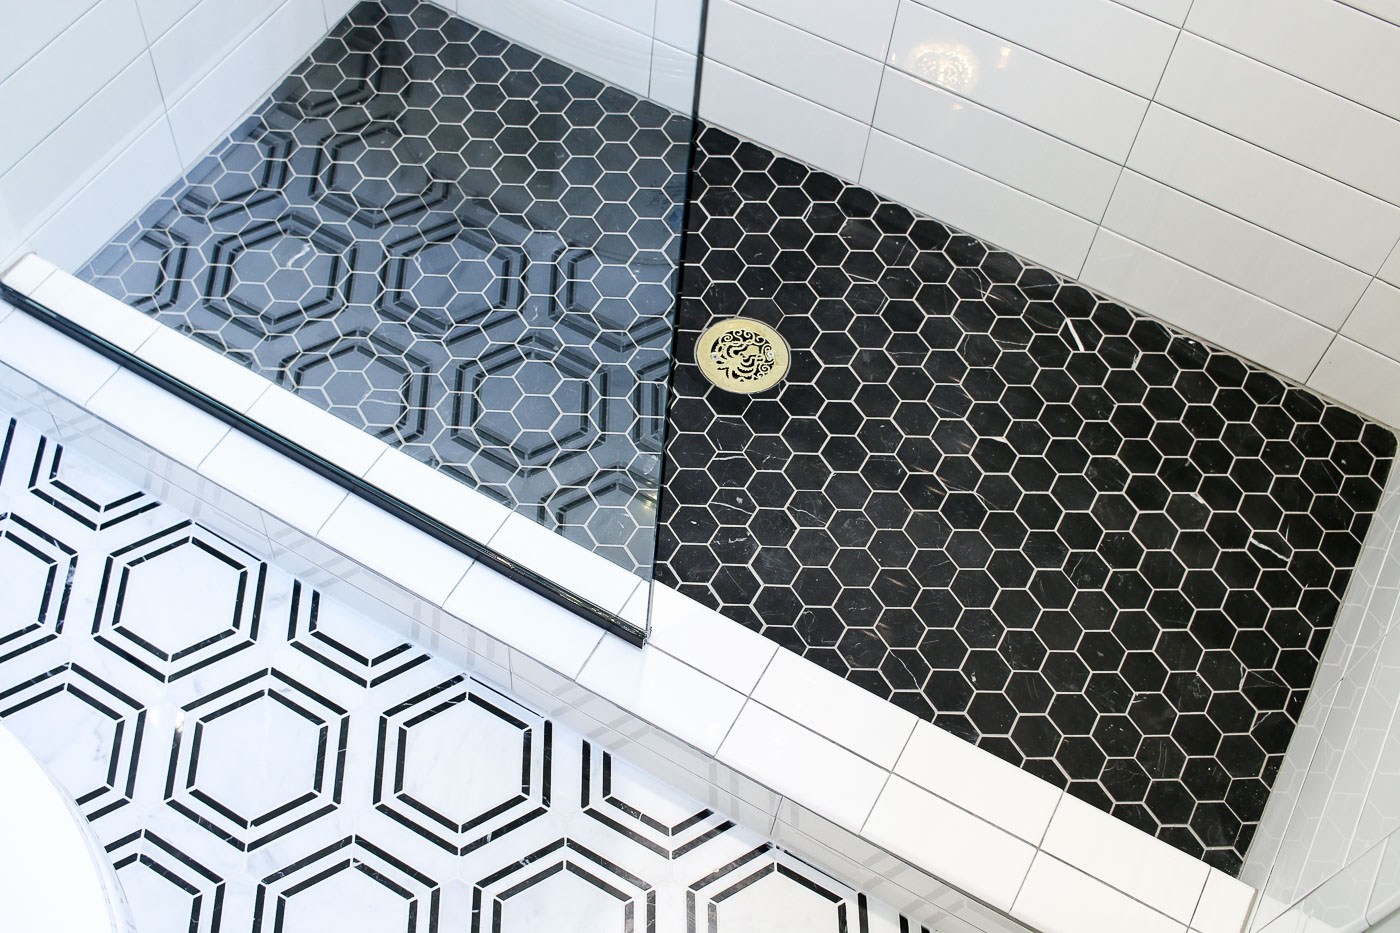
I’m sure you spotted the drain cover. How could you miss this fun fixture in the shower?
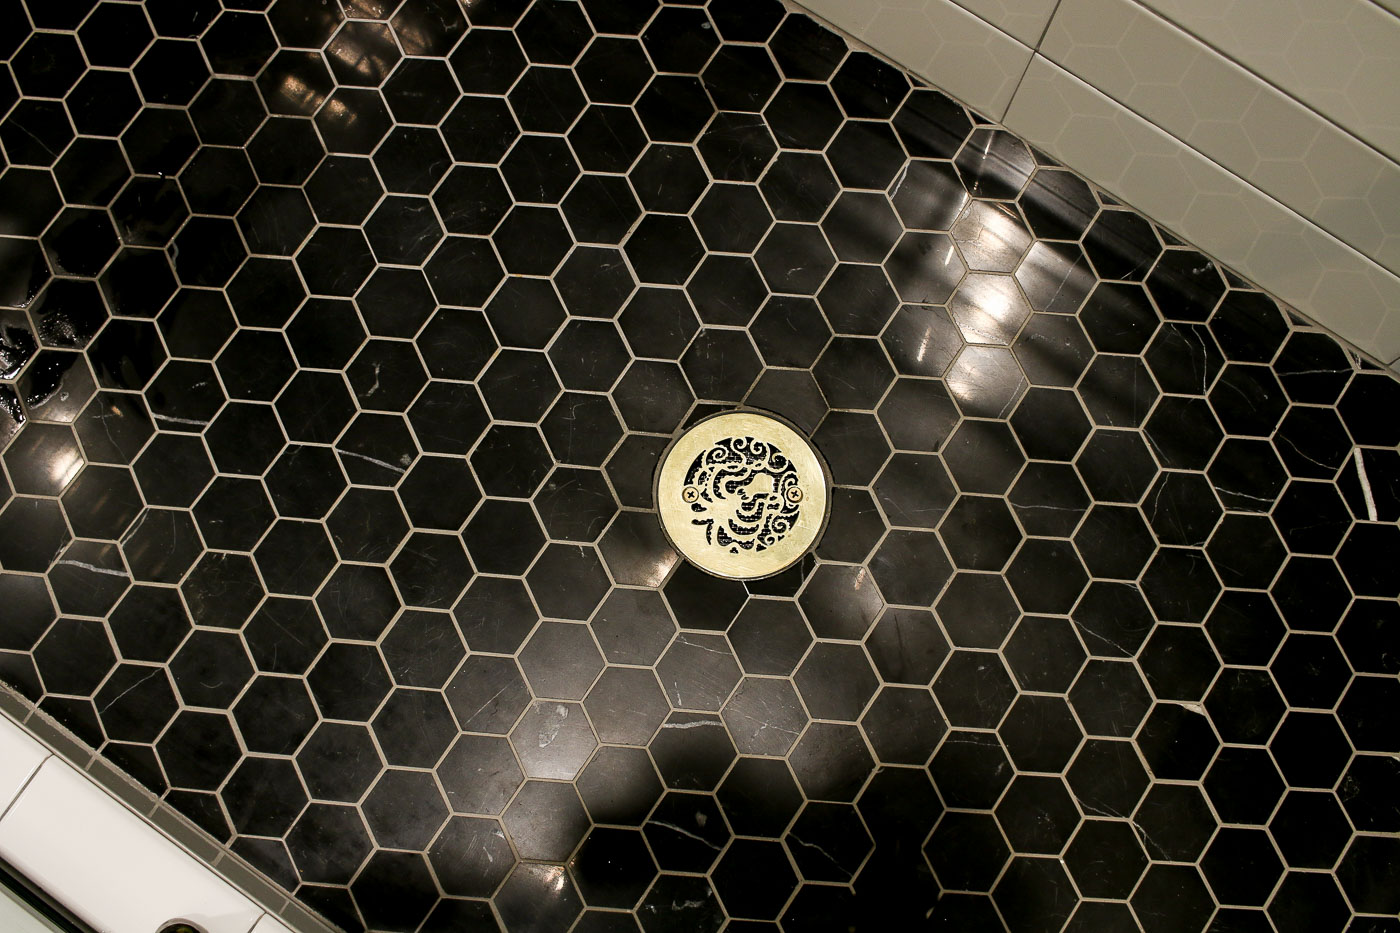
This is a custom brass drain cover from Designer Drains.
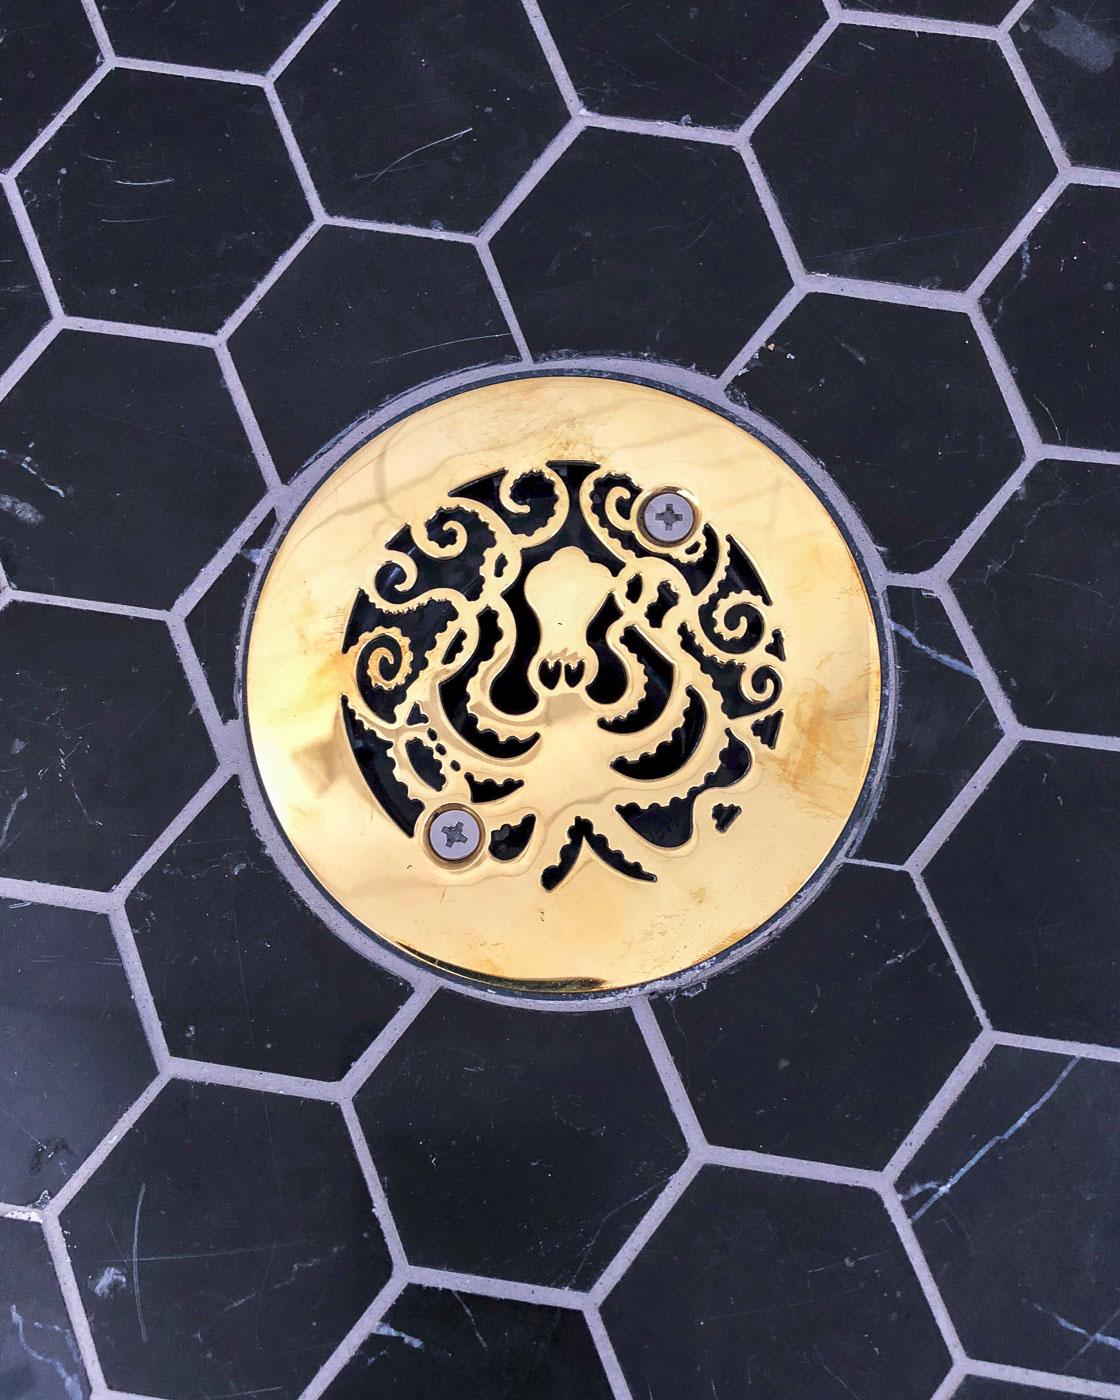
Ignore the silver screws, later I swapped them out for the correct brass ones.
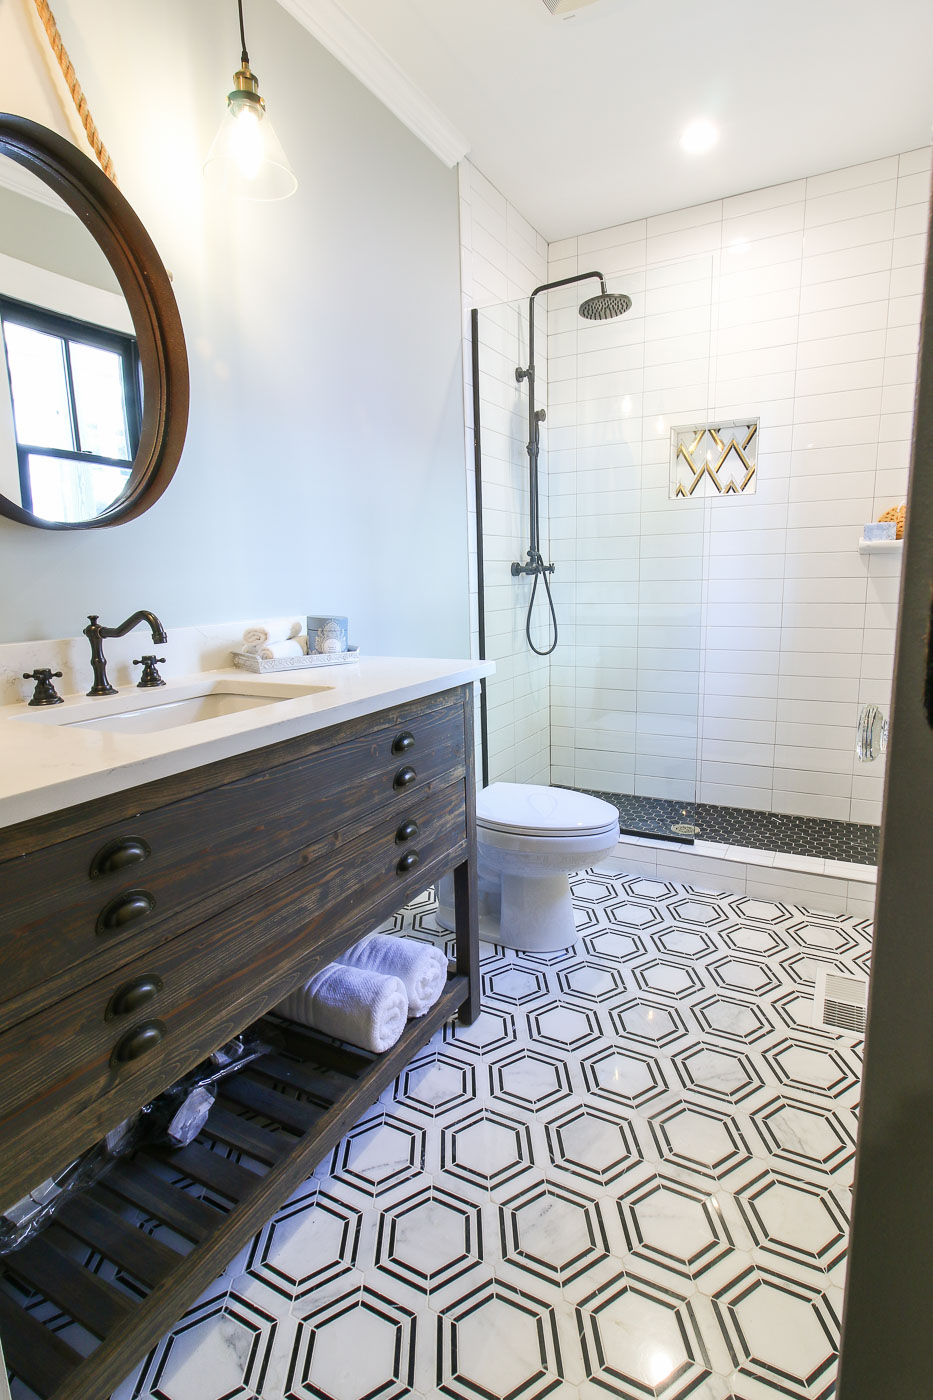
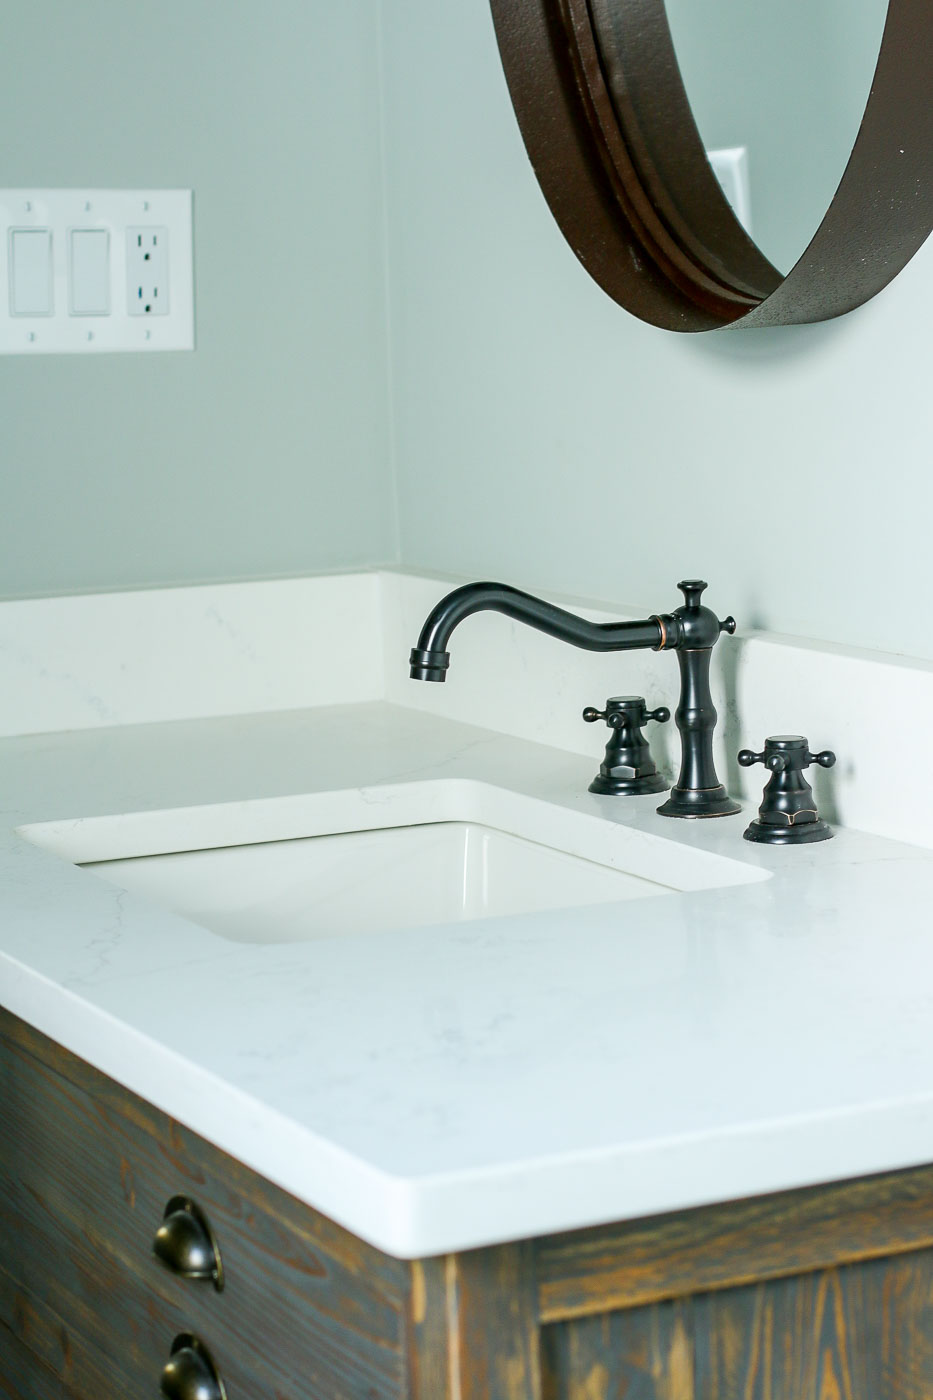
Let’s talk about the vanity. I love the look. The vanity has one operational drawer with a plumbing cut out to avoid the p-trap.
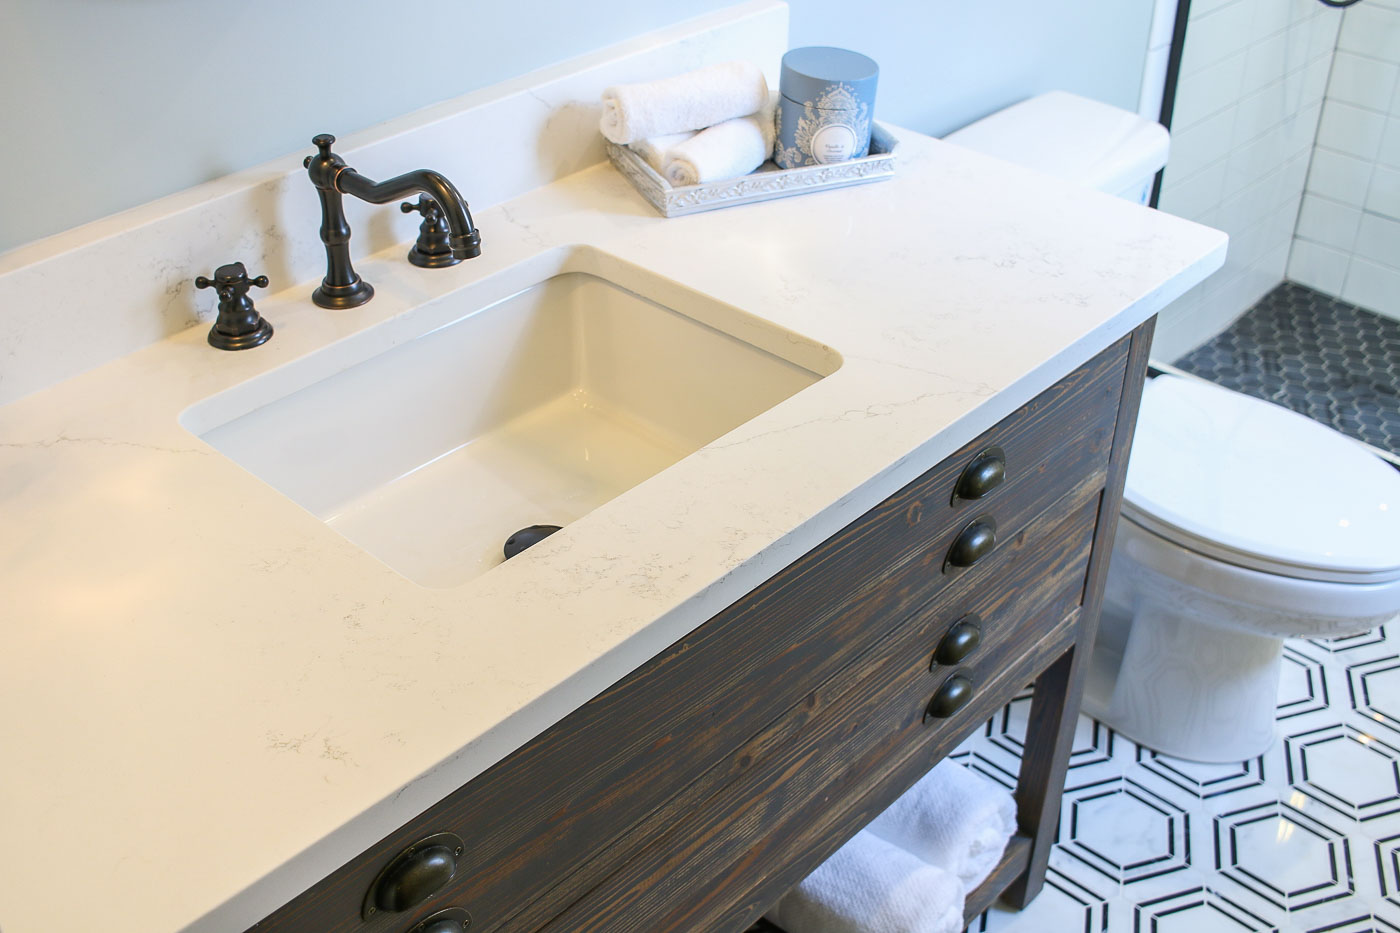
The drawer is perfect for storing things out of site. The bottom shelf allows the homeowners to add baskets and towels for more storage.
But, here’s what I don’t like about the vanity. To be completely honest, it was super lightweight (think balsa wood) and cost way too much for the materials to be so lightweight. I was really angry I paid so much for it, especially because I could have made it myself a lot better quality. Once the quartz countertop was installed, it weighs down the vanity, so it doesn’t feel so lightweight. If you like the look and want this vanity for your home here’s a link.
If I had the time I could have built a better vanity. This is definitely something I will do for my own bathroom.
Once the sink and countertop were in, the vanity felt more substantial. And I do love that countertop! I used the same marble look-a-like quartz countertop as was used in the kitchen.
The last thing I want to show you in the master bathroom is the privacy film I added to the Plygem Mira window. It’s a product from Stick Pretty and I love how it lets light in but not the view of nude bathers.
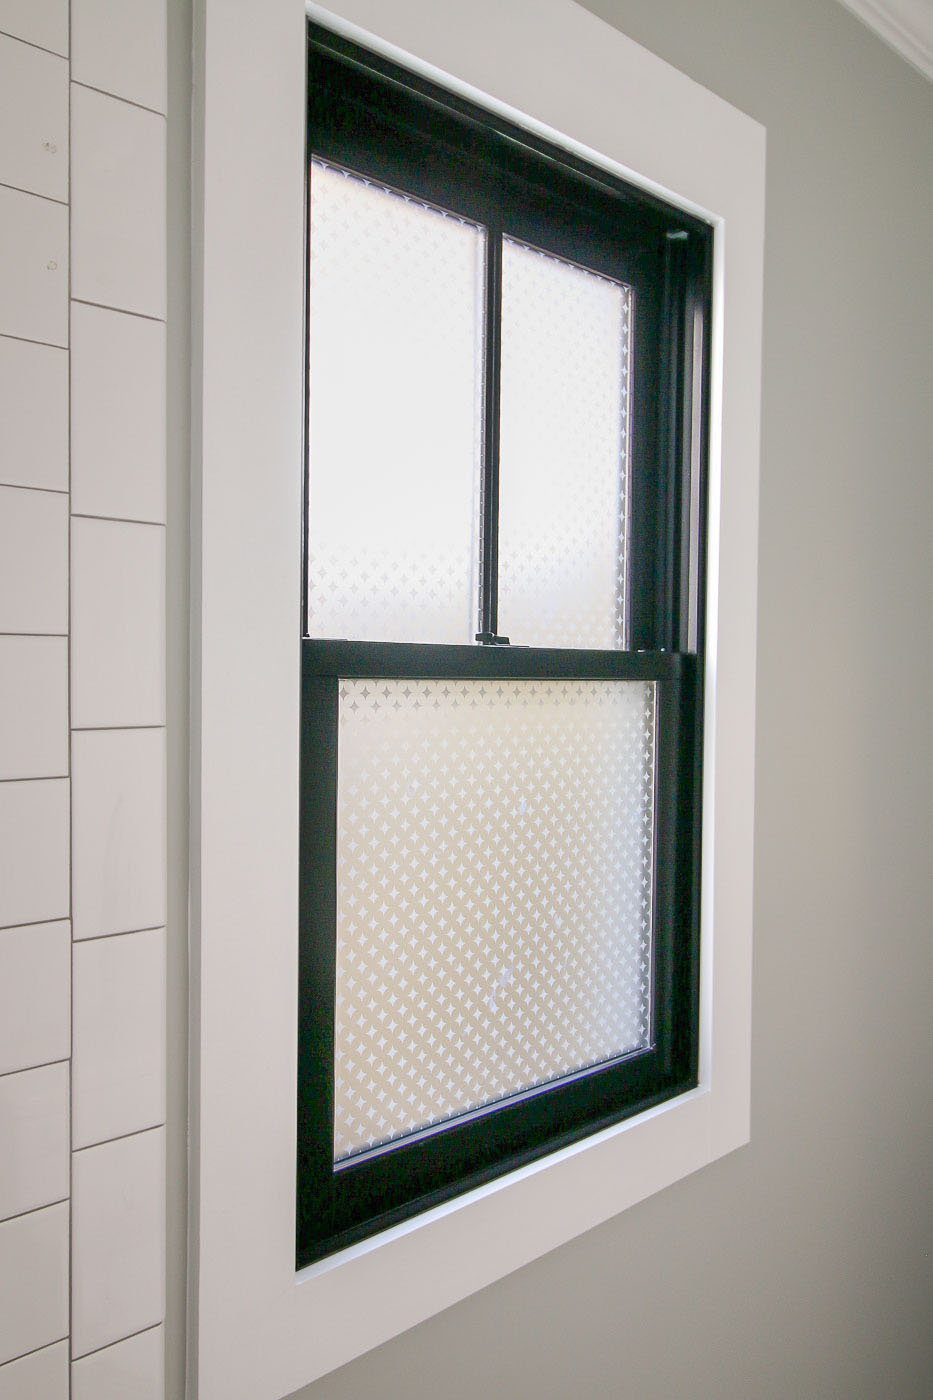
I’ll be sharing the tutorial for installing the privacy film soon. It came out great!
What do you think? Do you love the master bathroom at the Saving Etta house?
Sources:
(I’ve included affiliate links for your convenience. I earn a small percentage from a purchase using these links. There is no additional cost to you. You can read more about affiliate links here.)
Wall color: Wedding Band by Magnolia Home Paint
Floor Tile: Carrara Venato Polished Hexagon Nero Strip Marble Mosaic Tile by The Builder Depot
Shower Floor Tile Nero Marquina Polished Black Marble 2″ Hexagon Mosaic by the Builder Depot
Octopus Drain Cover by Designer Drains
Shower Wall Tile: White Subway Tiles by Jeffrey Court Tiles
Hanging Cone Pendant Lights from Houzz.com
Bath Exhaust Fan from Nutone
Sensonic Bath Fan Speaker Accessory from Nutone
Rainfall Shower Faucet Set from Rozin
More Saving Etta Fixture Sources Available Here
![]()
Disclosure: I received materials and/or compensation from the sponsors of the Saving Etta project. These were the bathroom sponsors: Ask for Purple, Plygem, Broan-Nutone, Schlage, Magnolia Home Paint, KILZ, Jeffrey Court Tile, Wilkinson, Designer Drains, The Builder Depot. I was not told what to write. All opinions and words are my own. As always, I will notify you if you are reading as sponsored post or if I was compensated. Rest assured I am very particular about the brands I work with. Only brands I use in my own home or that I’ve had a positive experience with will be showcased on this blog.

Love the floor tile! What color grout did you use?
It’s white, I think I used Frost by Tek
Fabulous! Yes, I love the octopus shower drain.
Looks awesome Brittany!!! The tile selection is fantastic. Love that drain, too 😉
Every master bath vanity needs two sinks to get ready in the morning.
Breath taking. Love your touches, aka attention to detail. Having the soap dish added in the shower, most builders would have omitted it that touch (always need more storage!), adding a pop in the niche, great idea. Looking forward to the privacy film tutorial.
I like everything except the tile in the shower niche. I think I’d like one of the floor tiles better. Moving the toilet was a good choice- more privacy! And the vanity is nice, but the price!! I agree on building your own for a better end result. Or ikea, although it’s a hike to your nearest ikea.