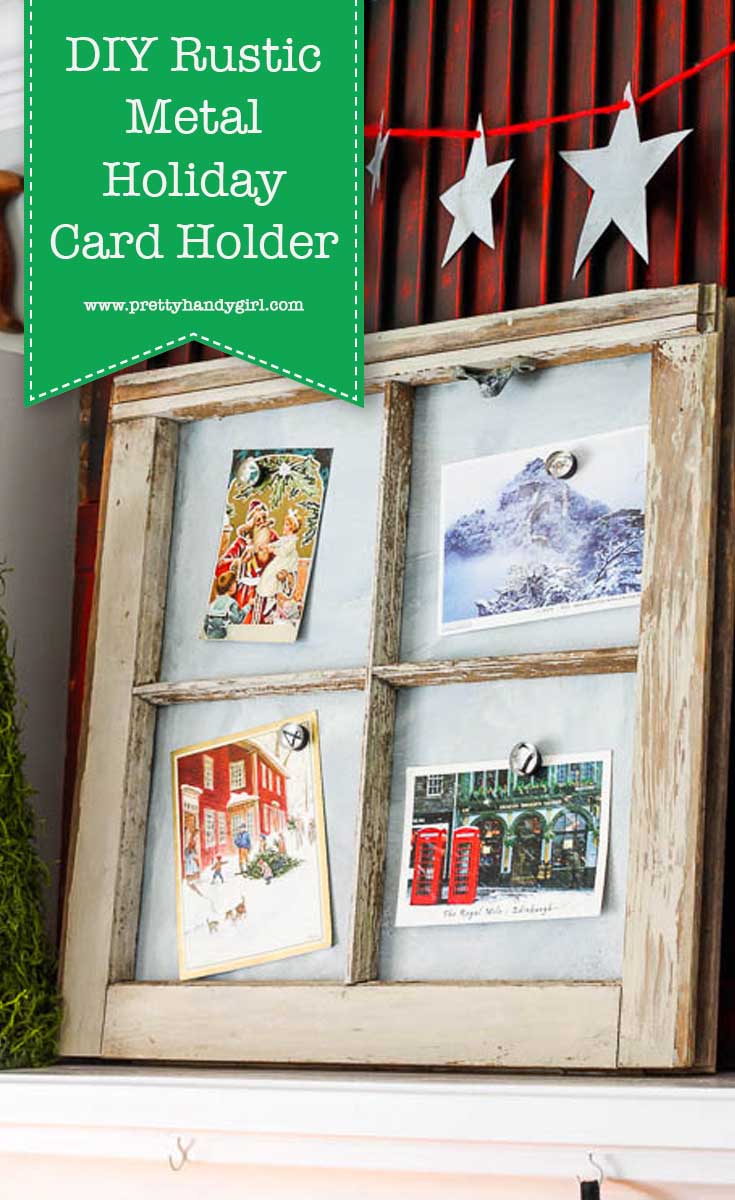
Rustic Metal Magnetic Window Frame
I was really inspired by Laura Putnam’s new book: DIY Rustic Modern Metal Crafts. I love the look of aged galvanized metal and knew that our home needed more of it. Today I’ll share with you a tutorial to create your own Rustic Metal Magnetic Window Frame, inspired by Laura’s Vintage Window Memo Board. But, you’ll definitely want to get a copy of Laura’s book to learn how to make 34 more storage and decor items using galvanized metal!
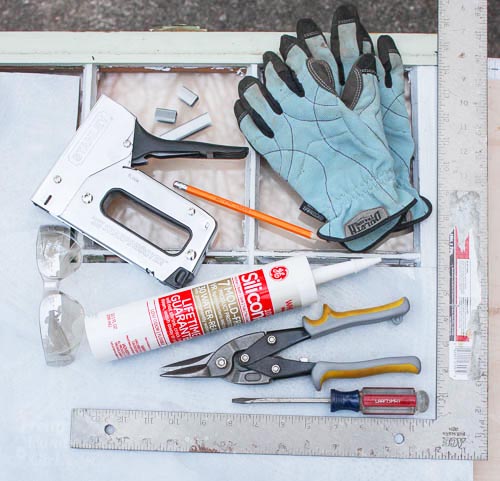
Materials:
(contains affiliate links)
- Old window
- Galvanized Metal
- Pencil
- Ruler or Carpenter square
- Tin snips
- Flat head screwdriver
- Staple gun with staples (1/2″ or longer)
- Gloves
- Safety glasses
Optional: Silicone Caulk (for more secure metal)
Instructions:
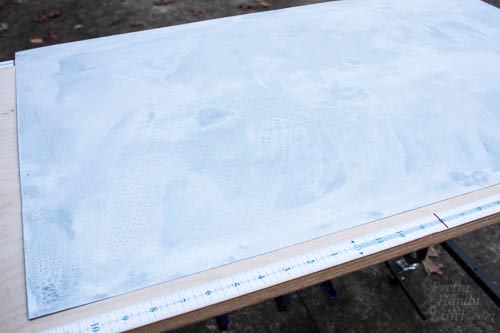
Ready to make your own Rustic Metal Magnetic Window Frame? If you have newer galvanized metal, you can easily add an aged patina to metal following this tutorial. Prepare ahead of time, because it might take up to 8 hours to get the look you want. The sheet you see below was left overnight in the solution to get a nice white patina.
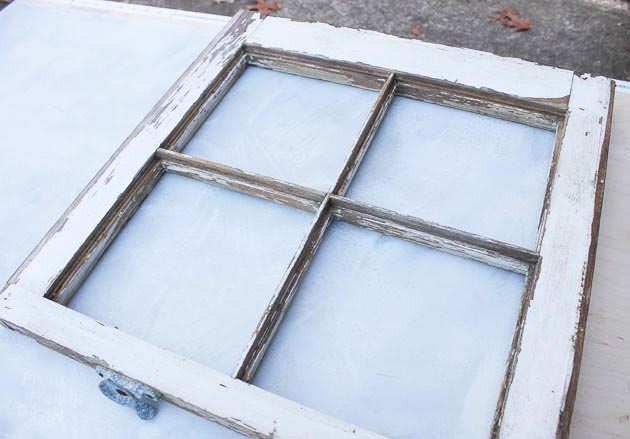
Remove the glass panes from your old window.
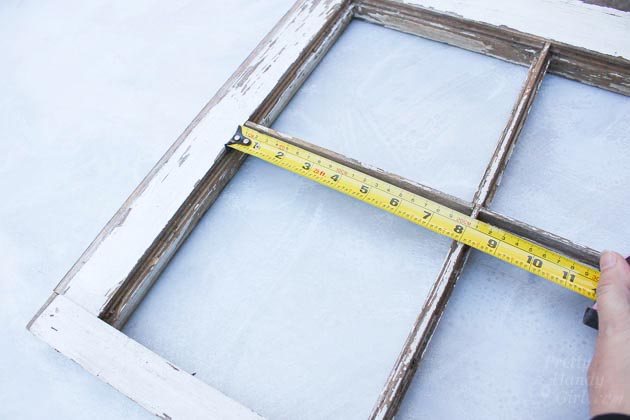
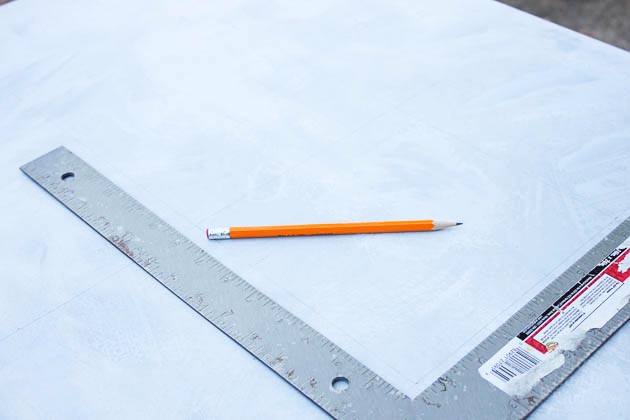
Measure the size of each pane.
Transfer your measurements onto the galvanized metal sheet.
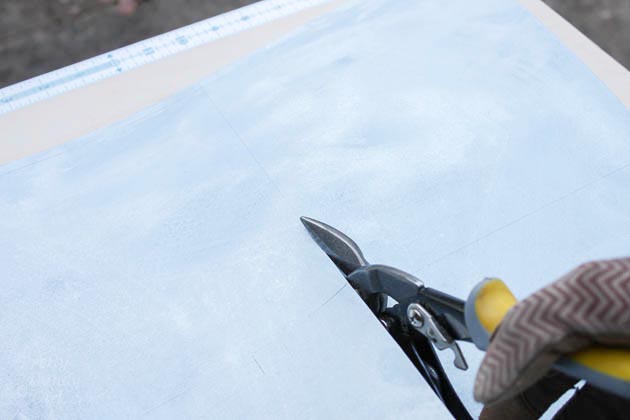
Cut out the squares with tin snips. Be sure to wear gloves as the metal will be sharp.
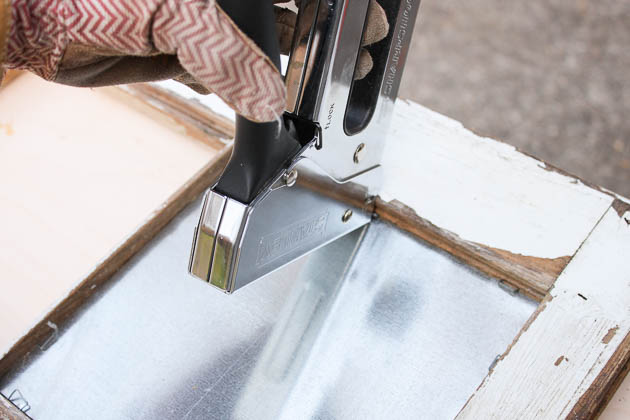
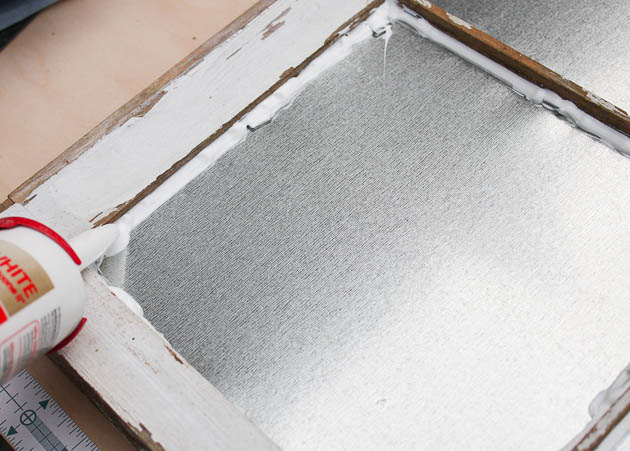
Hold the staple gun at an angle and staple into the edges of the window frame around the sheet of metal.
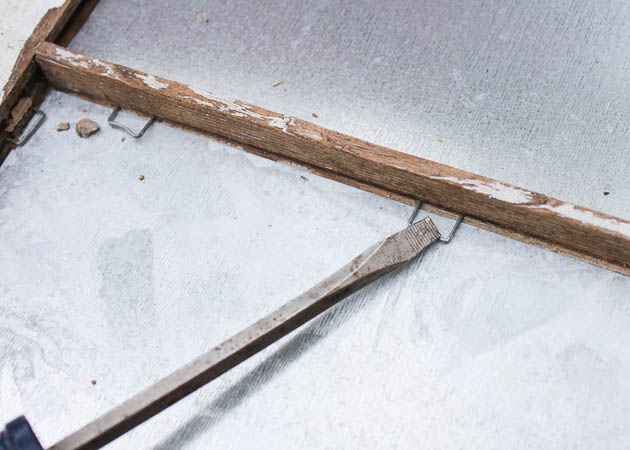
Use the flat head screwdriver to gently bend the staples flush against the metal.
If you want a more secure hold, you can run a bead of silicone caulk around the edges of your metal pane.
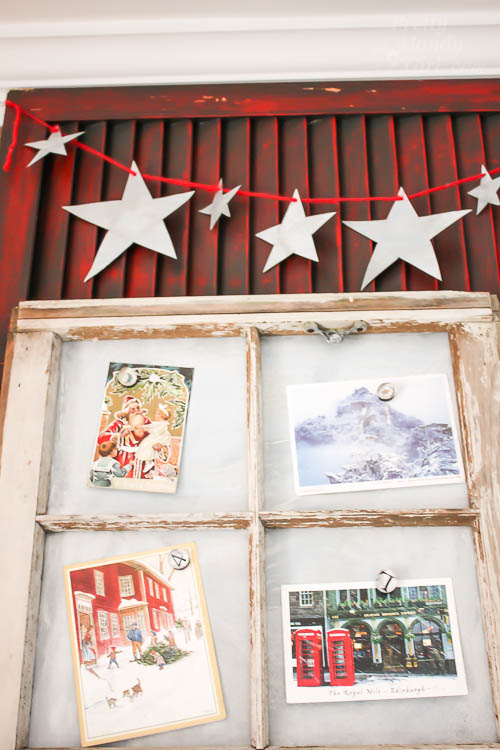
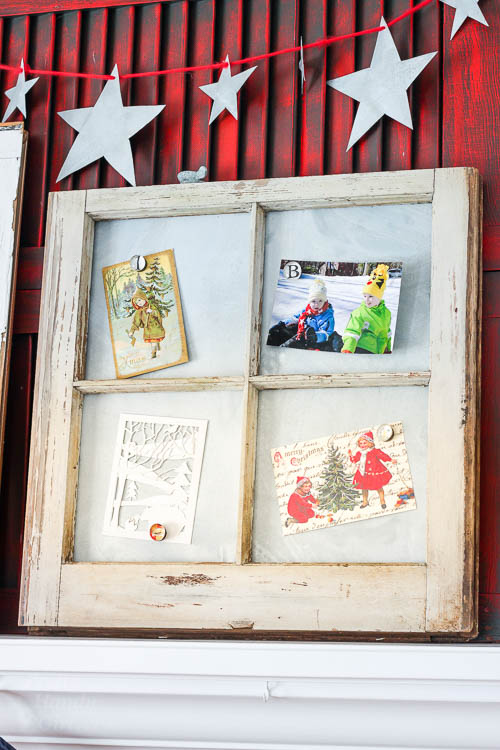
Use magnets to secure cards or notes to your new Rustic Metal Magnetic Window Frame.
Make your own glass bead magnets by following this tutorial. It’s a great activity to do with the children while they are out of school!

I am loving the galvanized metal look of my Rustic Metal Magnetic Window Frame. Stay tuned for another tutorial using galvanized metal this week!
Hope you are having a Happy (and healthy) Holiday!
![]()
Pin for later!


Where done you get your large sheets of metal? Love love love your metal window and the stars!
In the heating and duct work department at Lowe’s.
What a great idea!!! I love it!! Thanks so much for sharing!! ?
I love this this!! Beautiful job!
I love the rustic look of the galvanized metal. I could probably do this to my door. Thanks for sharing your DIY projects, Brittany. It’s very inspiring 🙂
Love the rustic look!