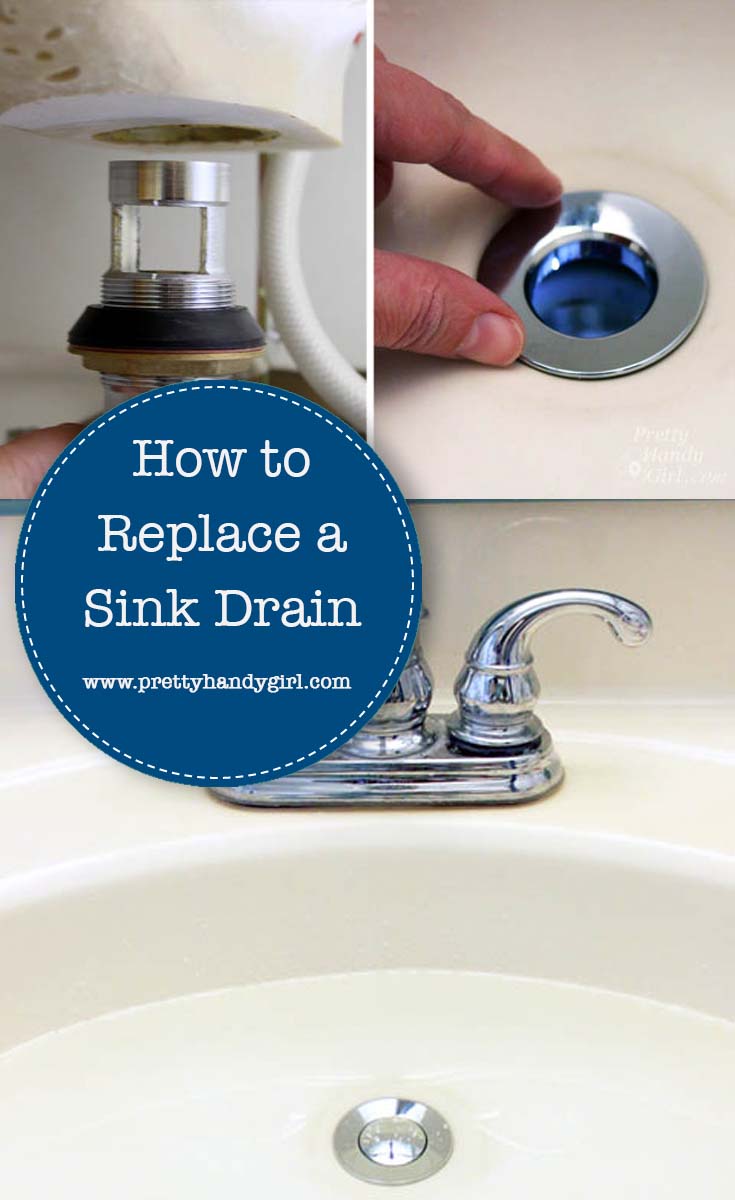
Replacing a Sink Drain

Have you ever needed to know How to Replace a Sink Drain? Or maybe in the past you hired a plumber. Well, I’m here today to tell you that it’s not a hard project and I know you can do it!
I think the plumbing Gods smiled down on me recently. After the little leak that turned into a major kitchen renovation, finding this crack in the drain pipe saved us from another costly leak.
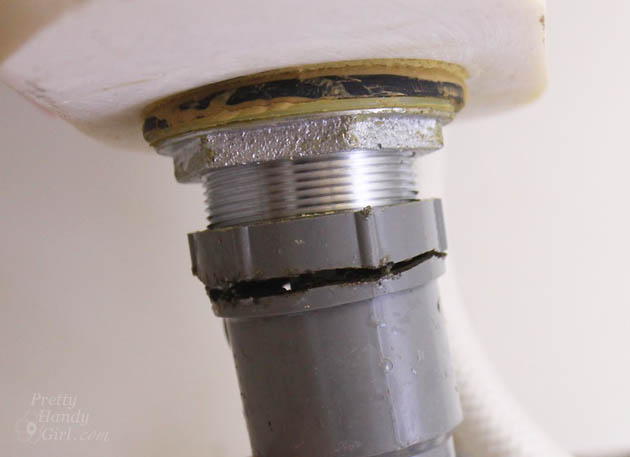
I don’t normally inspect the drain pipes on our sinks, but I just happen to be looking for something under my sons’ sink when I noticed the crack on the drain pipe. Remarkably, there were no drips in the vanity. Before I could grab a new drain assembly, I gently hinted to the family that they might want to use another sink in the house. (I’m subtle, aren’t I.)
Replacing a Sink Drain Materials:
(contains affiliate links)
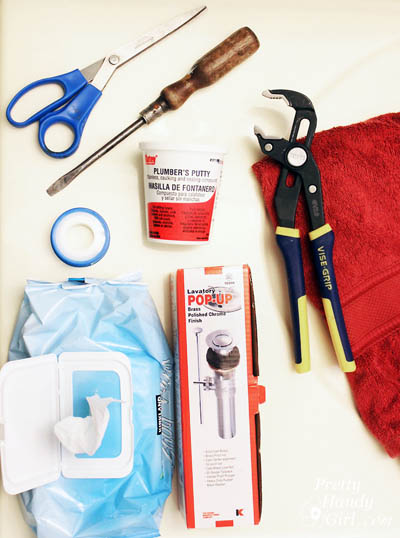
- Sink Drain Assembly
- Plumbing pliers
- Flat head screwdriver
(only necessary if you need more torque to get the old drain out) - Plumber’s teflon tape
- Plumber’s Putty
(some drain assemblies require this around the flange)
- Basin
- Towel
- Scissor
- Wet wipes
Replacing a Sink Drain Instructions:
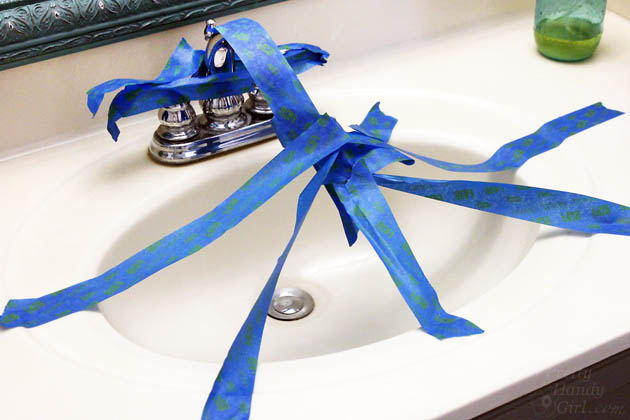
Lay out a towel under your sink to catch any drips and to cushion your work area.
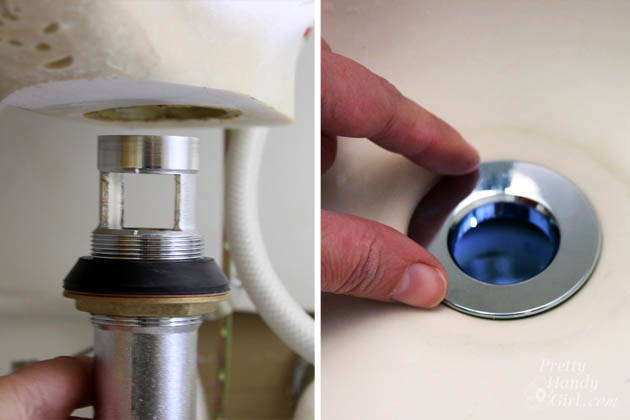
Reach behind your drain and unscrew the cap around the pop-up ball and rod. Remove them from the drain. (FYI, if you ever have a broken pop-up, you can fix your pop-up stopper with this tutorial.)

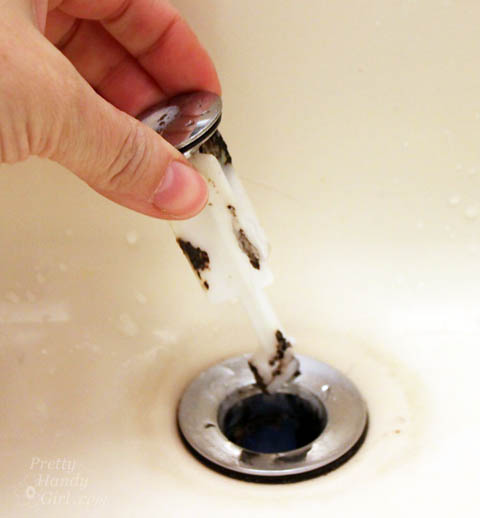
Remove the stopper from the drain.
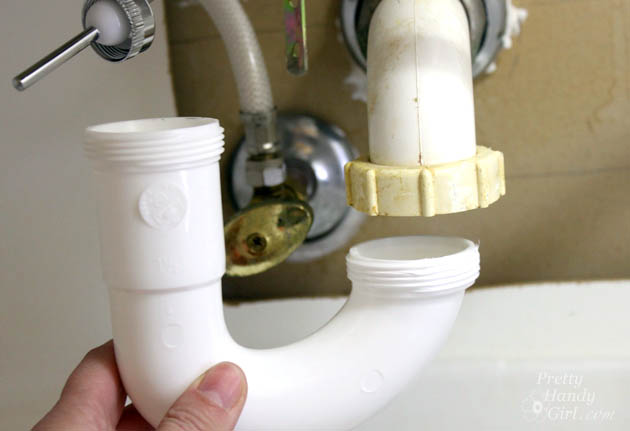
Look under the sink and locate the P-trap. Loosen the slip nuts from the p-trap near the wall and on the drain. (For more details, you can see this tutorial for removing the p-trap.)
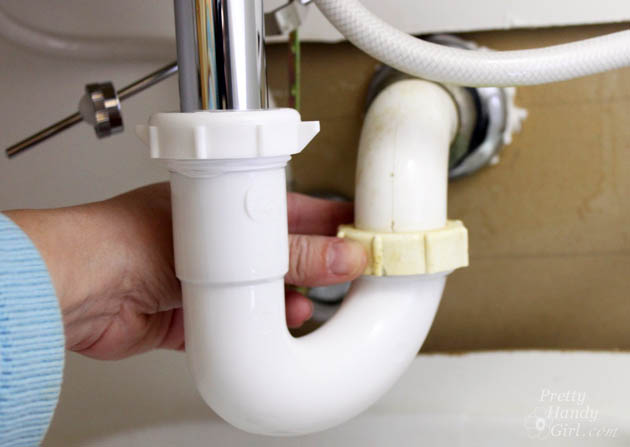
Pull the P-Trap down to release it from the drain. Dump any excess water and gunk into a basin.
The tailpiece on my drain assembly was plastic and just crumbled in my hand (that’s why it looks like I skipped ahead.)
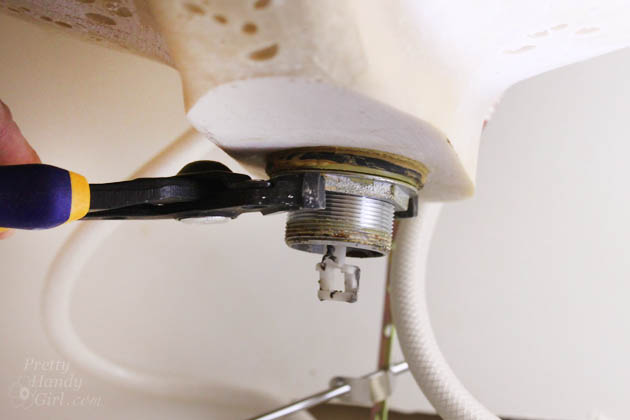
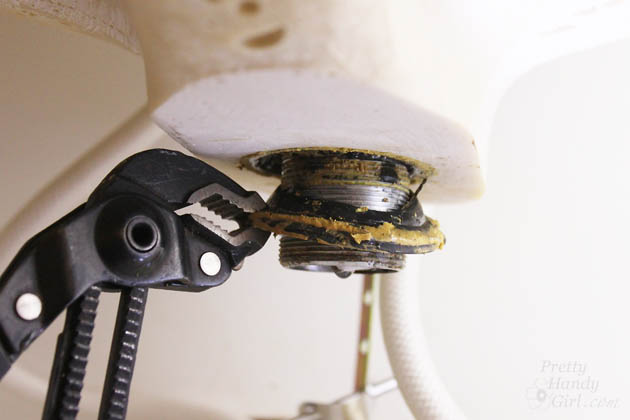
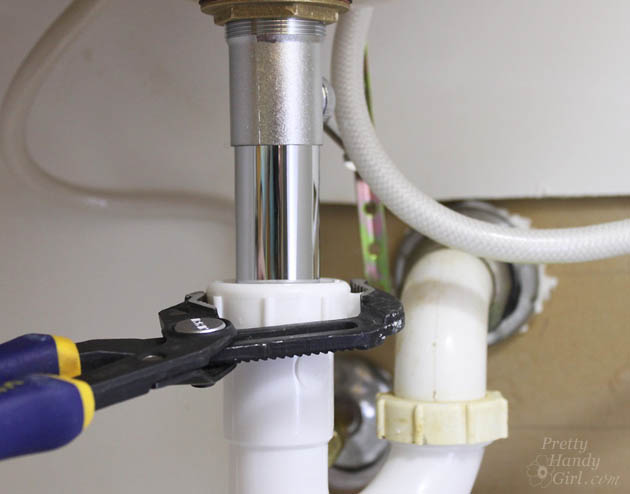
Use your pliers to loosen the nut on the drain and remove it. If the nut is stuck, spray a little WD-40 on it and wait about 10-15 minutes.
Pull the rubber gasket from the bottom of the drain.
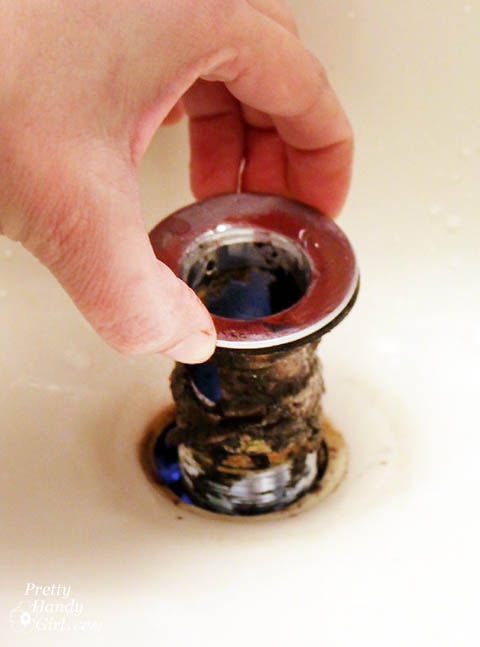
Reach on top into the sink and lift up the drain flange.
Preparing the new drain:
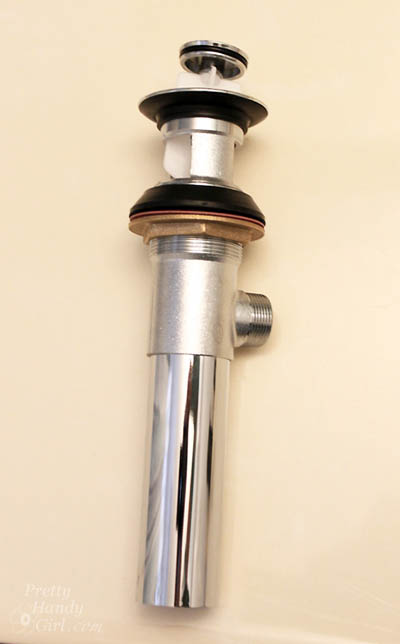
Remove the new drain assembly from the package.
Apply teflon tape to every threaded section of the drain assembly:
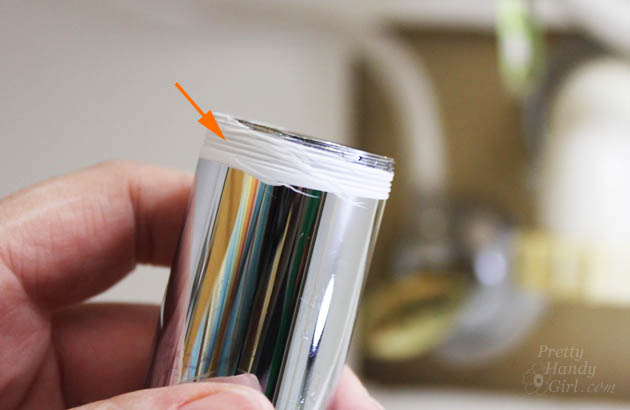
Around the tailpiece (top and anywhere else you see threads.)
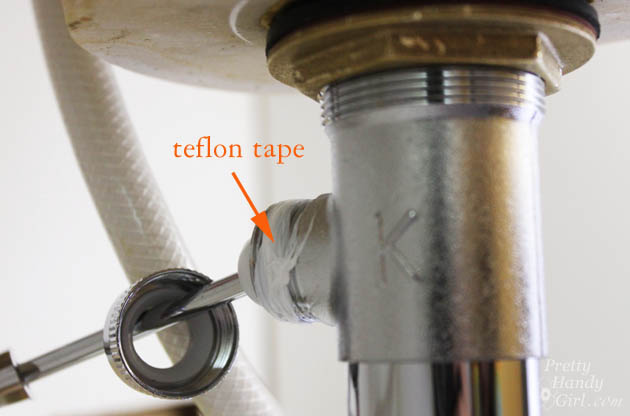
Around the Pop-up Ball & Rod seat.
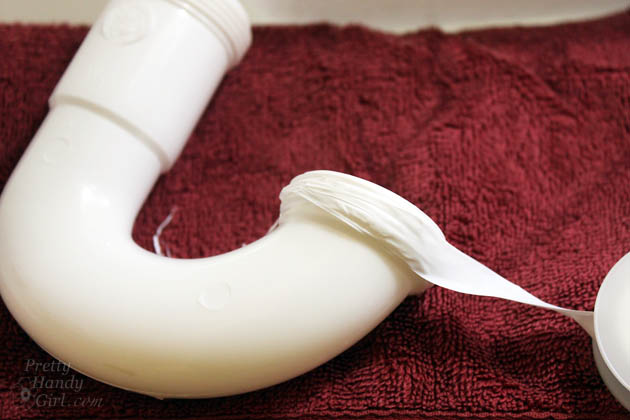
Around the P-trap.
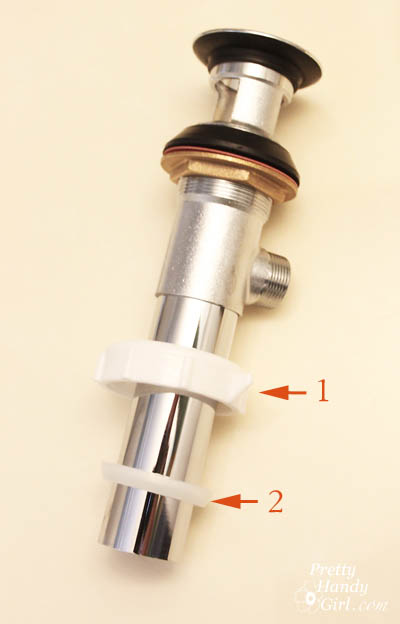
Remove the 1) stopper and 2) flange collar.

Slide the slip nut and washer from the p-trap onto the drain tailpipe.
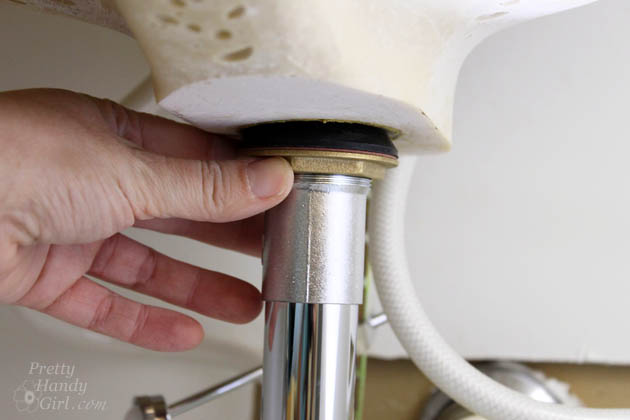
Insert the flange collar into the top of the sink (I didn’t use plumbers putty under the flange because there was a gasket that fit under the collar, but your directions may call for plumber’s putty. Be sure to follow the directions for your specific drain installation.) The rest of the drain assembly is inserted into the sink through the bottom.
Tighten the nut on the underside until the gasket begins to spread and the drain assembly is snug in the sink.
Slide the p-trap onto the tailpiece of the drain.
Fit the back of the p-trap into the waste pipe going into the wall. Tighten both slip nuts with your hands.

I normally turn all nuts an additional 1/4 – 1/2 turn with pliers because I’m not a strong hand tightener.
Follow my instructions for re-installing the stopper if you need help getting it seated properly.
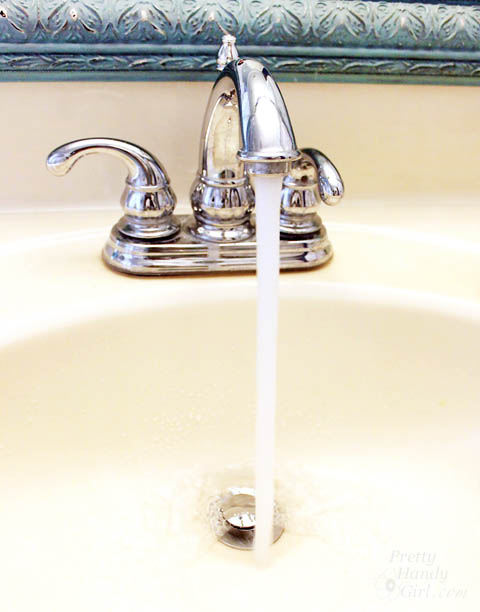
Run the water and look underneath for leaks. Fill the sink basin full and let it sit for a minute.
Check underneath for any signs of water. Tighten the nut if you do see any drips. Make sure you have enough teflon tape on the threads.
Your sink should be ready for use now!
![]()
Pin for later!


I need to replace a rotted out bar sink drain. How do I know what diameter to choose? Is the diameter on the replacement drain measured by the overall dimension from outside lip to outside lip or just the diameter of the opening itself? I can’t find this anywhere! Thank you-
Susan
Typically they are measured from the exterior diameter. But, check with your local plumbing supply shop.
How do you do this on a bathtub drain when you do not have access to the bottom side of the tub?
You need a bathtub key or wrench. See how here: https://www.instructables.com/id/Replacing-Bath-Tub-Drain/
To be clear, pipe tape is used on tapered pipe fittings to create the seal, which is not the case here. Compression fittings don’t use it, though in this case it will act as a lubricant on the threads and make it easier to tighten. If you have leak in the joint, check the compression seal.
Thank you for your clear instructions and pictures. Totally appreciate it.
I have a similar issue but its my bathtub drain thats leaking! I have some water stains that have managed to make their way to my kitchen below. I think that’s may be more complicated and needs a plumber. Unless you have some genius tips for me??
Great information, but umm, I think I would have to hire that job done! Lol
I’m glad you were able to fix it before there was an issue. Thanks for the great step by step directions and photos!
Were you every lucky to spot that crack Brittany! Great tutorial, I’ll need this one & thank you!
If you fill the sink with hot water at high as it will go the heat will expand the pipes and loosen them, and the depth will provide the highest pressure possible. This tests the tightness of the joints as well as possible.