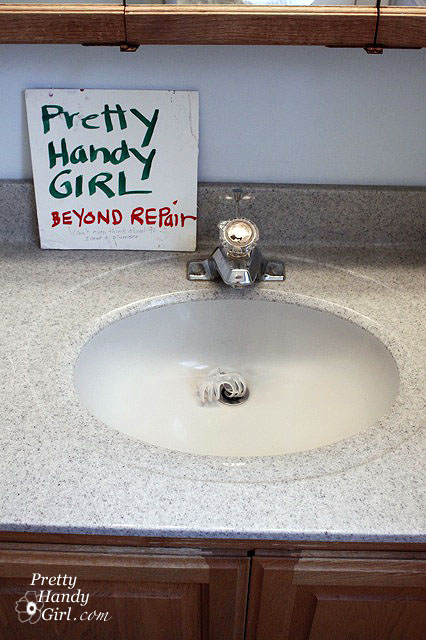
We just got back from a short trip to Vienna, Virginia to visit my family for the holidays. When we arrived, my mom had left me a note in the bathroom we were using.
Here it is:
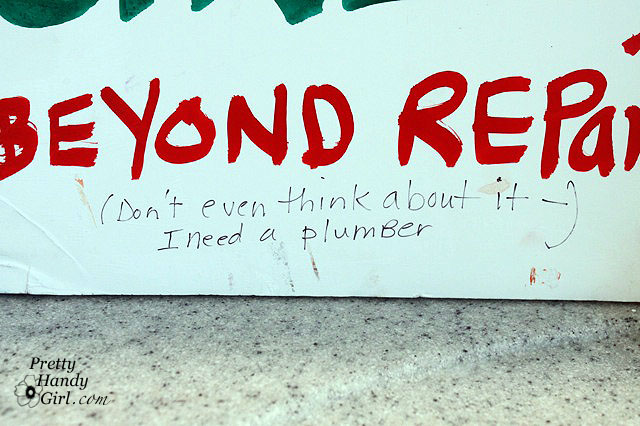
My mom, she’s so cute, doesn’t she know that this sign taunted me the whole visit?
Besides, what kind of daughter would I be if I left this minor repair to a plumber? Puh-lease!
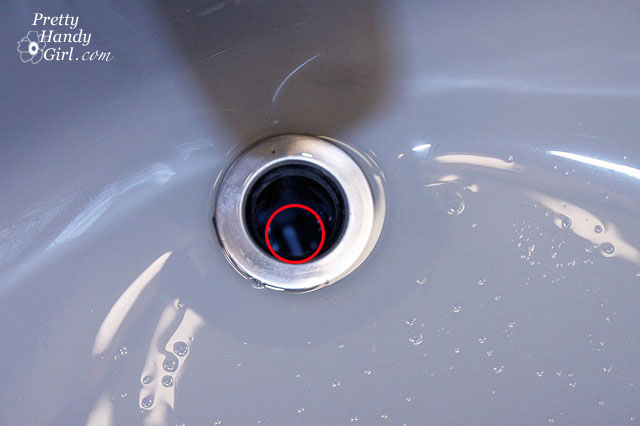
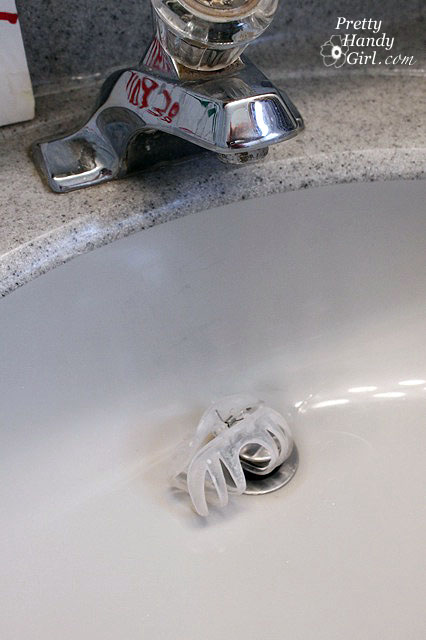
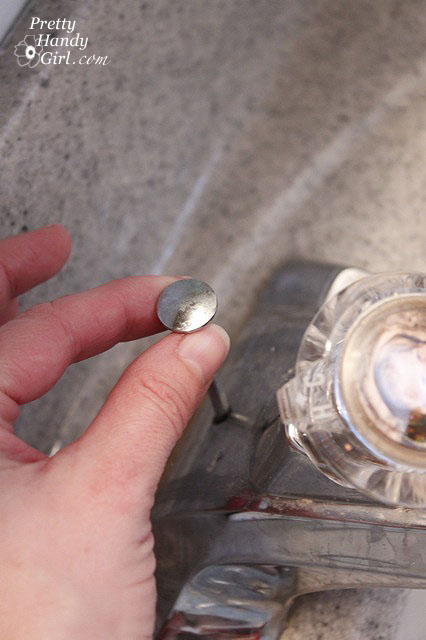
So, here was the deal with the hair clip in the sink. It was her way of holding the stopper up because the rod inside the sink had rusted and broken off. (Pretty creative in my opinion.)
But not the real fix for a sink stopper that would not stay up.
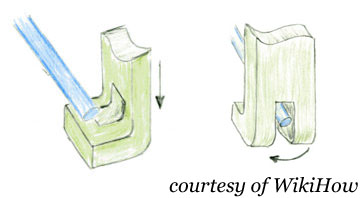
Let’s back up before I show you how to repair the stopper. Thank you to Dvorty Girl for the excellent illustration above that she posted on WikiHow.com.
Sink parts:
- Drain Down Rod
- Joint Clamp Clip
- Horizontal Rod
- Nut
- Ball, Rod, Nut & Gasket
- Stopper Notch
- Pop Up Drain Stopper
Materials:
(I’ve included affiliate links for your convenience. I earn a small percentage from a purchase using these links. There is no additional cost to you. You can read more about affiliate links here.)
Universal Pivot Ball Replacement Kit
Pliers (maybe)
Repairing a Pop Up Sink Drain Instructions:
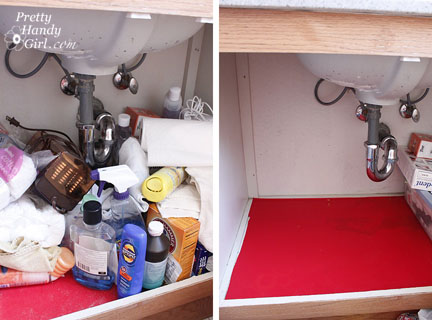
1. Clear out enough room so you can work under the sink. (Okay, my mom is going to kill me for showing you her cluttered sink vanity. But, who’s sink vanity doesn’t look like this?! Please leave a comment and tell her that she’s not the only one!)
2. Lay down some towels to cushion the edge of the vanity (or your back, rib cage or hips will be in screaming pain.)
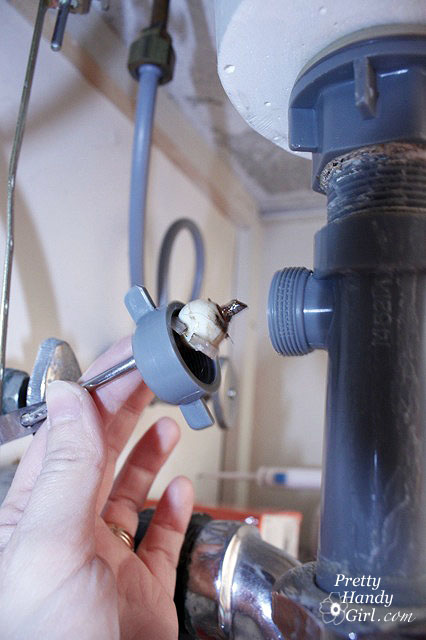
3. Locate the (3)horizontal rod and (5) nut at the back of your drain that holds the (5) ball, rod & gasket.
4. Unscrew the (5) nut with your fingers or use pliers if it is really tight. Pull out the ball and gasket.
5. To release the (3) horizontal rod from the (1) down rod, squeeze the (2) joint clamp clip between your fingers and slide it off the end of the horizontal rod.
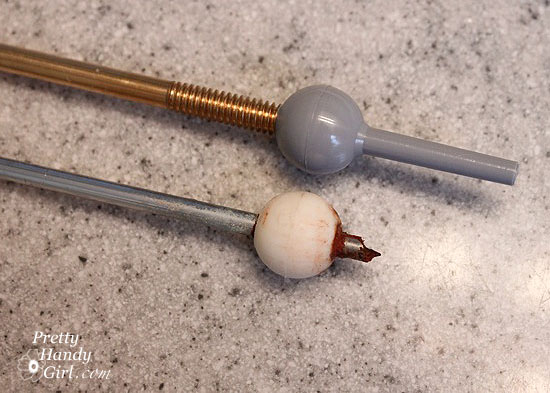
6. Lay out your old pieces to assess the damage. You may or may not need a new gasket (which is sold separately.) This one was broken and needed replacing.
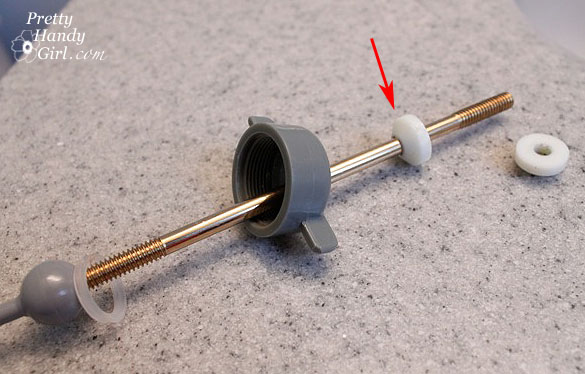
7. Match the old pivot ball with the new ones in the kit. Be sure to choose the one that is exactly the same size. Thread the (5) new ball onto the new (3) horizontal rod.
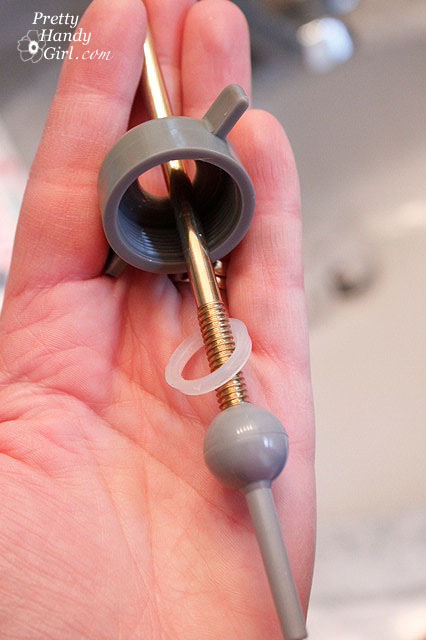
8. Next thread the new gasket onto the horizontal rod and then the nut.
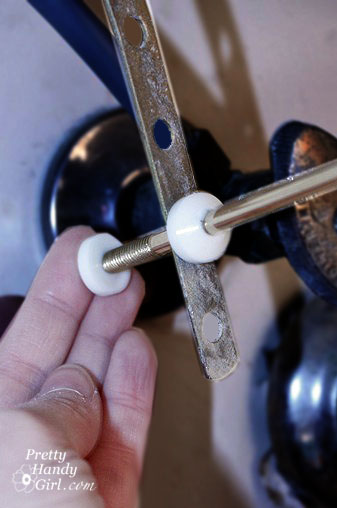
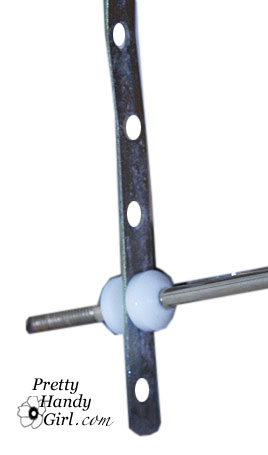
9. Next feed one end of the (2) joint clip clamp (the kit I bought contained two white stoppers instead of a joint clip clamp). Only add one side or one stopper at this point.)
10. Feed the (3) horizontal rod into the (1) down rod.
11. Line the other end of the (3) horizontal bar up and slip the ball joint into the hole at the back of the drain. Ideally the horizontal bar will be parallel to the floor, but you may have to make some minor adjustments at the end.
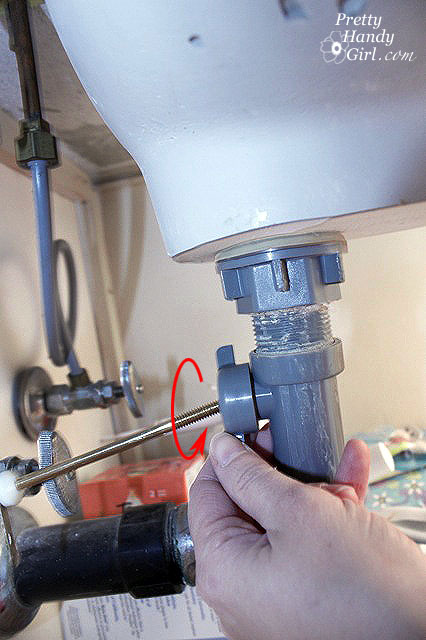
12. Screw the nut back onto the drain making sure the ball joint and gasket are lined up properly.
13. Now add the second stopper or the other end of the (2) joint clamp clip to the back of the (3) horizontal rod.
14. Look inside the drain, and notice the post end of the (5) ball joint inside the drain.
Pull up on the (1) down drain rod and make sure that it moves up and down freely and the post in the drain moves as well.
15. This next step requires a little patience, so put your patience cap on. Feed the drain stopper back into the drain. You want the end of the stopper to be at a 90 degree angle from the ball joint post as show below.
Gently rotate the stopper 90 degrees until the end of the stopper hooks the post.
16. Once the stopper has been properly rotated and hooked onto the ball joint post, test your sink by pulling up and own on the (1) drain down rod.
And you are done!
Pretty Handsome Guy thought it would be funny to re-arrange the letters in the sign.
And just to prove to you that my Mom can also be handy, this is a photo I found of her from the 1970’s when my parents were building my childhood home.
Next time your drain stopper is broken, I hope you will put off calling a plumber and fix it yourself!
You might also like:


This was the best guide I found to help me do this exact repair. The broken/deteriorated ball rod looked the same and I happened to buy the same kit. I had trouble with the tension of the pull road (i.e., the rod wouldn’t stay up), but your helpful photos helped me fix the problem. I am indeed a man, and I only care about the advice, not who gives it! The “who needs a man?” comments hurt a bit :-), but I understand the sentiment. Save the plumber’s time for the complicated stuff.
ST, thank you so much for your comment. Glad the tutorial helped. I hope you don’t take that comment personally, there are so many women who were brought up to believe that they couldn’t be handy or fix things because they aren’t men. They are just expressing their new found confidence ;-). BTW, I always like to hear from the handy men out there too.
This web site was perfect and totally EASY to follow. Thanks for the help!!!!!!
God Bless and Happy Thanksgiving!!!!!!!
What exactly is the gasket called? When my sink was taken apart it got lost and I don’t know what to replace it with !!!!!!!!
Very helpful! Thanks for posting,
I can’t believe your step-by-step instructions gave me the courage to tackle this project by myself and it was so easy! Who needs a man around the house when you have the internet!!! Thank you so much for taking the out to take the pictures and for the comprehensive narration!
Gale, way to go girl!!! That’s the spirit. I’m so glad this tutorial helped you. And thank you so much for taking the time to share with me.
I so enjoyed this article immensely! The Teflon tape is not needed for screwing the plastic piece. That’s overkill. The best part is that the pivot ball assembly is made of plastic so it won’t rust anytime. I can see in your moms sink here that most other parts (water lines,etc) were replaced by nylon/plastic tubing as well. The trap is definitely original. It appears she has very hard water usage there.
The pictures and illustrations were on the money handy girl. I loved the step by step. Even a guy can now fix this without having to read. lol
In the end, the apple doesn’t fall far from the tree. You got your moms great brain genes. The hair clip idea was excellent and very funny.
The finale here was the ingenious way Handsome Guy re-arranged the letters on your moms sign!
Oops! I can see he didn’t use Teflon tape to make them stick! ;D
-=Cool=-
Thanks this was right on time for me. I can't wait to repair this. I kept thinking why bother I have to yank that ugly sink out one day when I remodel.The truth is it will be a while before I can afford to do the whole job and in the mean time miscellaneous things keep falling down the hole. Most recently a screwdriver clogged it rather well and wasn't easy to extract. So now that I know what that kit is called I am going to pick one up. Love ya for this.
You are THE BEST!!! Thank you for the tutorial. I will be working on each of our sinks tomorrow!
Always, Teresa T.
Can you come live with me for a week!! 🙂 Mom….you're not the only one with a messy under the sink cabinet. I bet it's all organized now…. thx to your daughter 😉
Merry Christmas to you and your family.
What a great daughter you are! I ALWAYS love a simple solution tutorial, especially from a woman's perspective. Way to go. 🙂 Merry Christmas!
Very cute post. Did you wrap those threads in teflon (sp?) tape?
That is so awesome! I love that you not only fixed it, but of course stopped to take pictures so you could fully document this on your blog.
You rock!! 🙂
i love this! you are sooooo handy!!!
Wow! I am SO impressed! We had a plumber here to fix a clog in our sink (among other things) and he took our stopper out when he did it, that was over a year ago, we still have no stopper because he told us he CAN'T get it back in. HA! Now I have proof that it CAN be done! Needless to say, that guy is NEVER coming back to our house (not just because of that, but because every room he worked in [bathroom, powder room and kitchen] he scratched, dented or plain broke something and cursed a blue streak) I envy you for being so handy, I would LOVE to be able to do these things myself or hire a WOMAN to do the job for me!
I WILL be showing this post to my hubby!
Have a wonderful Christmas!
You're my hero! Thanks for this 🙂
Definetley not only under the sink vanity to look that way. Don’t give it a second though. I want to meet the person who has a beautiful organized area down there and what’s the big deal anyway, not like it would ever be examened .
Thanks sooo much for the info, most helpful. I was able to fix the sink myself!