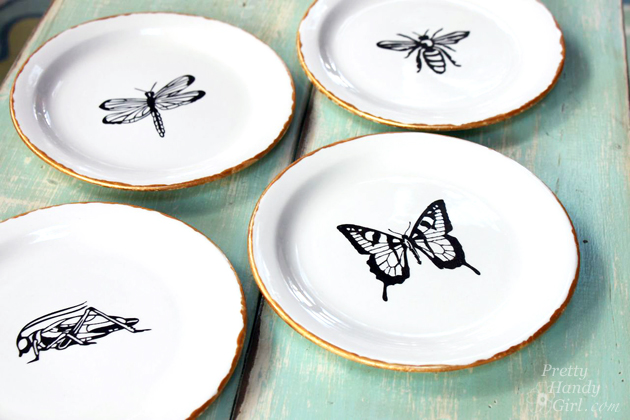
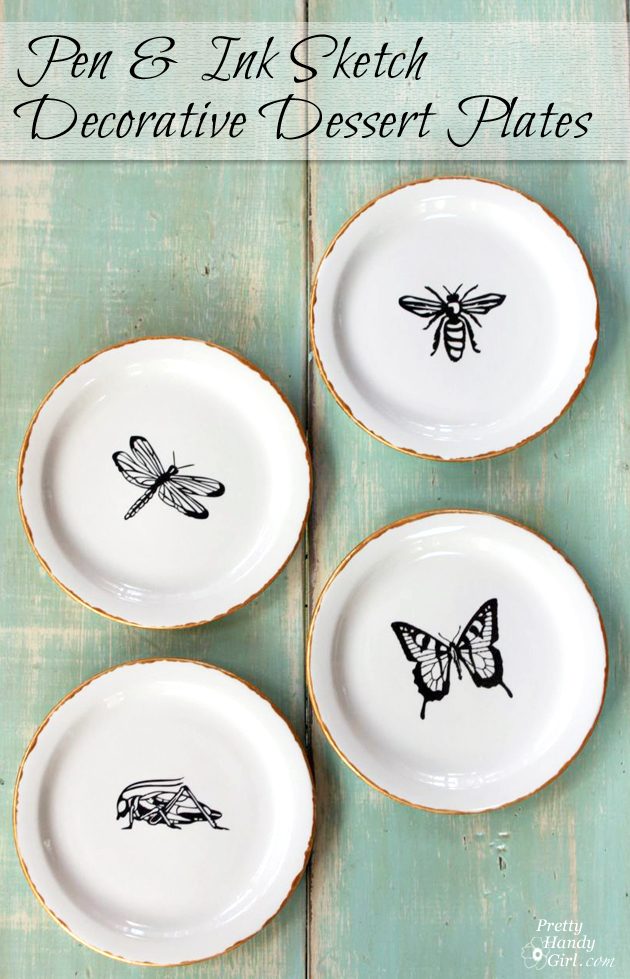
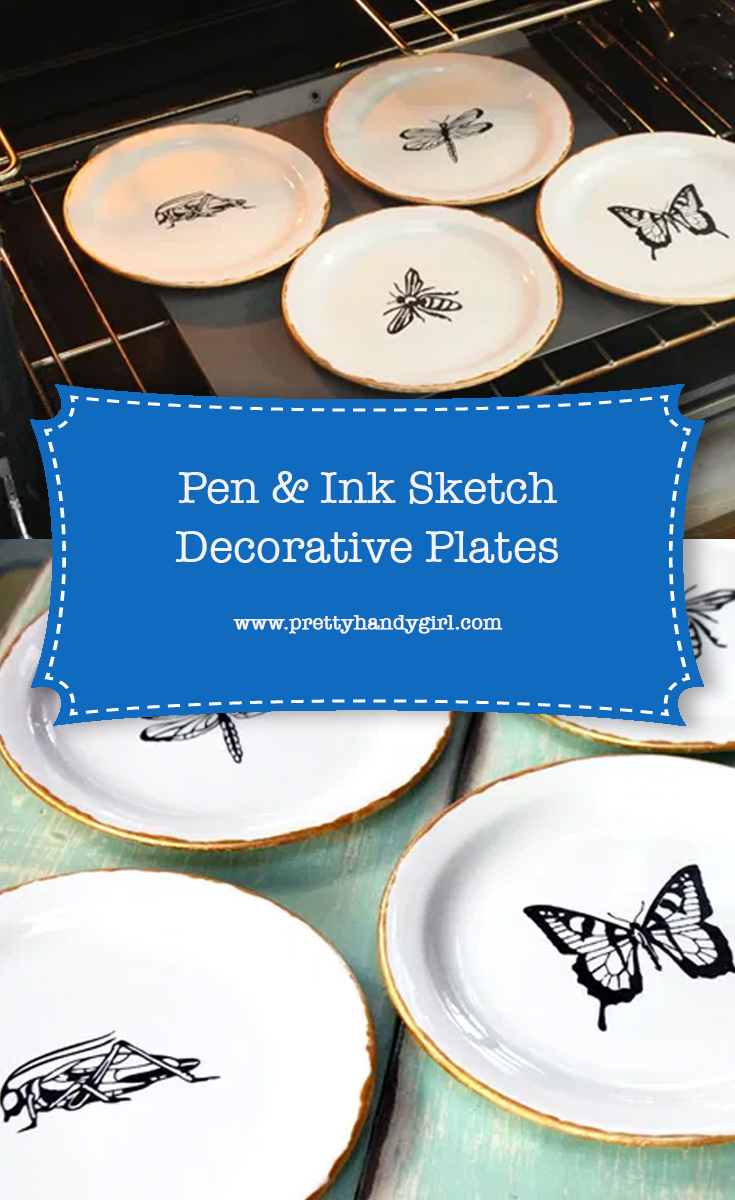
Pen & Ink Sketch Decorative Plates
My goodness, November is flying by! Get it…flying…insects. I crack myself up. But seriously, I have been having a blast coming up with new creative gift ideas that you can make. This idea for making pen and ink sketch decorative dessert plates turned out better than I expected! The only downside is that they really are only for decoration. The paint used on the plates can be cured, but the manufacturer states that it technically isn’t food safe.
With that disclaimer out of the way, think about how you could commemorate an event with a personalized plate. Or you could use the same stenciling technique on the outside of a pitcher, mug, glasses or anywhere that the food wouldn’t be in contact with.
(I’ve included affiliate links for your convenience. I earn a small percentage from a purchase using these links. There is no additional cost to you. You can read more about affiliate links here.)
Materials:

- Dessert plates (bought mine at a thrift store for $1 each)
- Porcelaine Chalkboard paint
- Porcelaine gold paint
- Scissors
- Credit card or spatula for burnishing
- Sponge applicator or paint brush
- X-acto knife
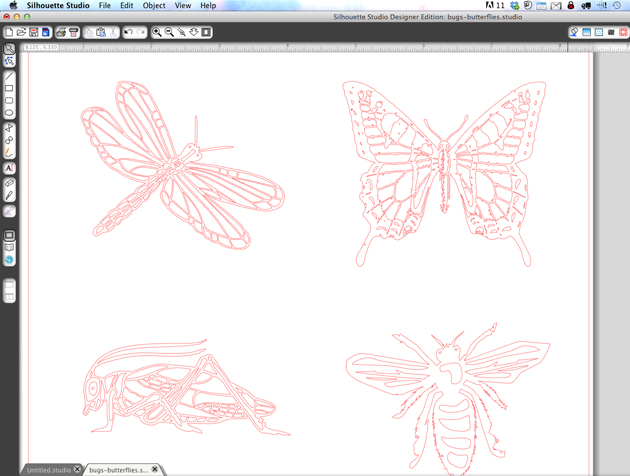
- Decorative stencil cut outs (used my Silhouette to cut bug shapes)
- Transfer paper
Optional: Porcelaine or glass ink pens for writing
Instructions:
1. Chose your design and use a Silhouette (or other craft cutter) to cut out the design on vinyl.
2. Weed out (remove) all the inside areas of your design. Lay a sheet of transfer paper on top of your vinyl and burnish it (rub the transfer paper to adhere it to the vinyl.)
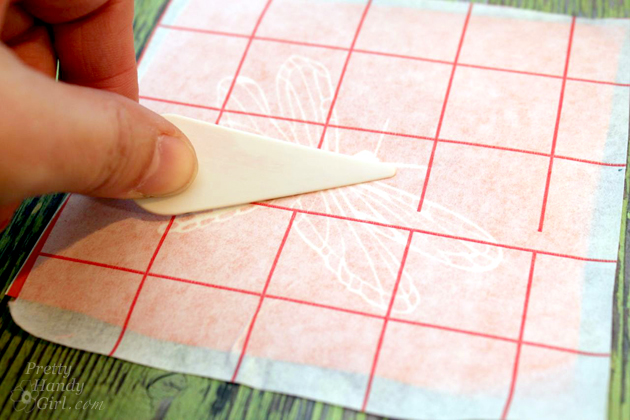
3. Carefully remove the backing from the vinyl.

4. Center the design on a clean plate. Burnish again to adhere the vinyl to the plate.

5. Carefully remove the transfer paper from the vinyl.

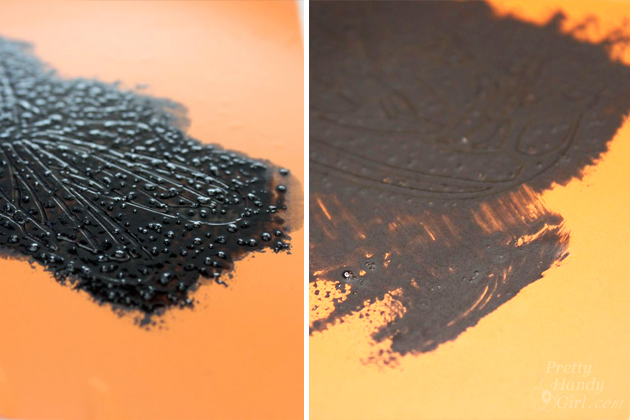
6. Sponge or paint black chalkboard paint over the stencil.
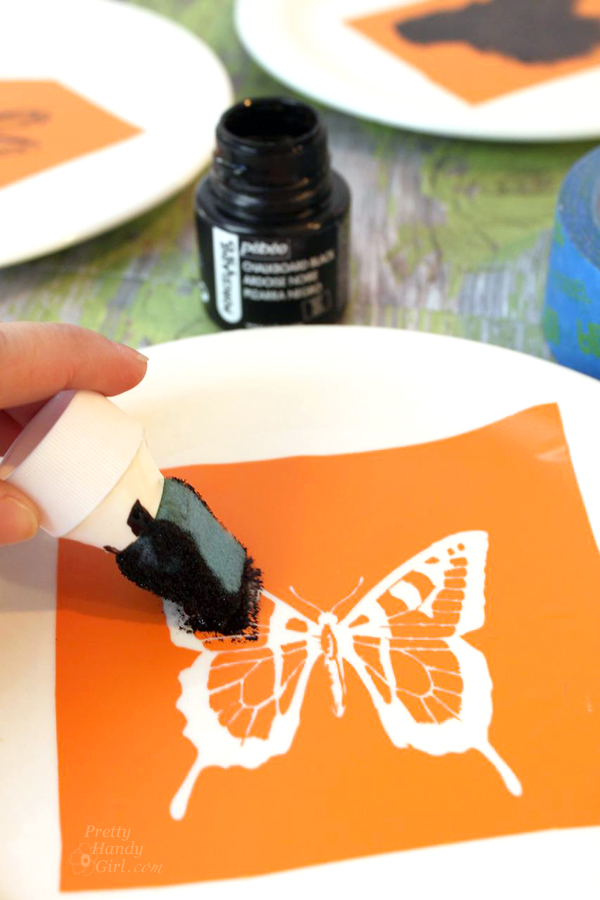
Don’t freak out when the paint appears bubbly. It will settle and smooth out as it dries.
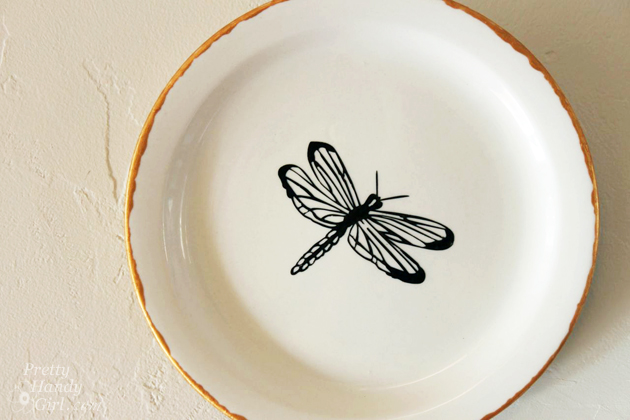
7. Paint gold paint around the plate edges. I found it difficult to get a precise line, so I went with the bumpy organic look instead.

8. Allow the paint to dry. Gently remove the vinyl from the plate. Use an x-acto knife to pull up the little pieces.

9. If you want to cure your plates, bake them in a non-preheated oven at 300F for 30 minute. Then leave them in the oven as it cools.

Use DiscChangers or other plate hangers to hang your plates on the wall.
I am of the mind set that if you can’t hide something unsightly then work with it. My Nest thermostat is now happily surrounded by some flying friends. I might add a few more plates soon.
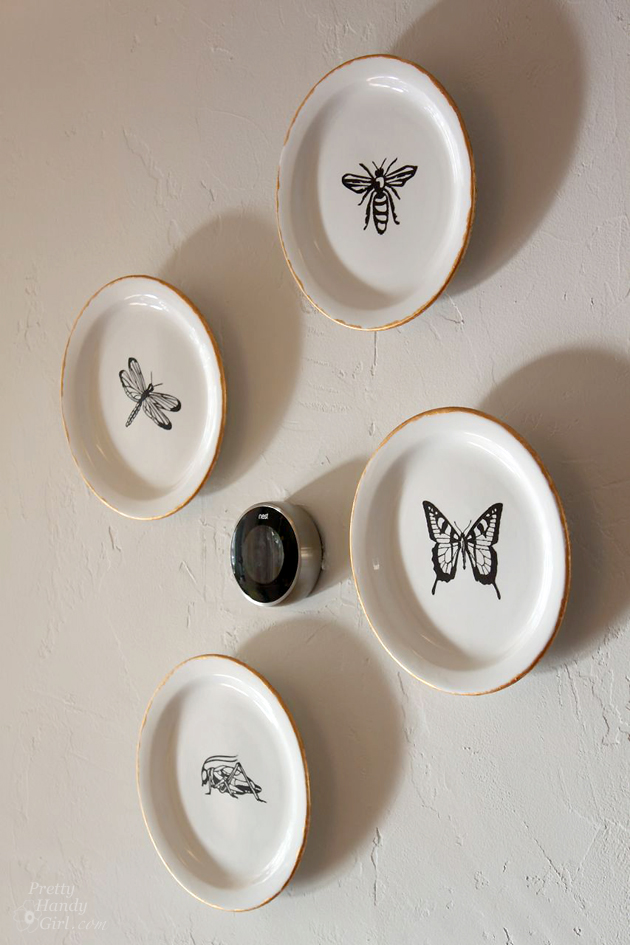
What do you think? These decorative plates are high end boutique-chic, don’t you think? And they cost $1 each plus supplies.
![]()
Pin for later!
the cake pan!
The chalkboard mugs have been my favorite.
I love the dessert plates!!
Loved the Chalkboard Mugs! Going to make them for my girls for Christmas.
My favourite DIY gifts are personalized baskets. S’mores etc!
Loved the plates and will have to try Gorilla tape, thanks!
I have made etched plates with Mickey mouse as a gift.
SO, I have broken the Tres Frugal into: ones I love and Ones I have made (plan to make)
Ones I love: scarves, chalkboard mugs
Ones I have made: fabric coasters (I was able to use leftover scraps) and chalkboard sign (painted the board last night!)
Refrigerator cookies–my dad loves them.
The etched glass soap dispense was great! I would love to be able to so many of things as gifts or as a gift to myself!
The bug plates. My sons are obsessed with bugs, so this has given me lots of great ideas!
I love bugs on plates!!!!! (Not real ones…. )
I like the dyed and stenciled scarves and these plates too!
I love the Faux Etched Glass Soap Dispenser Gift. I think etched glass is so darn pretty! Thanks for the chance to win!
I love the cake stand you made and now I love the dessert plates too!