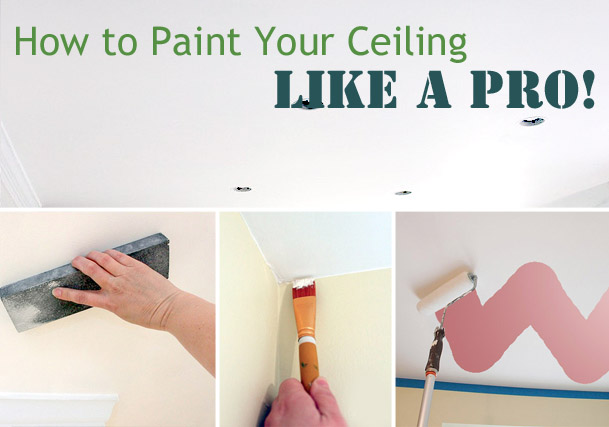
Painting Ceilings Like a Pro
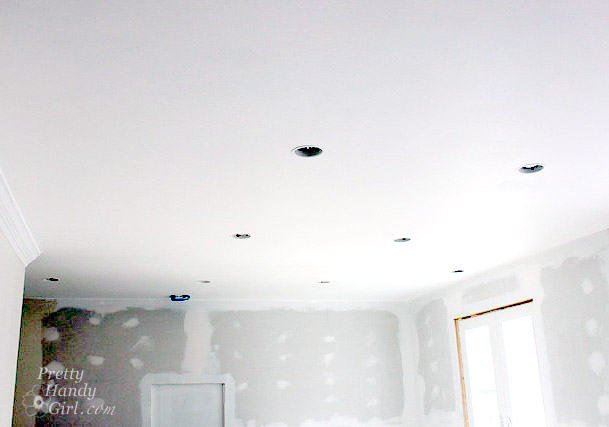
Can you tell what I’ve been doing in the kitchen lately? Yup, painting the ceiling!
Painting your ceiling like a pro isn’t difficult, it’s just a pain in the neck, literally! But, these tips and tricks can help you get professional results for less money. This is definitely a DIY task, so let’s get this ceiling painting party started!
Materials:
(I’ve included affiliate links for your convenience. I earn a small percentage from a purchase using these links. There is no additional cost to you. You can read more about affiliate links here.)
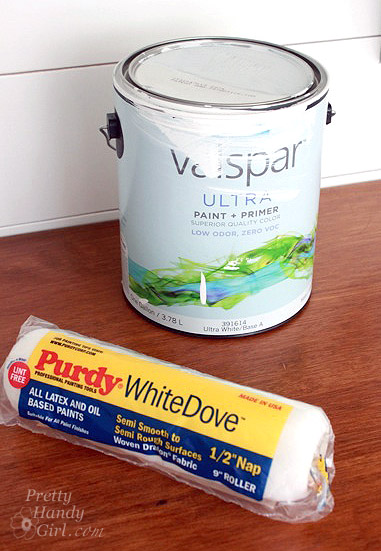
- Ceiling paint (I prefer Valspar Ultra White flat)
- 1/2″ nap roller (brand new, brand name)
- Paint roller
- Extension pole for paint roller
- Paint tray
- Edger
- Paintbrushes (2″ and a small square artist’s brush)
- Wet rag or sponge
- Plastic tarps
- Step stool or platform
- Moveable light or lamp
- Sanding sponge
Optional:
Are you all dressed up in your Sunday best? This is what I usually wear Sunday afternoon, how about you?
You will also want to remove any jewelry and a hat is a good idea unless you want to look like a reverse dalmatian (white spots are sure to appear when painting ceilings.)
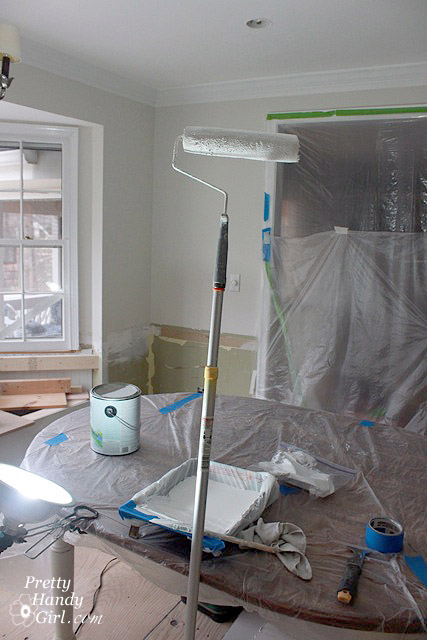
Cover furniture and floors with tarps, plastic or remove it from the room. This is not the time to test how neatly you can paint.
At this point you’ll be itching to crack open that can of paint and start rolling. But, it is a good idea to assess the condition of your ceiling. This is the time to get your prep work done, not after painting. 80% of a professional paint job is in the prep work.
Grab a lamp or flashlight. Turn on the light and aim it at the ceiling. The harsh shadows will help highlight any imperfections. This is best done at night or in dark conditions. Use little bits of painter’s tape to mark any imperfections you see.
Go back to the marked imperfections and use joint compound to fill any holes or cracks. You can read more about mudding/spackling any imperfections in my “Painting Like a Pro – Prep Work” post.
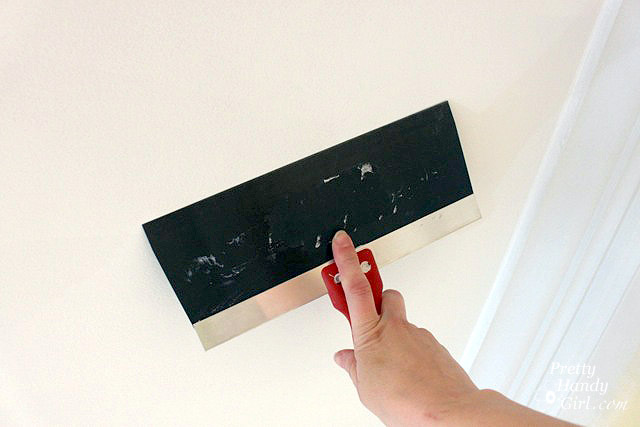
After the joint compound has dried, lightly sand the spackled areas.
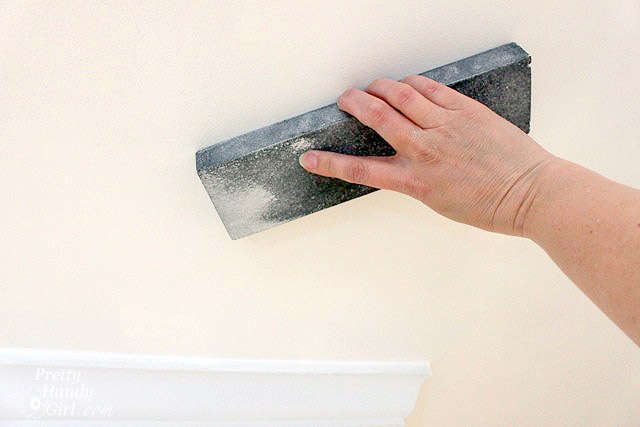
This is the most important step to a smooth professional paint job: Lightly sand your entire ceiling. Wipe off the sanding dust with a damp rag or sponge (Of course if you have textured ceilings, you won’t be sanding or wiping with a damp rag. You can use a brush attachment and vacuum the ceiling.) I found using a damp swiffer mop works great and cuts the time in half.
AND NOW, the moment you all have been waiting for — it’s time to crack open that can of paint!
Don’t use just any old paint for this job. First chose a flat finish, it will show less imperfections.
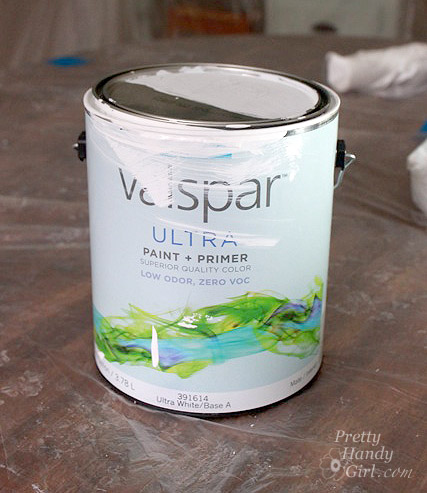
I prefer the Valspar Ultra White paint because it is the brightest white I’ve found. (Side note: Valspar has changed their formula to add primer to the paint. I don’t think the coverage is as good as the previous formula. But, it is still the brightest white I’ve found so I’ll still use it.) You can read more about which paint sheen to use and where in this post. (If you have newly drywalled or scraped ceilings, you’ll need to prime first.)
When choosing a roller use 1/2″ nap. It will hold more paint and therefore you will be able to paint faster. Also, don’t re-use rollers. Chose a brand name to reduce the risks of a shedding roller. Use a fresh roller for each coat. It makes a difference to have a new roller, trust me.
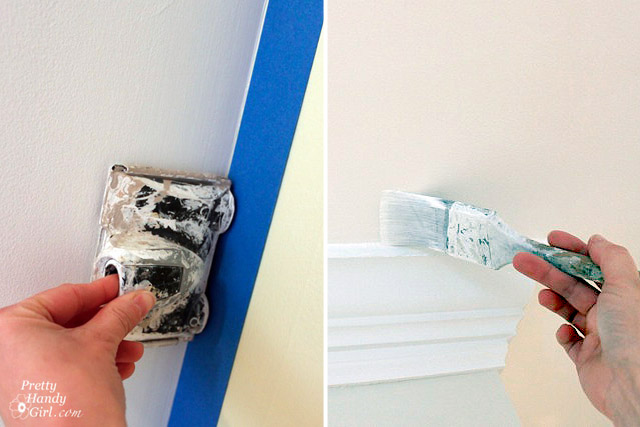
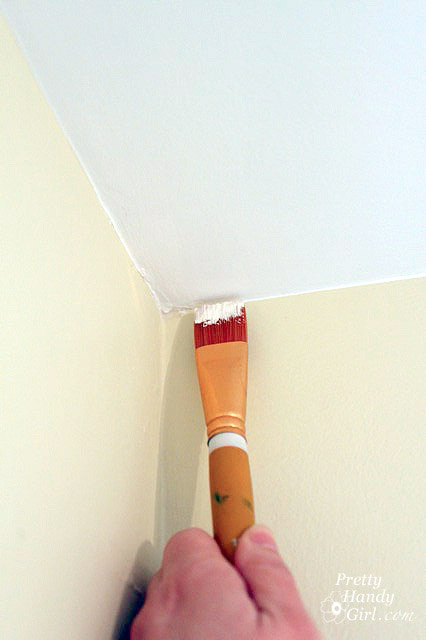
Start by edging around your ceiling. Use an edge roller or a paint brush to line the perimeter of the ceiling. You can use painter’s tape if you wish, or if you have a steady hand you can skip the taping. (And, if you are painting your walls or crown molding, you can skip the taping as well and paint the molding after you finish with the ceiling.)
Pour your paint into the paint tray and start painting in one corner. Paint in random directions. Now isn’t the time to practice perfectly straight racing stripes.
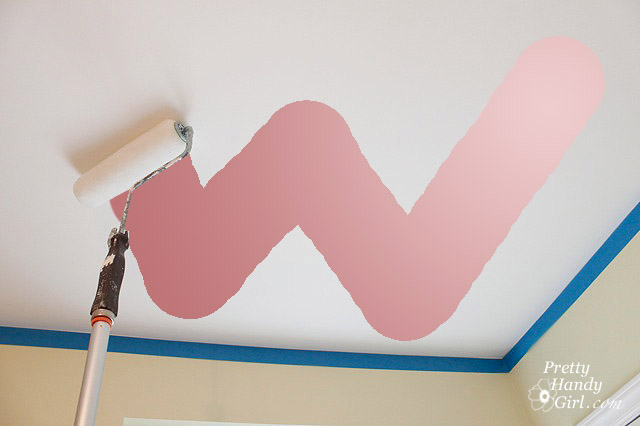
I like to paint a “W” and then roll the paint out and around. Work in four – five foot sections and always roll into the wet edge of the section you were previously painting.
Try not to stop and start, you don’t want to roll over areas of paint that have started to dry. Keep the lamp/spotlight aimed near where you are painting to highlight the edges of the wet paint. This will help you get good coverage.
After you finish the room, take a break. Pop some Advil and wait for the ceiling to dry completely. Ready to go again? In order to get a professional finish, you will need two coats of paint. (Unless the stars are aligned and you are using the exact same color that was previously used, there will always be spots you missed.)
Hop back up on the step stool and lightly sand the ceiling again (yes, I said again.) You need to knock down any areas that got too much paint or a piece of lint. Lightly wipe off the ceiling with a damp rag or sponge.)
Repeat the edging and paint rolling process.
After you are finished painting, get out the artist’s brush and use it to touch up any missed spots and get a sharp edge around the room.
And you’re done! You’ll have a whole new appreciation for Michelangelo at this point. And if you think painting ceilings is a pain in the neck, go ahead and pay a professional, but be prepared to pay some money!
A brief note about textured ceilings vs. smooth: Any ceiling that is textured will be darker because of all the shadows created by the popcorn, or texturing. If you have a dark room and it has popcorn ceilings, consider scraping them.
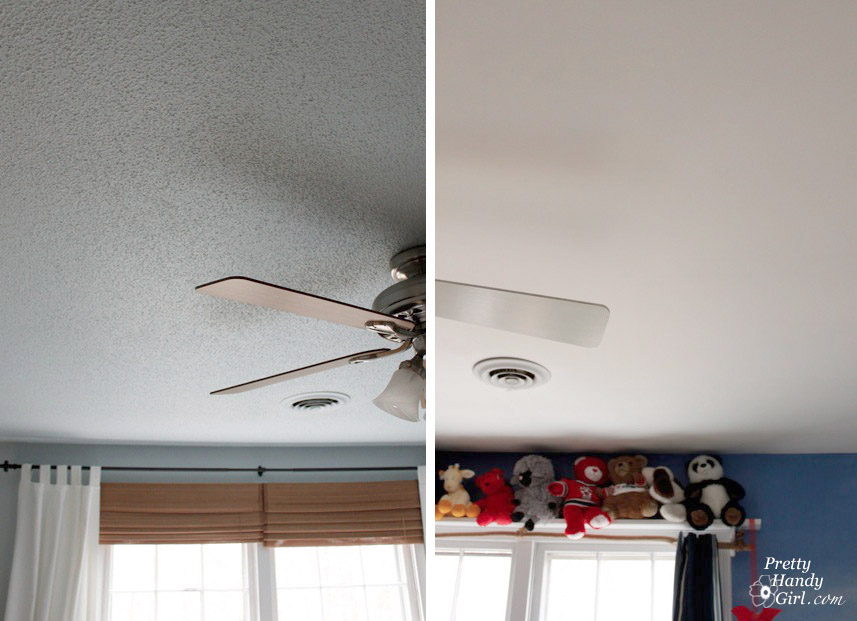
And of course, I have a tutorial for scraping your own ceilings!

You can also read more of my series on painting like a pro:

Step 3. painting your room and finishing touches
Have a great rest of your week!

Disclosure: I was not paid to mention any of the products or brands above, the are just the specific products I use for painting like a pro!

Awesome tips! Thank you! 🙂
You are a perfectionist! I admire your gusto and thoroughness. I’m glad you explained why you are doing the things you are doing with the tools. I have a textured ceiling and I’m very picky about clean edges, so I spend a lot of time touching up even after using frog tape and pressing that in carefully. I wont be sanding or worrying about lint though!
Jodi, LOL. Yes, I’ve been known to be obsessive over the little things. Thanks for your comment!
Advice needed. Painting the dining room ceiling of an old 1929 tudor-style dining with wood beams. Years of imperfect paint jobs by previous owners has left some paint on beams, gaps between paint and beam. How can I clean up the beams and paint with perfection?
Lori, you’ll probably have to clean the beams with either ammonia, mineral spirits or paint stripper to get the paint off. You also may want to run caulk where the beam meets the ceiling. That might actually solve some of the paint issues. Does that help?
This is some really good stuff here. I haven’t seen any contractors I’ve hired do that thing with the light to smooth any imperfections. I’ve never had them over during the night either, so I might have to take it up myself to get the job done perfectly! Thanks for the info!
I am getting ready to paint my kitchen ceiling, so thanks for the tips. I need to get a cervical collar.
I have a tip to help save you that “pain in the neck”. I got a cervical collar from my chiropractor that I put on when I’m painting ceilings. It helps to support your neck and head while you’re doing that overhead work and you won’t be needing all that pain medication when you’re done. When I’m done painting, I take it off, put it back in it’s box and store it with the rest of my paint supplies. That way I know exactly where it is the next time I need it.
That’s such a great idea!
I’ve been putting off painting my kitchen ceiling for 6 months because I just have been “scared” to do it. Thanks for the motivation…though I think I’ll be sneezing a ton after sanding the ceiling twice? Off I go!
Great tips, but I’m especially loving the link back to your post about scraping popcorn ceilings. We have popcorn ceilings in every. single. room. And I HATE popcorn ceilings. I’ve always wondered how hard it would be to scrape them, but you make it sound easy…so I’m adding it to the list! Thanks for the info!
-Sarah
Just scraped the ceiling in my 2900 sq ft house, super easy!!!
One more tip I may or may not have learned the hard way- keep your mouth closed when painting ceilings. 😉
Great post…enforces the thought that I will never paint a ceiling. But then, my husband gets hired by people to do their homes, so I have my own pro! Thank Heavens!
Debbie 🙂
1) You need a new painting picture! 2) Love this for painting a new ceiling! 3) The only thing I would add is for a textured ceiling I would use (from experience) a 3/4″ nap roller.
But I’m so glad to see your kitchen coming together! Soon…very soon you will be cooking up a dinner party! What are we having? 🙂
Lori, what are you trying to say? Don’t out me on my old painting pic ;-D. And excellent point about the textured ceilings requiring a thicker nap.
LOL Brittany, I swear I think that’s one of the first pics I ever saw of you! You need a “Glamor Shots” painting picture! :p
We have a knockdown texture, instead of popcorn. Would you use a 1/2 or 3/4 inch roller?
Kim, You’d probably be fine with 1/2″.