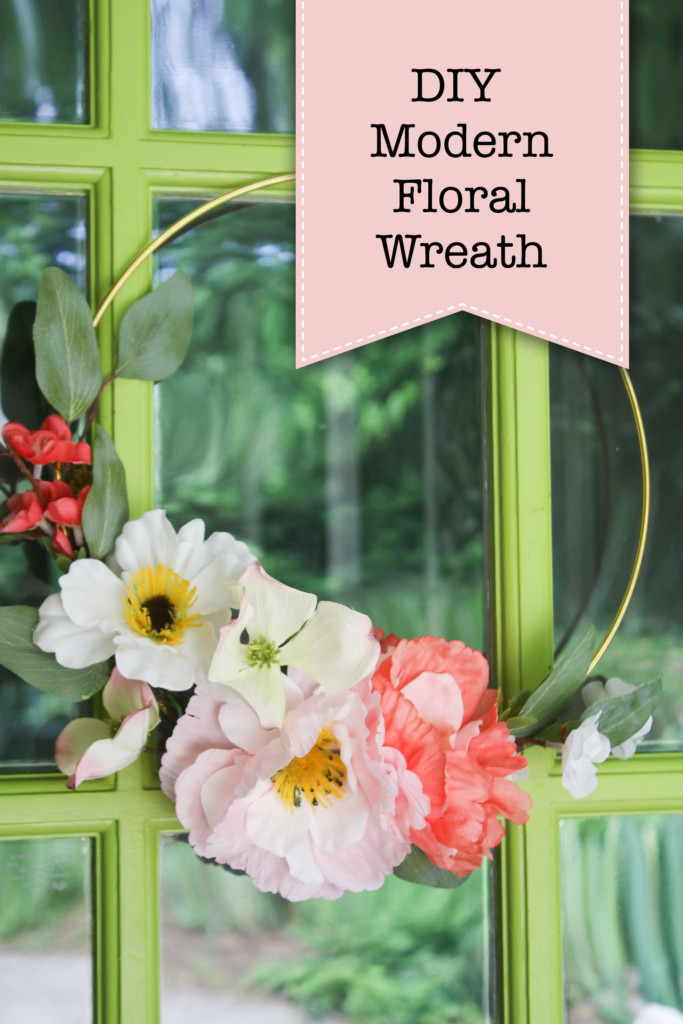
DIY Modern Floral Wreath
Modern wreaths are beautiful and simple in nature. Learn how to make your own DIY modern floral wreath and let me share how I saved money on flowers!
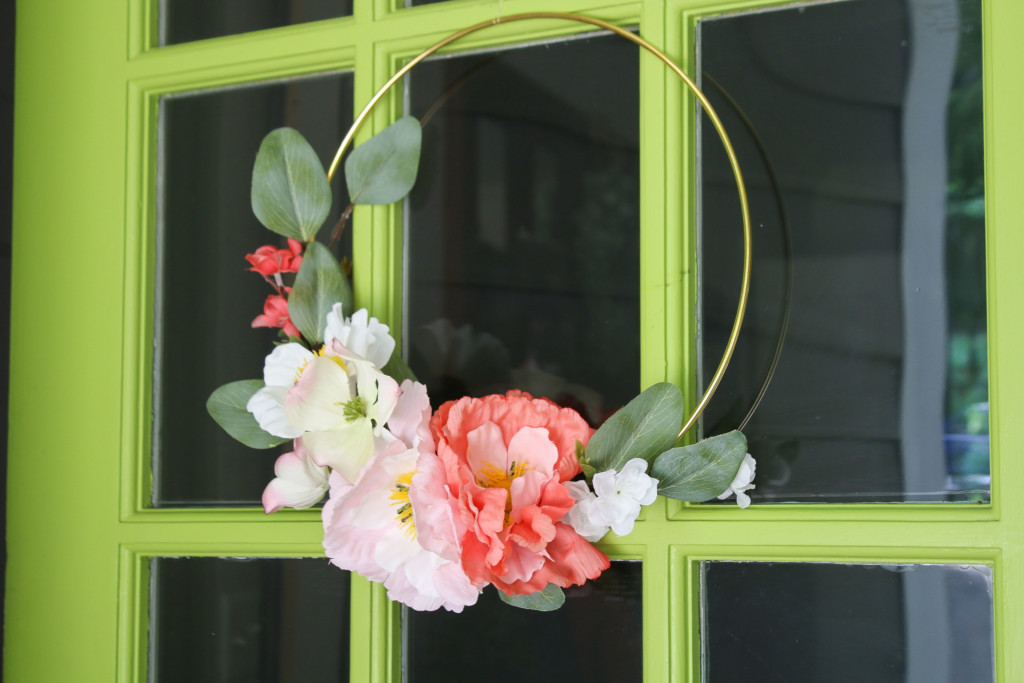
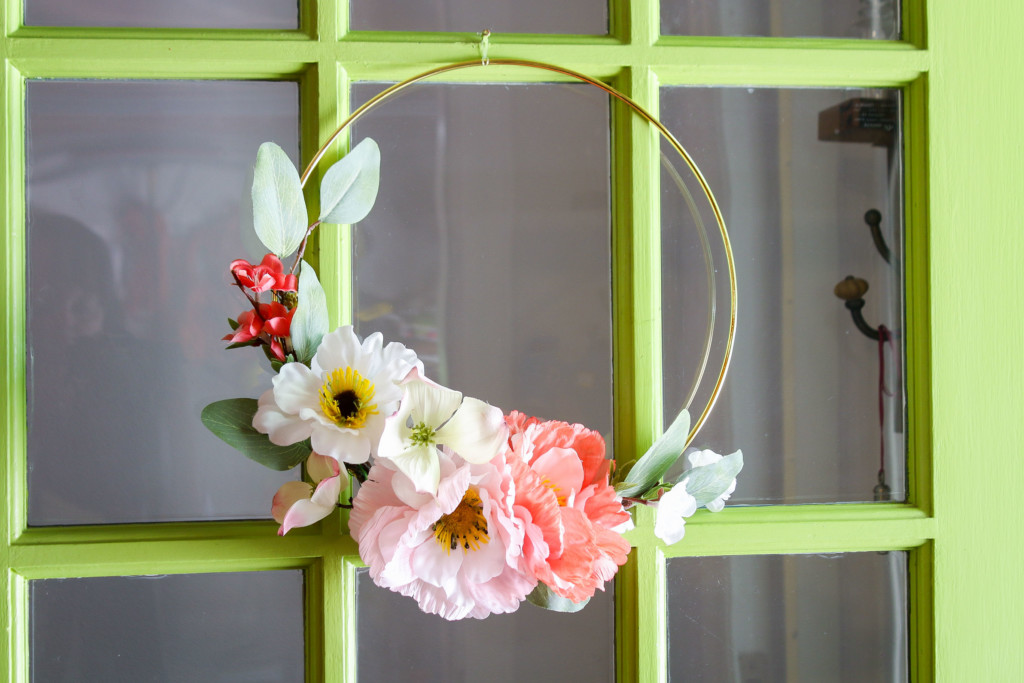
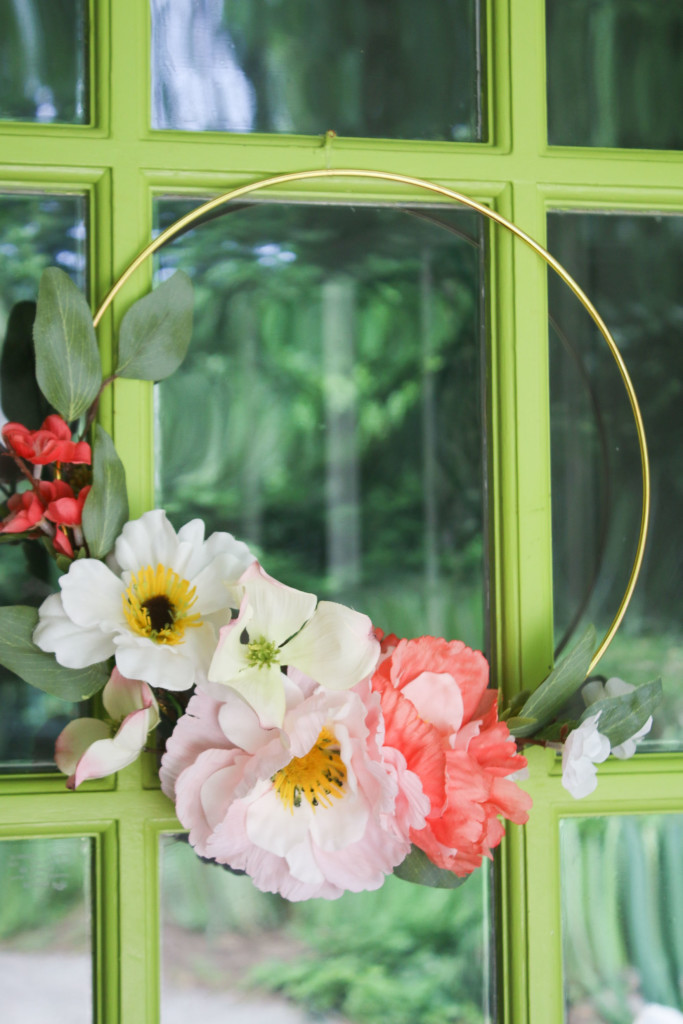
 DIY Modern Floral Wreath
Originally I wanted this to be a spring wreath, but well…it’s summer now isn’t it? But, this wreath can still rock the spring and summer look.
I found this flower garland on clearance and decided it would be a more cost effective than buying lots of floral stems.
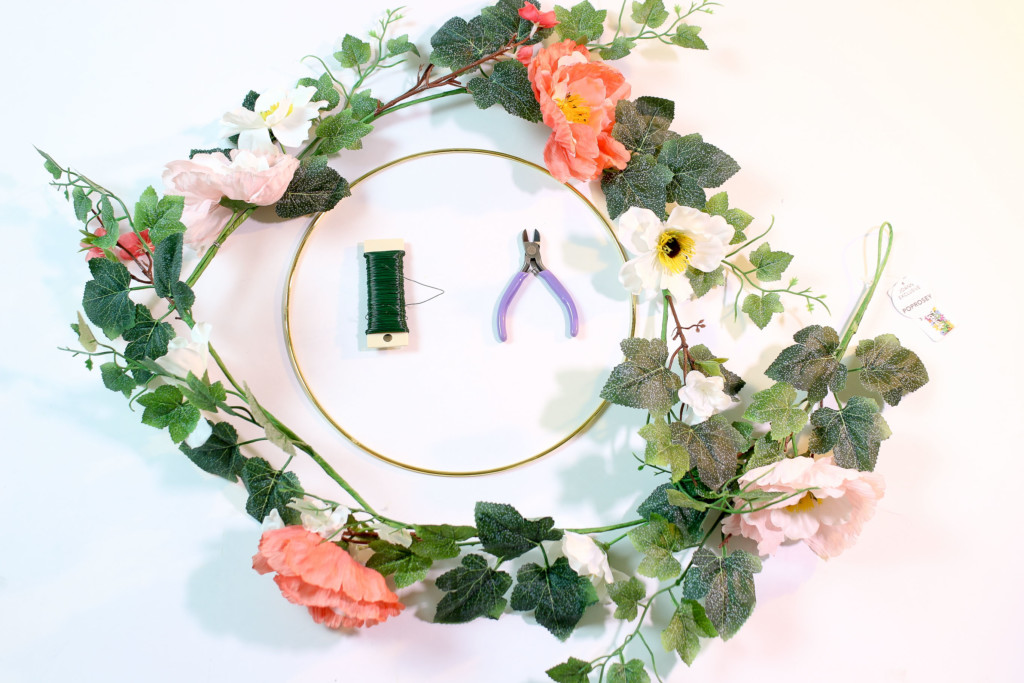
Materials:
(I’ve included affiliate links for your convenience. I earn a small percentage from a purchase using these links. There is no additional cost to you. You can read more about affiliate links here.)
Instructions:
Watch the video to make your own DIY Modern Floral Wreath or scroll down for the step-by-step instructions.
Gather your supplies (listed above.)
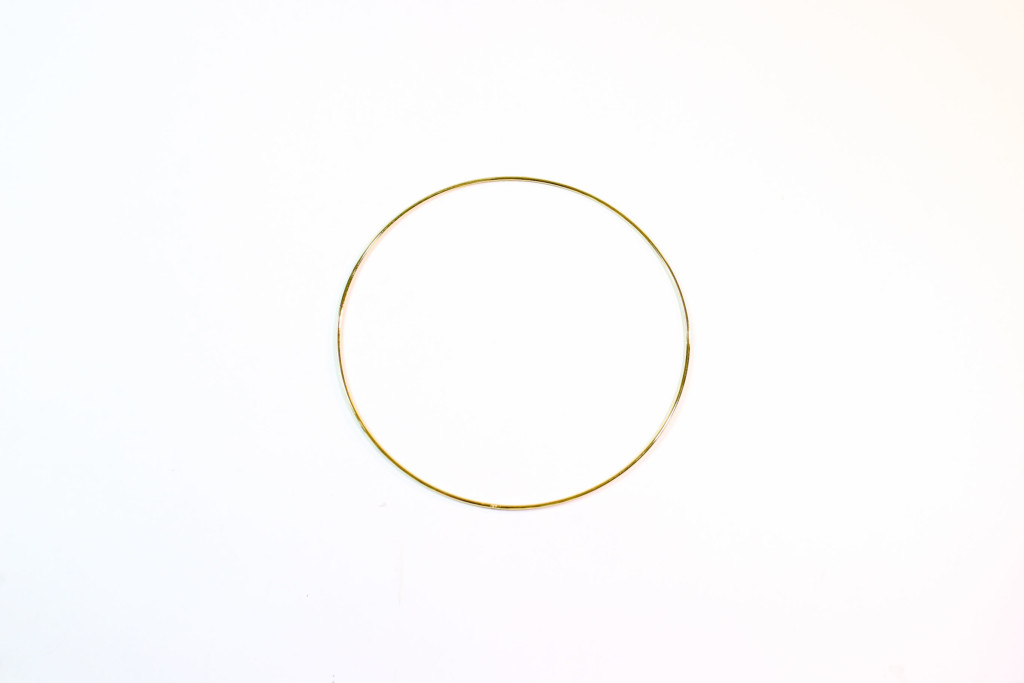
Use good wire cutting pliers to remove the flowers you want to use from a garland (or clip off the stems from your flowers.) Lay your ring on your work surface.
Layout some greenery as a base for the shape of your wreath.

Then fill with large and medium-size flowers.

Arrange and tuck in some smaller flowers to fill out the wreath.

To attach the flowers to the wreath use floral wire. You will probably want to wear garden gloves for this. I started out without the gloves and ended up drawing blood unnecessarily (live and learn, right?)
Twist the floral wire around each stem until it’s secured. Continue attaching flowers to the ring until all the flowers are secured.
You can use a ribbon to hang your wreath, but I like to use fishing line for a less frilly appearance.
Hang your wreath on the door, a wall, or anywhere you need to bring some Spring or Summer cheer!
Did you like this simple wreath? If so, you’ll love Karen’s Simple Fall Wreath. It’s so simple to make, you can create one for every season!


Leave a Reply
Want to join the discussion?Feel free to contribute!