• Home
  • About
  • My Home
  • Project Gallery
    • Decorating
    • Painting & Antiquing Techniques
    • Arts & Crafts
    • Build It
    • Electrical
    • Plumbing
    • Gift Ideas
    • Sewing
    • Tool Tutorials
    • Home & Auto Maintenance
    • Landscaping & Gardening
    • Photography
    • Recipes
    • PHG TV
  • My Toolbox
  • Contributors

Pretty Handy Girl

A DIY Blog Empowering You to Complete Your Own Project. Build it, Fix it and Do it yourself. Home project tutorials.

  • Contact
  • Advertise
  • Home
  • About
  • My Home
  • Project Gallery
    • Decorating
    • Painting & Antiquing Techniques
    • Arts & Crafts
    • Build It
    • Electrical
    • Plumbing
    • Gift Ideas
    • Sewing
    • Tool Tutorials
    • Home & Auto Maintenance
    • Landscaping & Gardening
    • Photography
    • Recipes
    • PHG TV
  • My Toolbox
  • Contributors
Home » art » Marbled Picture Frames by Sarah M. Dorsey

Marbled Picture Frames by Sarah M. Dorsey

November 29, 2013 Brittany Bailey 2 Comments

210shares
  • Facebook
  • Twitter

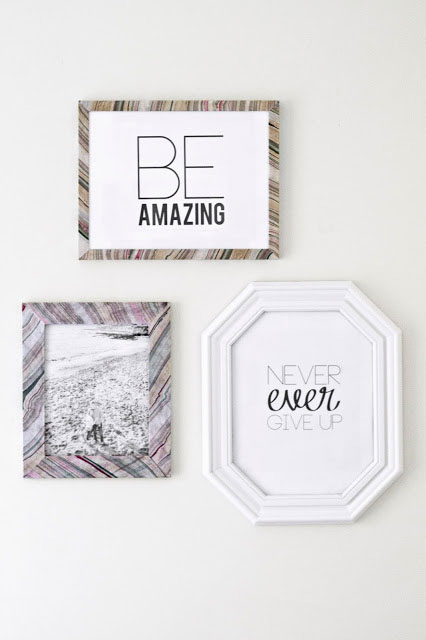
Today I am so excited to have the very talented Sarah joining us with a fabulous très frugal DIY gift idea. Sarah is the creative genius behind Sarah M. Dorsey Designs. I am in love with her design style in her home. The coolest thing about Sarah’s designs is that she achieves them on a super frugal budget. Today she’ll show us how to make marbled picture frames in no time for only a few bucks.

page_break_2

Hi PHG Friends!! This is Sarah from Sarah M. Dorsey Designs. I’m so excited and honored to be here sharing a simple DIY gift idea.

Today may be Black Friday, but instead of buying a gift, think about making a gift. Handmade gifts mean so much more (at least to me 🙂  Plus you’ll save yourself the aggravation of crowded stores. A win win!

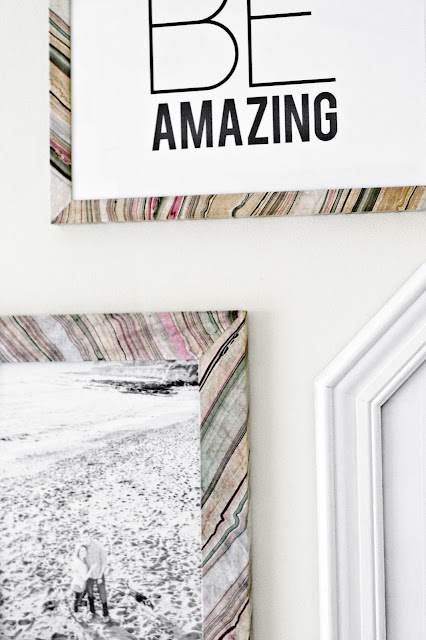
I love the variety of marble paper – adding that to a plain picture frame truly makes them one of a kind! Here’s how I did it.

Materials:

  • 1 sheet of marble paper (available at paper source and blick art supply)
  • Mod Podge
  • Frame (recommend straight front and sides) ** Tip: check your local thrift store for frames, I was able to these for about $1 each
  • Brush
  • Cutting supplies: scissors, cutting mat, xacto knife, metal ruler

Instructions:

1.  Cut a strip of your marble paper, you want it to be a little large so that you have plenty to fold around the sides. Also, the extra width will make it easier to line up the corners, since you can adjust as needed.

Cut a 45 on one end, line it up on the frame and mark your other 45.

(Note: for darker frames, use a white primer first so that it doesn’t show through the paper. I ended up applying an extra layer of paper to cover the dark areas)

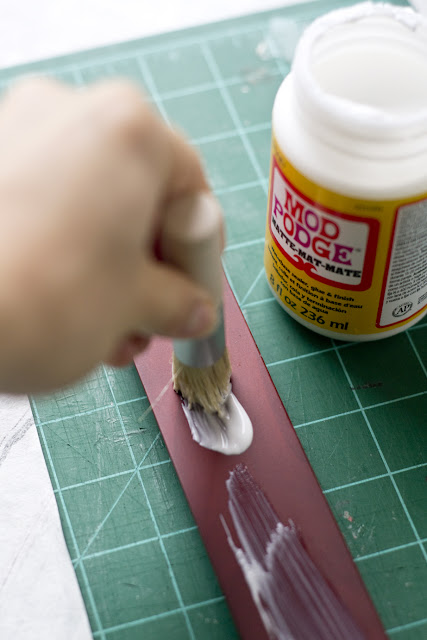
2. Apply a thin, even coat of Mod Podge to the front and inner edge, place you paper on and smooth any wrinkles. Repeat with the side and back.

3. Trim the edge with a scissors or xacto knife. It doesn’t need to be perfect, just close since it gets sealed (see next step)

4. Once those steps have been completed on all four sides, apply a thin layer of mod podge on top to seal it.

After it dries, that’s it! SUPER easy!

This can easily be finished in under an hour and only costs a few dollars.

I hope you’ll give it a try! Thanks so much to Brittany for including me in this series!!

~Sarah~

Pin for later!
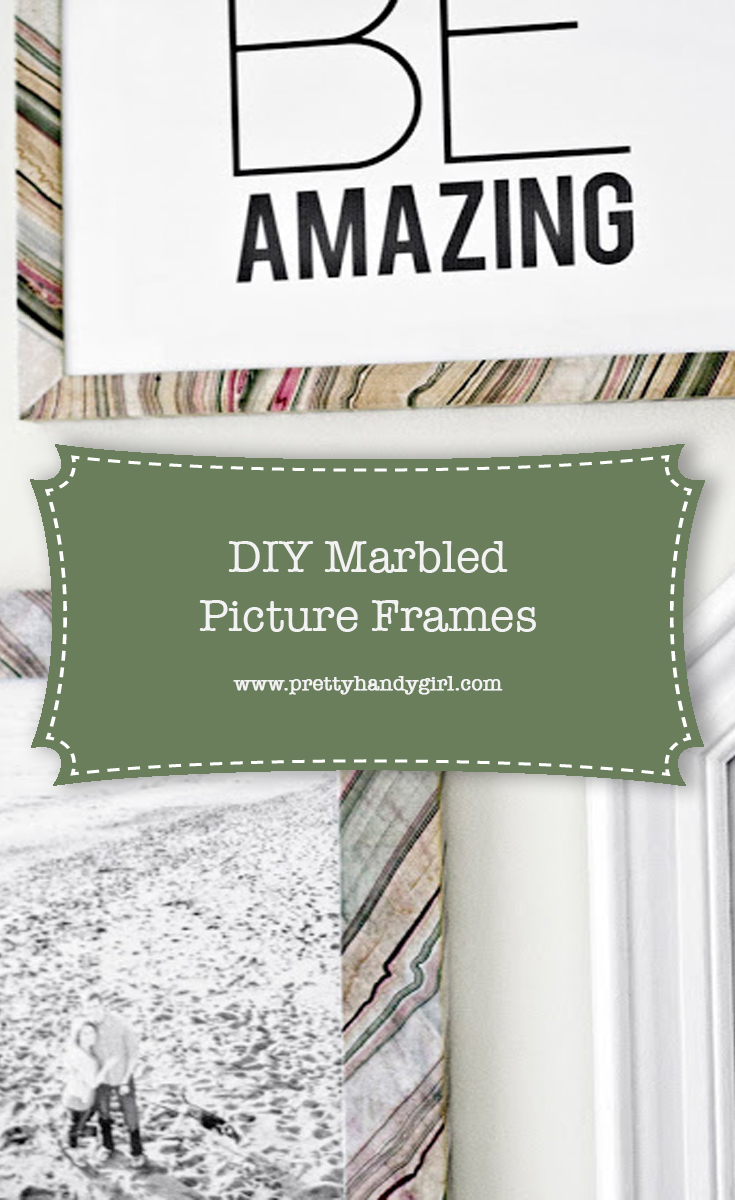
DIY Marbled Picture Frame | Pretty Handy Girl

Need more frugal DIY gift idea? How about one of these:

210shares
  • Facebook
  • Twitter

You might also like:

art, arts and craft, Crafts, decor, framing, Gift Ideas, gifts, mod podge, scrapbook paper, Très Frugal, Upcycling

Comments

  1. Colleen Taylor says

    November 29, 2013 at 8:06 pm

    Super cool idea, especially for a frame that doesn’t look so good anymore!

    Reply
  2. cassie says

    November 29, 2013 at 9:47 am

    love these! what a fun idea!

    Reply

Leave a Reply Cancel reply

This site uses Akismet to reduce spam. Learn how your comment data is processed.

Hi, I'm Brittany aka Pretty Handy Girl. I like the smell of coffee and sawdust in the morning. I live to break stereotypes and empower you to take on your own DIY project.

  • Email
  • Facebook
  • Instagram
  • Pinterest
  • Twitter
  • YouTube

Saving Etta - Follow the Adventure to Flip a Historic House

  • Email
  • Facebook
  • Google+
  • Instagram
  • Pinterest
  • Twitter

Privacy Policy

Affiliate Link Disclosure:

Pretty Handy Girl is a participant in the Amazon Services LLC Associates Program, an affiliate advertising program designed to provide a means for sites to earn advertising fees by advertising and linking to Amazon.com.

Copyrighted Content Permission

All images and tutorials on this blog are copyrighted material. Please contact me if you would like to borrow any media (photos, video or audio files), tutorials, or ideas from this blog. 99% of the time I would be happy to allow you to use one photo with appropriate credit and link back to PrettyHandyGirl.com (preferably to the same post it was borrowed from.) I can be contacted via email: PrettyHandyGirl (at) gmail.com.

© 2021 · Pretty Handy Girl ·

We use cookies to ensure that we give you the best experience on our website. If you continue to use this site we will assume that you are happy with it.Ok