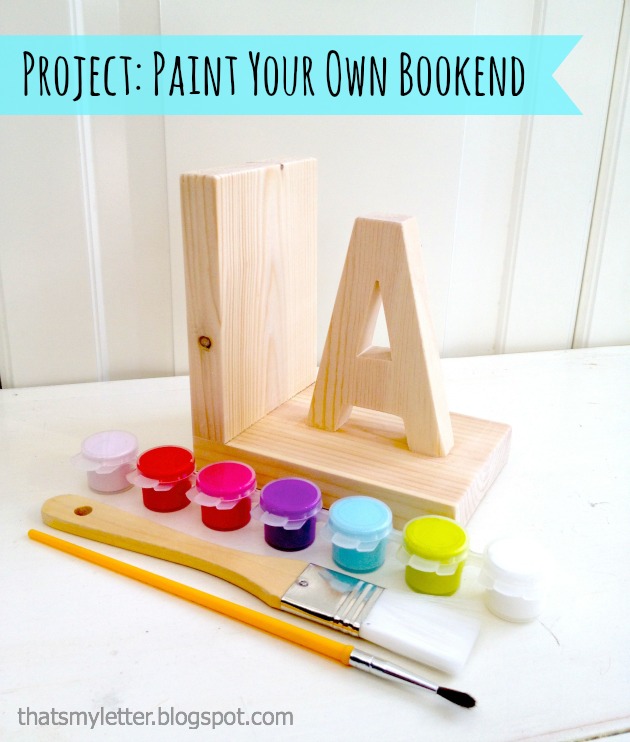
Kids Bookend Kit: Build your own bookend

Do your kids want to build and paint just like you? This project a great beginner build for young ones who want to get in there and make something to call their own. And once they’re done building they can paint it too!
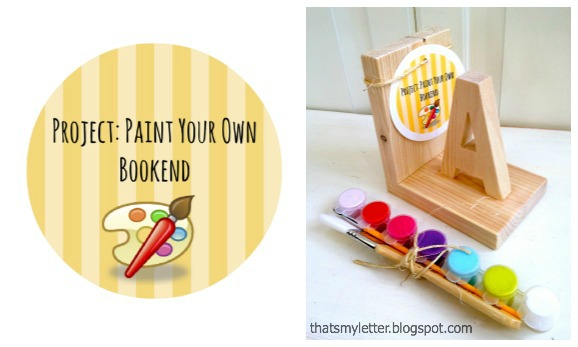
Or give the build as a unique personalized gift for that artsy friend who loves to paint:
Attach a cute gift tag (download my tag free from here) and include some fun acrylic paint colors and brushes:
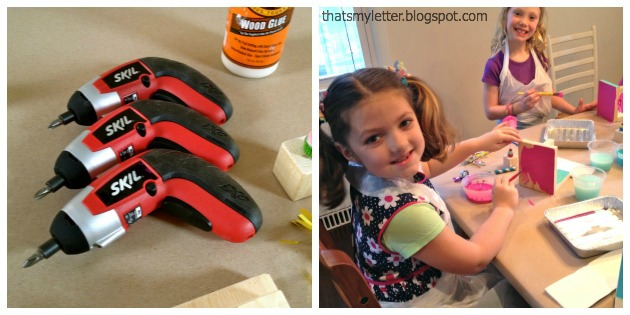
This project is super kid friendly, I tested it at my 6 year old daughter’s birthday party and all the girls absolutely loved building their own project . We used kid sized drills (like these kid sized drills) and they truly enjoyed painting their bookends:
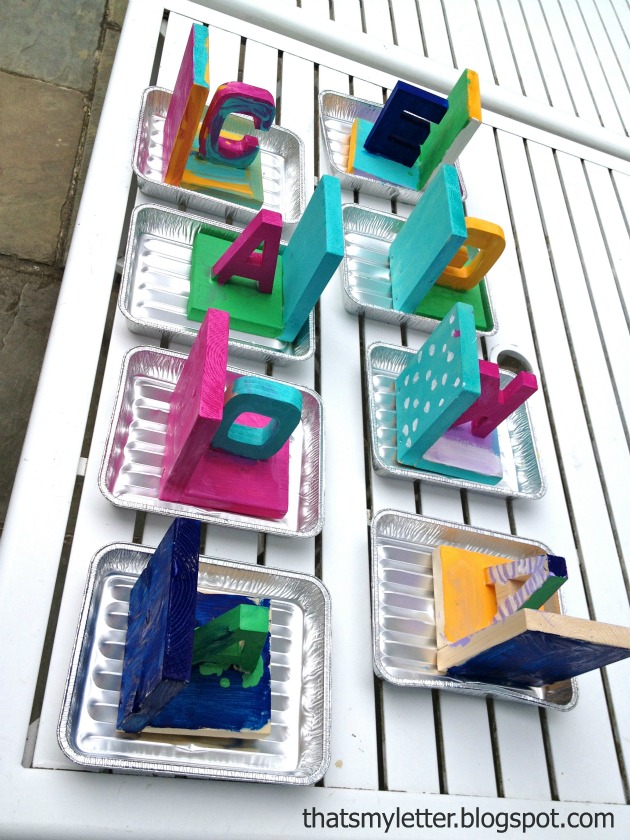
Here they are all lined up drying outside:
Materials: (for 1 bookend)
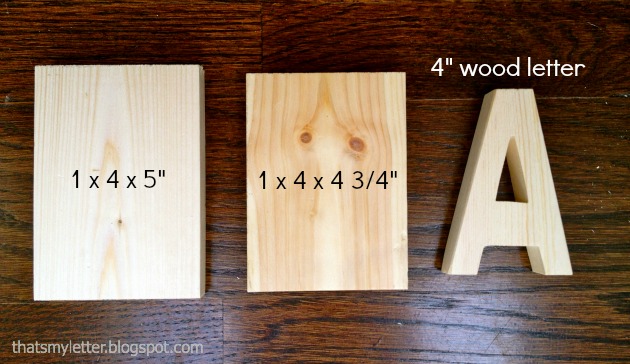
- 1 – 1 x 4 @ 5″ (base)
- 1 – 1 x 4 @ 4 3/4″ (side)
- 1 – 4″ wood letter (available here)
- Drill and countersink bit
- Wood glue
- 4 – 1 1/4″ #8 wood screws
- Circle cutter (if desired), punch & string
- Acrylic paint & brushes
Instructions:
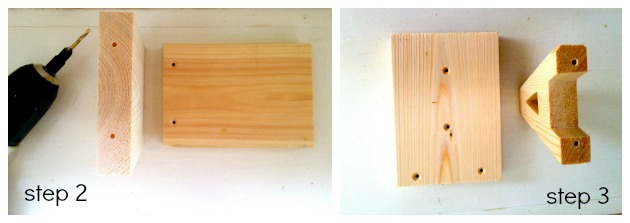
Note: An adult should complete Steps 1 – 3 to cut and predrill the pieces beforehand.
Step 1: Cut pine boards to size.
Step 2: Pre-drill two holes down through the 5″ (base) piece and into the end of the 4″ side using a countersink bit.
Step 3: Center wood letter on base piece and predrill two holes down through base into letter.
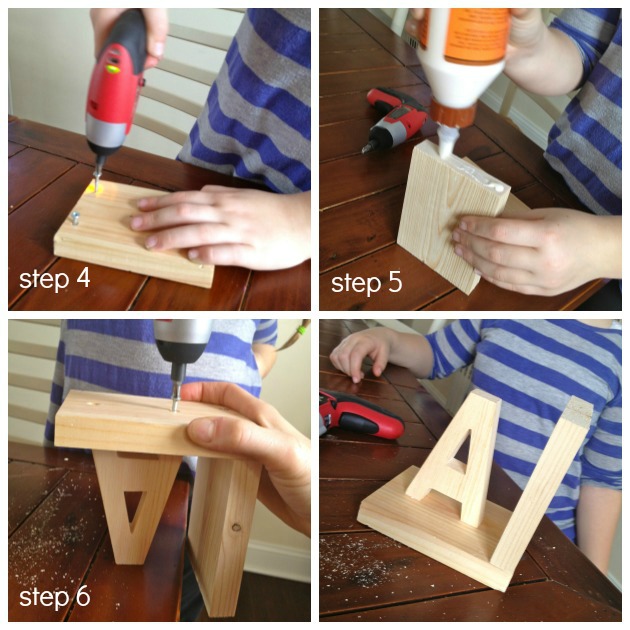
Now we’re ready for kids to build.
Step 4: Attach the side piece to base first. Set two screws in position but not all the way down.
Step 5: Apply wood glue to short side piece where the holes are predrilled. Then place base piece on top creating an “L” (upside down) and finish attaching screws flush.
Step 6: Apply wood glue to base of wood letter and screw in place. It’s much easier if you let the L portion hang off the edge of the table (see picture).
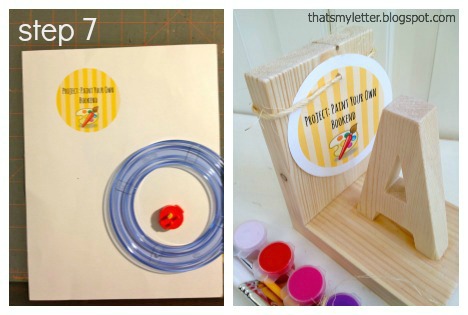
Step 7: To give as a gift, print out the project tag (free download here), cut with a circle cutter, punch hole at top and attach with string.
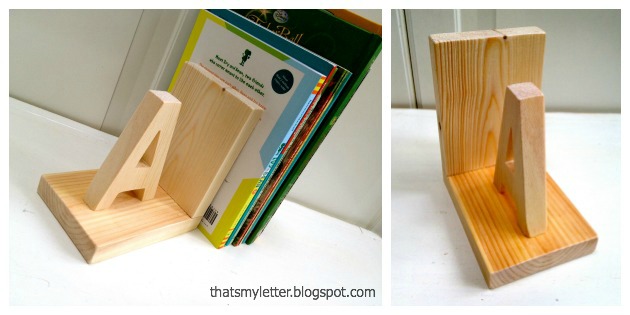
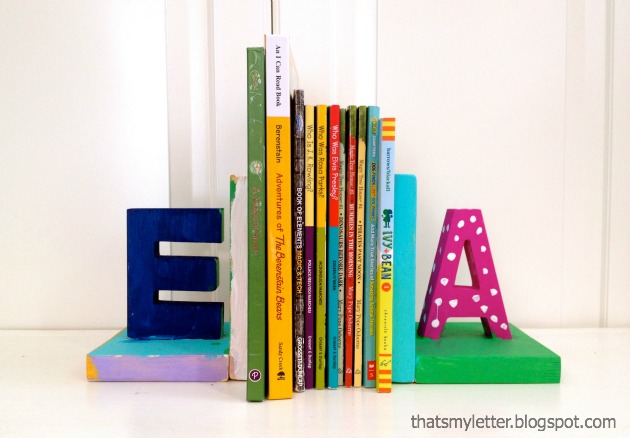
The natural wood look is nice but my kids love to paint. See how colorful and fun the bookends look painted, especially next to the kids books:
 Grab your kids or make some bookends as gifts, kids are sure to love this fun project.


These are a great simple project for kids, BUT they aren’t heavy enough to hold up any books!
I love it!! So cute!!
This is a great idea! I could use a few of these myself 🙂
Thanks Jessica, you and Jayne will be debuting the adult versions! They really are super fast and easy.
What a great party idea, so cute. I think I might try to make this myself they are awfully nice bookends 🙂
Thanks Jayne, you could even do a nice adult version with a bit of stain. Glad to hear they’re not just for kids :).
You, my dear, are an absolute genius! This works great for a birthday party. I can think of so many themes that could incorporate this project. Pinning now!
Thanks Christine. They are a fast project for the kids especially because kids love to see a completed piece (instant gratification) and then get on to painting which is fun too!