How to Solder Metals Together – Tool Tutorial Friday

Wheee, it’s another episode of Tool Tutorial Friday! Do y’all miss TTF? I do too, but this handy gal only has so many tools in her toolbox. I added a new one a few weeks ago, a soldering iron. Let’s learn How to Solder Metals Together!
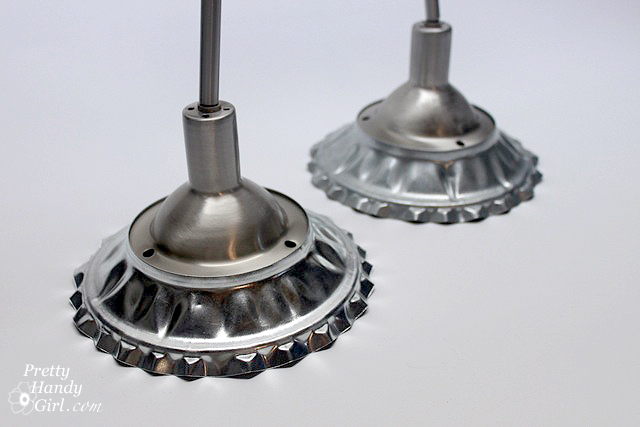
When I was in college, I took a stained glass elective (one of the benefits of going to art school.) I really enjoyed the course, but once the semester was over I didn’t pick up a soldering iron again. That was 20 years ago. Just this month, someone in our neighborhood posted online that they were selling a soldering iron. I immediately jumped on the chance. But, this time I didn’t have stained glass in mind, I had these DIY farmhouse lights on the brain!
As promised, here is the tutorial on how to solder.
Materials:
- Soldering iron
- Damp sponge
- Solder
- Flux
- Brush for the flux
- Sandpaper
- Painter’s tape
- Damp rag
- Safety glasses
If you’ve used a curling iron, you are qualified to solder. Wait — even if you haven’t ever used a curling iron — you can do this. The only difference is that the soldering iron gets a lot hotter than your standard hair iron, so use caution.
Plug in the soldering iron and let it heat up.
In the meantime, lightly sand the edges of the metal where they will be joined. You want to have a smooth surface without any burrs or bumps. And the two pieces must be able to connect without any gaps.

Wipe off any sanding dust with a damp rag.
Then cover any areas that you don’t want exposed to solder with painter’s tape (like this light bulb socket.)

Add flux to the areas that will be accepting the solder.

Set up your work area so everything is within easy reach. Make sure the soldering iron is placed where you won’t accidentally bump it. Unwind your solder so you don’t have to fuss with it as you are soldering. Because the solder wire will heat up, you want to put some distance between you and the end of the solder.

Have a damp sponge accessible to wipe off any excess solder from the tip of your soldering iron.

By now the soldering iron is probably heated and ready. Definitely wear safety glasses because hot solder can pop. You may want to wear gloves too, I chose not to.
Here is the short video to show you the basics of soldering two pieces of metal together.

After your pieces have been soldered, let your metal cool. Once it has cooled, scrape off any excess solder beads. And you are finished!
Easy right?
It is easy, but controlling the flow of the liquid solder can be frustrating at times. Just take your time and put on your patience cap. There is a short learning curve, but I know you can do this! Now you know how to solder metals together.

P.s. Don’t forget to enter to win a Dremel Multi-Max! I’ll be choosing a winner after midnight tonight, Friday, Sept. 28th 2012.


HI, Brittany!
Hope you’re still around, this post is from 2012! I’m a jeweler and would like to learn to solder iron wire,I understand this method works for it, I’m right? I’m able to solder with a torch but never used an iron.
Thank you for the info! I directed a friend of mine to this article when he called me asking how to solder a wire to an electrical switch. He enjoyed it.
Thanks to the great guide
I believe that is one of the such a lot significant information for me.
And i am satisfied reading your article. But should remark on some general issues, The website taste is wonderful, the articles is in reality excellent : D.
Just right process, cheers
Love your tutorials but wish there was a print options, so I don’t have to print 12 pages. My craft area is no where near my computer, so can’t look at the same time as I’m creating.
Joyia, thanks for your comment. Finding a plug in that allows you to print easily is on my to do list for 2013 ;-). Happy New Year.
You make it look so easy, Brittany! I took a few jewelry classes in high school ages ago, and we soldered with torches and tiny little bits of solder. It was beyond frustrating. This looks much easier, I didn’t even know you could solder with an iron, I thought torches were the only option. How much did you pay for the used iron?
Thanks for the tool tutorial!
Rachel, I bought it off of a neighbor who was selling things before moving. I’m not sure how much new ones are, but maybe look on eBay or Craig’s List.
Great tutorial Brittany. Thanks for sharing your awesome skills with everyone. The video was super!!
It’s so interesting that you posted this, Brittany. I’ve always wanted to learn to solder. Back in the 60’s (boy I’m telling my age), I remember my dad using his solder gun when putting together stereo components from kits. That was back in the days when everything had tubes – no computer chips!
Well, I beg to differ…You look young to me 😉
Soldering is my FAVORITE!!!! It’s so neat, great post 🙂
Okay this is really cool and I am confident that I can do this!