• Home
  • About
  • My Home
  • Project Gallery
    • Decorating
    • Painting & Antiquing Techniques
    • Arts & Crafts
    • Build It
    • Electrical
    • Plumbing
    • Gift Ideas
    • Sewing
    • Tool Tutorials
    • Home & Auto Maintenance
    • Landscaping & Gardening
    • Photography
    • Recipes
    • PHG TV
  • My Toolbox
  • Contributors

Pretty Handy Girl

A DIY Blog Empowering You to Complete Your Own Project. Build it, Fix it and Do it yourself. Home project tutorials.

  • Contact
  • Advertise
  • Home
  • About
  • My Home
  • Project Gallery
    • Decorating
    • Painting & Antiquing Techniques
    • Arts & Crafts
    • Build It
    • Electrical
    • Plumbing
    • Gift Ideas
    • Sewing
    • Tool Tutorials
    • Home & Auto Maintenance
    • Landscaping & Gardening
    • Photography
    • Recipes
    • PHG TV
  • My Toolbox
  • Contributors
Home » Sewing » How to Make Your Own Piping
How to Make Your Own Piping

July 27, 2011 Brittany Bailey 52 Comments

2.8Kshares
  • Facebook
  • Twitter


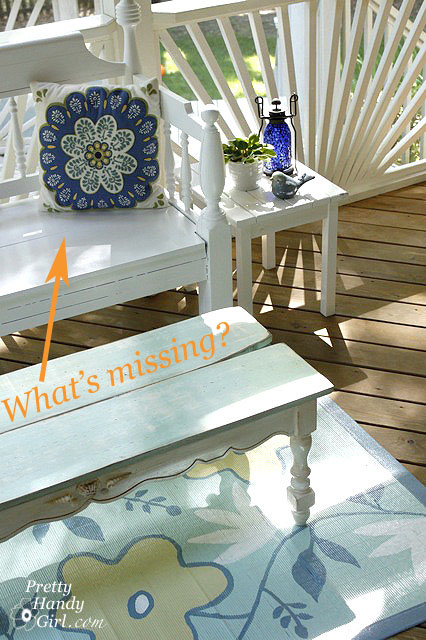
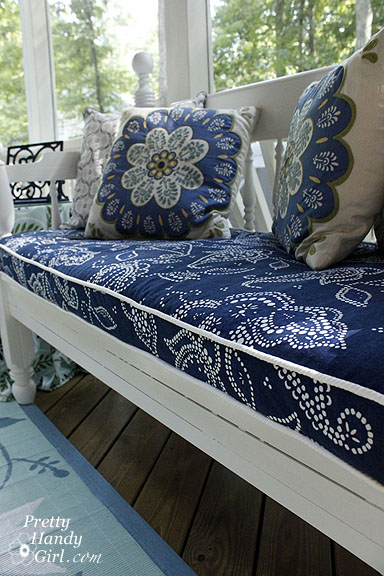
Back when I showed you my screen porch tour, I told you it really wasn’t 100% finished. Why? Well, I really wanted to sew a cushion for the garden bench.

As I was looking for piping for my cushion, I was getting VERY disappointed! Why? Two reasons:

  1. I couldn’t find a simple piping cord in a white color.
  2. Anything that might work (off-white) was VERY expensive!

So, I decided to teach myself how to make my own piping for the cushion. I can tell you now, I WILL NEVER BUY PIPING AGAIN! It was that easy.

Materials:

  • Cotton rope
  • Inexpensive cotton/poly blend white fabric
  • White thread
  • Scissors
  • Pins
  • Sewing machine with a zipper foot
  • Iron

Tutorial:

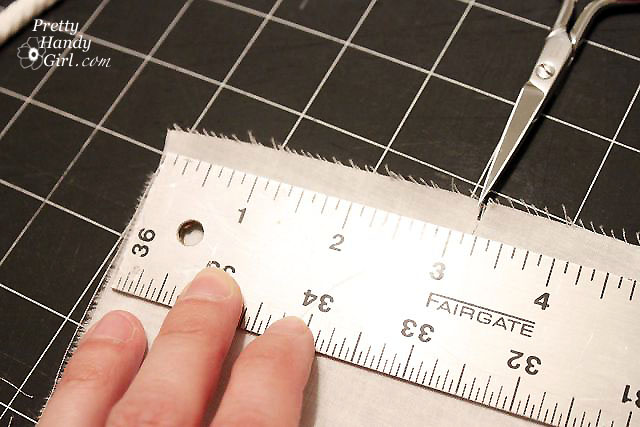
1. Start by measuring your fabric and put a snip at 3″.

2. Tear the fabric along the length. The strip should stay approximately 3″ along the rip.

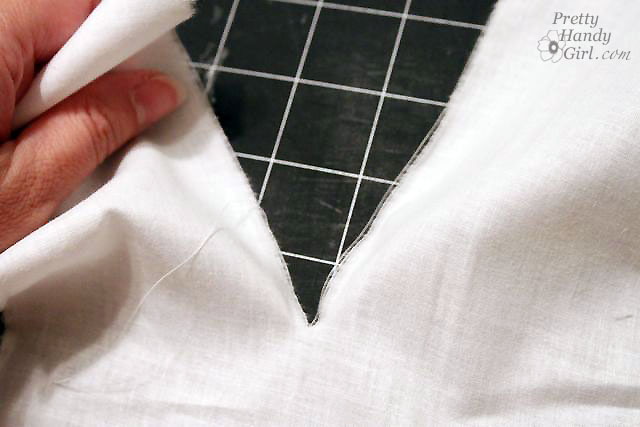
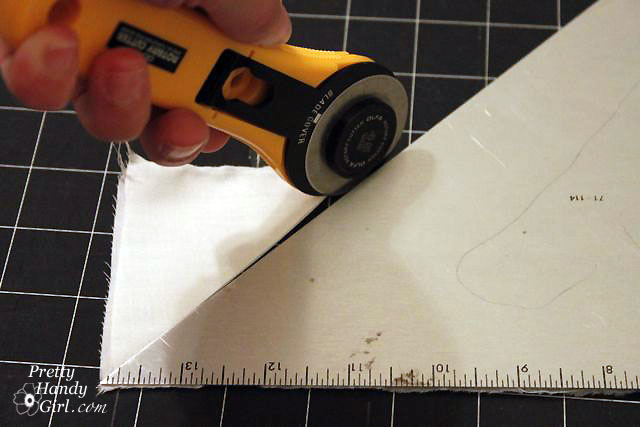
3. To add more length, cut two pieces at a 45˚ angle.

4. Pin the two angled ends together as shown (at a 90˚ angle).

5. Stitch the two pieces together along the angled edge.

6. Open up the fabric and press the seam.

7. Lay your rope in the center of the fabric.

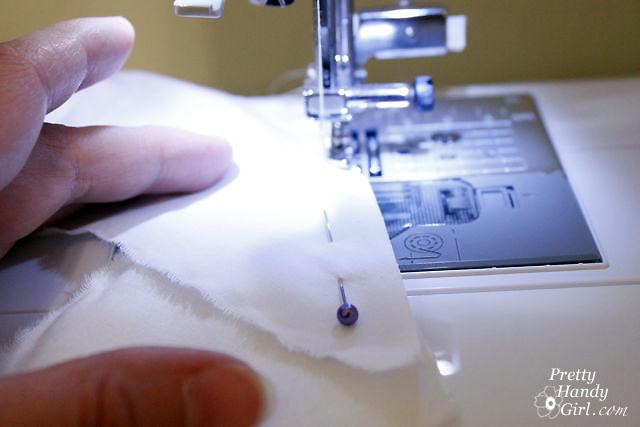
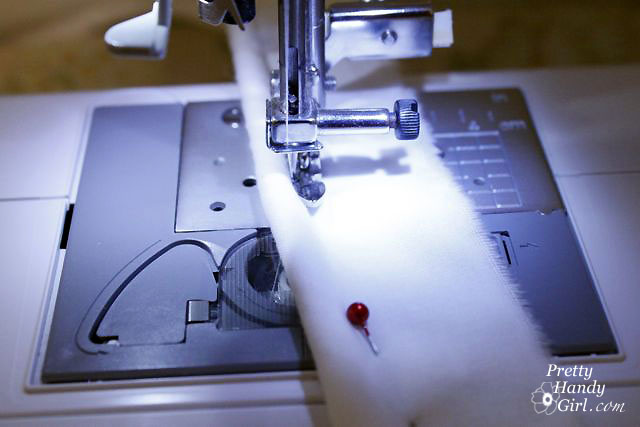
8. Line up the raw edges and pin next to the cord.

9. Using your sewing machine and zipper foot, stitch very close along the edge of the rope but not on top of it.

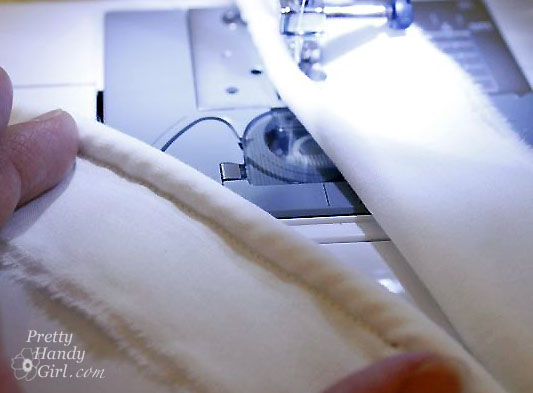
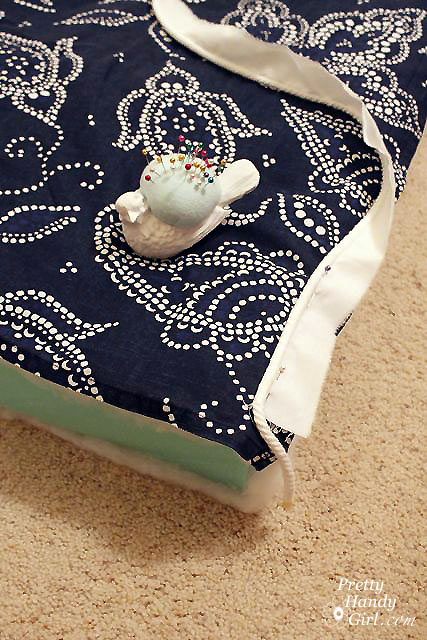
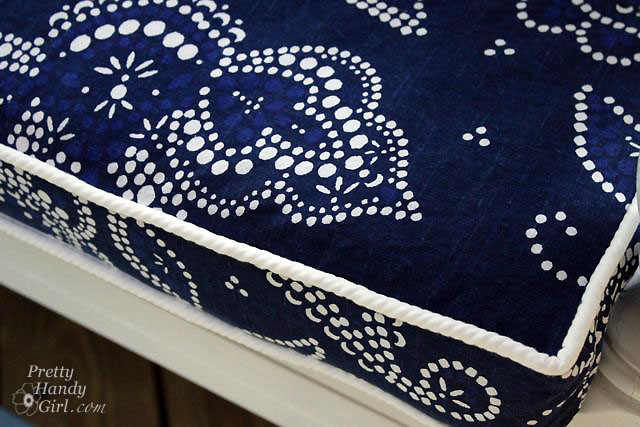
And this is your finished product! I actually like how the thin fabric shows the spiral pattern of the rope through it.

Now, head on over to my tutorial for sewing the bench cushion cover!

2.8Kshares
  • Facebook
  • Twitter

You might also like:

Sewing

Comments

  1. Brenda says

    October 3, 2019 at 10:57 am

    Do you have a problem with mildew and your outdoor cushions. I’ve been afraid to put pillows or cushions outside on my porch in this humid, humid southern weather.

    Reply
  2. Beth says

    October 1, 2015 at 4:53 pm

    Thank you soo much! I just used your tutorial and made a great (for a novice) cushion cover for an antique bench that was gifted to me.

    Reply
  3. Joy says

    June 29, 2015 at 8:32 am

    Great tutorial, easy to read through it. Now in the process of making seat covers. Question: What size cord did you use? Cord #5 is .5 inch and Cord #4 is .38 inch. Thanks

    Reply
    • Brittany Bailey says

      June 29, 2015 at 10:35 am

      Joy, I’m not sure, but I think it was 3/8″ thick. I’d use what you think looks best for your sized cushion.

      Reply
  4. Trish Davenport says

    September 10, 2014 at 9:46 pm

    This made it all clear for me. Making piping has always been something I tried and never got quiet
    right. I think I was attaching the new lengths of material all wrong. Thanks for your great help.

    Reply

Read more comments:

« 1 2 3

Leave a Reply Cancel reply

This site uses Akismet to reduce spam. Learn how your comment data is processed.

Hi, I'm Brittany aka Pretty Handy Girl. I like the smell of coffee and sawdust in the morning. I live to break stereotypes and empower you to take on your own DIY project.

  • Email
  • Facebook
  • Instagram
  • Pinterest
  • Twitter
  • YouTube

Saving Etta - Follow the Adventure to Flip a Historic House

  • Email
  • Facebook
  • Google+
  • Instagram
  • Pinterest
  • Twitter

Privacy Policy

Affiliate Link Disclosure:

Pretty Handy Girl is a participant in the Amazon Services LLC Associates Program, an affiliate advertising program designed to provide a means for sites to earn advertising fees by advertising and linking to Amazon.com.

Copyrighted Content Permission

All images and tutorials on this blog are copyrighted material. Please contact me if you would like to borrow any media (photos, video or audio files), tutorials, or ideas from this blog. 99% of the time I would be happy to allow you to use one photo with appropriate credit and link back to PrettyHandyGirl.com (preferably to the same post it was borrowed from.) I can be contacted via email: PrettyHandyGirl (at) gmail.com.

© 2021 · Pretty Handy Girl ·