
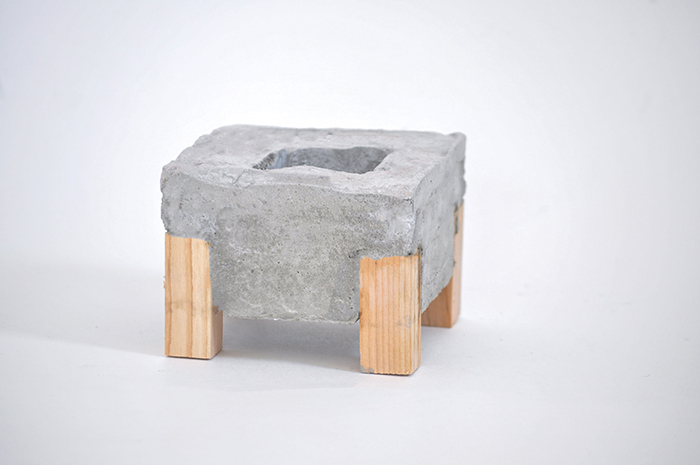
How to make a Concrete and Wood Planter
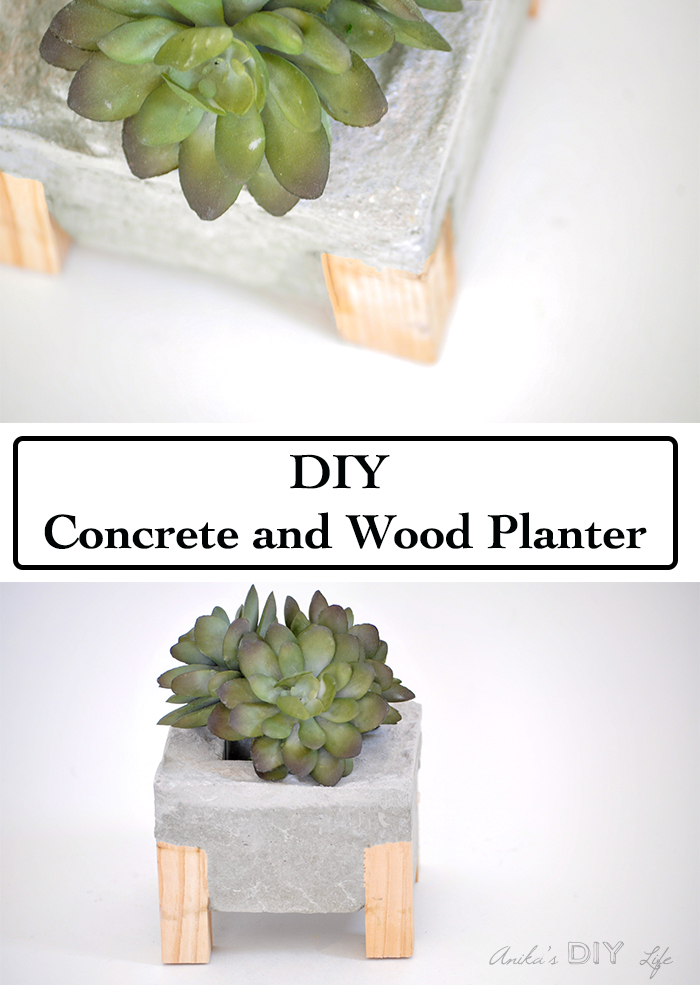
Hey, guys! Anika here again from Anika’s DIY Life sharing a project made with my new favorite medium – concrete. I have been experimenting with concrete lately and having a lot of fun with it! I started with a few concrete pumpkins and a mirrored concrete tray. Concrete planters are very popular right now and are easy to make! I decided to add a fun twist to mine by adding little wooden feet. Want to learn How to make a Concrete and Wood Planter?
If you have been thinking about making something with concrete, this is a great beginner project!
Materials:
(I’ve included affiliate links for your convenience. I earn a small percentage from a purchase using these links. There is no additional cost to you. You can read more about affiliate links here.)
- 1″ square dowel
- Fast setting concrete
- Box of your choice for the outside mold
- A smaller box of your choice for the inside. (This should leave enough space around the sides to create a strong wall – at least ½” thick)
- X-acto knife
- Cooking spray
- Medium grit sandpaper
Instruction:
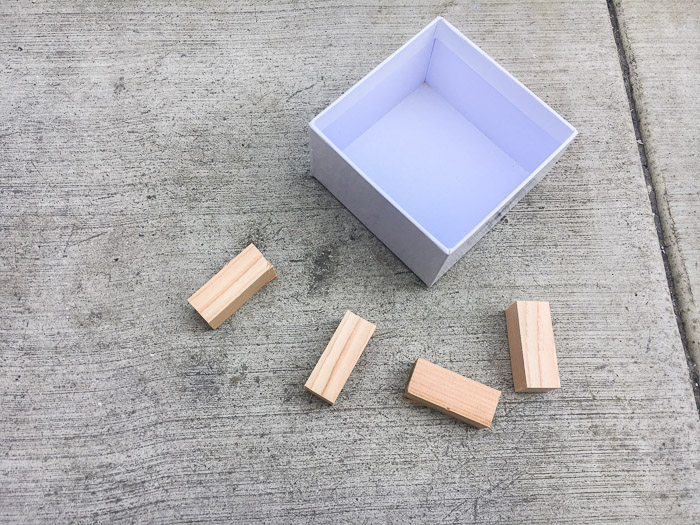
Step 1 – Cut the square dowel into four 2″ pieces for the feet.
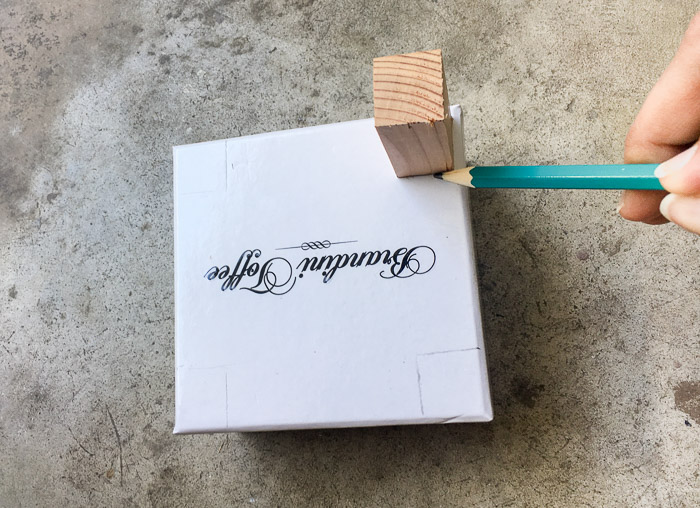
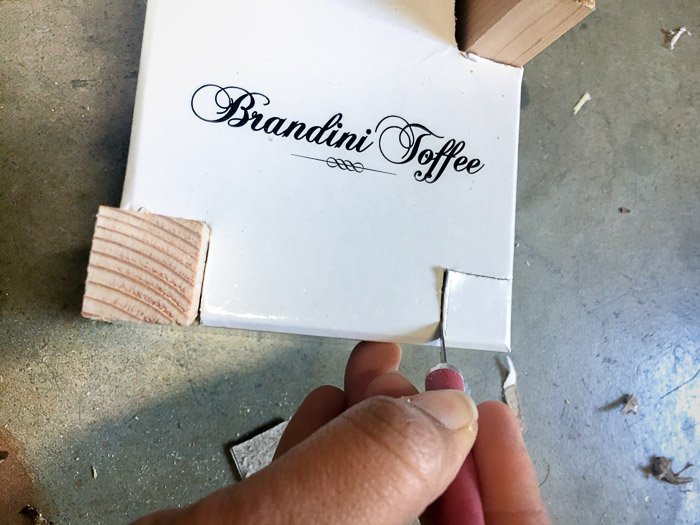
Step 2 – Mark the corners of the outer box where the dowels will fit. (As a side note, you have to try these toffees! They are AMAZING!)
Step 3 – Cut out the marked corners using the X-acto knife. It is important that the cuts are as accurate as possible to ensure a tight fit for the dowels.
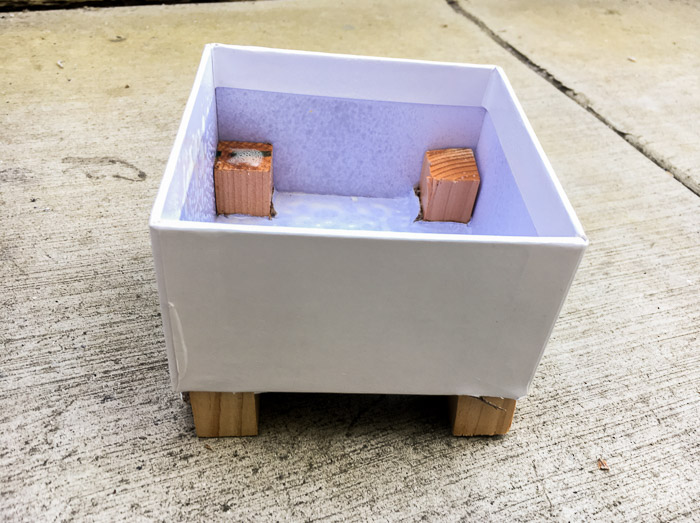
Step 4 – Insert the dowels halfway into the openings. Spray the inside of the box with cooking spray.
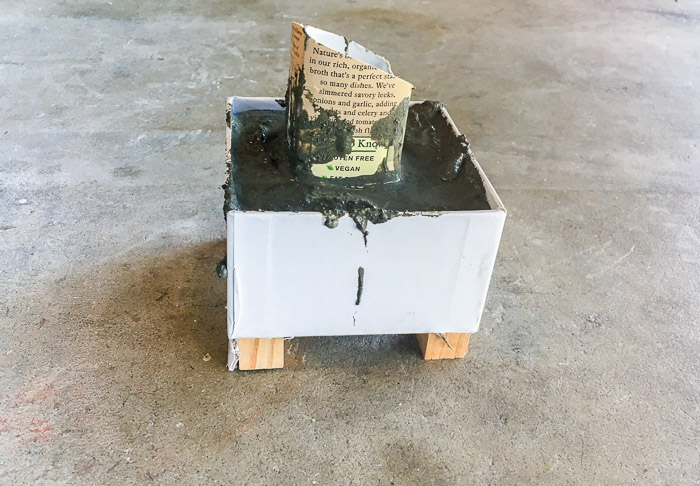
Step 5 – Mix and pour the concrete into the box and set the smaller box in the middle. (You might need to add some weight into the smaller box to hold it down. I used a vegetable broth carton and put some rocks inside.)
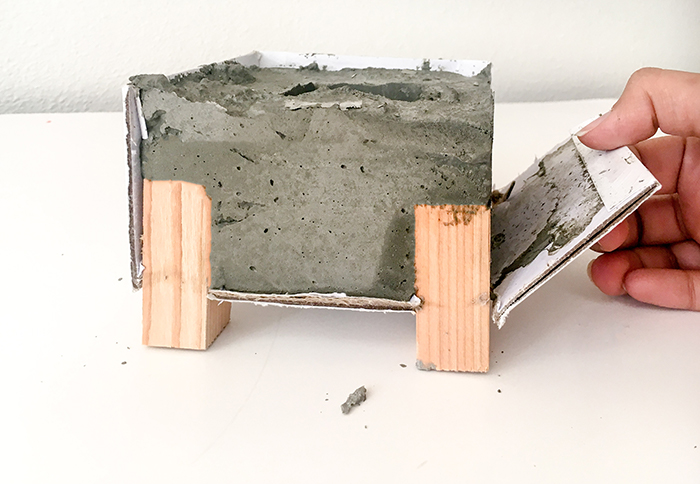
Step 6 – Let the concrete cure for about 12-15 hours before removing the cardboard. The cardboard should peel off very easily if you used the cooking spray. Your planter will need a couple more days to dry completely
Step 7 – Once the planter has dried for 3-4 days, smooth out any uneven edges with a medium grit sandpaper.
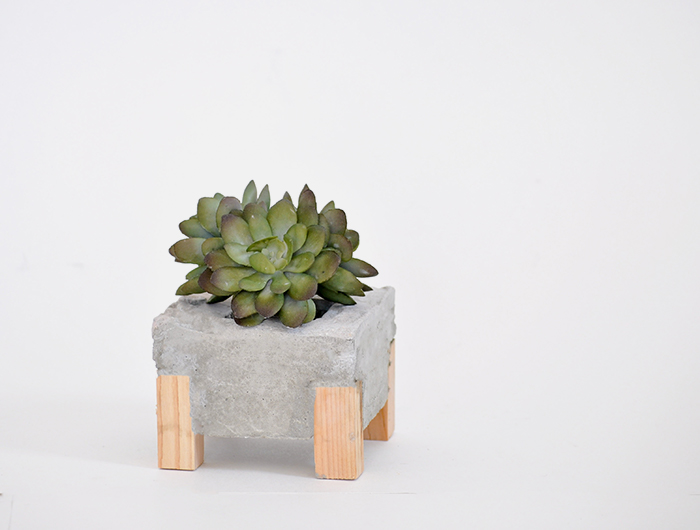
You can paint the wood legs or add painted accents to the concrete if you wish. I chose to leave it plain because I am kind of digging the natural combination. Add your favorite plant (or faux-plant) and enjoy!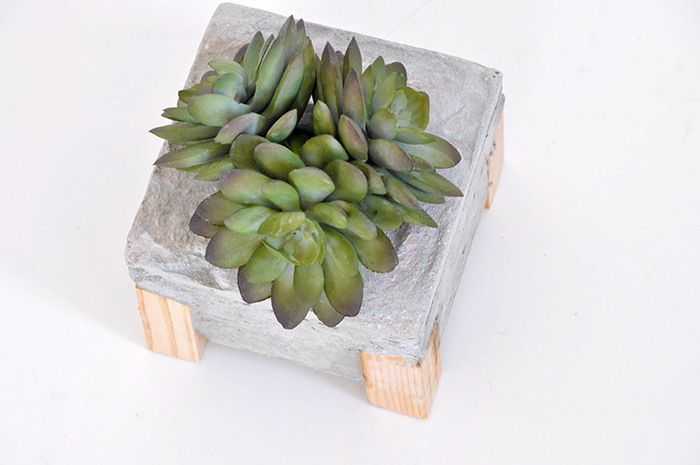
If you loved this concrete planter, be sure to take a look at my tiered concrete and copper planter. I have a few more concrete projects in the works too! Come follow along at Anika’s DIY Life so you don’t miss them!
Until next time!

~ Read More of Anika’s Tutorials ~

I don’t know how I missed this post, but I adore this. Wow! I must try making this. Thank you.
OMG, it’s simple to make and looks very cool.
I’d love to have one on my working place!!!
Great idea! I always love a concrete project since I’ve become a bit of a concrete-o-holic! I assume this is an indoor planter due to the wooden legs.
Be warned; once you start with concrete you will not be able to stop… (i know)
http://www.madebybarb.com/?s=concrete
Thank you for sharing Anika and Brittany, this is great! I’ve seen tutorials in the past for making concrete planters, however I really love the addition of the wooden legs. Having those really gives the whole design some extra flare!
I’ve been thinking about making some planters for succulents for a while now, but I’m wondering; what happens if/when the succulent outgrows the concrete planter? Would that be an issue? Or do they grow too slowly for me to worry about it?
I think I’m going to share this on Twitter so I can help spread the DIY goodness 🙂
I have made many concrete planters and then planted them with succulents (which BTW are ridiculously easy to propagate) and they don’t grow too fast. You may want to consider sealing the inside otherwise the concrete will constantly be ‘sucking’ out the moisture. Succulents are used to be dry so it isn’t that much of a deal depending on your watering habits.
Also, after curing concrete used for plants should be soaked in water to allow the alkalinity to leach out, if you are not sealing them on the inside.
see examples here: http://www.madebybarb.com/?s=concrete+bowls
Thank you so much for this tutorial! I was planning on making them with just concrete but I totally love how you made it even more fancy with the wood!