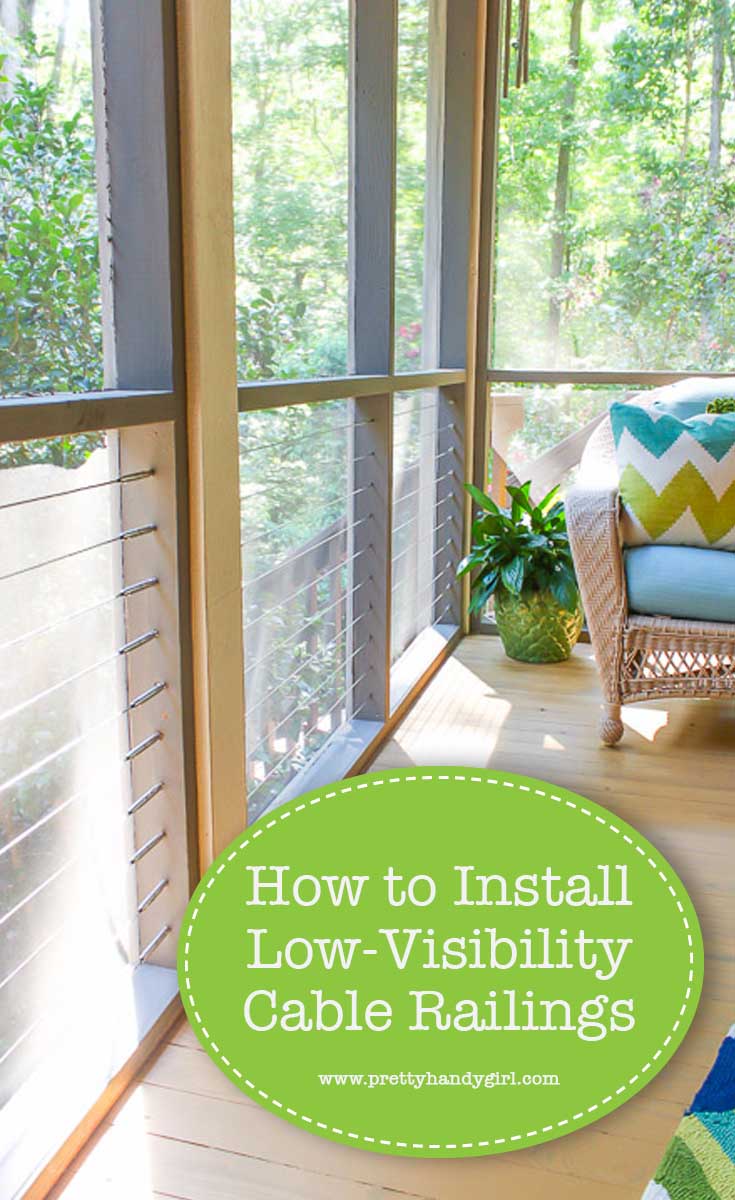
How to Install Low Visibility Cable Railings
Today I have a special tutorial for you! Have you ever fallen in love with cable railings but worried you couldn’t install them yourself? I have great news. You can learn How to Install Low Visibility Cable Railings from this tutorial!

(This tutorial is sponsored by Feeney. I approached them about working with me on this screen porch makeover because they had great reviews about their products.)
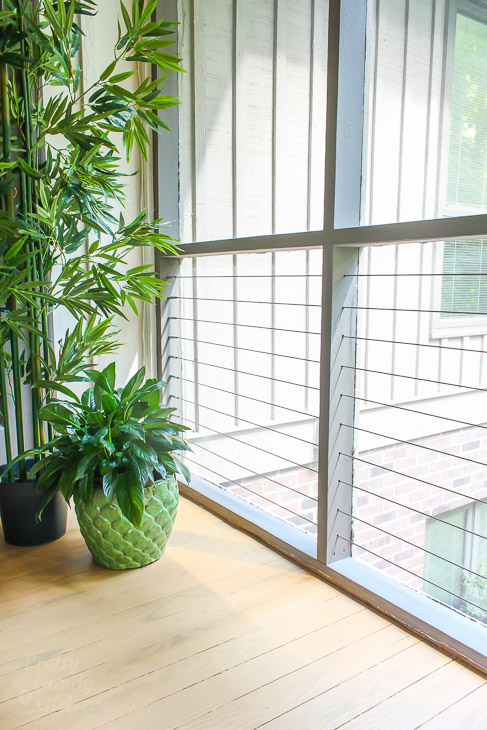
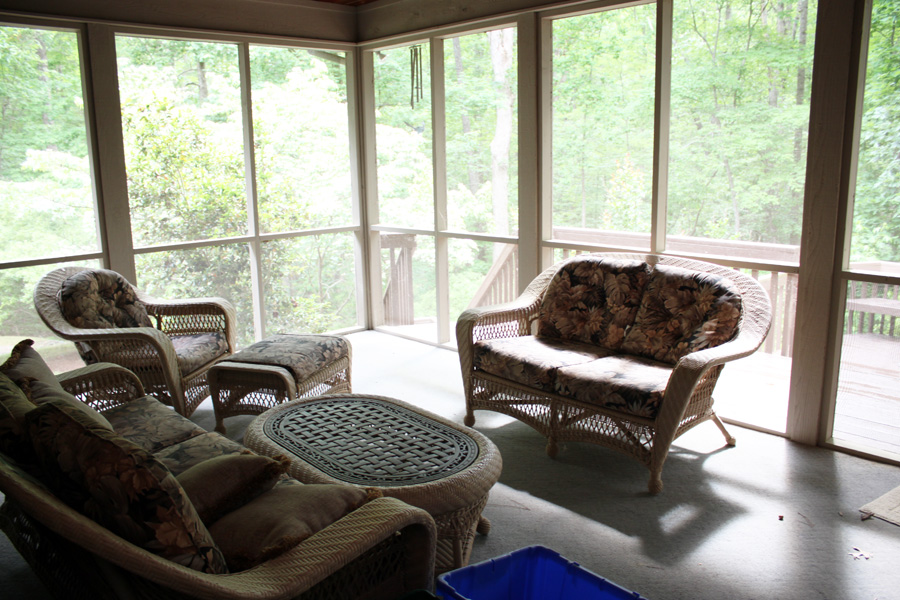
This is one makeover that has been in my head for almost two years. My much loved stepmom has a screen porch that needed a facelift. We started with a dark, dated and drab porch. All the porch surfaces were painted brown. The furniture had a monotone brown look. The only different color on the porch was from a very faded and dirty blue carpet that was glued to the porch floor. It was so dirty you could probably call it brown too!
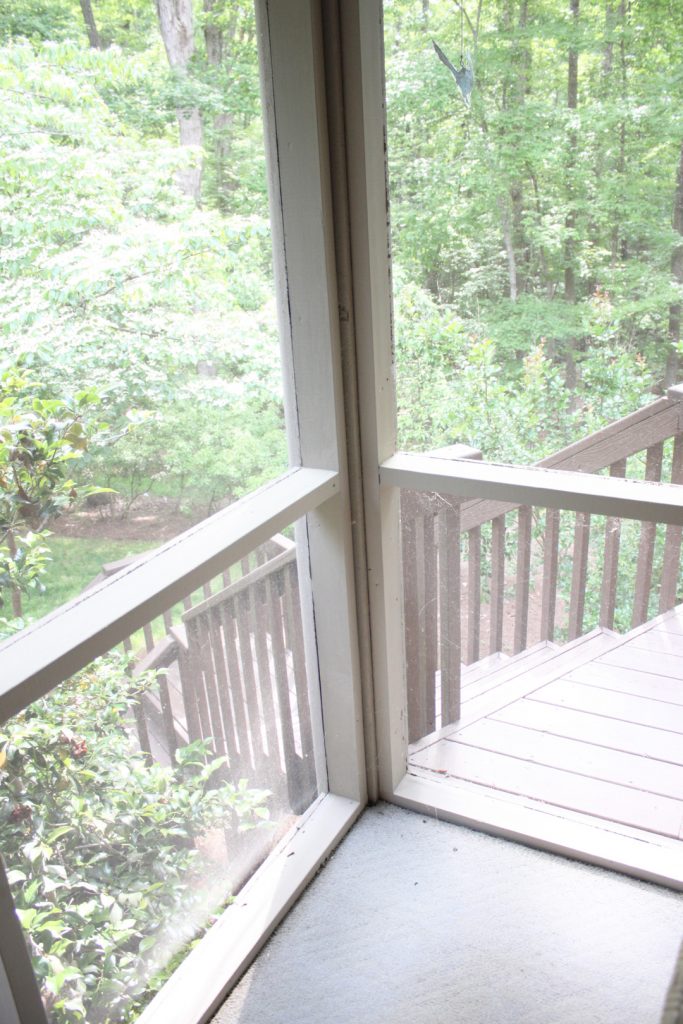
In addition to an appearance upgrade, this screen porch needed a safety solution. This is the issue that has bugged me since my stepmom moved into her home. Can you spot it?
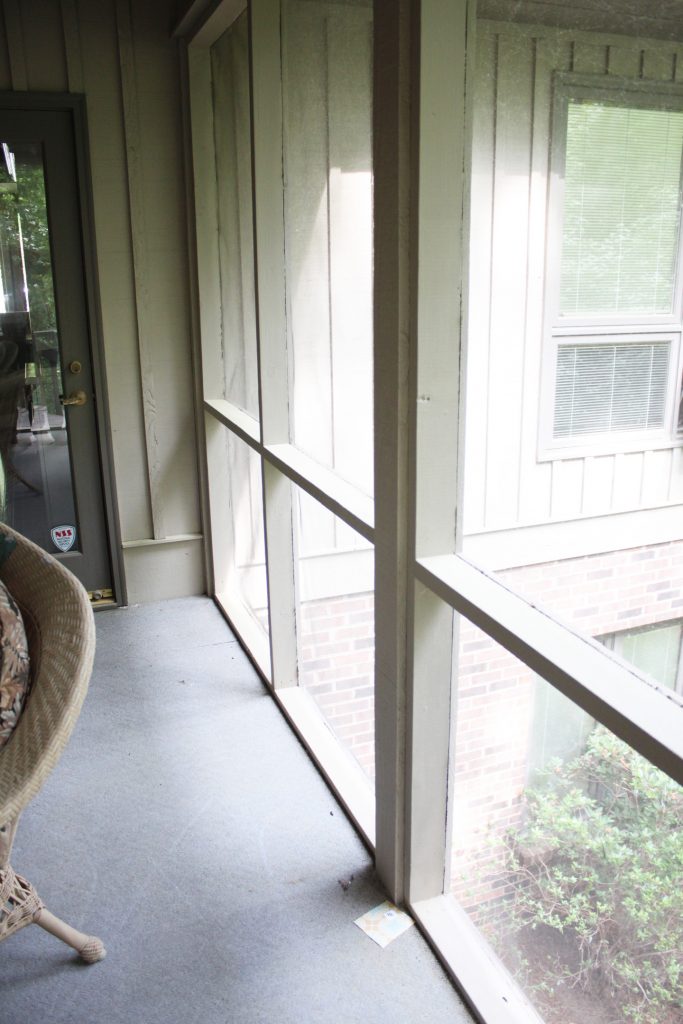
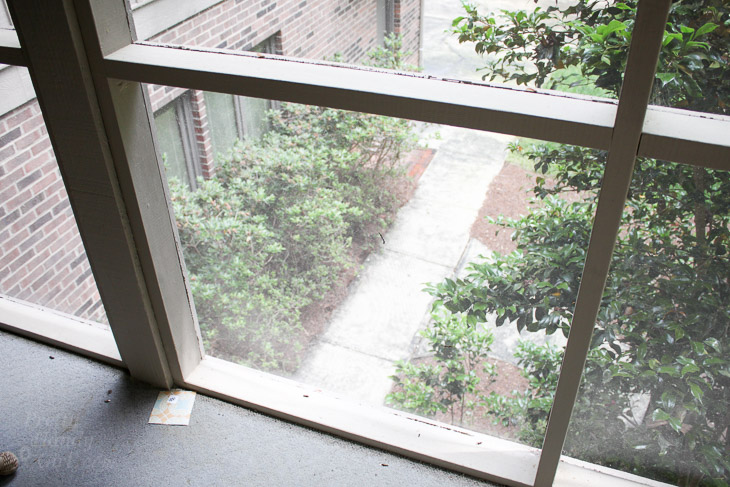
This side of the screen porch has always made me cringe. Can you see the problem from this angle?
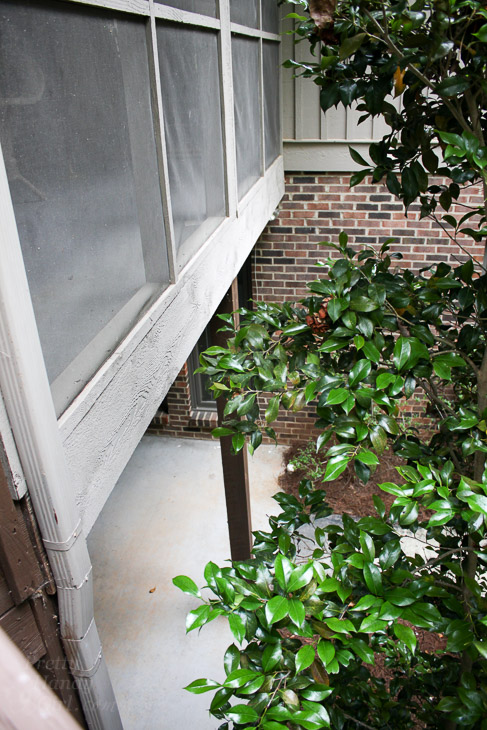
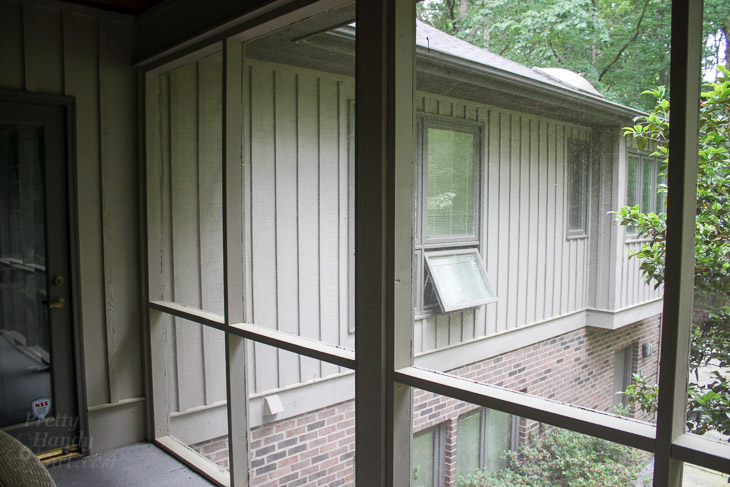
There is a 10′ drop down from the screen porch. The only thing between this drop and people is a thin screen. For the record, this is not how you build a screen porch, it is not to code. There is supposed to be a railing on the lower sections.
I finally convinced my stepmom to let me solve the problem. One requirement she had was it couldn’t block the view. Luckily I had the perfect solution. Feeney CableRail System!
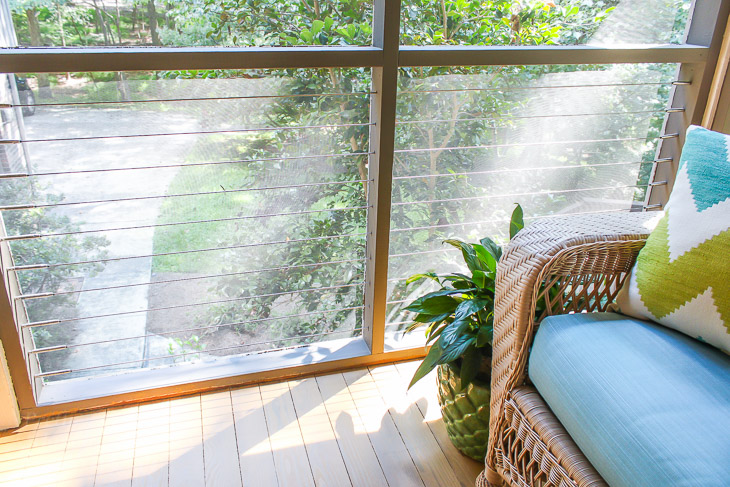
They are sleek, modern and nearly disappear. Feeney’s CableRail system with their special easy-to-use Quick-Connect® cable fittings can be installed by any homeowner. Ready to learn How to Install Low Visibility Cable Railings? This tutorial is for installing the cable railings on an existing structure. Installing cable railings on stairs, new construction decks and other applications can be learned about from the Feeney’s website.
Let’s get to it.
Materials:
(contains affiliate links)
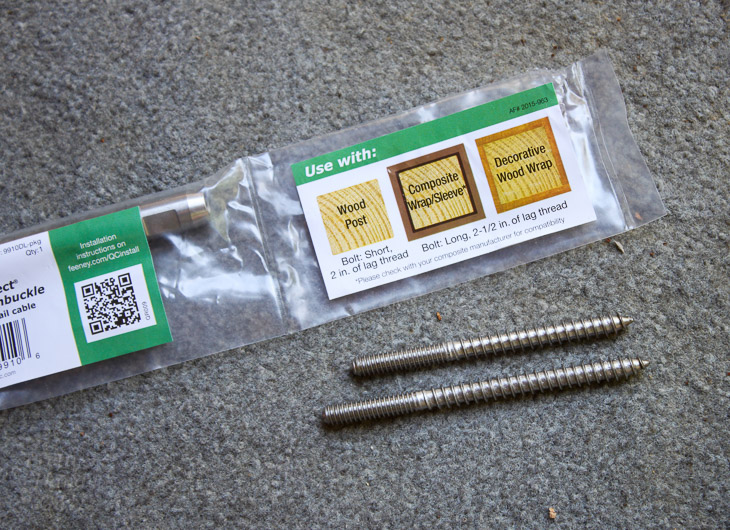
- Spool of 1/8″ Feeney Cable
- Feeney CableRail Quick-Connect® Lag
- Feeney CableRail Quick-Connect® Lag Swivel Turnbuckle
- Feeney Cable Lacing Needle
- Hanger Bolt Installation Tool
- Thread locking compound
- Feeney Quick-Connect® cable release tool
- Cable Cutters
- Ruler
- Sharpie
- Drill with 1/2″ chuck
- Drill bits (1/4″ and 7/64″ drill bits)
- 2 – 3/8″ open-end wrenches
- Painter’s tape
Instructions:
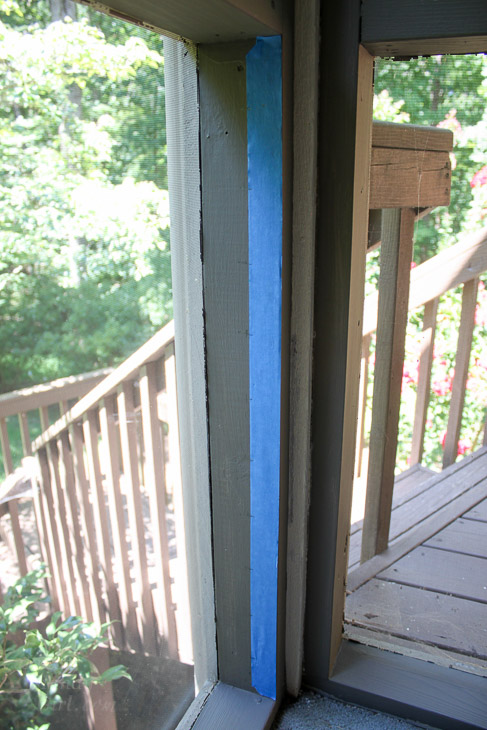
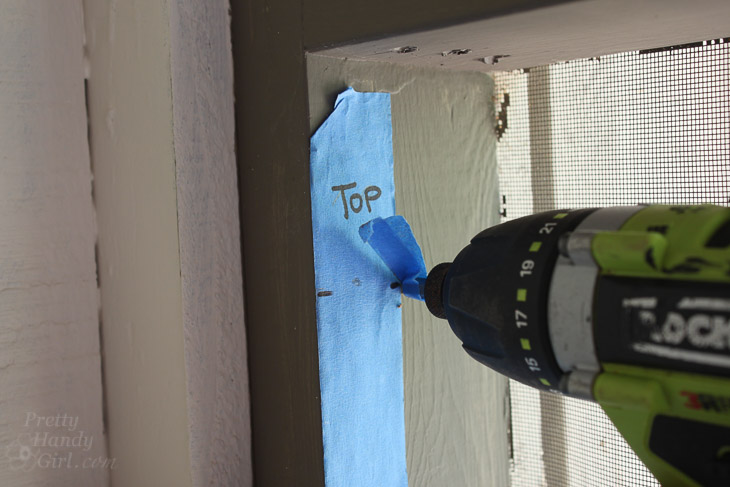
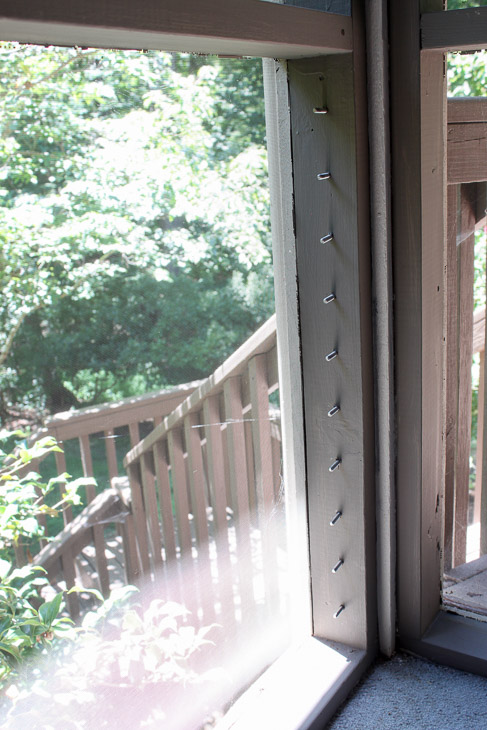
Cut a piece of painter’s tape to fit against the porch’s end supports where the Quick-Connect® fittings will be installed.
Find the vertical center. Mark 3″ increments along the painter’s tape.
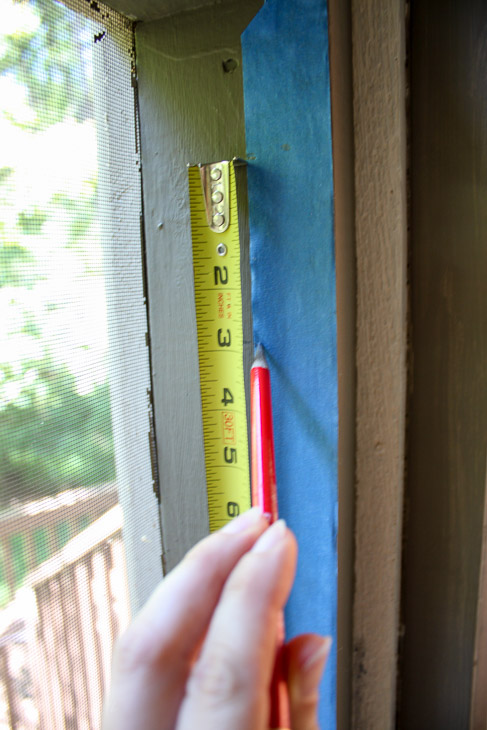
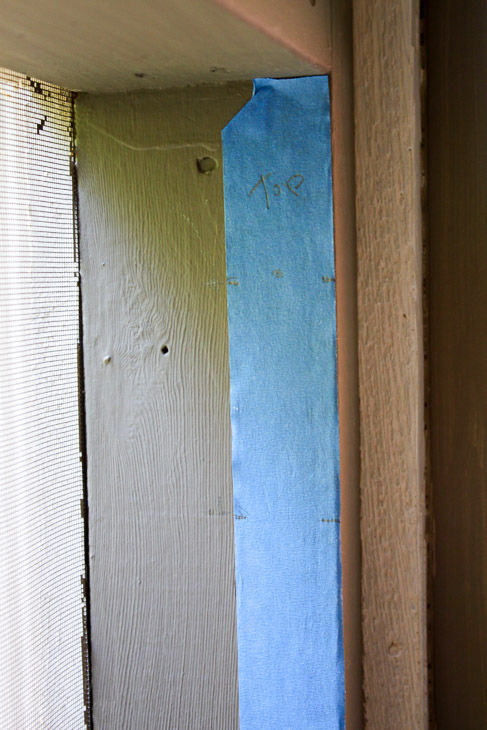
Label the top of the tape for reference.
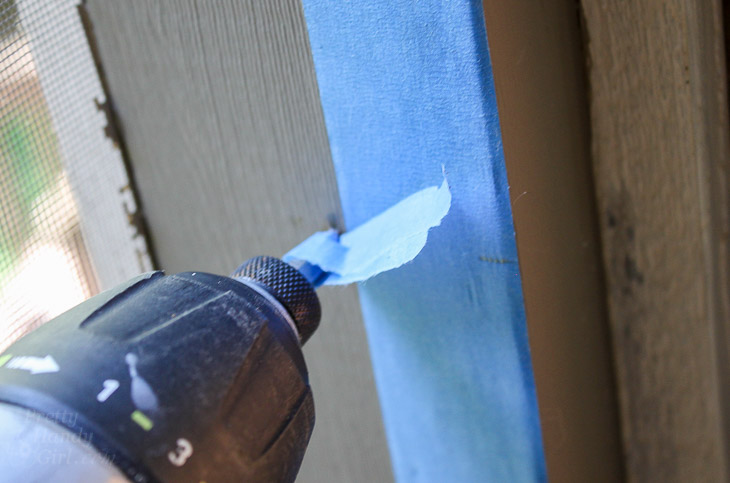
Mark 2″ on your 7/64″ drill bit with a piece of painter’s tape.

Drill holes at the marked locations into the porch supports. Stop when the painter’s tape flag meets the frame.
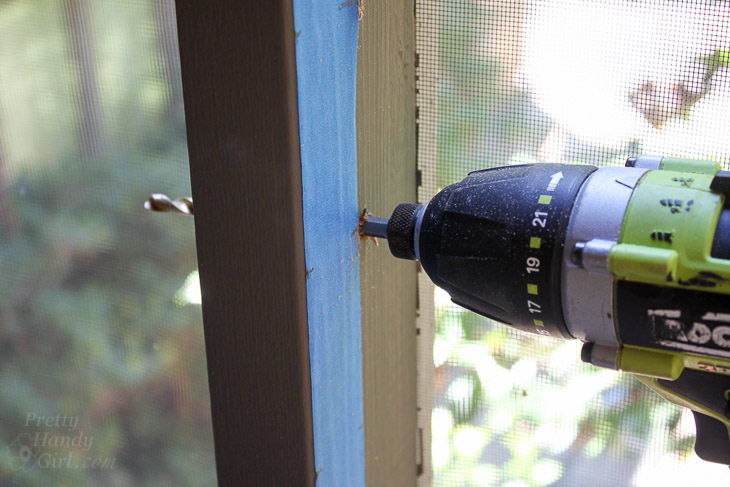
When you finish drilling all the holes on one side, remove the marked painter’s tape and place it on the other end support. If the height differs, center it vertically.
To drill through the center supports, switch to the 1/4″ drill bit and drill completely through the support.
How to Install the Lag Hanger Bolts:
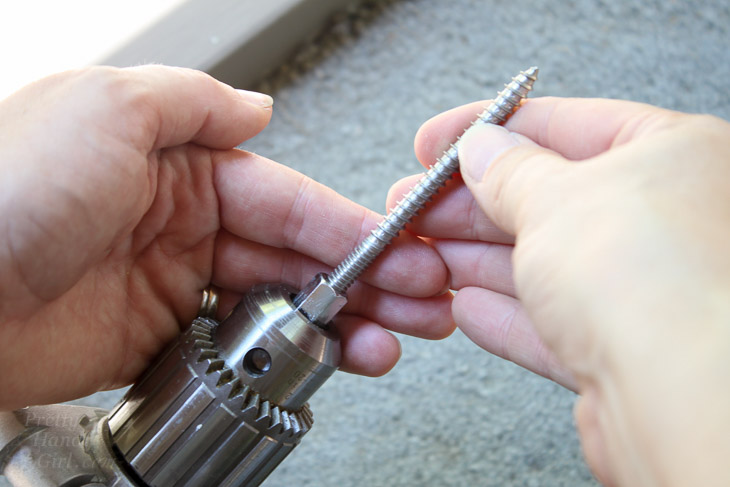
The lag bolt installation tool makes installing the lag bolt a breeze. One word of caution: go slow and steady with this tool or you will risk getting it stuck on the lag bolt.
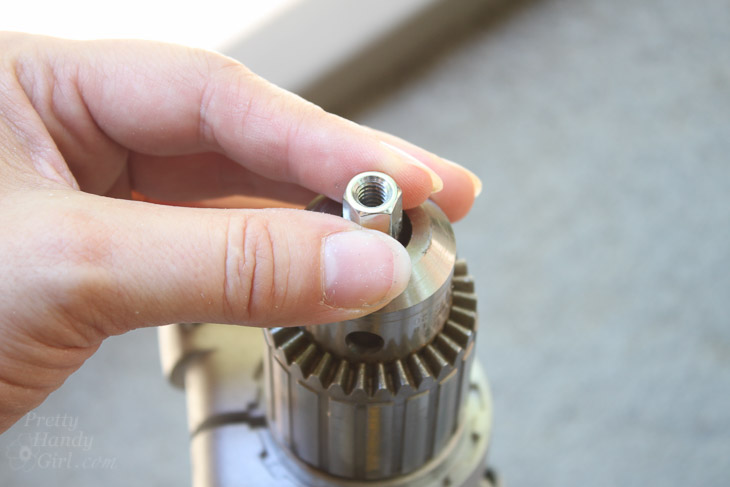
Place the lag bolt installation tool into the drill. Tighten the chuck.
Select the lag bolt you need for your application. If you are securing into a wood post directly you can use the shorter screw. If you are securing into a post that has a wrap or sleeve you have to use the 2 1/2″ lag screws.
Thread the lag bolt into the installation tool in your drill.
Slowly drive the lag bolt into the porch support. Stop when you reach the fine threads (exactly 1″ exposed.)
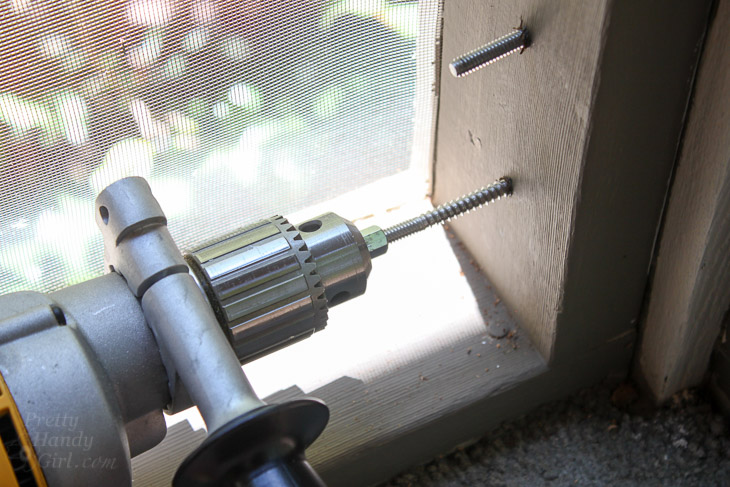
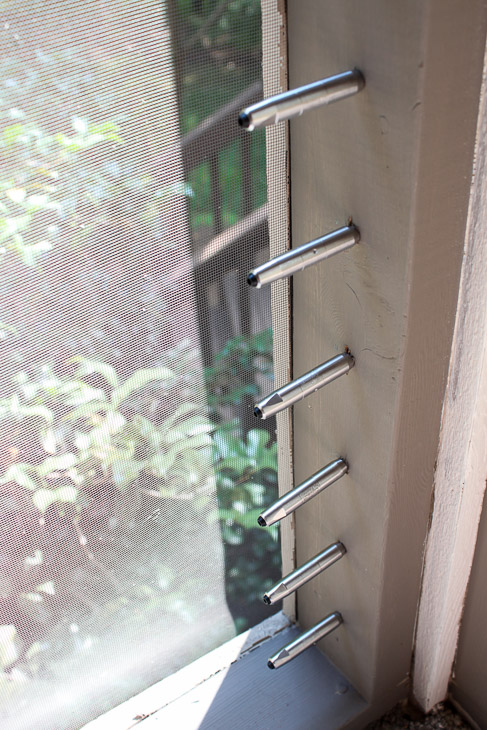
Repeat until you’ve installed all the lag bolts into both end supports.
Squeeze a small amount of thread locking compound ONLY onto the lag bolts that will receive the Quick-Connect® Lag Fittings.
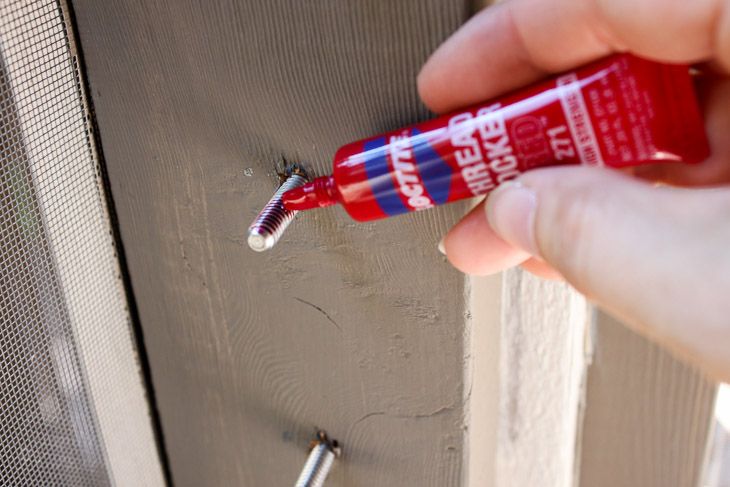
Turn the Feeney CableRail Quick-Connect® Lag Fitting onto the bolt until it stops against the wood.

Repeat until all the lag fittings are installed on one side of the porch.
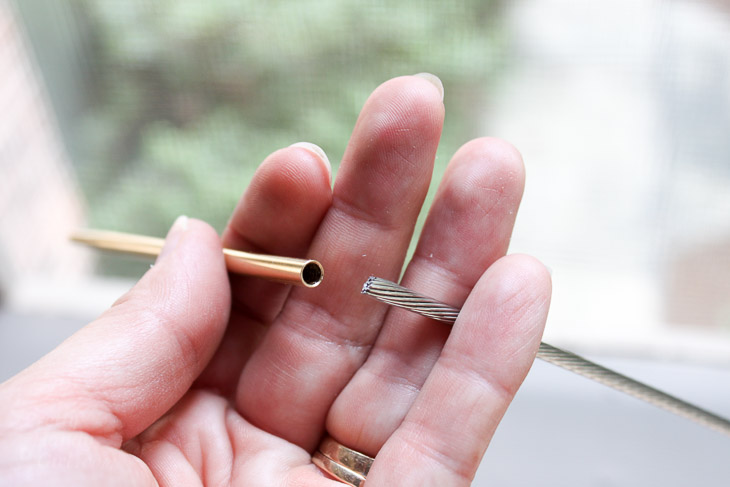
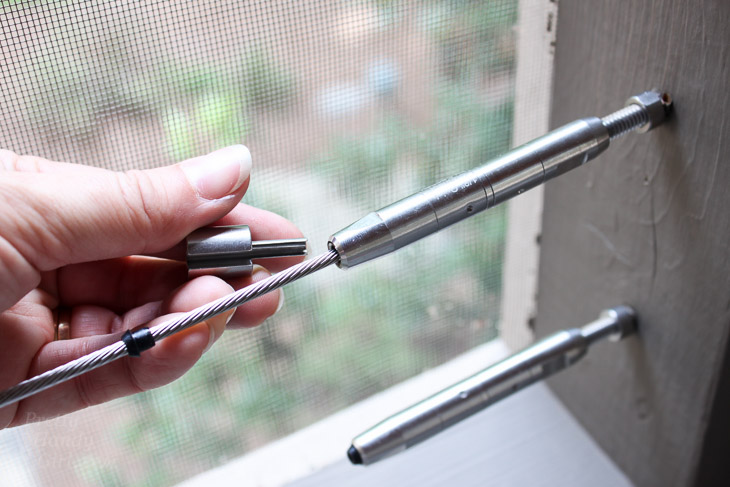
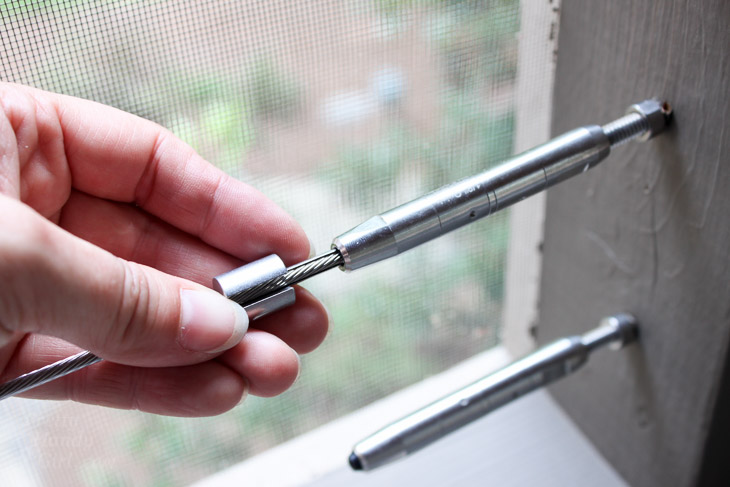
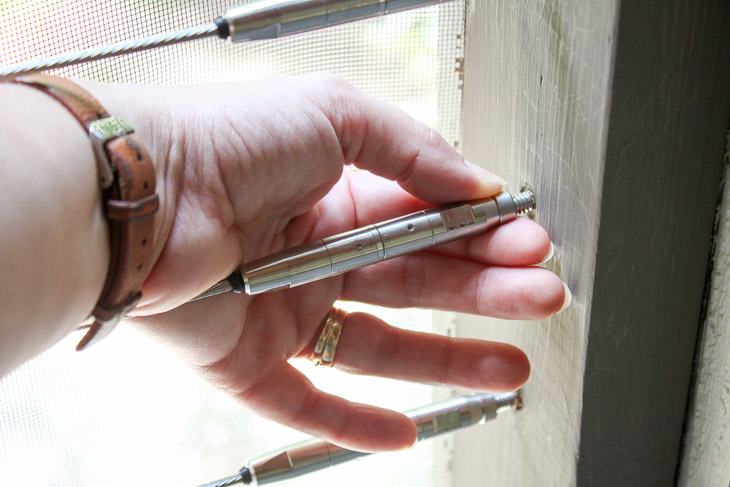
If you have a middle support, thread the cable through the support before connecting to the Quick-Connect® Lag Fittings. Locate the cable needle. Slip it onto the cable end.
Thread the needle through the center support post toward the lag fittings.
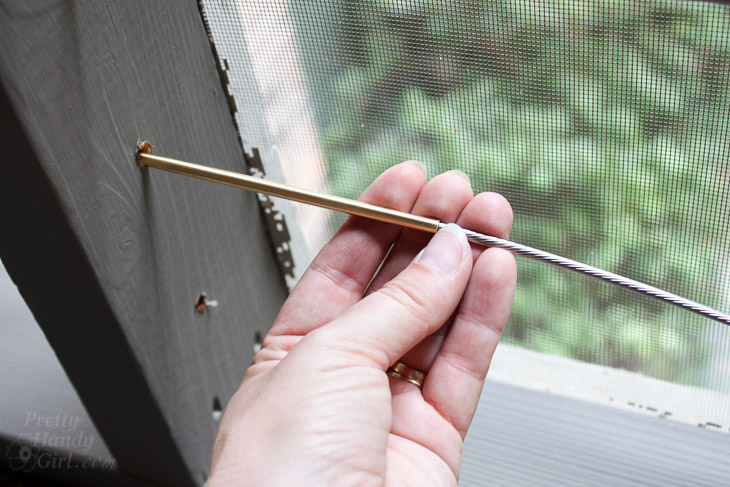
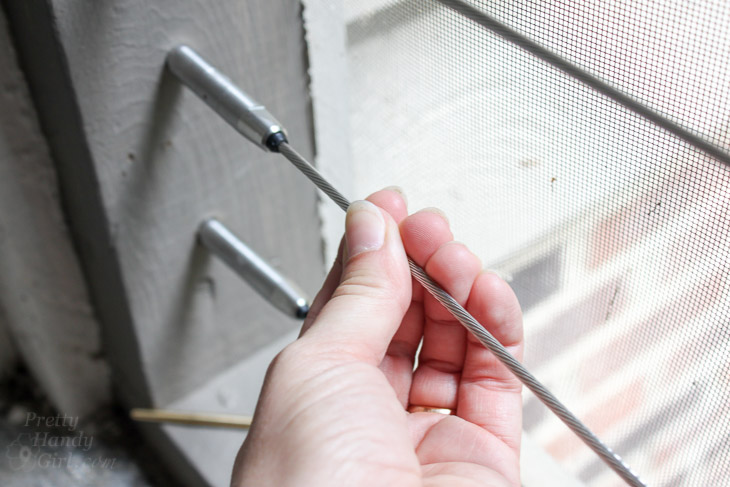
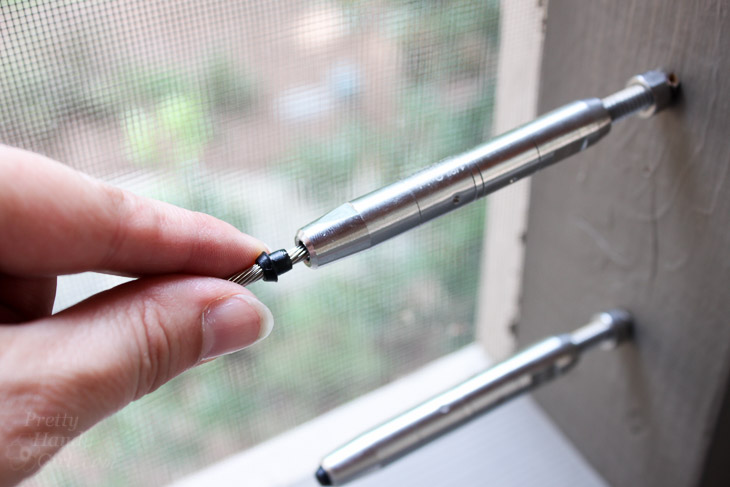
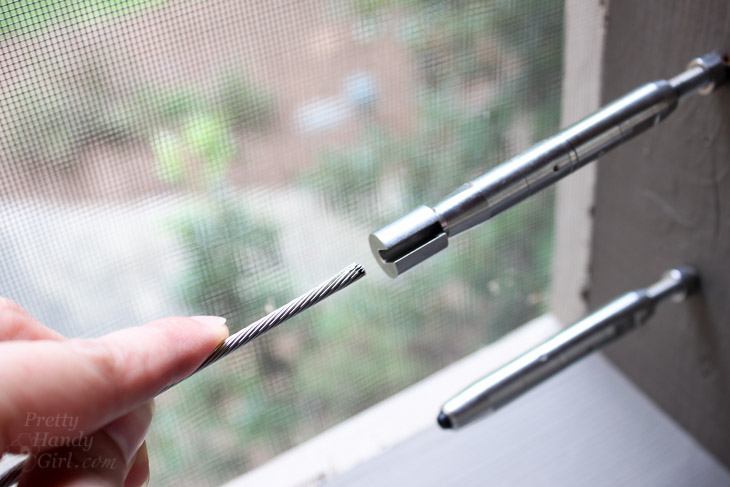
Once the needle and cable have passed through the support, remove the needle. Press the cable straight into the Quick-Connect® Lag Fitting. It should slide in smoothly. Don’t force it in.
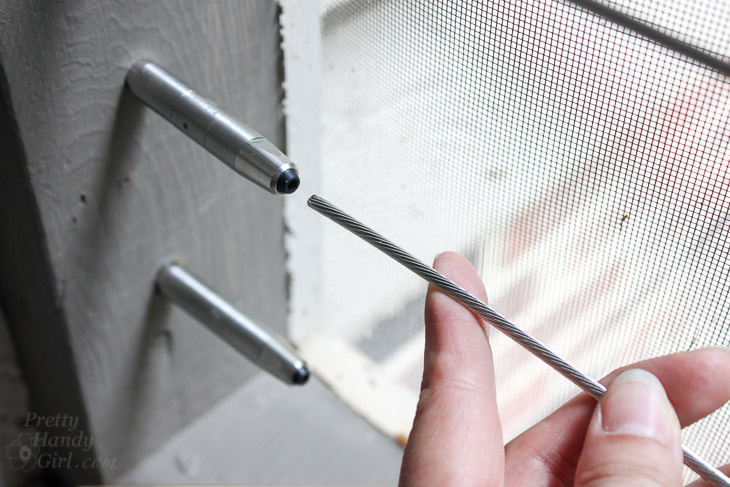
When the cable bottoms out, pull back to make sure it has locked into place.
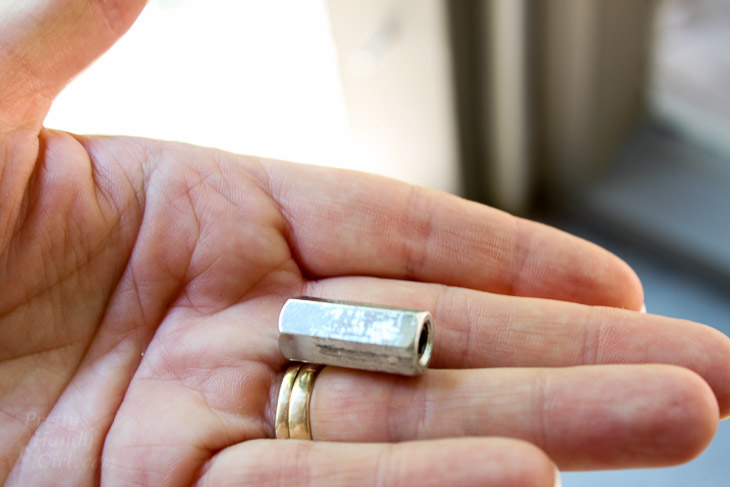
Head to the opposite side of your porch. Thread the lock nuts onto the lag bolts until it touches the wood.
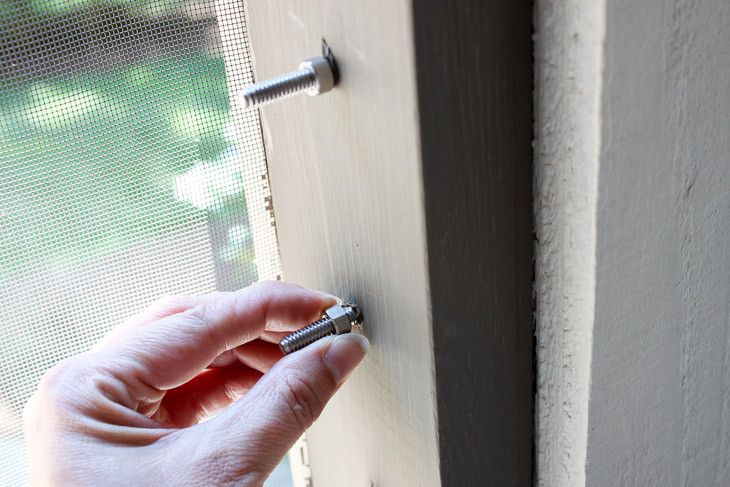
Thread the Quick-Connect® Lag Swivel Turnbuckle four full rotations onto the lag bolt.
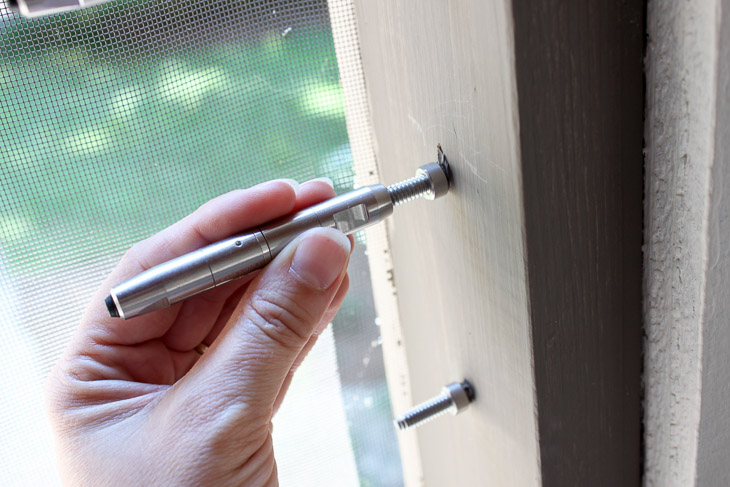
While pulling the cable tight use a Sharpie to mark the cable against the mark on the turnbuckle fitting.
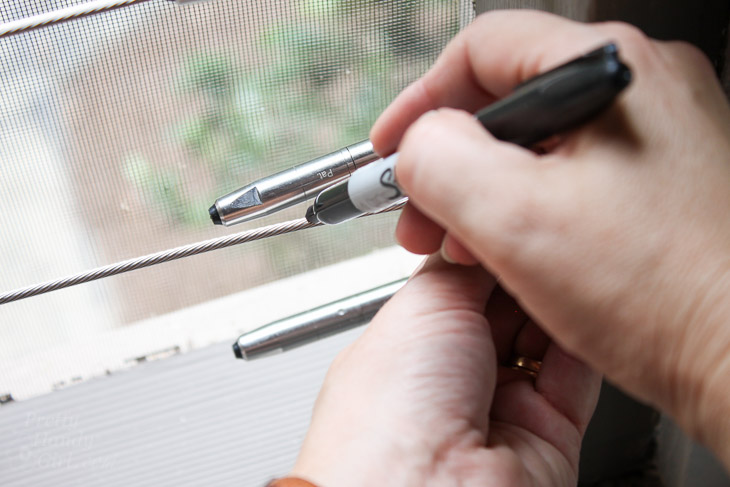
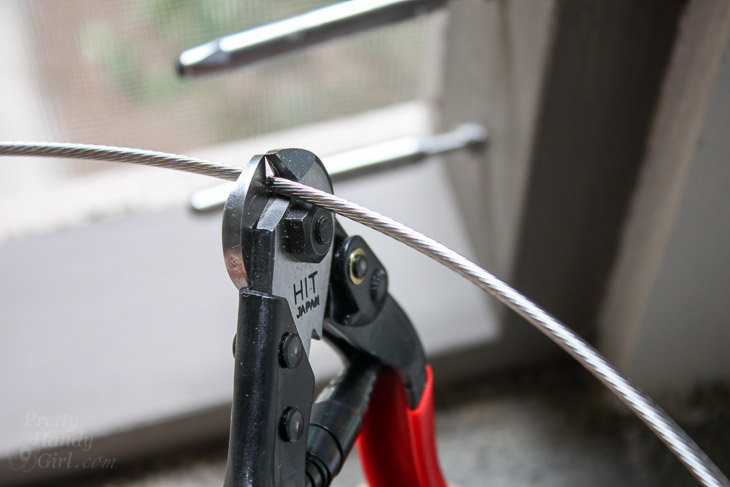
Use the cable cutters to cut the cable at the mark.
Loosen the turnbuckle two full rotations.
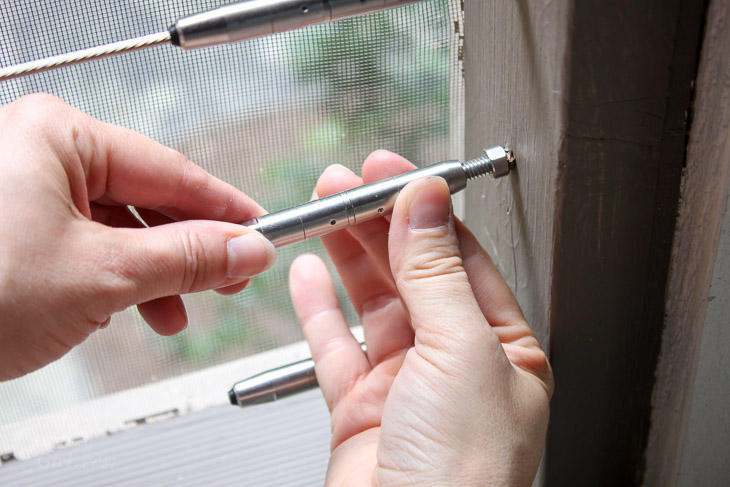
Insert the cable into the turnbuckle fitting.
If you make a mistake and need to remove a cable, don’t stress. Use the cable release tool.
Press the release tool into the connector.
You might need to tap the connector lightly with a hammer to get the tool to release the cable (especially if you already tightened the cable.)
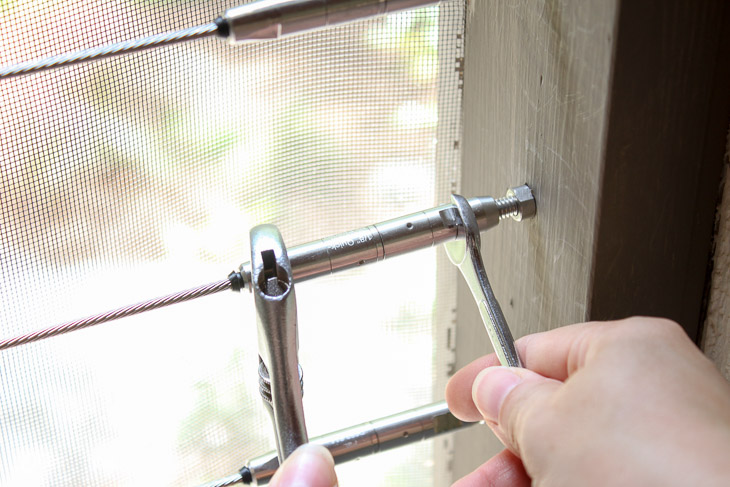
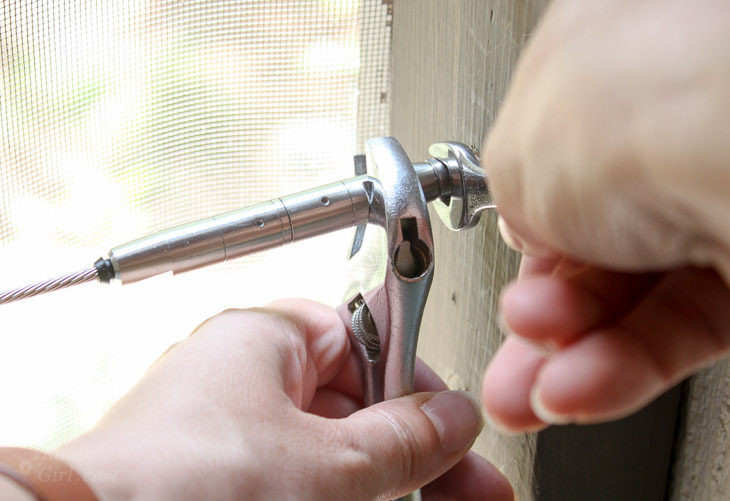
Hand tighten the Quick-Connect® Swivel Turnbuckles. Use two wrenches to grasp the connectors at the notched ends. Hold the end with the cable steady and tighten the side closest to your post.
Follow the sequence for tightening as shown below:
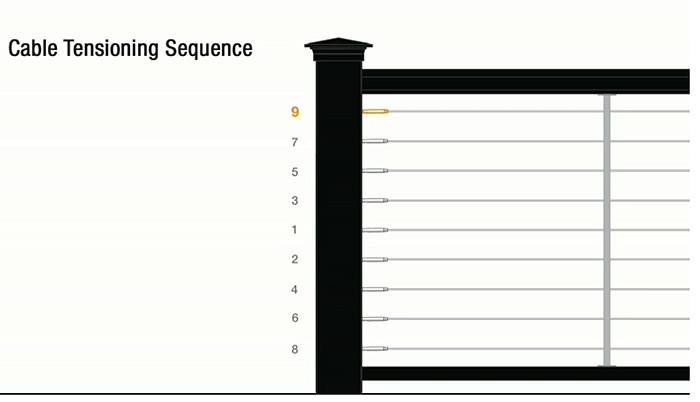
Once the cables are all fully tightened, turn the nut until it is secure against the connector.
Secure the nut against the fitting with your wrenches.
For more detailed installation instructions, watch this video for Installing Feeney CableRail System to a Wood Post with Sleeve or browse these Feeney video tutorials for more installation tips and help.
Ready to see the difference? Behold the scary, unsafe…
Before:
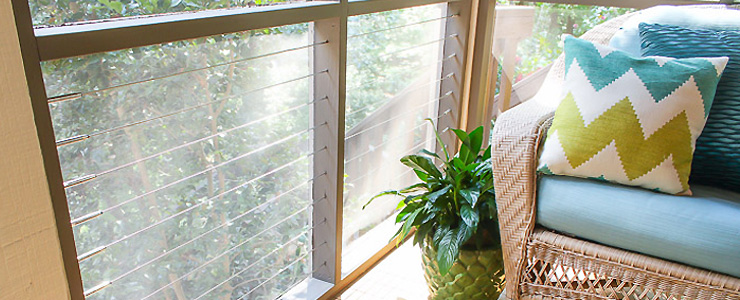
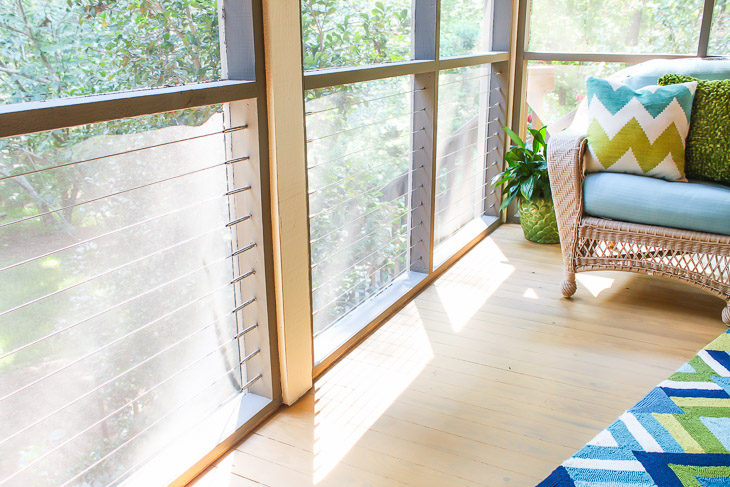
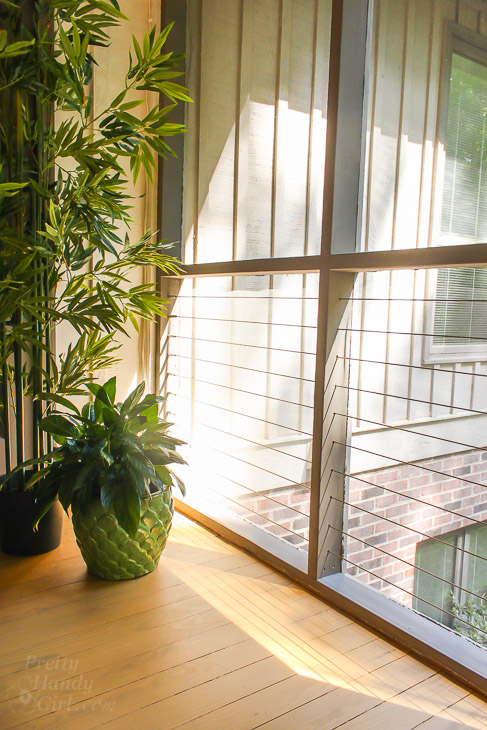
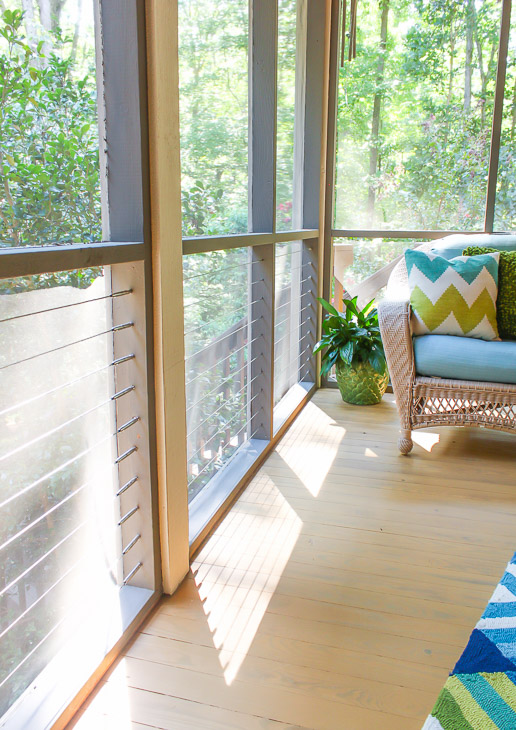
And the sleek, beautiful and safe…
After:
Another before:
And after:
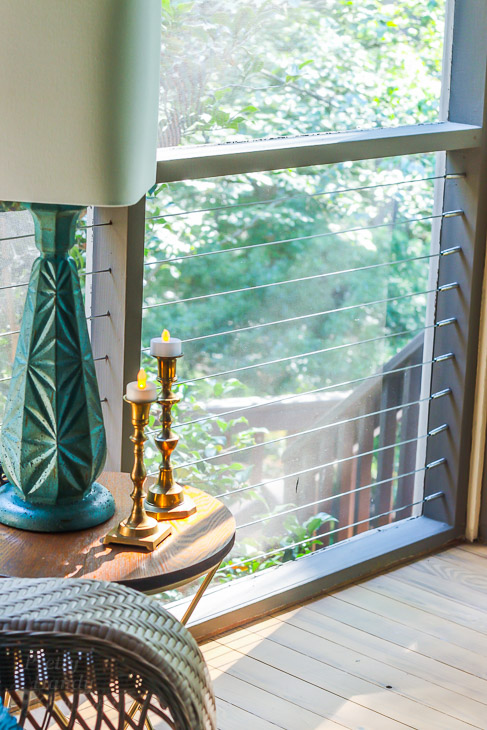
Don’t you love the look of Low Visibility Cable Railings? Now you can install them in your own home!
Want to see the full screen porch reveal, take a look here.
If you use any Feeney systems, be sure to share your photos with Feeney to be entered to win cash prizes! The next deadline is in November!

![]()
Disclosure: This is a sponsored post for Feeney Cable Rail. I was provided with materials and compensation for my time. I was not told what to write. All opinions are my own. As always I’m very particular about the brands I partner with.
Pin for later!


What a great post! I LOVE the look of cable rails. The more I build the more I realize that I can do projects that seem advanced, all you need is to find the right instructions, so thanks for sharing this:)
Eeek! That drop made me cringe even in a still photo. Perfect solution.
I know! I’ve been cringing for years!!! So glad it’s finally to code.
You are a genius! I love this DIY! Perfect if you wanna keep the view!
Absolutely! Thanks for your comment.
Love the make-over, the cables are fantastic!!
I LOVE the cables! I’m so glad you found a solution for my porch that increases the safety without being an eyesore . . . now that the rest of the porch is no longer an eyesore, thanks to you! Great job!
Do you know roughly how much this whole project cost? Looking at doing something similar on our screened in porch and I’d love to know
Anna, it depends on your dimensions and post configuration. But for reference our’s was $1200 in materials.