How to Install a USB Charging Outlet
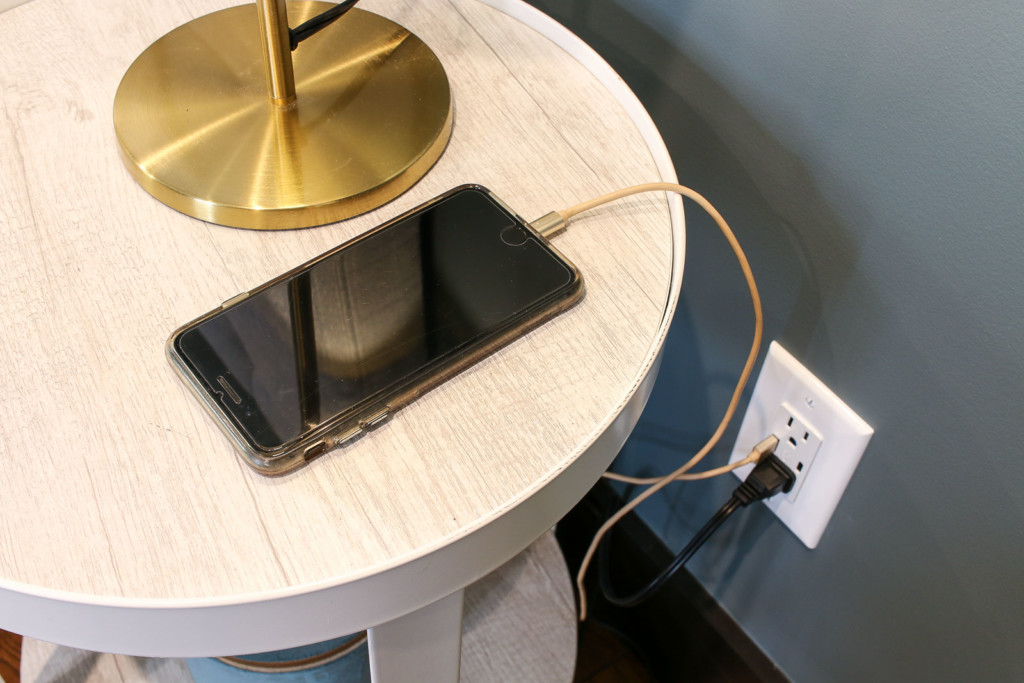
Learn how you can make simple electrical upgrades to your home. Today I’ll show you how to install an outlet that charges your USB devices and powers your appliances at the same time.
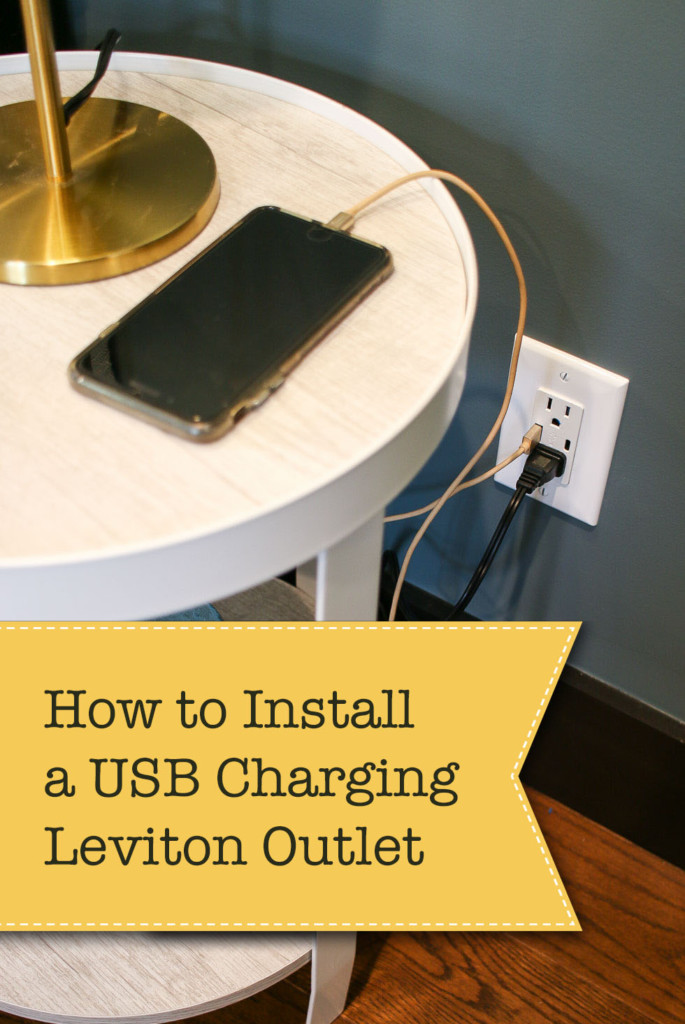
How to Install a USB Charging Outlet
I’m so excited to share this tutorial with you. Anyone who has a tablet, mobile phone, or other USB connected device will love this tutorial! How many times have you combed through your house for the plug to the cord for your device? I think I lost count how many times those little square plugs have eluded me. But, today they can stay hidden forever! I don’t need them now that I discovered How Easy it is to Install a USB Charging Outlet! As one of the Saving Etta sponsors, Leviton sent me several USB charging outlets to install in the house. (Spoiler Alert: I’ll be sharing some photos of the finished Saving Etta project. If you want to wait for the progress posts, go ahead and avert your eyes.) My electrician and I installed the outlets in strategic places where the homeowners would likely want to charge their USB devices.
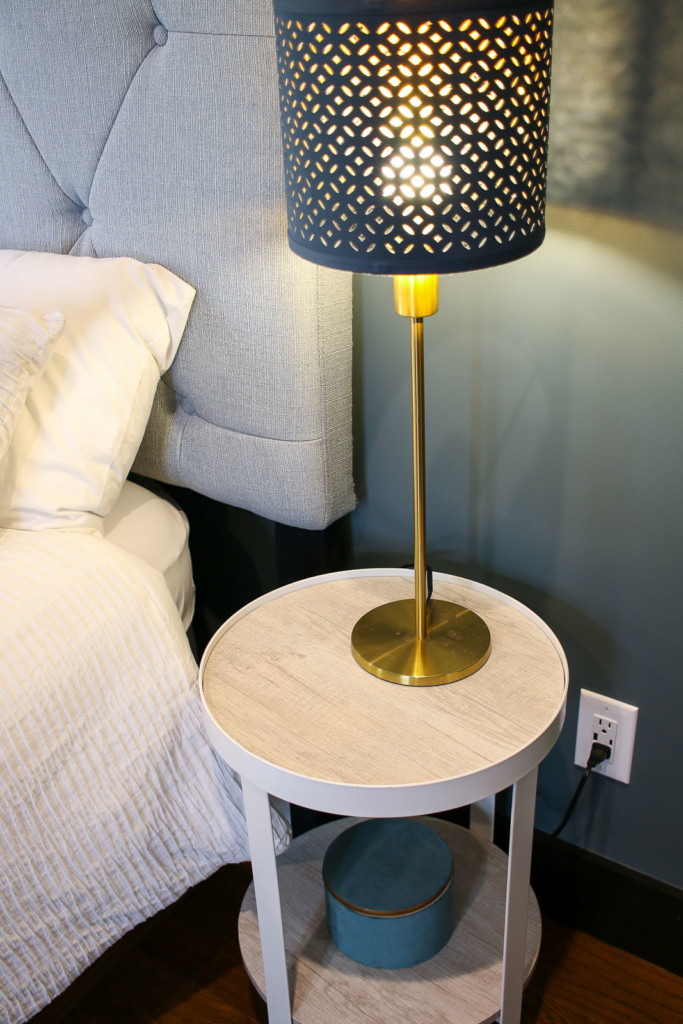
Each bedroom received at least two outlets on either side of where a bed might be positioned.
The kitchen has a few on the counters…
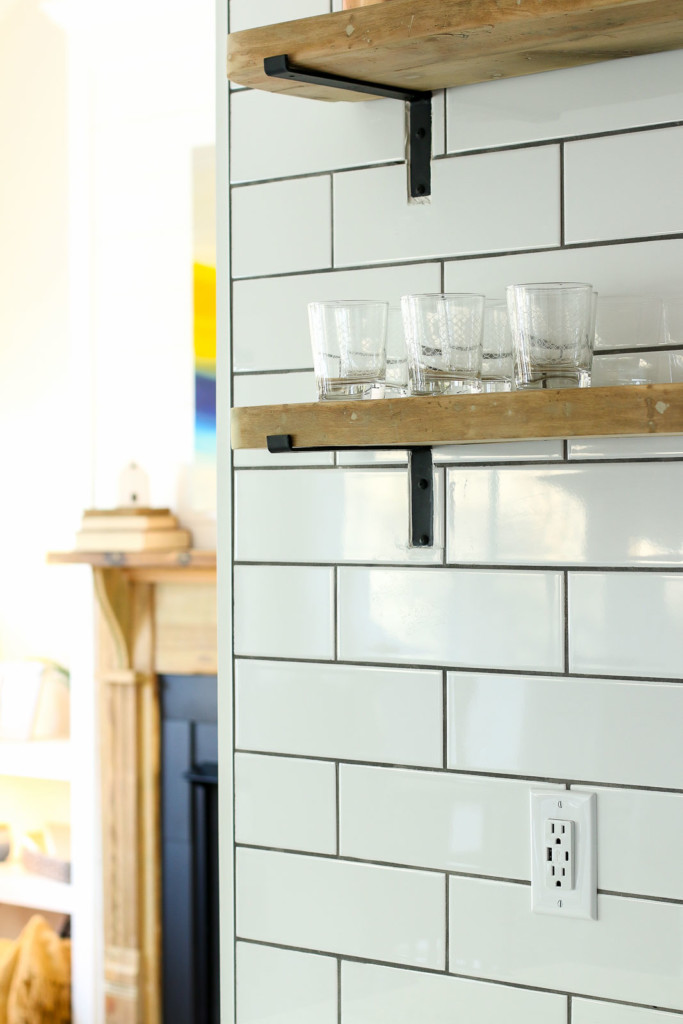
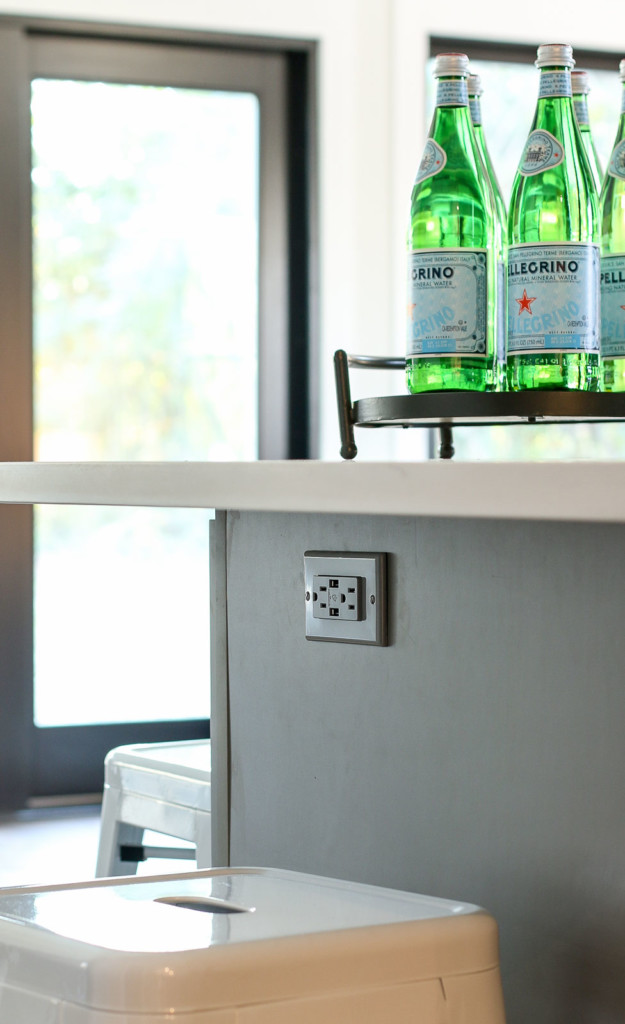
…and one in the island (in a matching gray color.)
The upstairs bedroom has a few more, especially under the little built-in desk between the closets. This is the perfect spot to sit and work while enjoying the view out the window.

Are you ready to learn how to install your own Leviton USB Charging Outlet in your home? It’s easy and takes about ten minutes to complete. Grab these few tools and let’s get busy.
Materials:
(I’ve included affiliate links for your convenience. I earn a small percentage from a purchase using these links. There is no additional cost to you. You can read more about affiliate links here.)
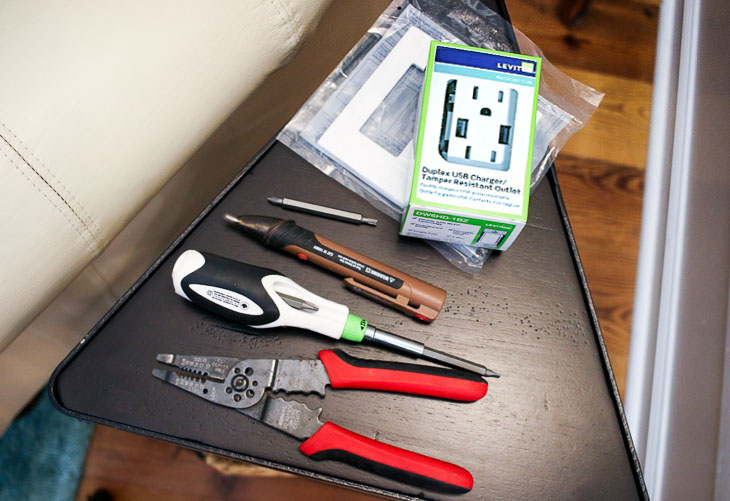
- Wire Cutters
- Voltage Tester
- Philips and Flat Head Screwdrivers
- Needle-nosed pliers
- Leviton USB Charger/Tamper Resistant Outlet
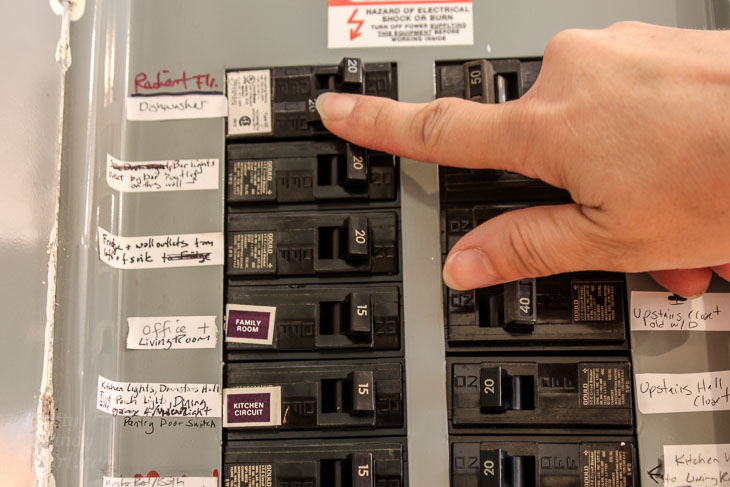
Required Safety Instruction:
Turn off the power to the outlet you are working on. Check the outlet with a voltage tester. If you don’t have one, I highly recommend putting a night light or light in the outlet and turn it on. Then shut off the circuit at your circuit breaker and check to see that the light has gone out.
Ok, now that you have all of your materials and the power is off, you’re ready to go. To see how to install this USB charging outlet watch this step-by-step video tutorial below. It also shows you how to install the outlet it if you are starting with a new construction junction box.
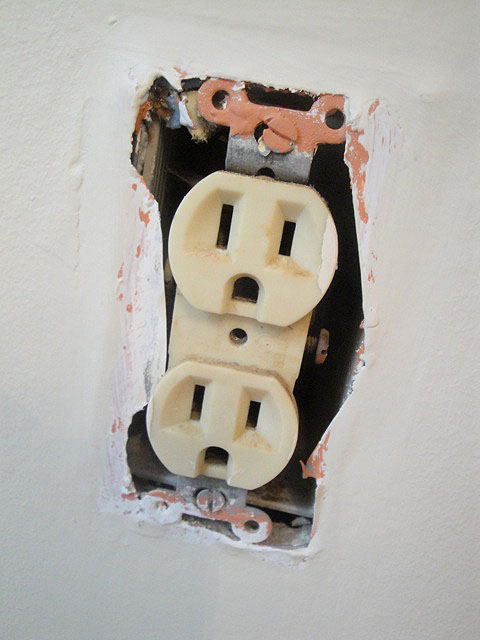
If you need to remove your old outlet, you can follow the directions in this post on replacing an ugly old outlet.
Now that you are finished, aren’t you feeling proud of yourself? Taking on a simple electrical project like swapping out an outlet is super simple. I hope you’re motivated to make more electrical upgrades in your home!
For example, why not learn how to install a smart dimmer switch you can control with your phone or with a voice-activated device like Alexa or Google Home!
Gotta run now, I’m still finishing up some last punch list items at the Saving Etta house. While I work, it’s been nice having the ability to plug in my phone to charge while listening to my Pandora stations!
Visit the Leviton website for more information, installation instructions, and where to buy devices from Leviton’s residential product family.
![]()
Disclosure: This is a sponsored post for Leviton. I was compensated for my time and efforts to promote the Leviton Residential products. However, all ideas and opinions are my own. I will always let you know when you are reading a sponsored post. You should also note that I’m very particular about the brands I work with.


Awesome! Thank you!
I have two white and two black wires coming into the junction box. There are only two screws on the Leviton usb outlet, one silver and one gold. Do I attach both white wires to the silver and the two black wires to the gold?
If you look closely, there are two spots to insert the wires under each screw. Put both white under the silver screw and two black under the gold screw.