Hanging Curtains and No Iron Solution to Wrinkles
Glad you came back to see how I hung the curtains in our bedroom. If you are just joining us, I hung some blinds the other day in a mini-makeover for our master bedroom.
Hanging Curtains
Then I hung a curtain rod and flanked both windows with some billowy white cotton curtains. I still can’t believe what a difference this made in the room.
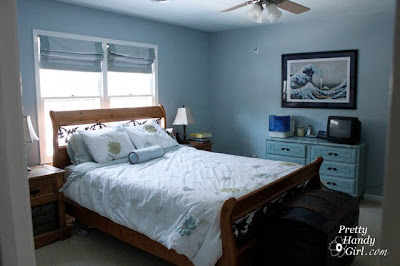
Here is the dark and drab before:
So, you want to hang your own curtains? I’m here to help you along with that.
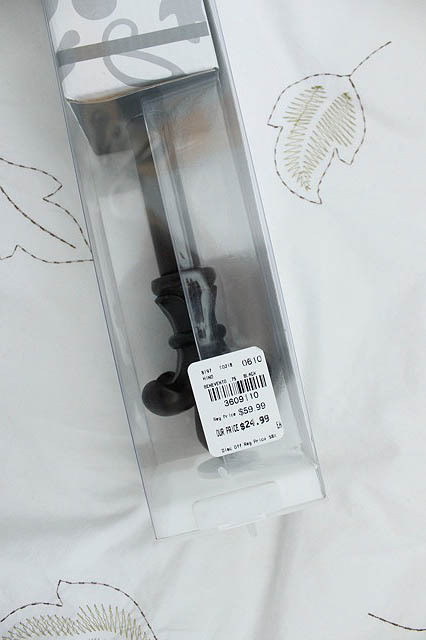
By the way, if you have a Tuesday Morning near you, check out their curtain rods! This extra wide one for spanning two windows was only $24.99!
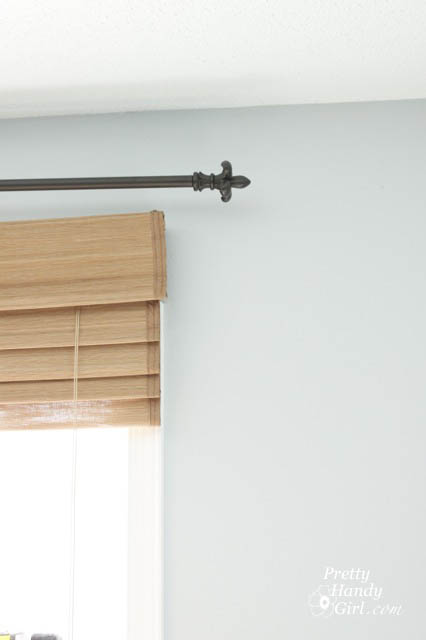
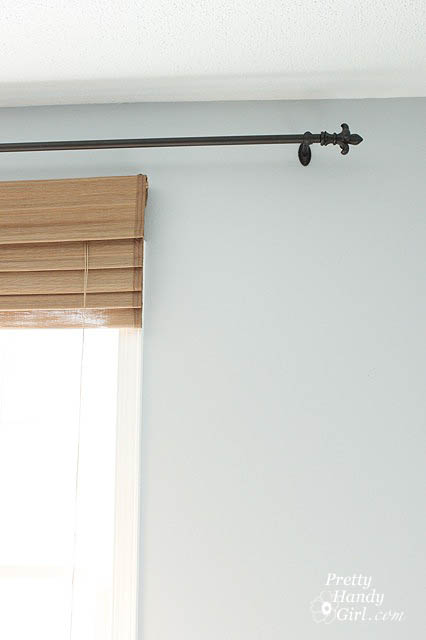
Start out by holding up your curtain rod (preferably with a friend holding and you looking.) And mark the height of your rod on the wall.
Take the time to check and see if there is a stud behind where your bracket will hang. If there is, check out my post HERE for hanging the bracket into a stud. All my brackets landed in locations without a stud behind them.
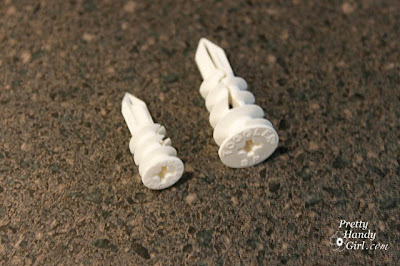
So, I grabbed some Toggler anchors and used them instead of the screws that came with the curtain rod.
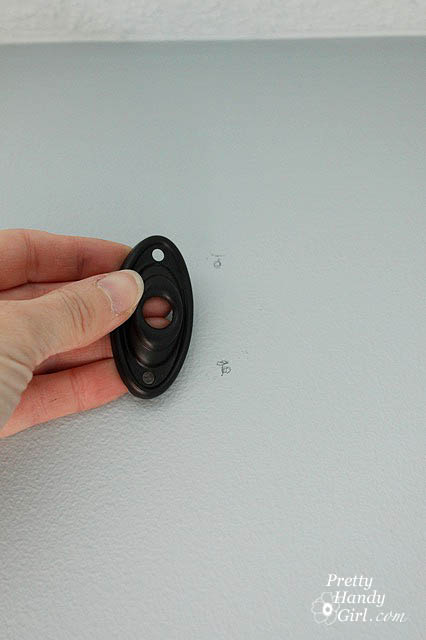
Start by tracing the screw holes in your bracket.
Next screw the two screws that come with the Toggler anchors partially into the wall. This creates starter holes for the anchors.
Remove the screws.
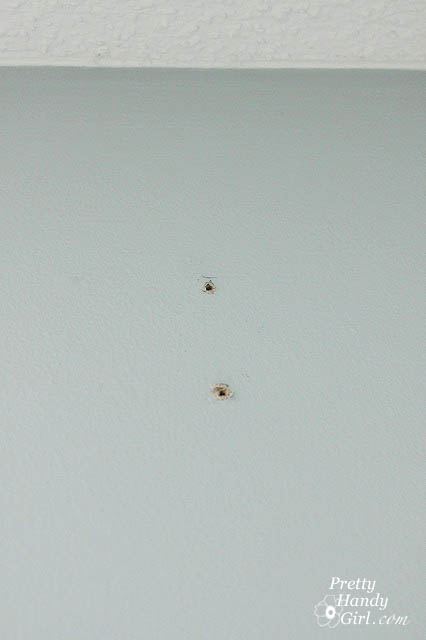
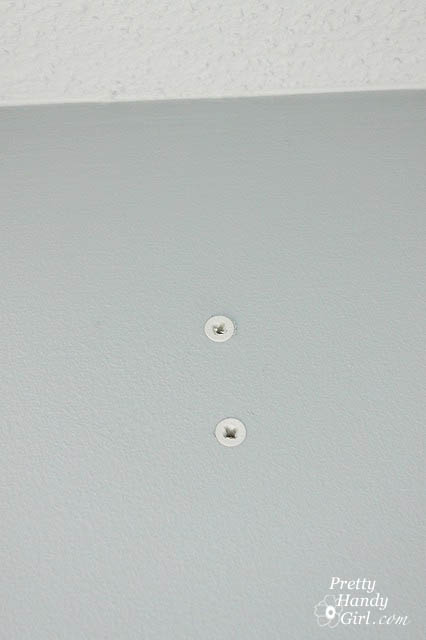
Use a philips head screwdriver and screw the anchors into the wall until they are flush with the wall. Be careful not to over-tighten.
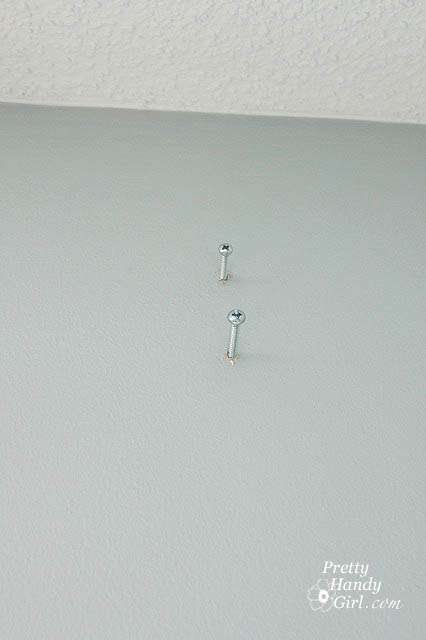
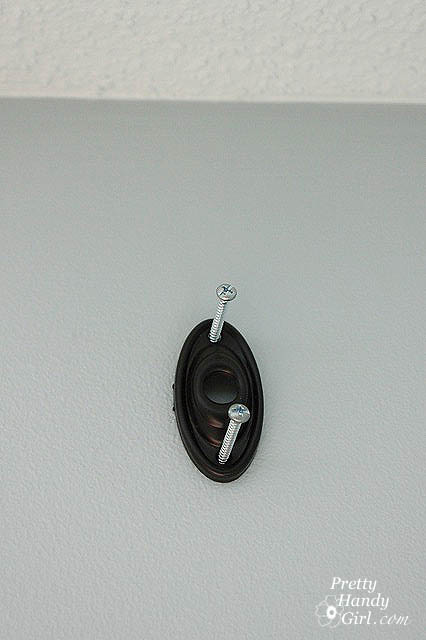
Line up your bracket on top of the anchors, and then insert the screws that come with the anchors into the wall.
As you can see, the toggler screws are silver, but not for long! Grab a permanent black marker and color them black.
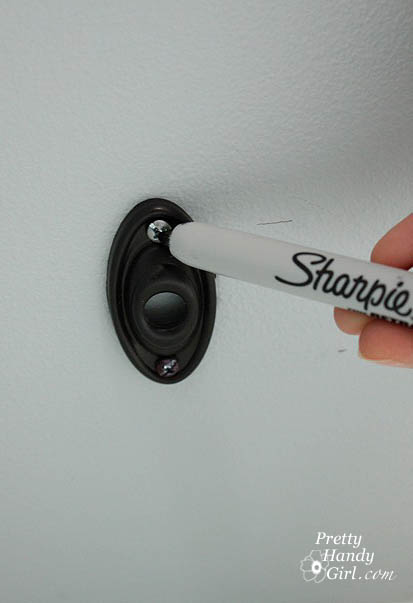
Or if you are using white or brown brackets, you can simply paint them with acrylic craft paint, stain or primer. Your choice.
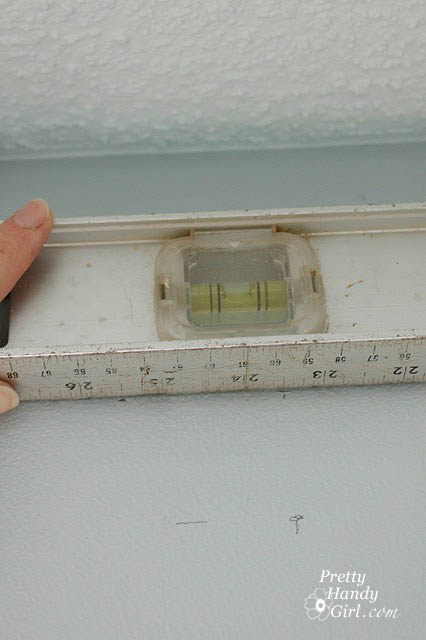
Next, using your level, rest it on top of the first bracket and make a mark on the wall where your next bracket will be mounted. This will insure that it is level with the first.
Repeat the steps to install the second and third bracket (if you have a wide span of windows like I do.)
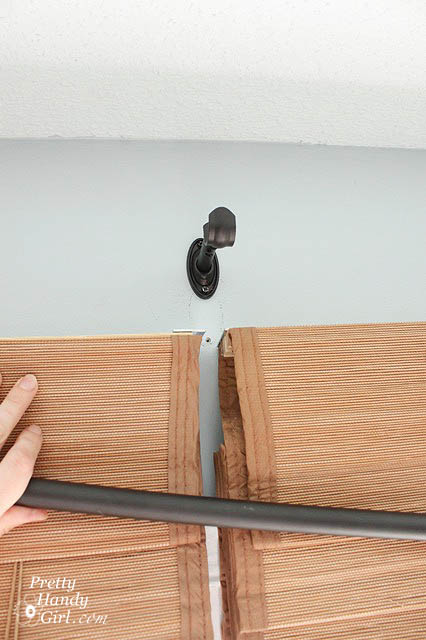
Assemble the brackets per the instructions that came with them. And hang your curtains!
Okay, less you think that everything I do is perfect – remember how I said to have a friend hold the rod when you first decided how high to hang the rod. Well, I didn’t! I was too impatient. So, I ended up having to re-do the first bracket and was left with this.
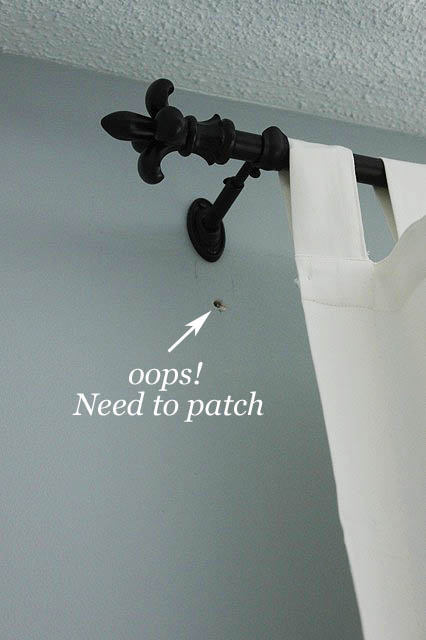
No biggie. I just patched the hole and applied some touch up paint. Good as new!
Except, I was too lazy to iron the curtains before I hung them. (Yup, I’m an instant gratification kind of gal, couldn’t you tell?!)
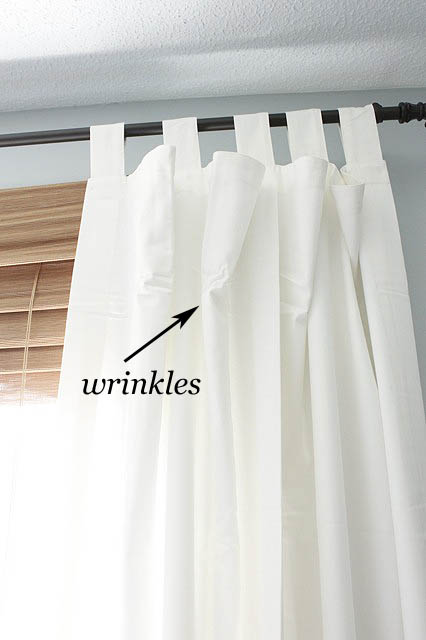
So, I have for you a two-fer post. Two posts in one! Wow, your lucky day right?!
A No Iron Technique for Removing Wrinkles!
This is my favorite technique for removing wrinkles. I use it on everything! Slipcovers, curtains, sheets, and clothing I am already wearing.
You will need one of these:
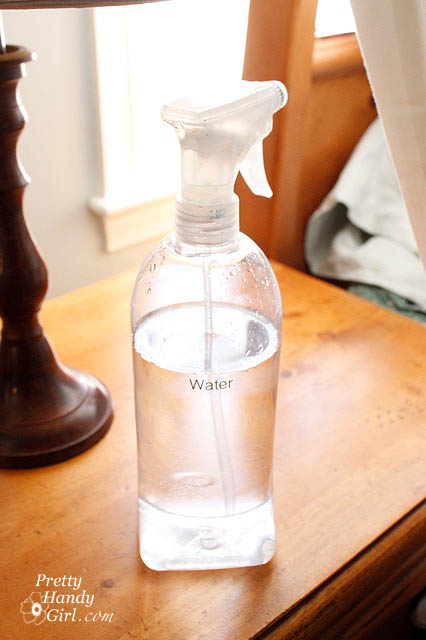
Just a squirt bottle with plain old H2O in it. Nothing fancy. Set the nozzle to mist.
Spread out your curtains.
Then go to town spraying your wrinkled areas. When it dries the wrinkles are magically gone.
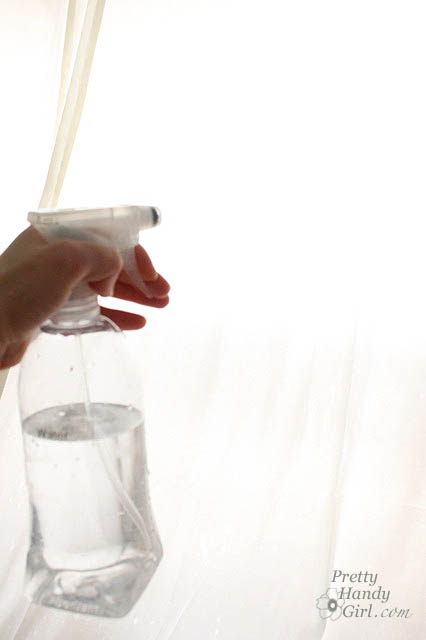
Sometimes they might need another spray and some smoothing with your hands, but ultimately they usually come out.
Only the stubborn wrinkles get to meet my iron.
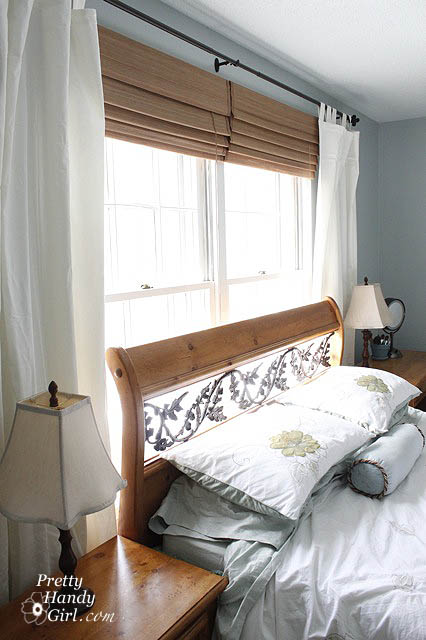
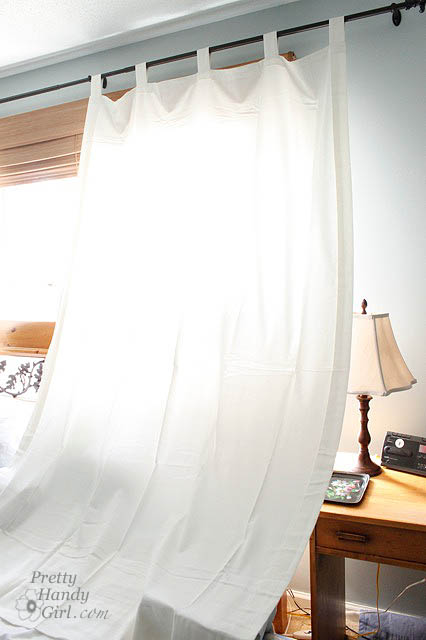
As you can see below, most of the wrinkles came out, but we had party guests arriving in 15 minutes, so I left them as is and will iron them another day. Maybe.
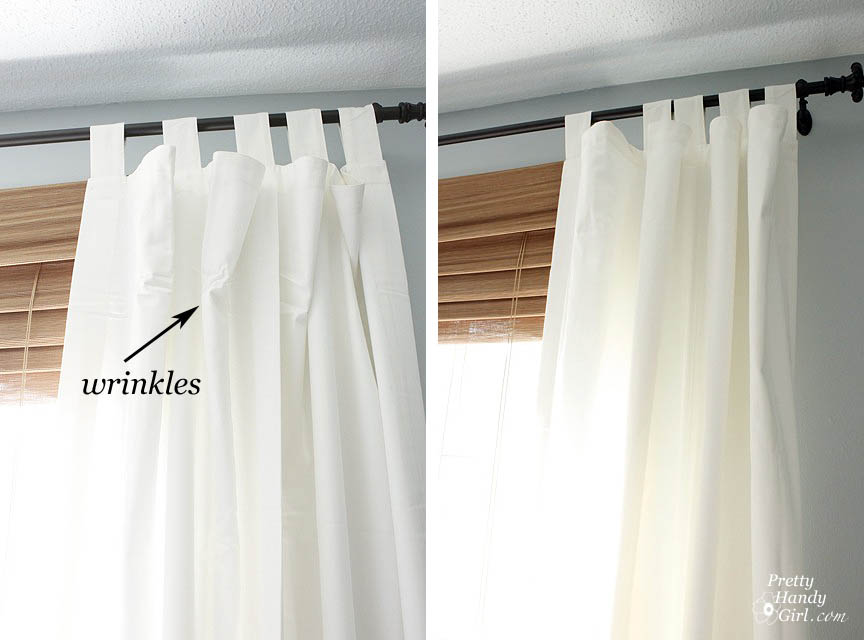
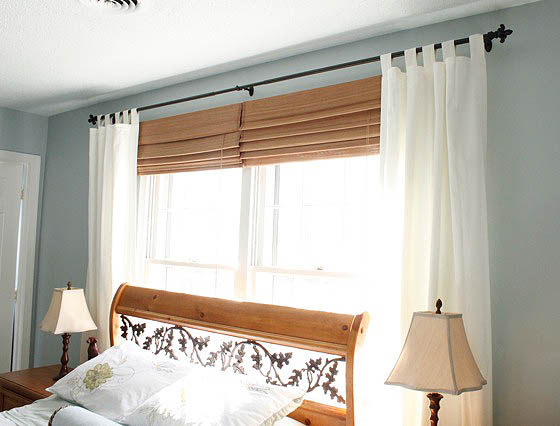
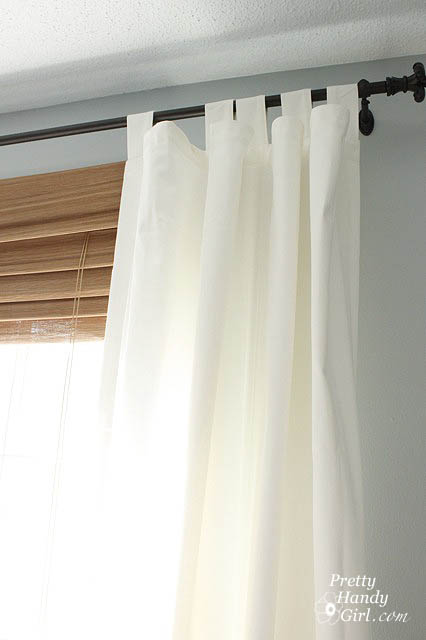
And one more look at my new curtains and blinds.
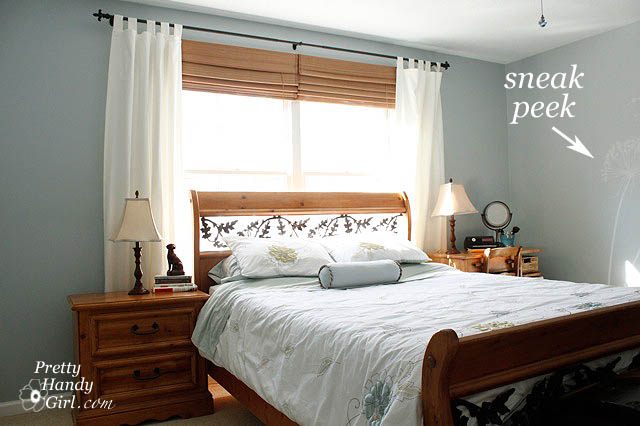
Hey! Are you peeking at my new wall graphic I painted? You cheater, you’ll have to read my post where I will show you how to paint a wall graphic. In the meantime, I posted a picture of me working on it on my Facebook fan page.





Hi, thanks for the tip. Will the spraying technic remove the wrinkles from linen fabric?
(My curtains have blackout lining and I am afraid of ironing since I do not know if ironing will damage the lining cloth.)
Amy
Thanks for the tip! It helped me wonders!
we have just bought eyelet curtains (dry clean only) and they are wrinkled quite a lot, can I use the spray bottle method on them? (they are lined cotton & man mad e fibre)
I’d test a small area to make sure it doesn’t damage your fabric, but it should be fine.
I have the heavier lined curtains I need to remove the wrinkles..will the water spray remove them too?
I was thinking to place them in the machine with lukewarm water for a while and hang them up whilst still wet as the weight might draw them out. Please help. Thanks
Candi, I’d try the spray bottle first because that’s a heck of a lot easier than removing your drapes and stuffing them in the washer. Then if it doesn’t work I guess you could try your way.
As a tip when hanging rods (this is what I do…. measure down from the ceiling cornice (say 50mm) for the first screw, mark it, then place your hanger on so the top hole is over the mark and pencil in the second hole. Works perfectly every time and that way your rod is always parallel to the ceiling.
Also hang as close to the ceiling as you possibly can to give the room more height (make sure your curtains can reach just above the floor though)