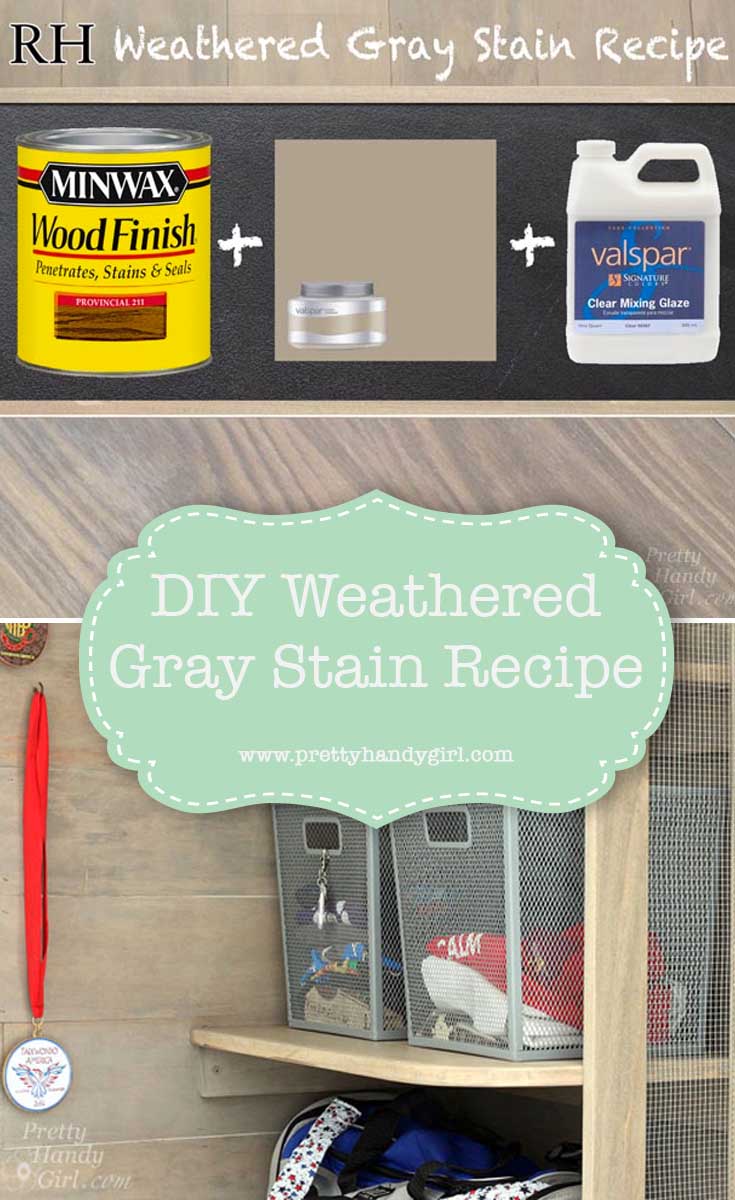
DIY Restoration Hardware Weathered Gray Stain Recipe
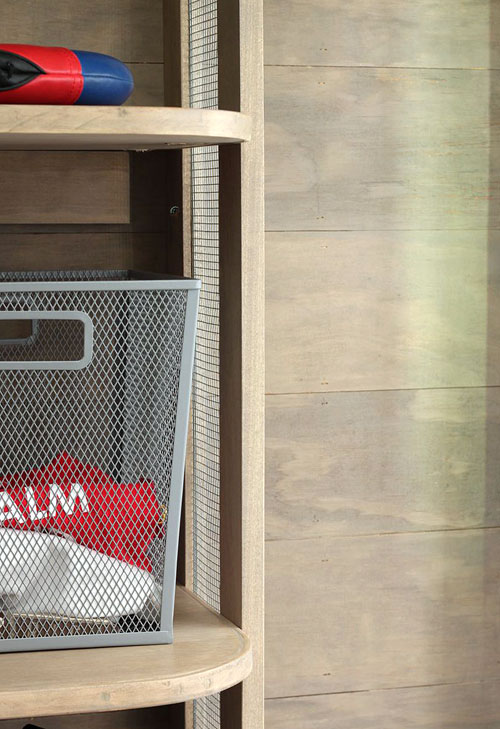
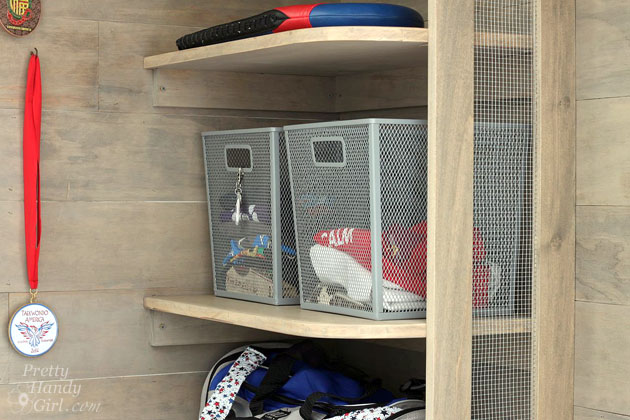
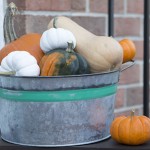
I’ve fallen in love with the Restoration Hardware Salvage Gray wood stain. But, try as I might, I haven’t found a pre-mixed stain that produces the same look. That never deterred me, and I don’t like to give up. Therefore, I created my own recipe for approximating that Restoration Hardware Weathered Gray stain. You may have seen this beautiful gray stain on my Sports Gear Storage Shelves the other day. Because I love you and I love to share, here is the DIY Restoration Hardware Weathered Gray Stain Recipe.
Materials:
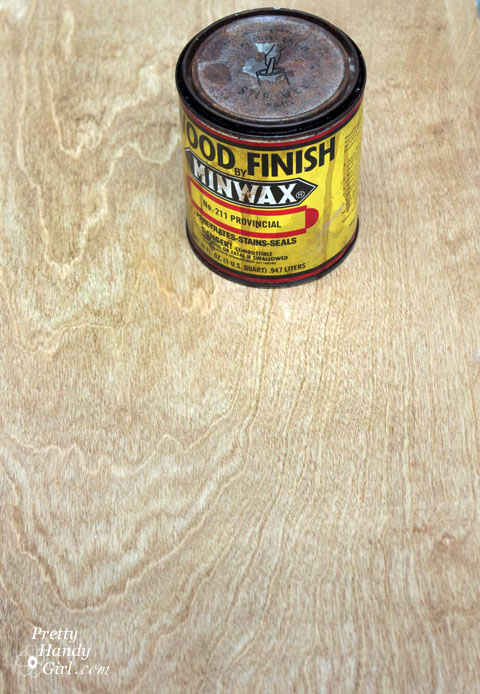
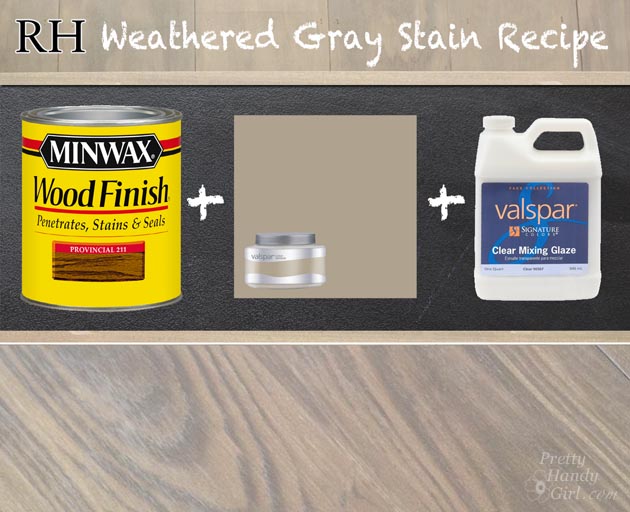
- Minwax Provincial Stain
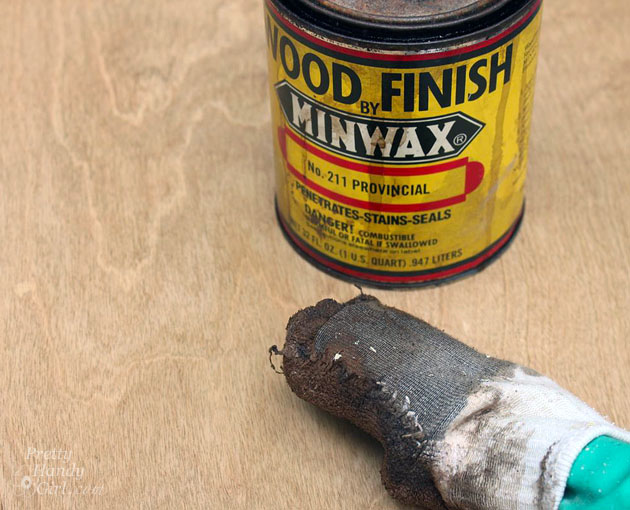
- Old sock
- Rubber gloves
- Fine sanding sponge
- Paint brush
- Clean rag
Glaze:
- 1 part Valspar Arid Plains
- 3 parts Valspar Clear Glaze
- Jar with lid
DIY Restoration Hardware Weathered Gray Stain Recipe Instructions:
Premix your glaze in a jar or bottle. 1 Part Valspar Arid Plains with 3 parts Valspar clear glaze.
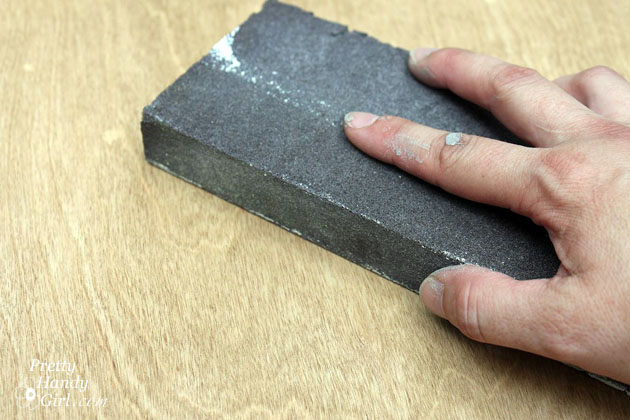
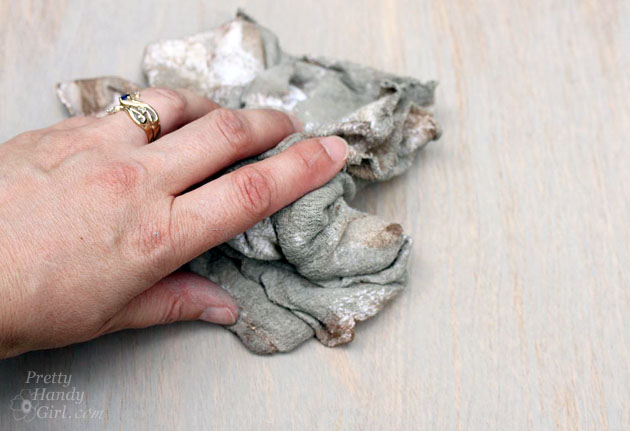
Sand your wood smooth. Put on a rubber glove and slip an old sock over the glove. Dip you hand into the stain and wipe the stain onto your wood. Always wipe on stain with the grain.
After the first coat has dried, repeat by adding a second coat of Minwax Provincial stain. Let the stain dry.
Lightly sand the wood before applying the glaze.
Dip your paint brush into the glaze and paint on top of the stained wood.

Wipe off excess glaze.
And now you have a beautiful warm weathered gray stain.
Pin this graphic to share with friends:
You might also like:
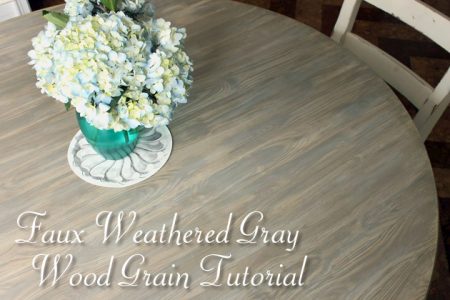
Faux Weathered Gray Wood Grain Tutorial
Hopefully some day Restoration Hardware will sell their beautiful weathered gray stain pre-mixed. Until then, you can always DIY it!
![]()
Pin for later!

Hello! Thanks for sharing this technique, your project looks awesome! I have a laminate dining room table and it has a few spots where the laminate has “lifted” off. Can I still do this if I just lightly sand the table or does this only work with real wood surfaces?
You are going to need to use this technique (which uses paints instead of stains): https://prettyhandygirl.com/faux-finish-weathered-wood-grain/
Can this method be used to restore 100year old oak hardwood flooring
Leslie, I’d probably stick with only stains for your floor. The glaze probably won’t hold up to the traffic on a floor.
Can you seal this with a matte sealant? Thanks
Hi! I’m about to do this tomorrow! What does 1 part & 3 parts mean? Whats the exact measurements to add in of both?
It’s the ratio. If you use 1 cup of arid plains, you’ll used 3 cups of the glaze. This way you can mix your own quantities.
What wood was used in these pictures? We are making a bunk bed (restoration hardware hack) with white wood and wondered if this stain would look the same on it.
The shelves are plywood (birch) and the wall is also birch plywood underlayment.
Love this! If I use a wood conditioner first, will this process work on pine? Somehow, I find myself surrounded by pine.
I see that you posted Valspar Arid Plains is no longer available. What do you use in its place?
Sorry that was a mistake, I meant to say the glaze may no longer be available. But, there are plenty of other brands of clear glazes.
Would this work on a Cherry wood table?
I’d use a primer first and paint a base color before trying to add the “stain”. You may actually want to try this tutorial instead: https://prettyhandygirl.com/faux-finish-weathered-wood-grain/
Does the stain and glaze have to be either oil or water based or does it not matter?
It doesn’t matter. As long as all the stains are the same (oil or water-based).