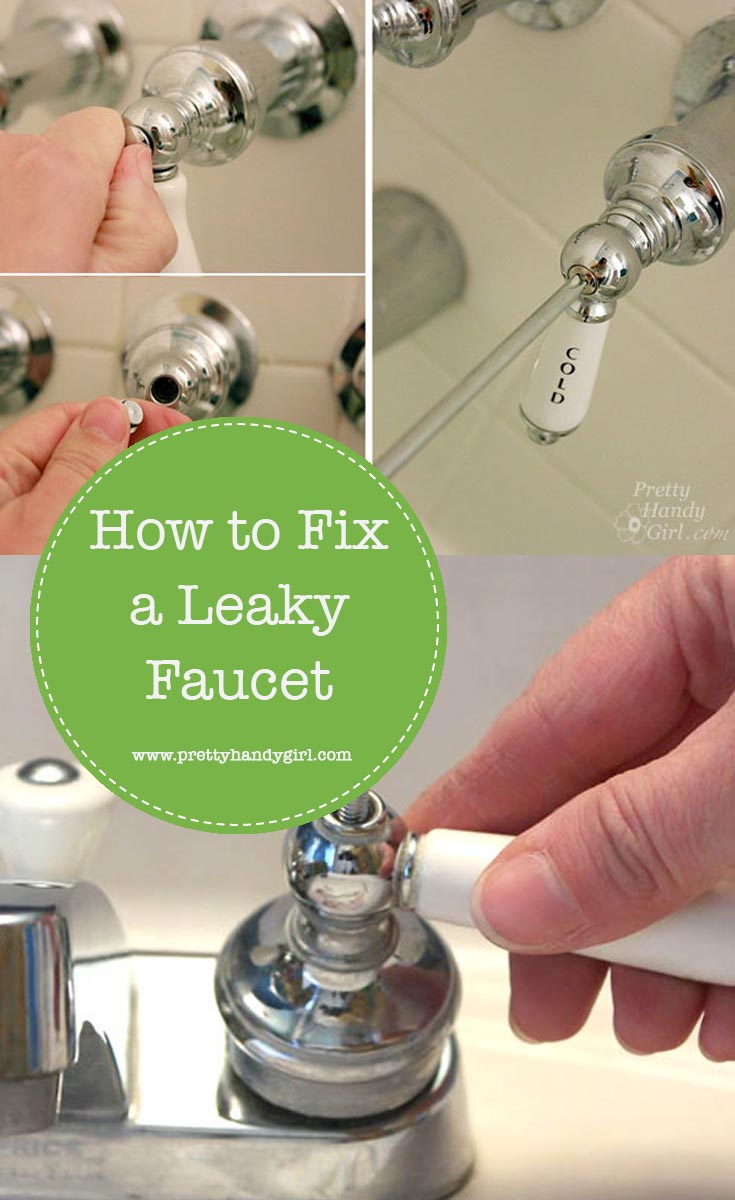
Fixing a Leaky Faucet – Take 2

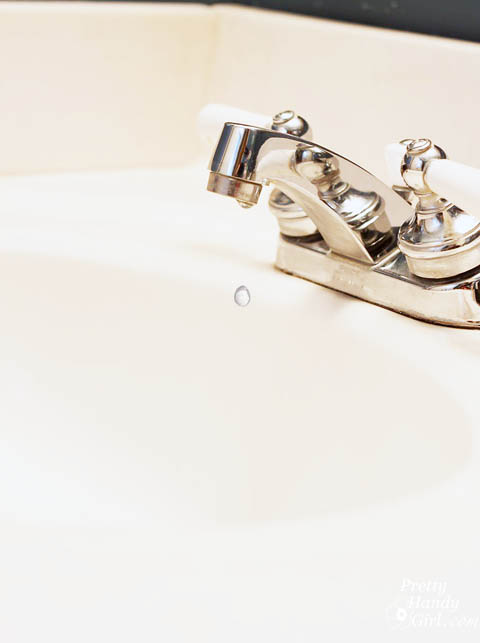
Remember last week when I was showing you how to fix a leaky faucet in 10 minutes? Well, sometimes a fix doesn’t always solve the problem. This is not unusual in home repairs. It doesn’t mean you did it wrong or it’s time to call a plumber. It just means you have to look further for the solution. Don’t give up! Today’s tutorial should also take 10 minutes or less (minus the trip to pick up the parts) and should definitely fix that leaky faucet.
In my tutorial last week I showed you how to replace the “O” ring and seat washer on the faucet. This worked for a few days, but then the faucet began leaking again. The cause was a worn valve. As promised, let’s get to this equally easy and quick fix for your leaky faucet.
(Side note: it will cost approximately $15-$20 for new valves vs. $5 for new seat washers and “O” rings. This is still cheaper than a plumber. But, one reason you might want to try changing just the washers is that they are easier to find at Lowe’s or other home improvement stores. Replacement valves may be a bit trickier to locate. Valves can usually be purchased at a plumbing supply store. If you have one nearby, I’d suggest replacing the whole valve stem that comes with a new seat washer and “O” ring.)
Materials:
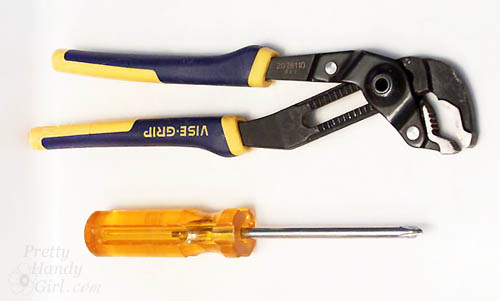
- Screwdriver
- Pliers
- Faucet stems (cartridges) purchase after removing the old
Instructions:
(This may be déjavu from the other post, but at least you’ll be familiar with the steps by now.)
Begin by turning off your water. You can locate the water shut off valves under the sink.
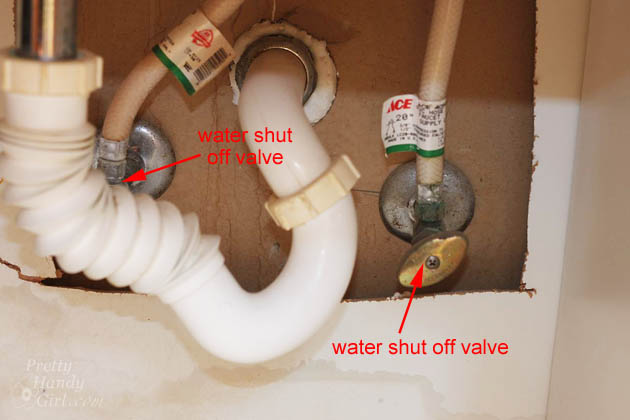
Turn on the water until the faucet runs dry.
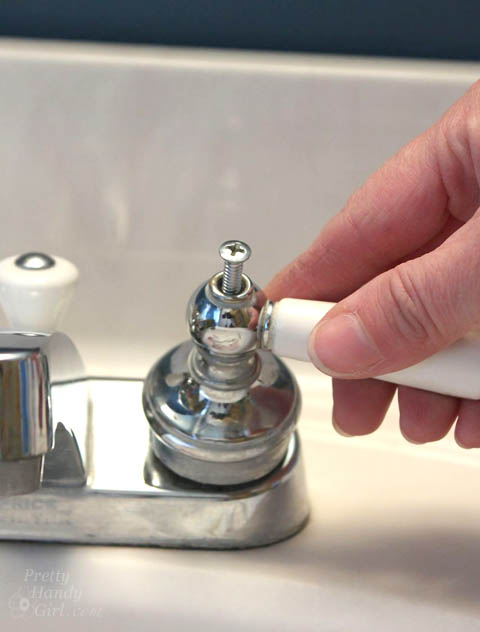
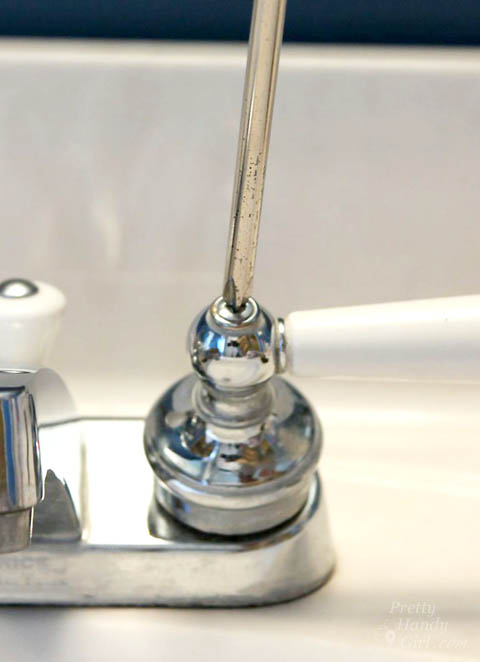
Use the philips screwdriver to loosen and remove the screw on top of the faucet handle.
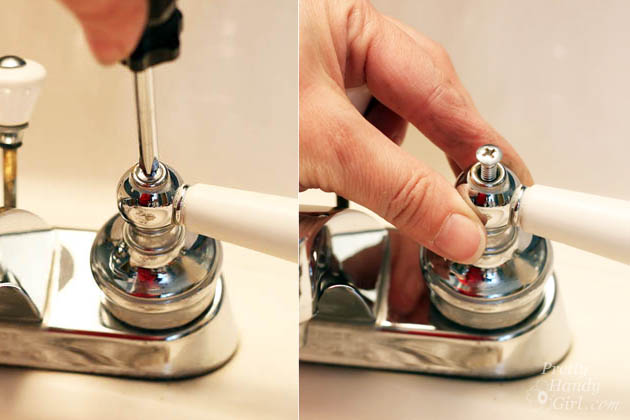
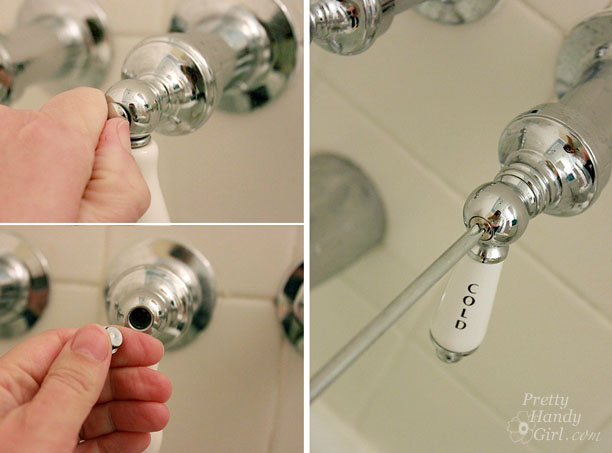
Depending on your faucet, there may be a small button covering the screw. It can usually be pried up with your finger tips.
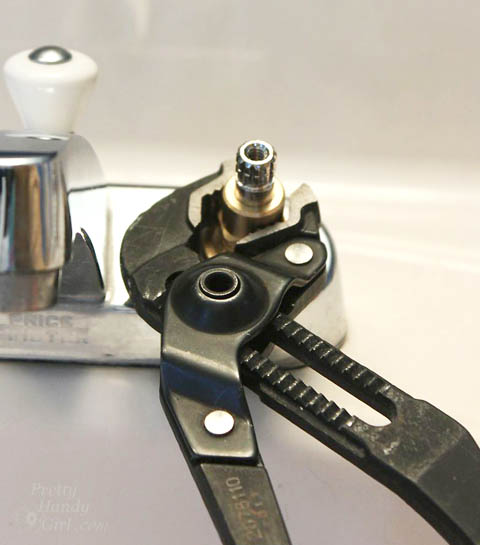
Loosen the valve stem with pliers.
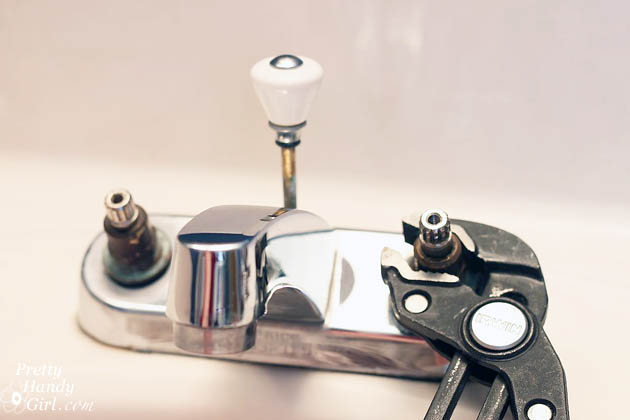
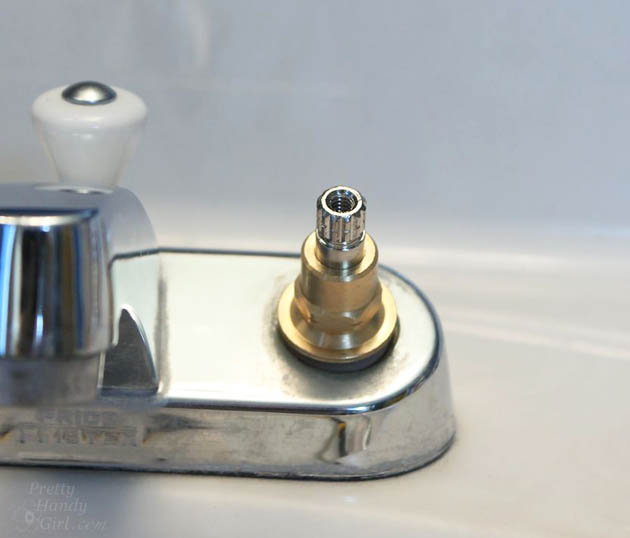
Lift the valve stem out of the faucet.
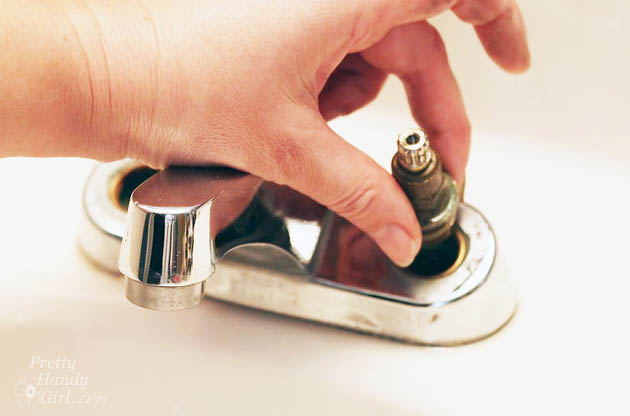
My stem is worn, but upon first inspection I thought it might work. Now I realize it must be marred or pitted.
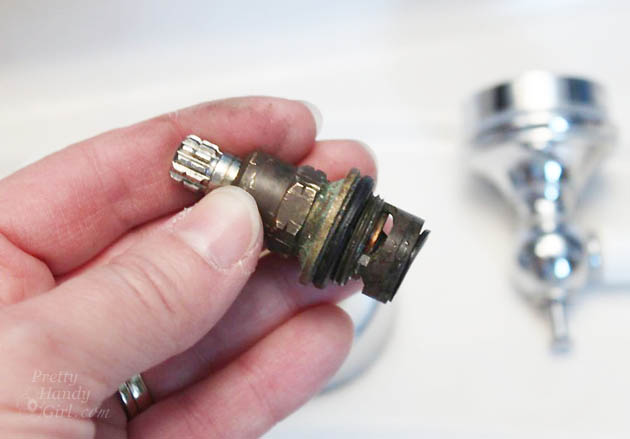
Take the valve stem to the plumbing supply shop and have someone help you match it.
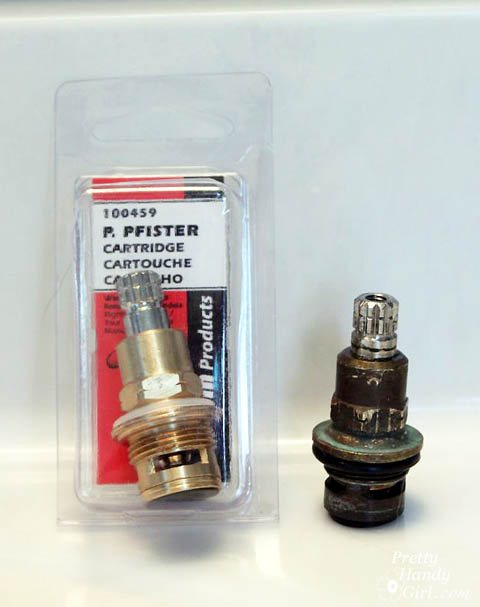
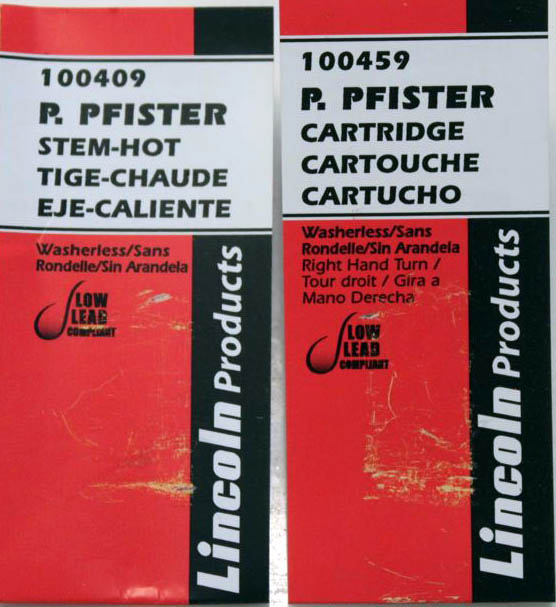
An important note about those faucet stems. If one stem is bad, you can almost bet the other one will give you problems in the near future. You want to make sure you purchase a hot (left turn) and cold stem (right hand turn). And don’t be fooled when one is labeled a stem and the other a cartridge. To be safe, ask an employee to help you get the correct parts. 😉
Slip the “O” ring onto the bottom of the stem (sometimes it is loose in the packaging.)
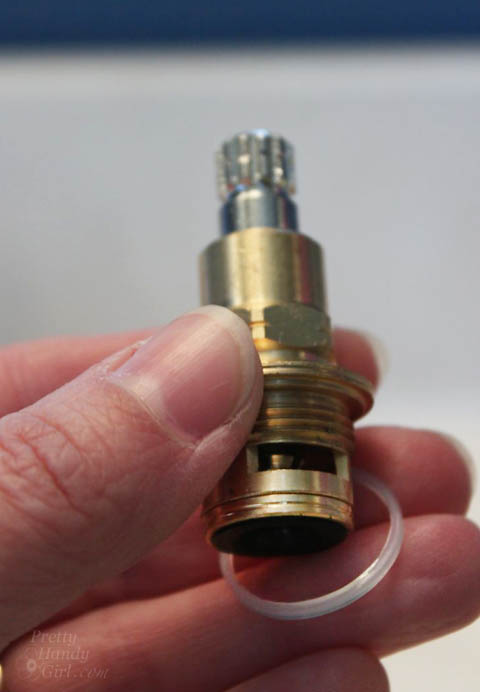
Screw the new valve stem back into the faucet.
Tighten the valve stem with your pliers, but be careful not to tighten too much. The stem is made of soft brass.
Replace the handle.
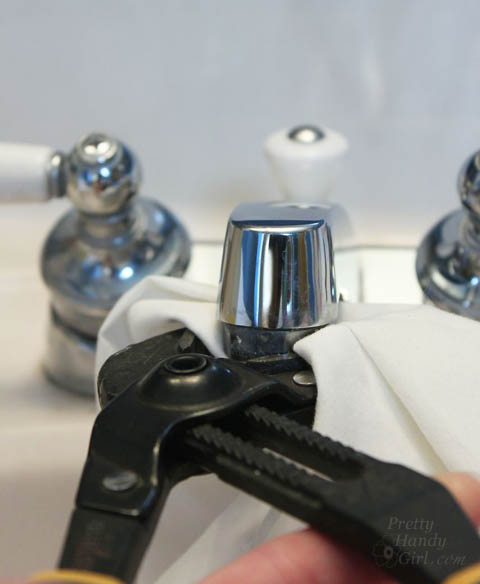
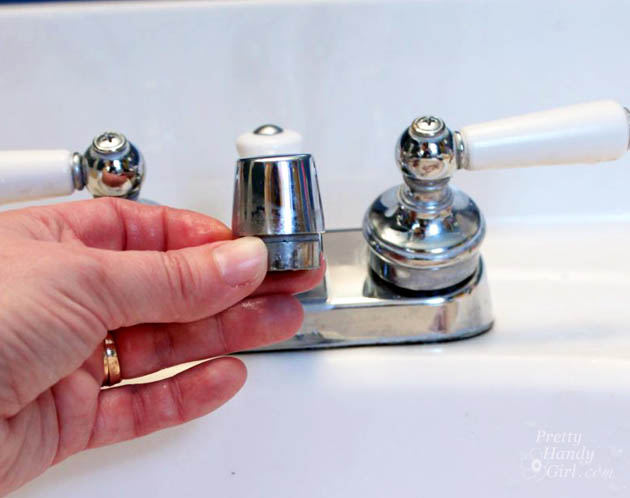
Before turning the water back on, remove the aerator. If you can’t remove it by hand, put a rag around the aerator and use pliers.
Turn the water lines back on and turn on the water (if you replaced both sides, turn both hot and cold on.) Some debris will come out of the faucet. This is normal. After the water runs clear, rinse the aerator out under the water.
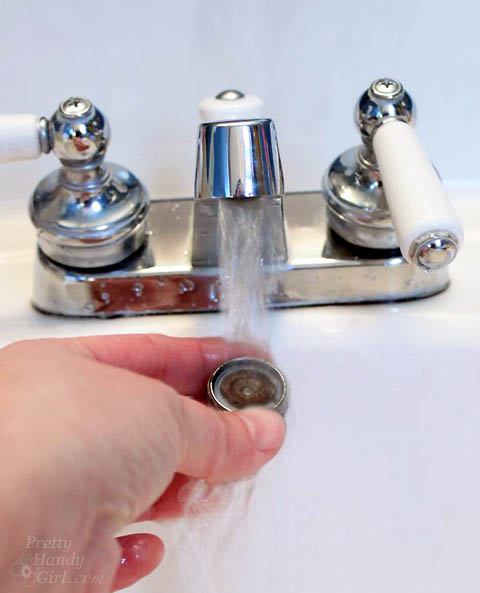
Turn off the faucet and screw the aerator back onto the faucet.
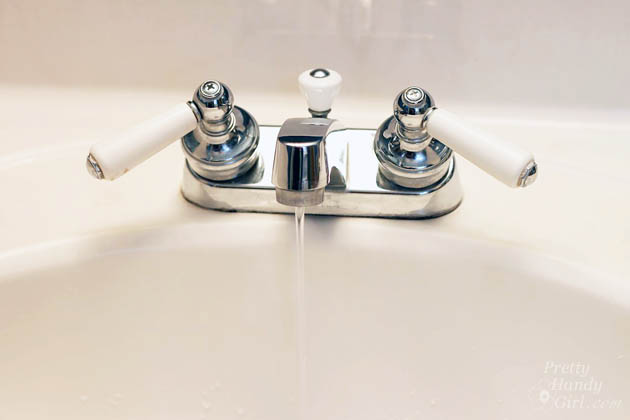
You SHOULD have a drip-free faucet now! Yippee. You just saved yourself over $100 in a plumbing repair bill!
See ya real soon!
![]()
Pin for later!


What about fixing the HOT water faucet in the shower? Older home (60s?) with an American Standard 2 faucet (hot n cold) system for the tub/shower… with NO access to the water pipes behind the shower ( so I have to turn the water off at the main, either crawling under the house, or at the water meter near the street.). Should I turn off the gas water heater?? put it on pilot, and turning off water at main, or the cold water going into the water heater? OR turning off the water heater completely ( including the gas heater part, not just vacation mode, or pilot mode, but actually turning off the water heater? help please!
Dale, I’m not sure I can help you. You might need to consult with a plumber if you are running into difficulties.
This was a fantastic step-by-step walk through of all the steps that I needed to fix my own leaking faucet. It had been leaking forever, and like you said, it was easy to say that I’d get around to it someday. Thanks to this, I actually went and got the things I needed to and fixed it. Thanks for motivating me!
Hi! So I live in a house built in ’47 and I have a question (or two). The shut off for my bathroom shower/tub faucets appear to be behind a panel that maybe has never been used because it’s painted over (and over and over) and well, i do have a leaky faucet, drips A LOT. My question is this – do I need to shut off the water or would I be able to try Fix #1 w/o it? And due to the age of my house, might it be better to call a plumber than for something to go bad in my attempts to DIY? This faucet has dripped since we bought the house a few months ago and its my January goal to fix it!!
Michelle, do you have a whole house shut off? If so, I’d use that instead. Yes, you do need to shut off the water when you remove the stem. The other option would be to replace the whole faucet if you can’t find a new stem. Here’s another way to shut off your water (assuming you have a shut off in your yard.) https://prettyhandygirl.com/water-leaks-polybutylene-pipes-and-mold-what-to-do/
Another keeper, thanks Brittany!