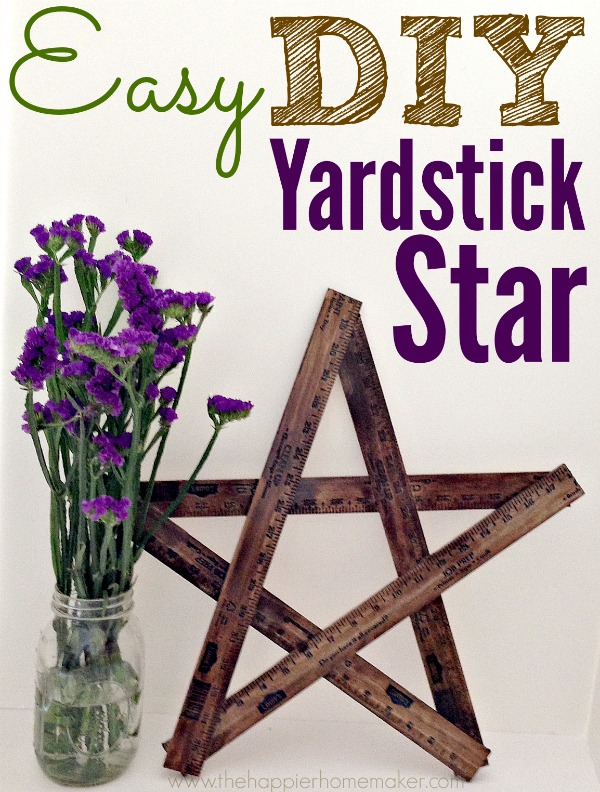
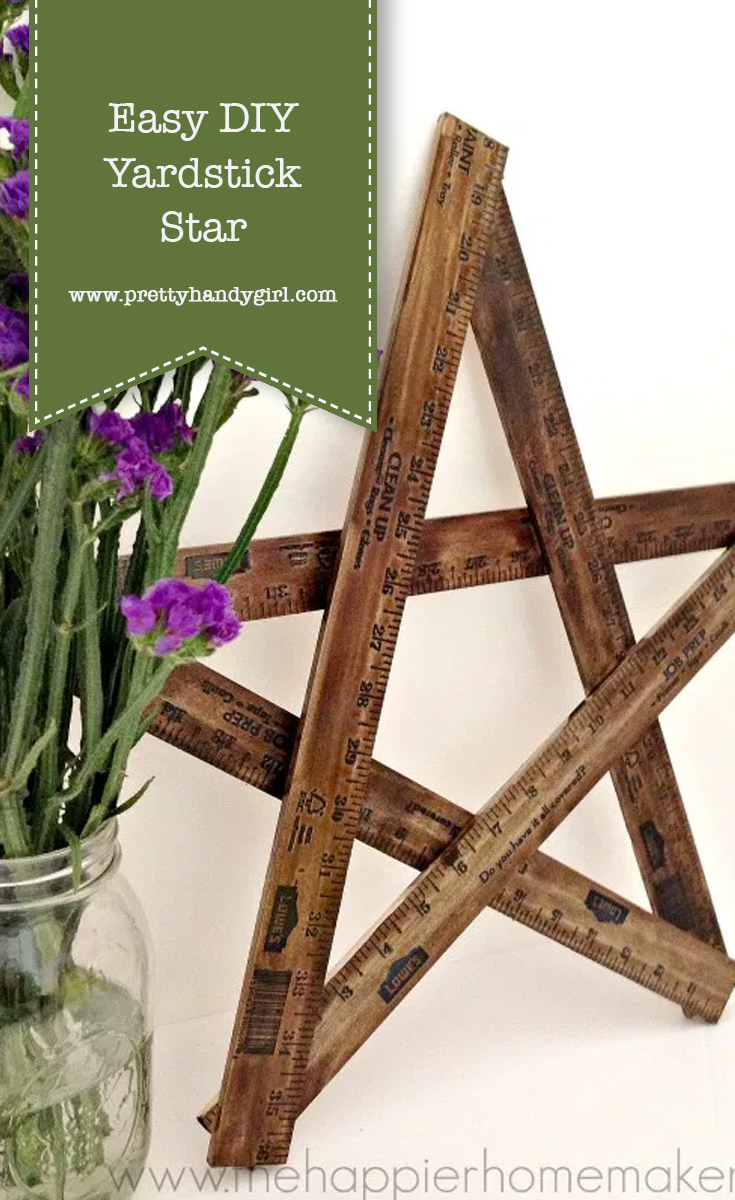
Easy DIY Yardstick Star
Hi there! It’s Melissa from The Happier Homemaker again and I’m excited to share a super easy little DIY decor project with you today! A few weeks back I was at Lowe’s on a Saturday morning (isn’t that where we all are on the weekends?) While shopping around I saw a bucket of yardsticks in the paint section and had a stroke of inspiration to create this adorable little yardstick star for my mantel! This was one of my favorite types of projects (simple and inexpensive) and I hope you enjoy it as much as I did!
Materials
- 3 wood yardsticks
- Saw (I used a circular saw but almost any type will work)
- Wood Glue
- Stain
Instructions:

Use a saw to cut each of your yardsticks in half at the 18″ line. Set one segment aside so you have 5 total pieces to work with.
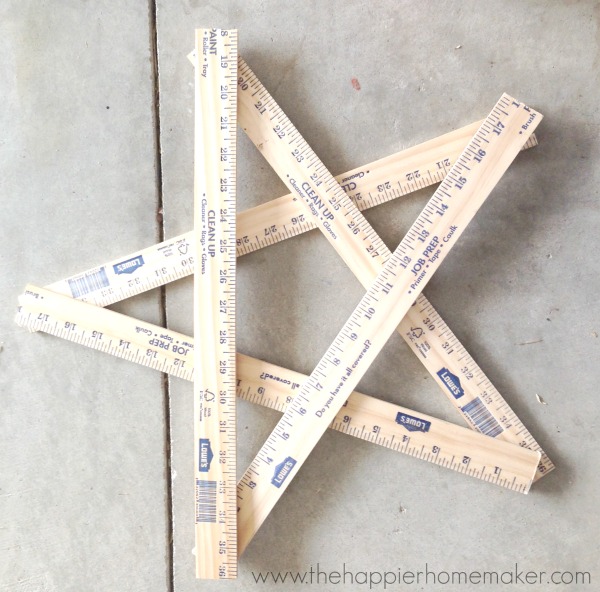
Form your yardstick pieces into a star shape. This step takes a few minutes of play to get the star looking even on all points so be patient and just adjust the pieces little by little until it looks right to you! Once you have the pieces in place you’re ready to start gluing!

Working slowly around the points of the star apply a dot of wood glue at each point to join the two pieces. Be careful not to use too much glue so it does not leak out from between the pieces and affect your staining later.
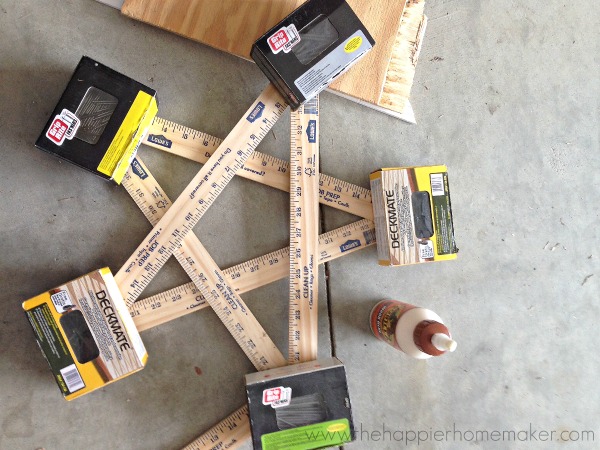
Use pieces of scrap wood to prop up the star points that aren’t flush with the ground while gluing. You can use clamps or a few boxes of nails (use whatever you have on hand) to help add some weight over the areas being joined until the glue dries.

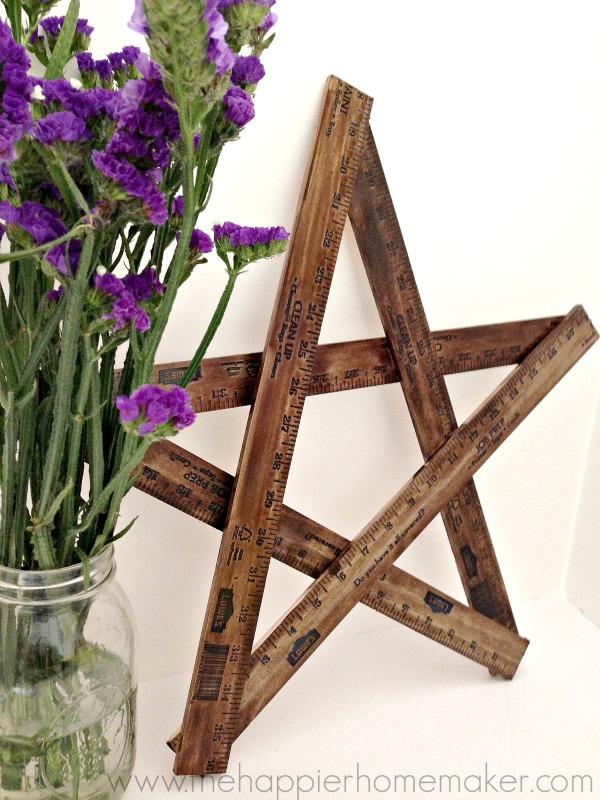
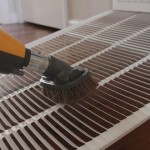
Let your glue dry at least two hours. Once dry, apply three generous coats of Kona colored stain for a super dark finish on the yardsticks.
Allow the stain to dry completely before handling your star. You could add a hangar on the back but I chose to display mine leaning against my wall on the mantel!
Thank you for letting me share this project! I’ll be back next month with a fun new recipe to share, in the meantime please hop over and follow along with me and my big move to a new home coming up in just a couple weeks!

Pin for later!
Loved it. I used the entire yard stick ,painted white and added lights for x-mas. 5 yardsticks,cup hooks to string lights,and silver glitter. Then I used pvc pipe to suspend in air. I was so happy how it turned out and so were the neighbors. Happy crafting
Thanks so much Colleen!!
Yay Sandi!! I had these yardsticks in my garage for about 6 months before I used them too, glad to know I’m not the only one!
This is very cool & how simple.
Adorable! I just happen to have three yardsticks in my garage. I can’t wait to make it!