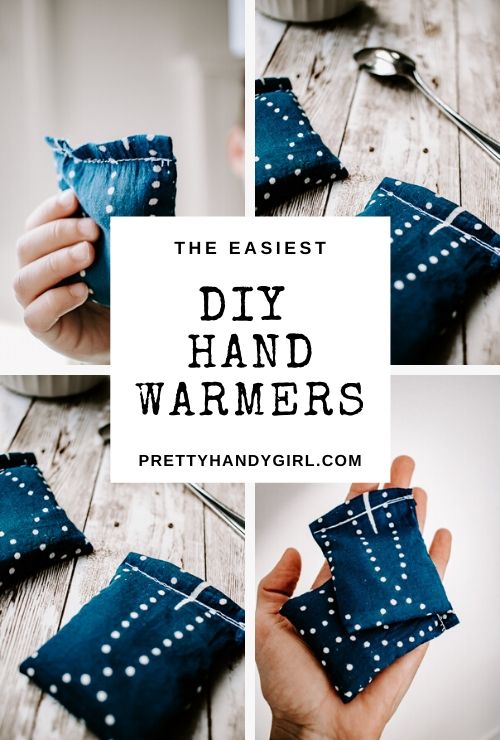
Easy DIY Hand Warmers You’ll Want to Take Everywhere
Since most of us are in the full swing of winter, I thought hand warmers would be the perfect DIY project for your weekend. Learn how to make these Easy DIY Hand Warmers You’ll Want to Take Everywhere!
Easy DIY Hand Warmers You’ll Want to Take Everywhere
Friends! I’m so excited to be back today with a new project for you – these cozy little DIY hand warmers. This is a great way to use any leftover fabric scraps you may have laying around. Sometimes a fabric is just too beautiful to throw away.
I have tons of leftover fabric pieces that I’m always repurposing into something new. These DIY hand warmers are perfect because you don’t need a lot of fabric to make them. And they take no time at all to complete.
Read on for the full tutorial.
Materials:
(I’ve included affiliate links for your convenience. I earn a small percentage from a purchase using these links. There is no additional cost to you. You can read more about affiliate links here.)
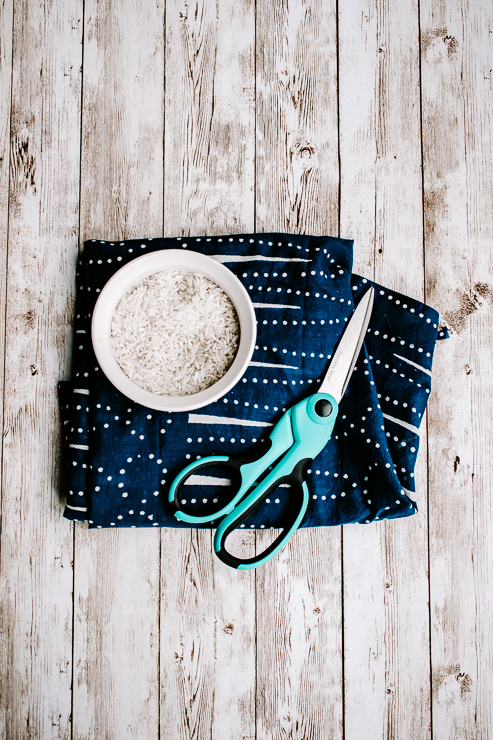
- Cotton Fabric (I had some leftover fabric I purchased on Etsy)
- Sewing Machine
- Fabric Scissors
- Uncooked rice
- Spoon to use a scoop
Instructions:
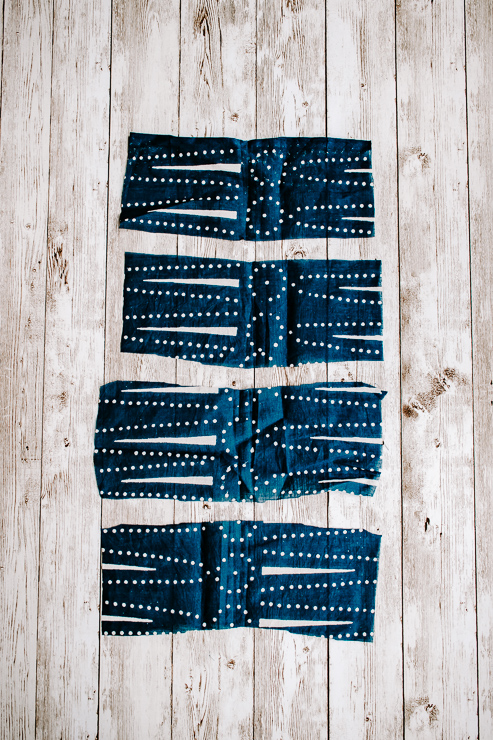
Step One: Cut Your Fabric
Take your fabric and cut out a rectangle roughly about 3.5 inches tall by 8.5 inches wide. Don’t worry about the measurements being exact, we can even it up later. Just make sure you have a rectangle like shown above. This is the basic shape and you’ll see why in a minute.
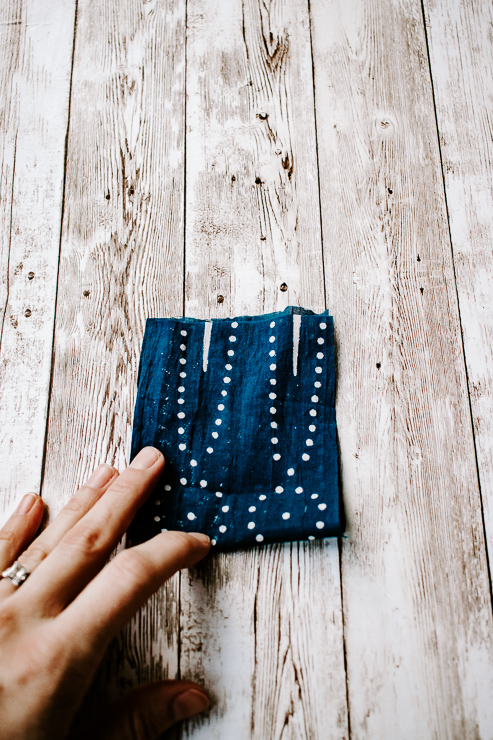
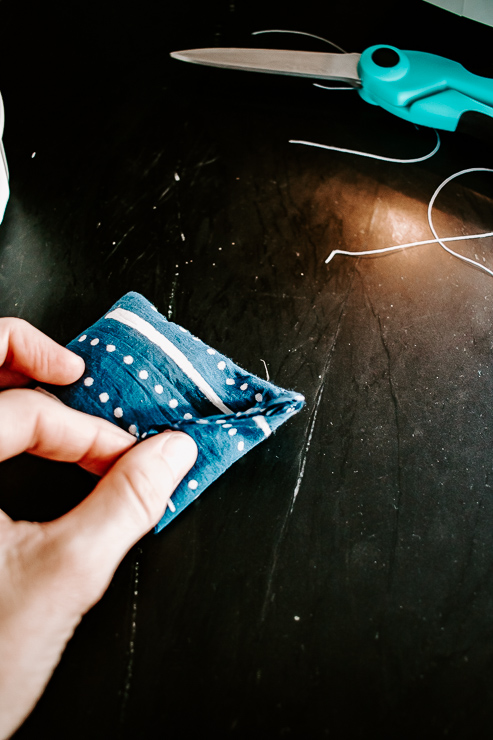
Step Two: Fold your Fabric in Half and Sew Two Edges Closed

Now that we have our rectangles cut, take each one and fold it in half. This will make a little square. Note: Make sure the print sides of the fabric are facing each other. (If your fabric is only one-sided, you want to make sure the non-print side is facing out, and the pattern is on the inside.
Pssst: that’s why we cut the rectangle shapes in the first step – it’s just one less side to have to sew!
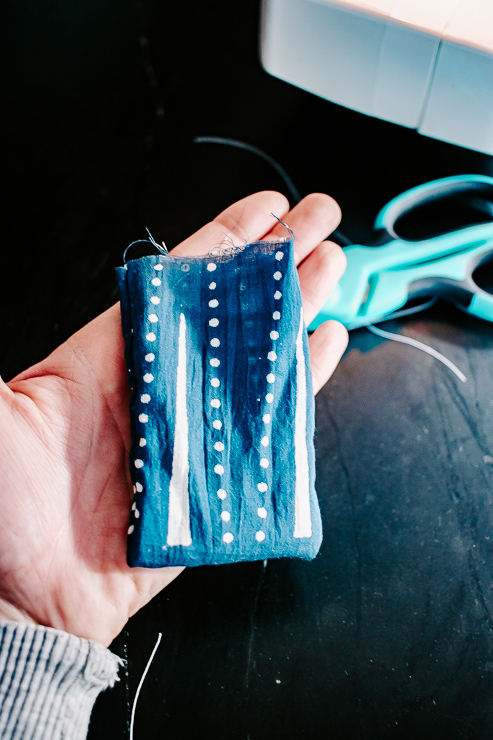
You will find that you have three open edges on your fabric square. Sew the two parallel edges closed. For added strength, sew each edge several times to ensure it is closed tightly.
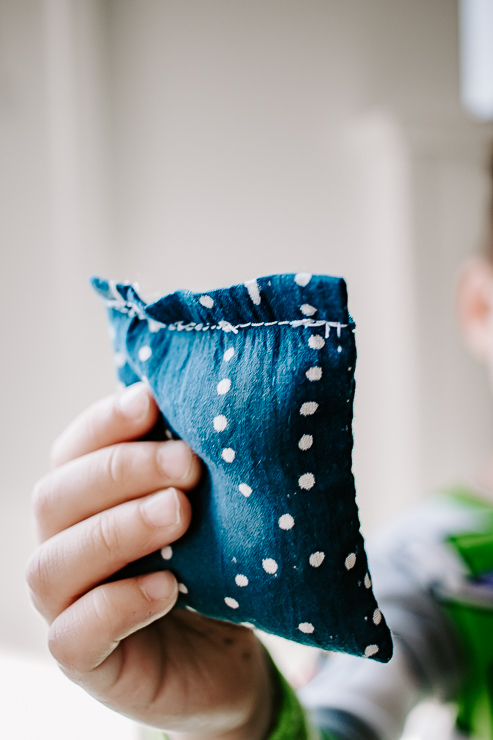
Now flip your little square right sides out. The stitches will be on the inside. And now you have a cute little pocket!
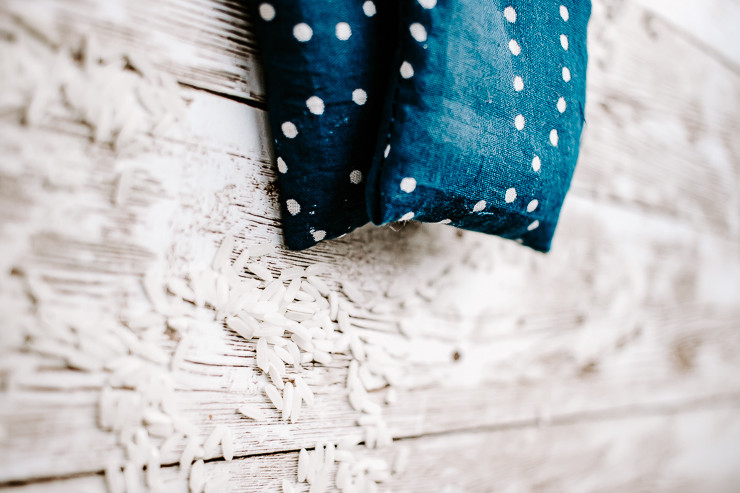
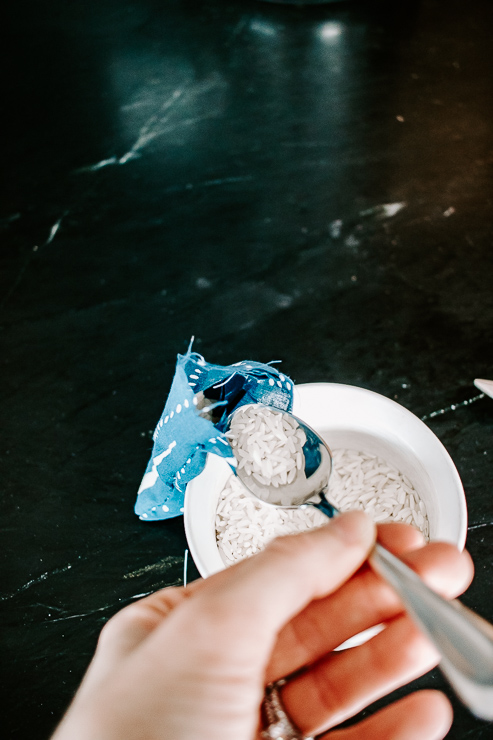
Step Three: Fill your Fabric Pocket with Rice
Spoon some rice into the open edge of each little fabric pocket. You really don’t need too much here. Make sure to leave enough space at the top to comfortably sew the open edge closed after filling. Do not overfill your pocket.
Because I wasn’t too concerned about it looking perfect, I folded the open edge down to close it while sewing. And that leads us to Step 4!
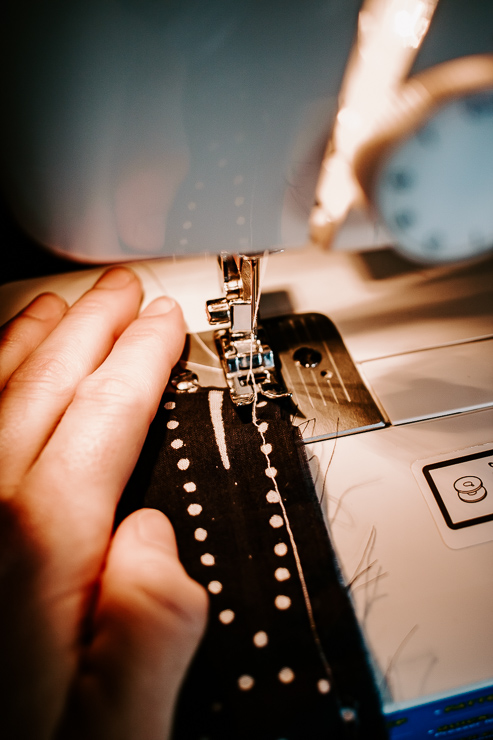
Step Four: Sew pouch closed
We are almost done! All we need to do is close up that last open edge. You can sew it up by tucking in the raw edges and stitching over top. Or create a neat little fold and stitch on top, as I did. Just make sure it’s sewn tight so no rice falls out.
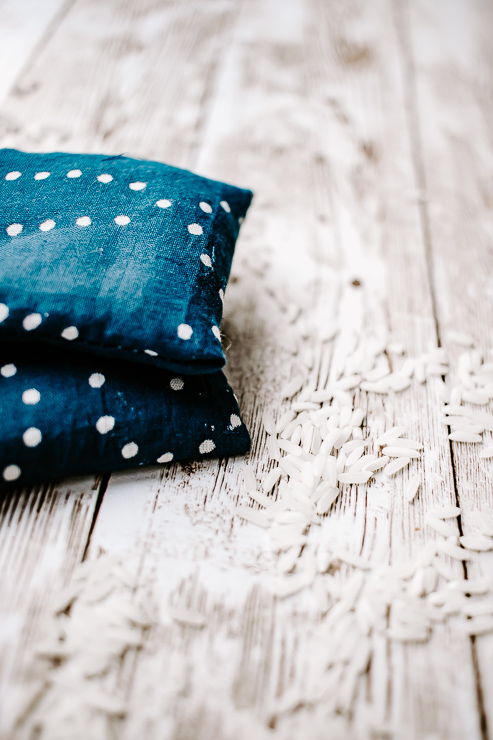
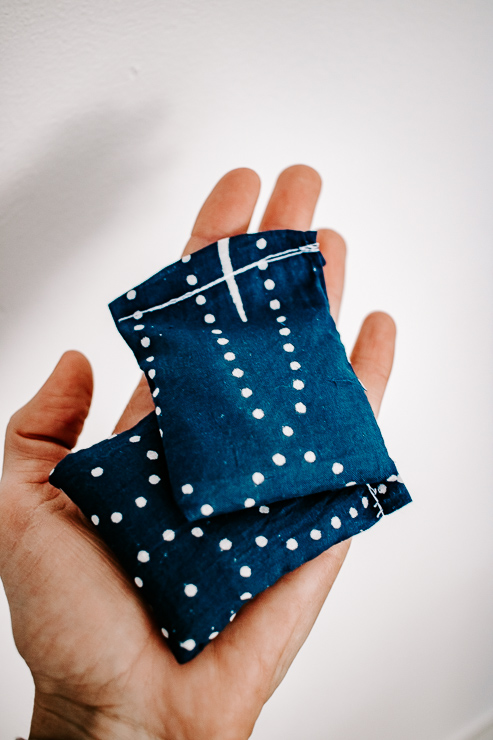
And that’s it! These little DIY rice warmers take all of five minutes to make and they are so handy during the chilly winter months!
How to Use DIY Hand Warmers
Now that we have our cozy little warmers, we need to “warm” them up in the microwave.
I heat my warmers anywhere from 10-30 seconds in the microwave. I would start with the lowest amount of time and increase the time slowly. These rice warmers can get very hot, so be careful! And please keep a close eye on them as they are heating at all times. It takes some experimentation to find out what the perfect temperature is for you.

These hand warmers can last a fairly long time. I had one still giving off some heat after 30 minutes! They will naturally cool down after a while. Just reheat them as needed.
These hand warmers are perfect to take on walks. Before you leave the house, heat them up and tuck a few in your coat pockets to keep your hands nice and toasty. Or, grab a few to take to the neighborhood park with the kids. I’m always cold sitting on the park bench watching my kids play!
You can also use these at home. Tuck them under your feet or under a cozy blanket for a real cozy treat! I’ve actually made larger versions of these as heating pads in our home. My kids love them. It’s the perfect soother for a bellyache or leg ache. And bonus, the larger ones hold heat much, much longer.
If you like this tutorial, check out my post on making scented rice sachets.
Stay warm folks and I’ll meet you right back here next month!

~ See More of Karen’s Tutorials ~

 Hello! I’m Karen, the creator of the Home Decor and DIY Blog: Decor Hint. I’m a Native of the East Coast, but I currently live in beautiful Seattle with my hubby, our two wonderful children, and our spunky wheaten terrier.
You can usually find me with some sort of craft in one hand and a coffee in the other. And I’m always rearranging furniture or moving lamps from room to room. I have a passion (read: obsession) for decorating, DIY, and gardening. In short, I love making my house into a home.
Like many, I’m inspired by what I see in home decor magazines, but I’m not so inspired by the price tags. Consequently, I love finding and creating beautiful budget-friendly home decor items. In a head to head competition, I bet you’d never know the difference between the designer items and my DIY creations! Many of my DIY projects focus on sewing, crafting, upcycling and organizing. Some of my favorite projects have been making pretty wreaths, sewing my own tassel hand towels, and crafting these trendy wood bead garlands. I can’t wait to inspire you and spark your creativity through my DIY projects.
You can always connect with me on Pinterest, Twitter or Instagram.
Still have some scraps of fabric? You could make these adorable gift bags.


Hi Karen! can I use other seeds?