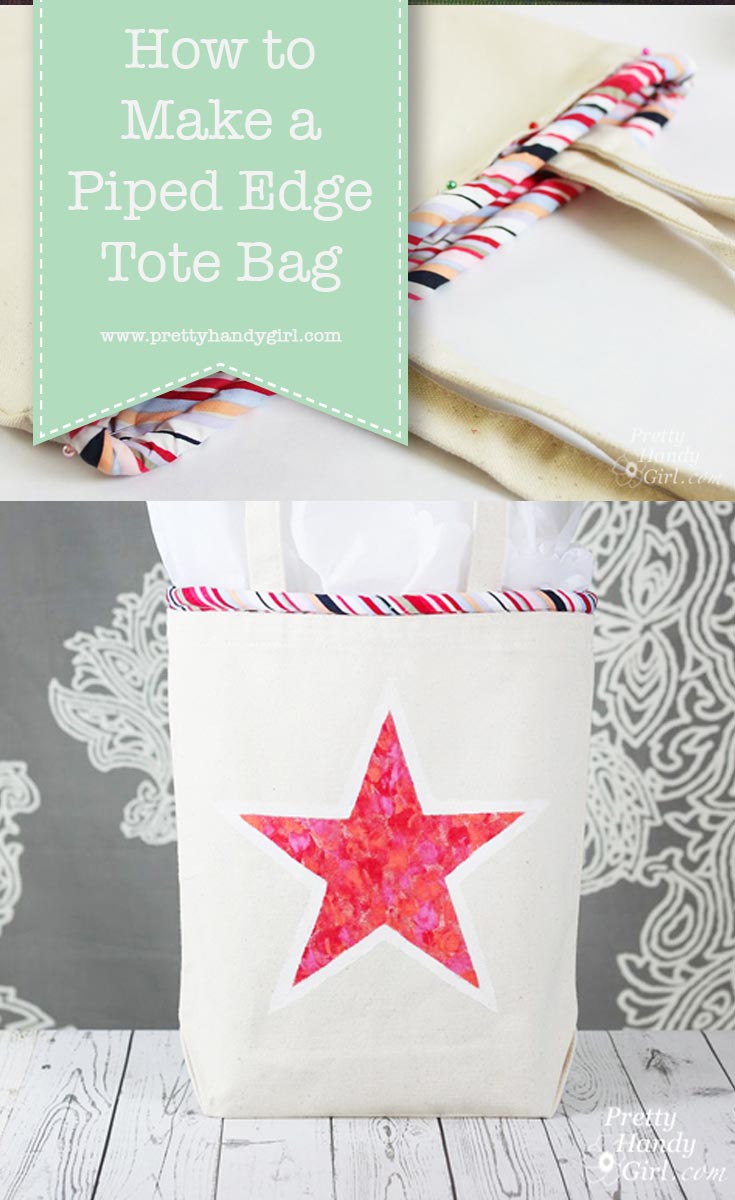
Dress Up a Plain Tote with Piping
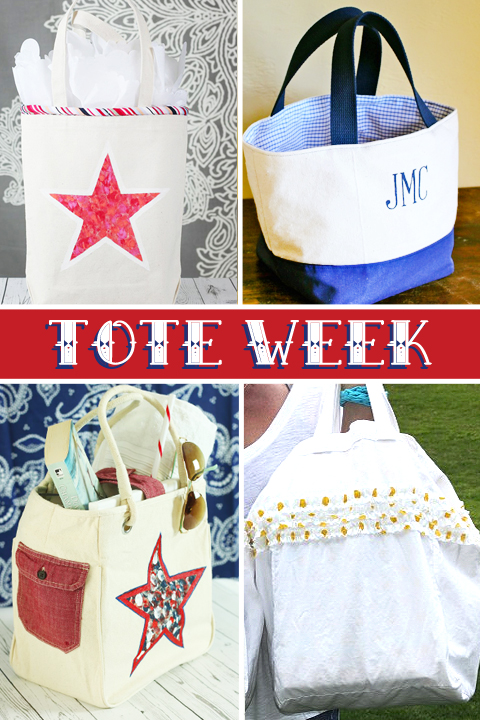
Welcome back to Tote Week! If you’re just joining in here’s the line up:
- Monday: How to Sew a Canvas Tote Bag
- Tuesday: Dress Up a Store Bought Tote with Piping
- Wednesday: Reusable Tote Bag Sewing Tutorial
- Thursday: Customizing a Tote Bag with an Old Shirt
- Friday: 21 Ways to Make and Decorate a Tote Bag
If you’re short on time (or don’t have a sewing machine), there’s nothing wrong with cheating a little.
Today I want to show you a great way to add some character to a store bought tote bag. You can dress up a plain tote bag with piping. I purchased canvas tote bags at Michael’s for a few dollars. You can purchase piping or make your own easily (if you have a sewing machine.) If you don’t own a sewing machine, purchase pre-made piping and buy some double stick hem tape or hot glue to secure the piping instead of sewing it on.
Piped Tote Bag Tutorial
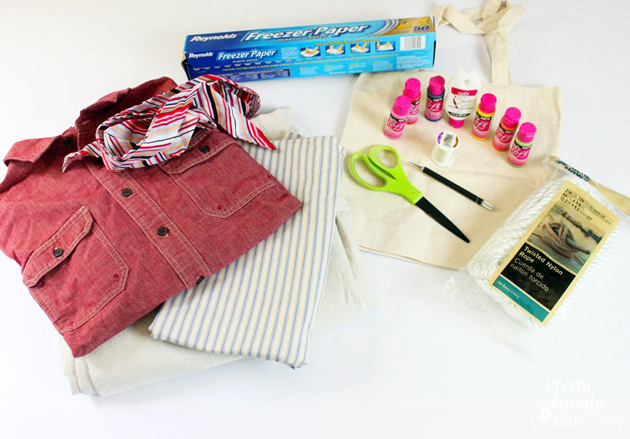
Materials:
- Tote bag
- Scissors
- Piping (tutorial to make your own piping)
- Fabric
- Rope
- Thread
- Needle
- Sewing machine (use hot glue or double stick hem tape if you don’t have a sewing machine)
Instructions:
Start by making your piping. Be sure to make enough to line the rim of your tote bag and overlap by at least 2 inches.
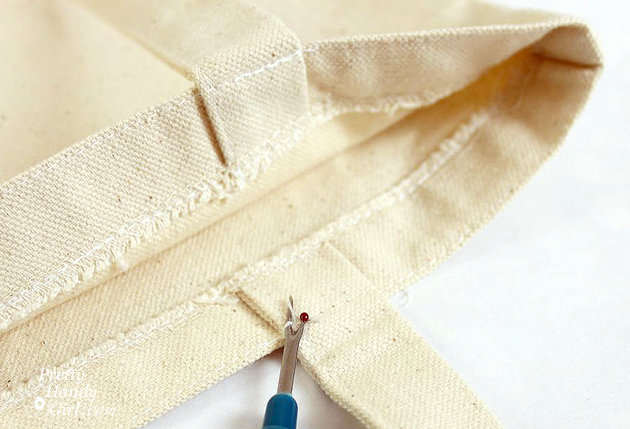
If your tote bag handles are sewn to the inside of the bag, rip the top seam off to free the handles from the top edge of the tote bag.
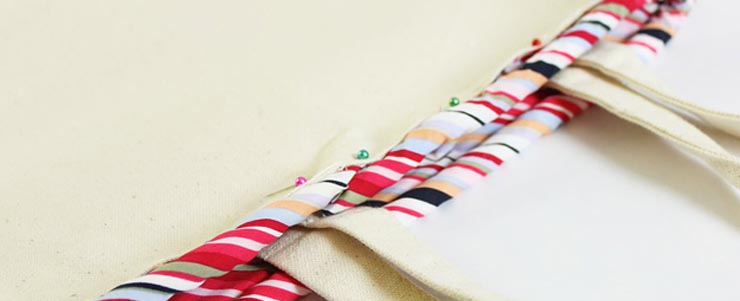
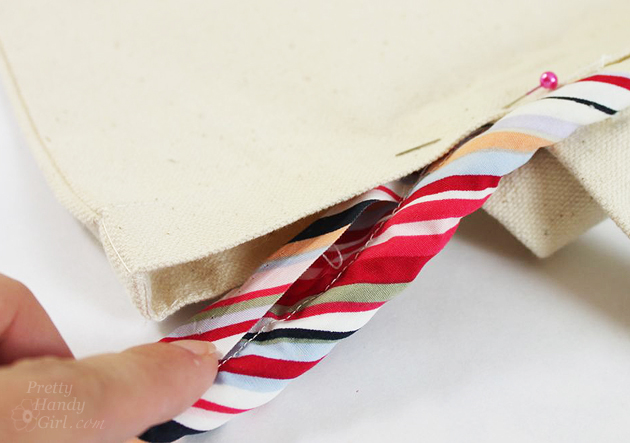
Begin pinning your piping around the inside of the top edge of the bag. Fold the raw edge over and between the bag and the piping as shown below:
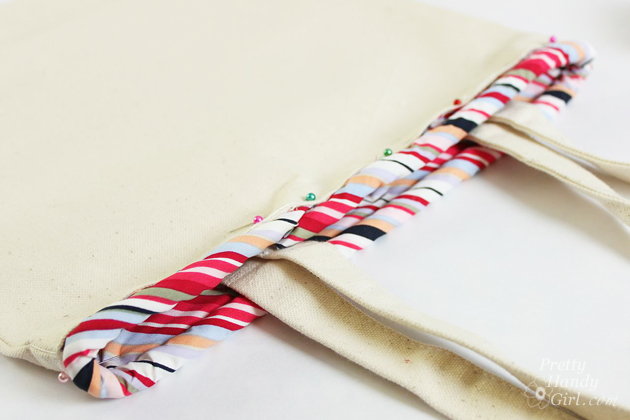
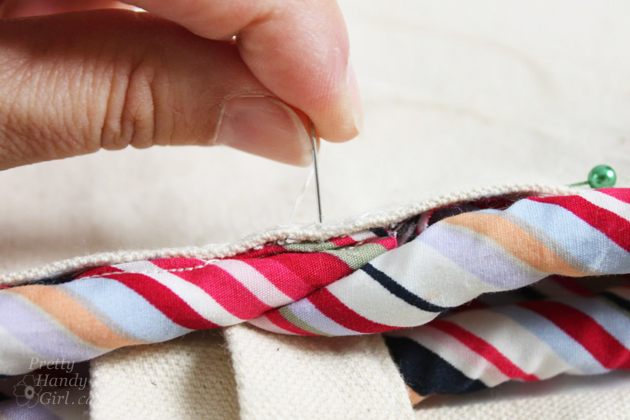
Overlap the edges of the piping in an inconspicuous spot (near a back handle.)
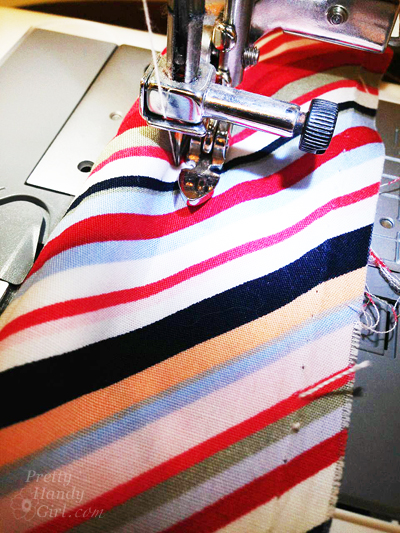
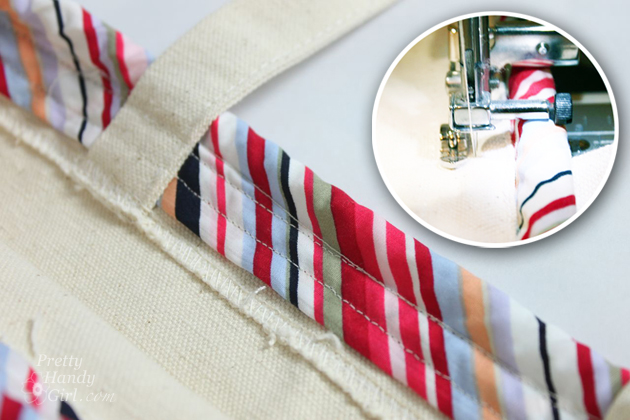
Using a zipper foot, sew along the edge of the piping and tote bag to secure the piping to the bag.
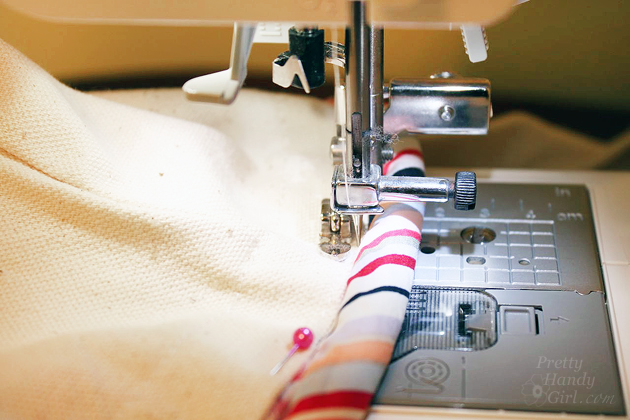
Sew a second seam 1/4 inch below the first seam.
Finish by hand stitching (if your sewing machine foot can’t go over) the overlapped piping.
Want to make that tote bag even more adorable? Try adding a graphic star to the front.
Fingerprinted Star Tutorial
Materials:
- Freezer Paper
- X-acto Knife
- Fabric Paint
- Printed Star Template
- Iron
- Ruler
Instructions:
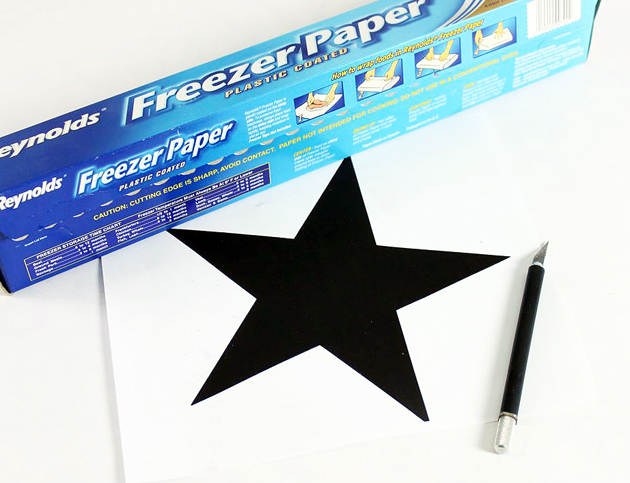
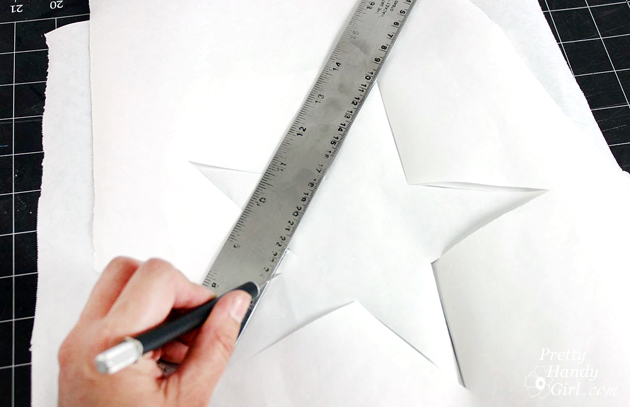
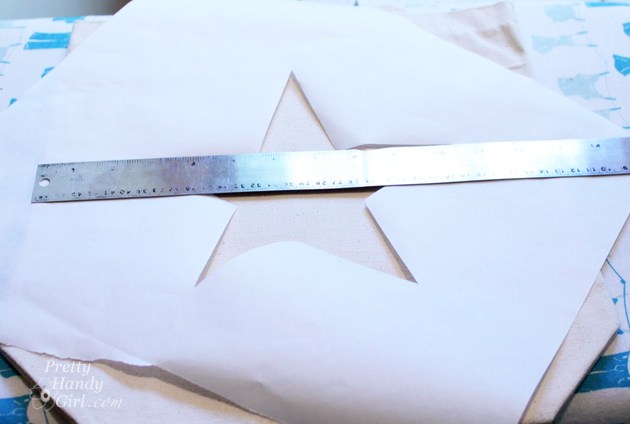
Print out this Star Template. Lay freezer paper on top of the star print out and cut around the star with the x-acto knife and metal ruler.
Center the freezer paper star on the tote bag.
Iron the freezer paper to the bag using a medium heat setting. The paper will lightly adhere to the bag, but will be able to be removed easily.
Pour some fabric paint into a plate or tray. Let your kids dip their fingers in the paint and fill in the star shape with paint. (I like to use three colors that are analogous compliments. Here’s some tips for picking analogous complimentary colors.)
After the paint has dried, gently peel off the freezer paper.
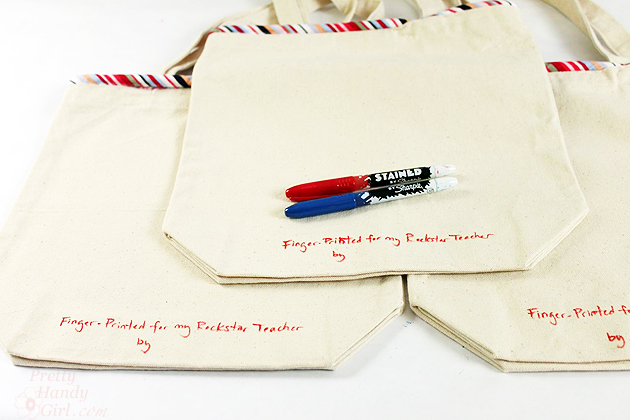
Leave the star as is or outline the shape with a marker or paint. Be sure to have your finger artist sign the back of the tote bag. We made several of these piped tote bags and gave them to my sons’ teachers as end of the year gifts.
I hope you liked this tutorial. Stay tuned for more Tote Bag Tutorials this week.
![]()
Pin for later!

Hey Brittany,
Definitely I’ll give it a try to this lovely and easy to make Tote Bag! Thanks for sharing the giveaway. Love..Love..Love!!
Great idea, I pass by these all the time & never really think about customizing them.