
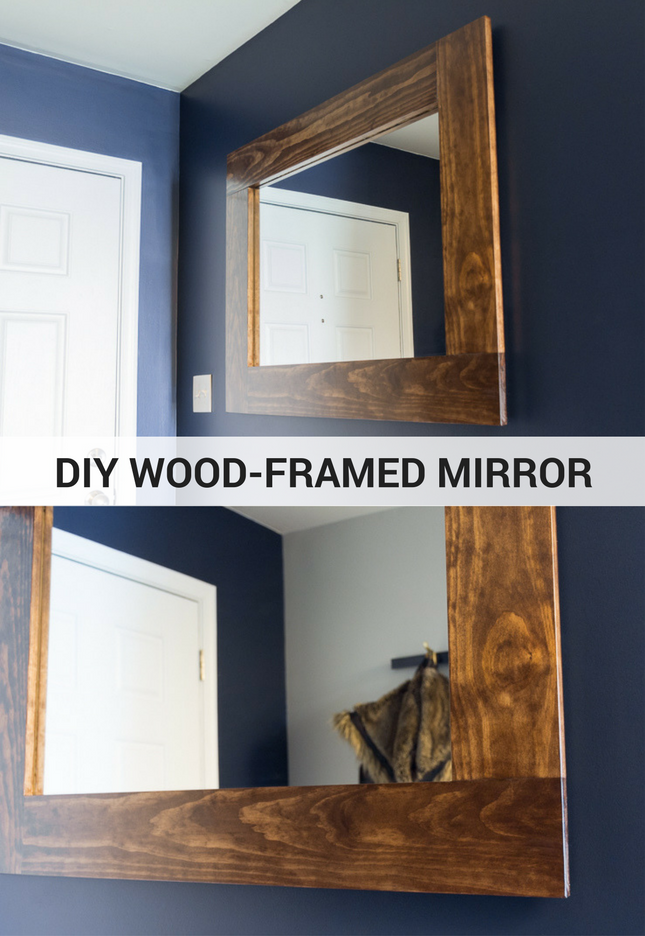
DIY Wood-Framed Mirror Tutorial
Hello everyone! I’m Brittany—the creative behind by Brittany Goldwyn, the weirdest cat person you’ll ever meet, and the newest monthly contributor for Pretty Handy Girl! As a long-time Pretty Handy Girl reader myself, I’m so excited for this opportunity to work with Brittany (should I call us Brit 1 and Brit 2?) to share my projects and connect with all of you. I hope we’ll get to know each other more, but in the meantime, here are a few things about me: My dad is a licensed contractor and has taught me most of my building, home improvement, and general DIY skills—you might even occasionally see him pop in to some of my tutorial photos when he’s helping with a project. My husband and I just bought our first home—a lovely townhouse—and we’re hard at work making it our own. My style tends to be modern. I love decorating with neutrals and plants.
Wood-Framed Mirror Tutorial
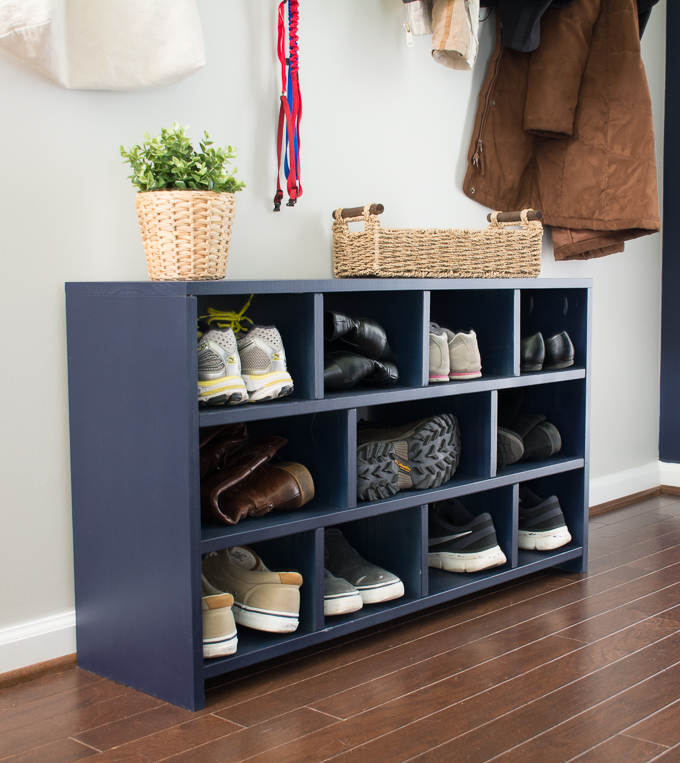
Right now on my blog I am working on a series of entryway makeover posts: first I painted, and then I built a shoe cubby (grab the free build plans here). Today I’m sharing the next step in my entryway makeover: a tutorial for building a wooden mirror frame. This was my first time framing a mirror, so I’ll also be sharing some tips and tricks from along the way. Shall we get started?
Wood-Framed Mirror Tutorial Materials:
(I’ve included affiliate links for your convenience. I earn a small percentage from a purchase using these links. There is no additional cost to you. You can read more about affiliate links here.)
- Mirror
- Pliers (if you’re removing an existing frame)
- 1″ x 6″ pine (amount dictated by your mirror size)
- ¼” plywood (amount dictated by your mirror size)
- 1 ¼” pocket hole screws
- Fine-grit sandpaper
- Clear silicone adhesive
- Liquid Nails Heavy Duty Construction Adhesive
- Caulk gun
- Clamps (or something heavy as shown in steps 6 and 7)
- Wood stain and finish of your choice
- Heavy duty D-rings
- Miter saw
- Kreg Jig
- Drill
- Brad nailer
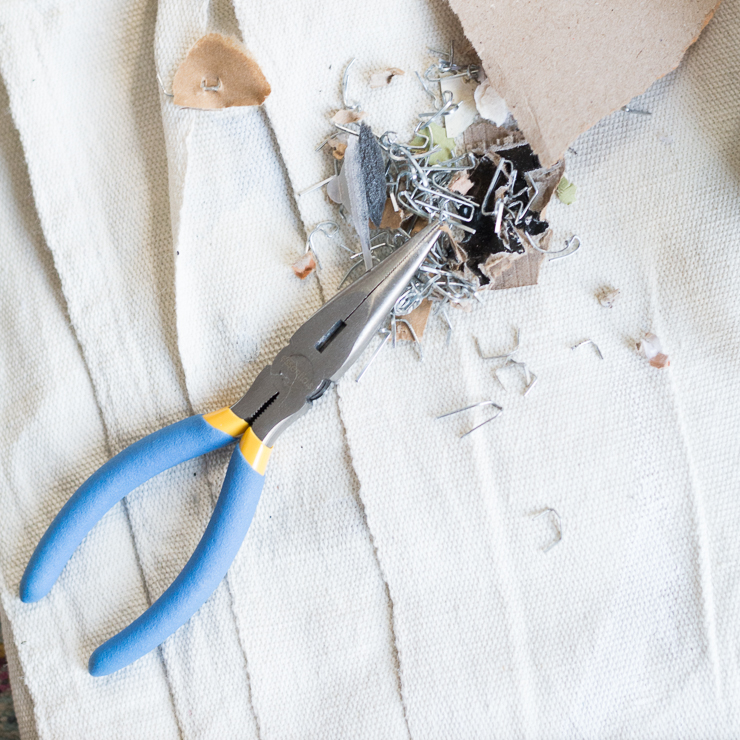
Frugal Tip: Save some cash by replacing the frame on an existing mirror or by picking up a cheap mirror at a thrift shop. Most frames are attached using staples. Simply remove the frame by using pliers to pull out the staples and any other backing that is preventing you from accessing the mirror.
Wood-Framed Mirror Tutorial Instructions:
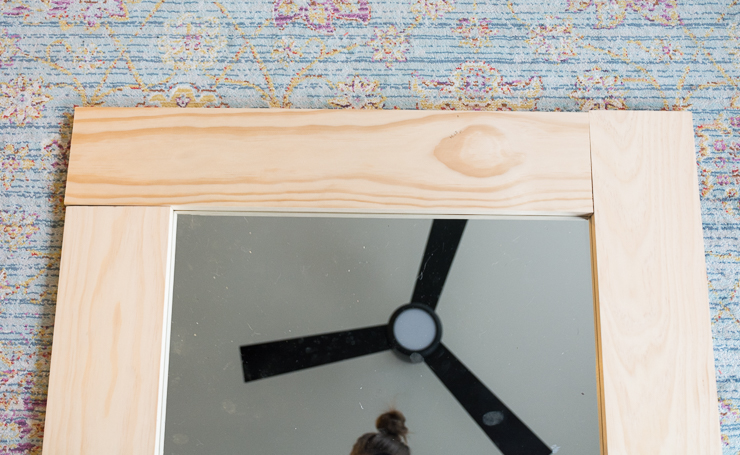
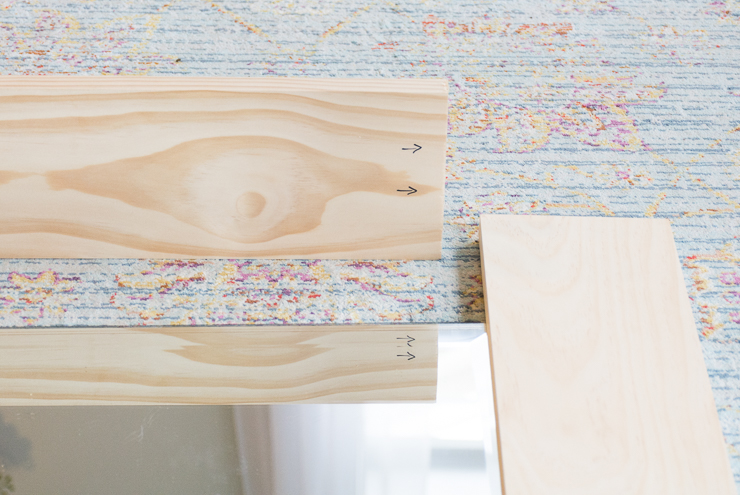
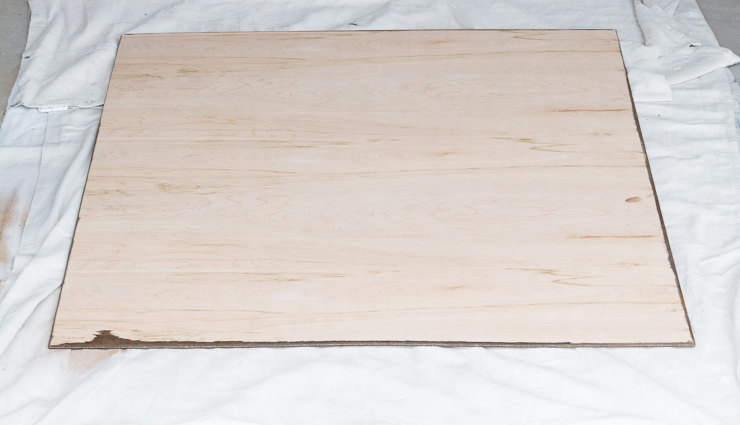
Step 1: Cut pine pieces to fit your mirror.
The measurements will depend on your mirror size and how you want to frame it out. You can chose to cut mitered corners if you like. Or straight corners (like I did) for a super modern look.
Lay your 1″ x 6″ pieces onto the mirror. Mark and cut each frame side to fit.
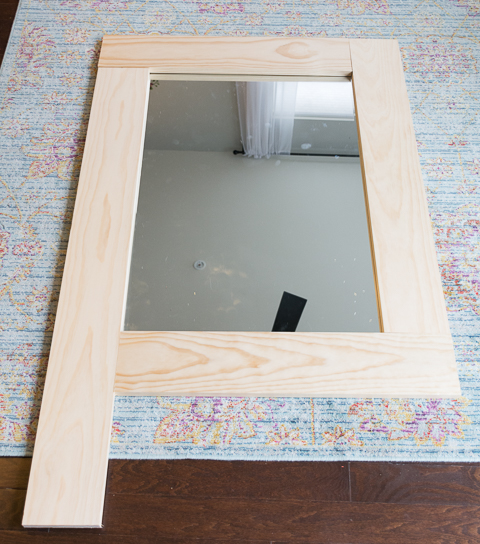
Dry fit the pieces over your mirror.
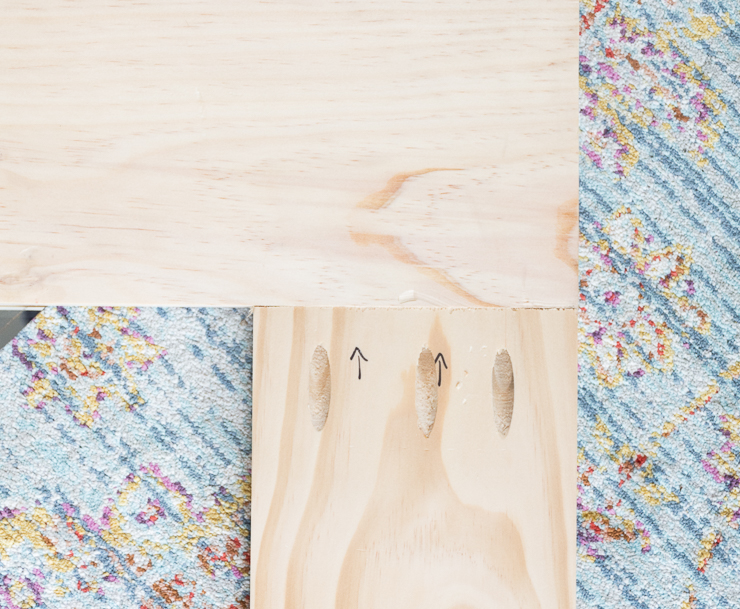
Step 2: Drill pocket holes at one end of each piece.
This is how you’ll join the frame pieces and finish your frame. If you’ve never used a pocket hole jig before, check out Brittany’s tutorial for how to use a Kreg Jig.
Tip: Use a pencil or pen to mark where the pocket holes will go. This is especially important if some pieces line up better with specific pieces or if you prefer the wood grain on one side of a board. Things can get confusing when you head to your Kreg Jig and all of the pieces suddenly look the same.
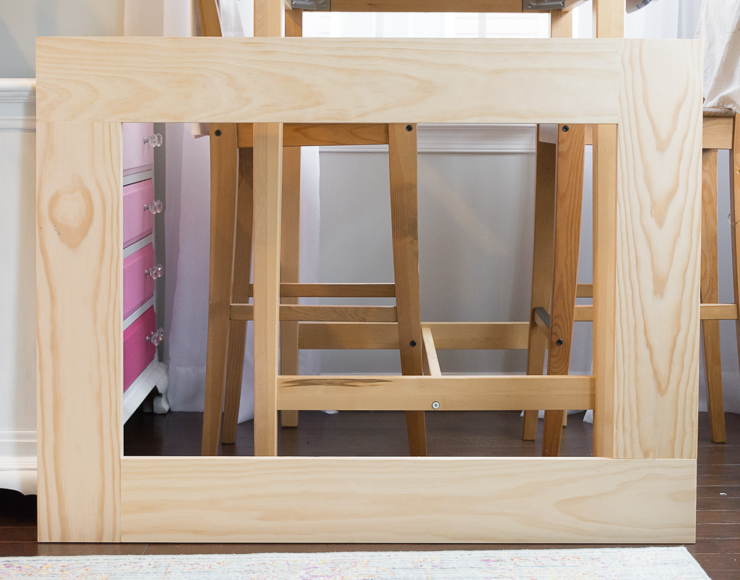
Step 3: Assemble the frame.
Use 1 ¼” pocket hole screws to join each side of the frame together.
Tip: If you don’t have a partner to help you hold your pieces, use clamps to hold the frame pieces on your workbench while you assemble the frame with screws.
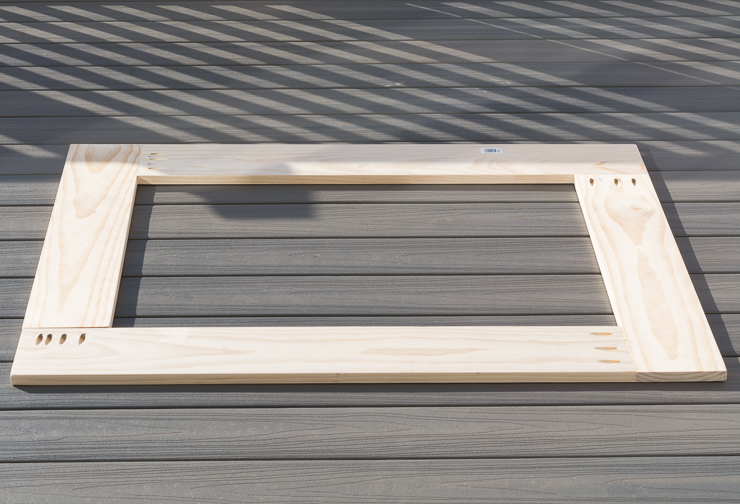
Here is the front of the assembled frame:
And the back so that you can see how the pocket holes look. The corner with four pocket holes was my mistake, but that corner is super strong now. 😉
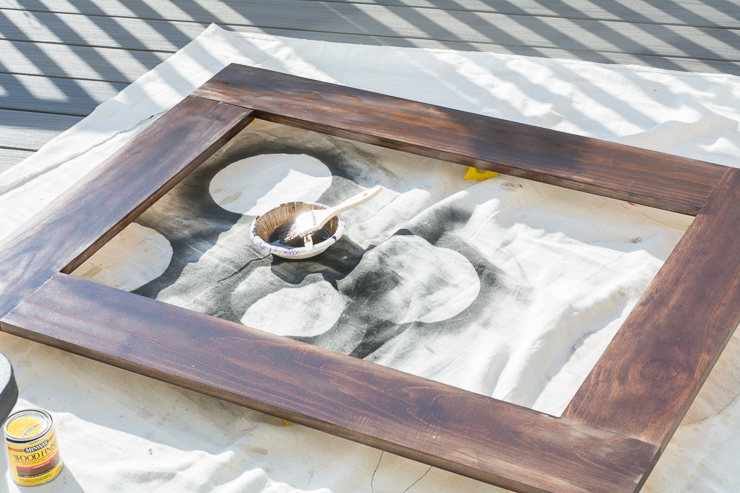
Step 4: Polish and finish the frame.
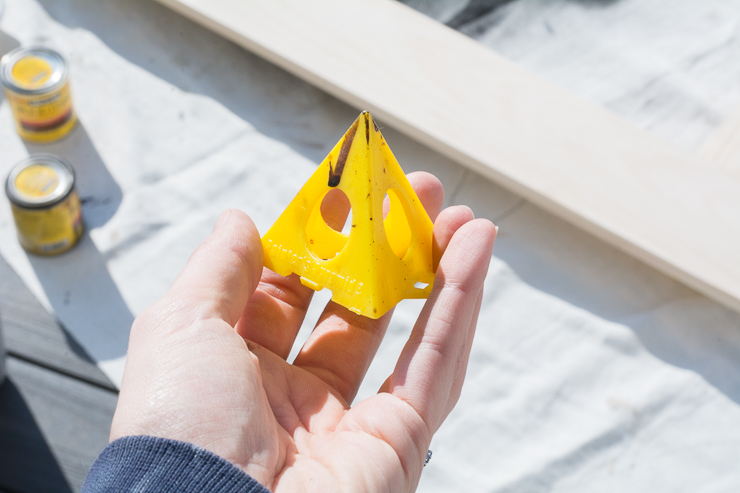
Once assembled, use fine-grit sandpaper to polish the frame, smooth out rough spots, and break down any edges. Before staining, it’s helpful to set your frame on painter’s pyramids to elevate the frame off your surface.
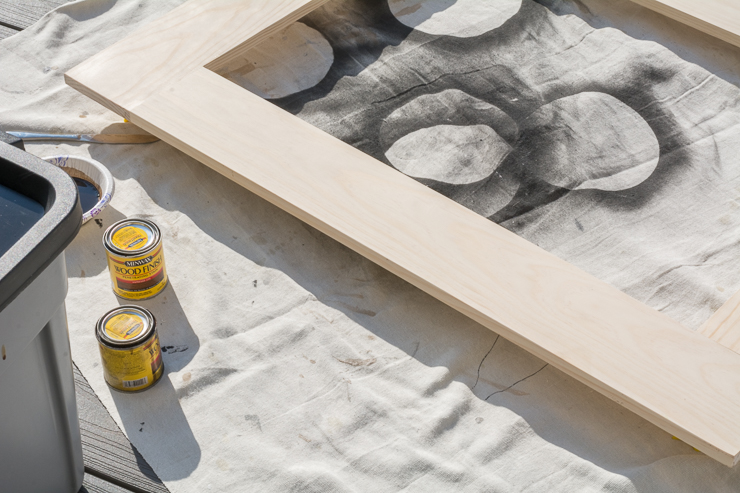
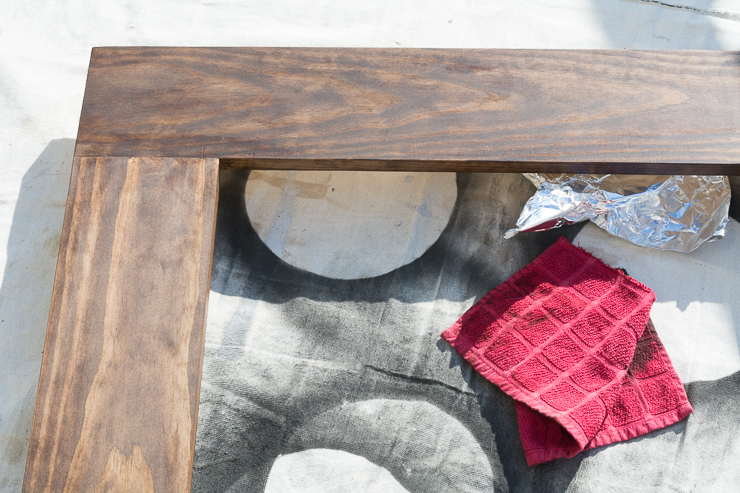
Stain and finish the frame to your liking. (I used Minwax Special Walnut and two coats of semi-gloss polyurethane.)
Need some tips on how-to stain and finish wood? You can check out my tips and tutorial for wood staining here if you’re not familiar with how to finish wood.
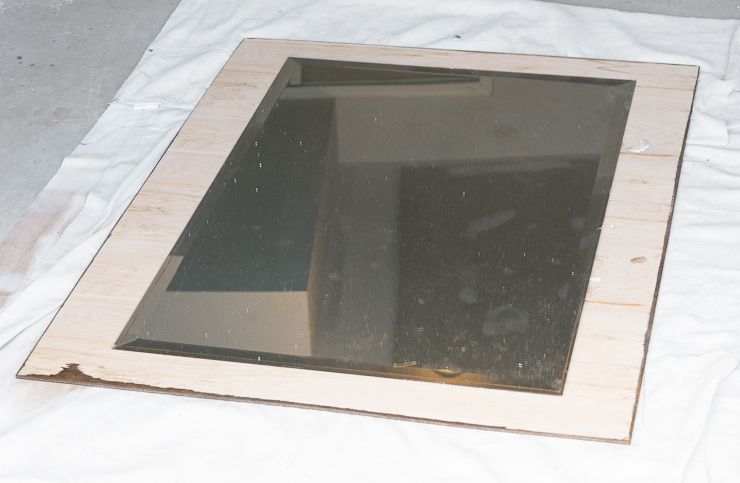
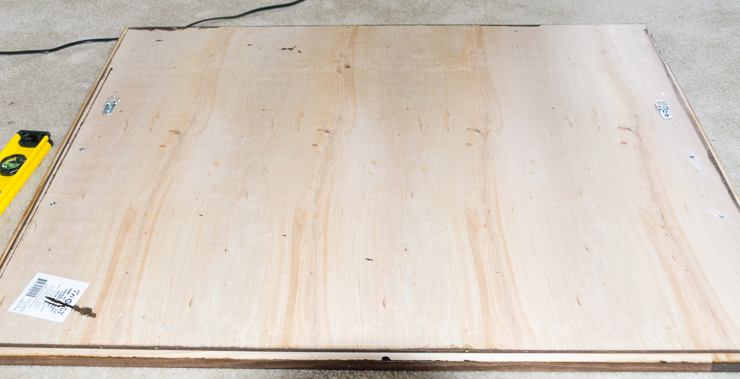
Step 5: Cut the plywood backing.
Cut the plywood piece about ½” smaller than the frame on each side. This prevents plywood edge from peeking out from behind your frame, but it will still provide plenty of support. You can also stain the edges of the plywood backing to match your frame.
Step 6: Attach the mirror to the backing.
Before adhering your mirror to the plywood backing, dry fit the frame, mirror and backing to ensure everything lines up.
Apply clear silicone adhesive to the center of the plywood backing. (Do not use standard construction adhesive as it will mess with your mirror’s reflective side.)
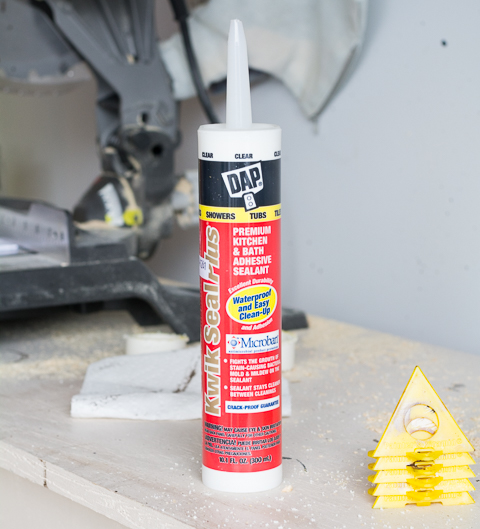
Mine looks quite messy because the tube literally exploded on me, and I ended up mashing the adhesive around like finger paint. Sometimes you just have to go with it, right?
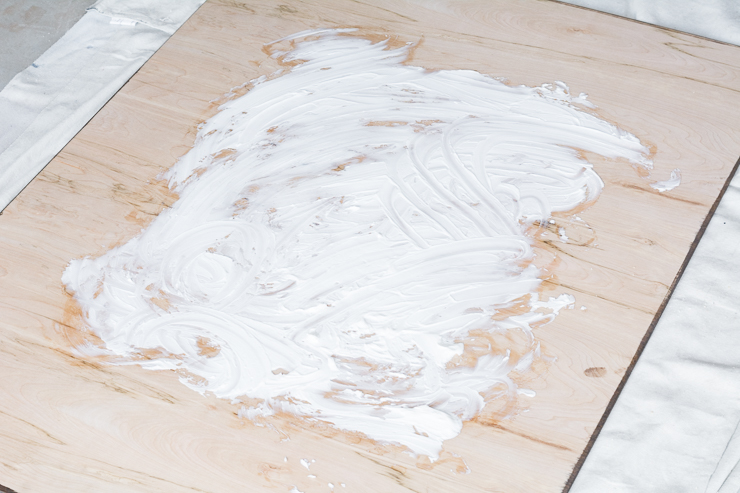
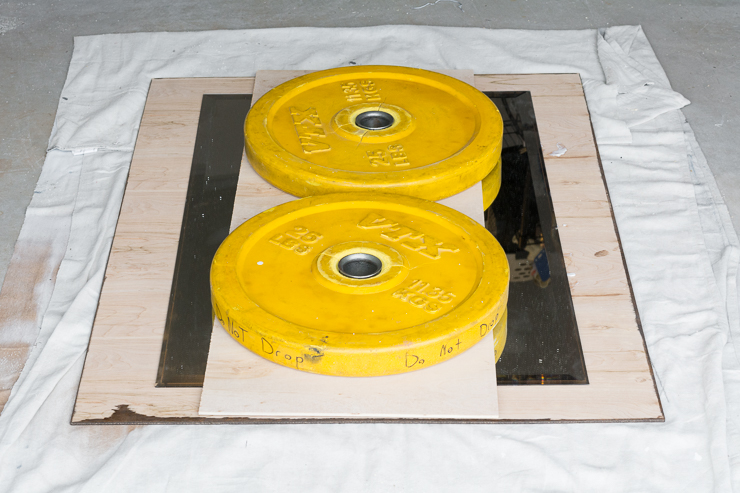
Center the mirror onto the plywood backing.
Apply weight evenly to ensure the mirror adheres well. Here’s where my husband’s garage gym actually isn’t a pain in my butt. His weights worked perfectly, and a piece of extra plywood helps to protect the mirror and distribute the weight. Let dry according to the adhesive instructions.
Step 7: Attach the frame to the mirror and backing.
Use Heavy Duty Liquid Nails to attach the frame to the backing, and then use a brad nail gun to drive nails around the backing and into the back of the frame.
But wait!
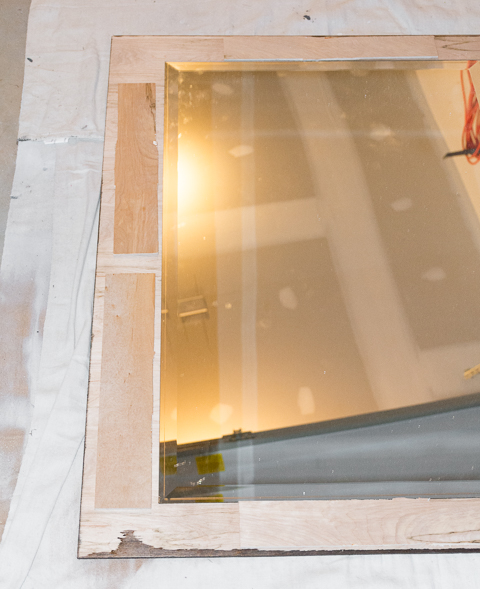
For full disclosure, here’s where I hid a snag, so I didn’t do step 7 as described. I had calculated my frame piece measurements so that the finished frame would cover the beveled edge that ran about 1″ around the mirror. That means that when I set my frame on top of the mirror and backing, there was a small gap between the backing and the frame, which foiled my plans to simply use Liquid Nails and a nail gun to attach the frame to the backing. Ugh! You can avoid this by making sure your frame fits snugly around your mirror and doesn’t sit on top of it. If you do that, just skip to step 8!
To fill the gap, cut pieces of scrap 1/4″ plywood to act as spacers around the mirror.
Then glue the scrap pieces down using Liquid Nails Heavy Duty Construction Adhesive. Add more Liquid Nails on top of the spacers, and carefully place your frame on top of the spacers.
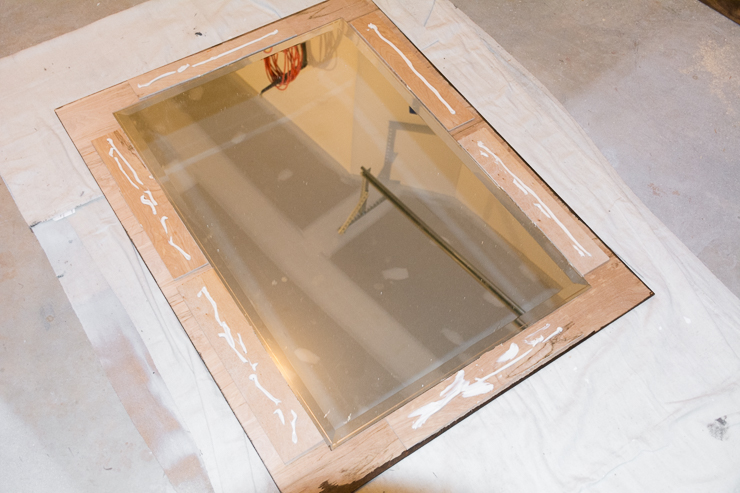
After making sure your positioning is correct, use weights to apply pressure all around the frame. (Put scrap wood between the weights and the frame to protect it.)

Once the adhesive has cured, flip the entire framed mirror over and drive a few screws through the backing and into those glued scrap plywood pieces.
Step 8: Screw your D-rings to the back of the mirror and hang.
If your mirror is anything like mine, you’ll need to give the frame and mirror a good cleaning after hanging it. It’s been through a lot.
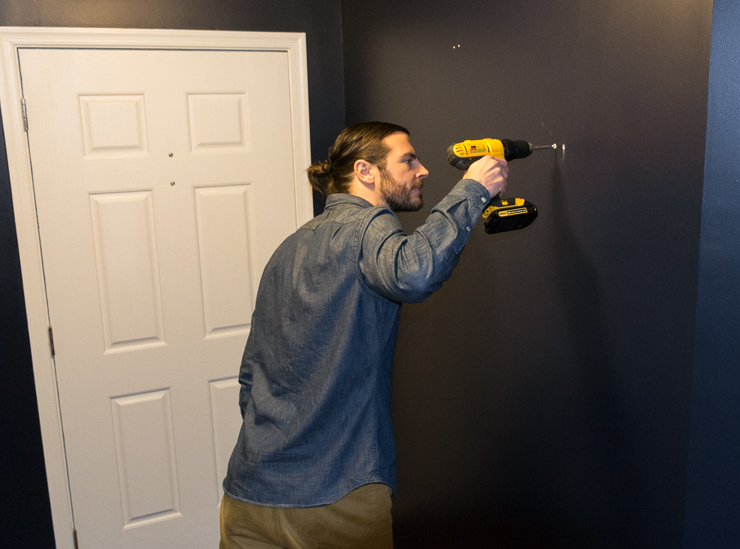
Tip: Remember to hang the mirror on screws that are driven into wall studs or use drywall anchors rated for a weight that can handle your mirror.
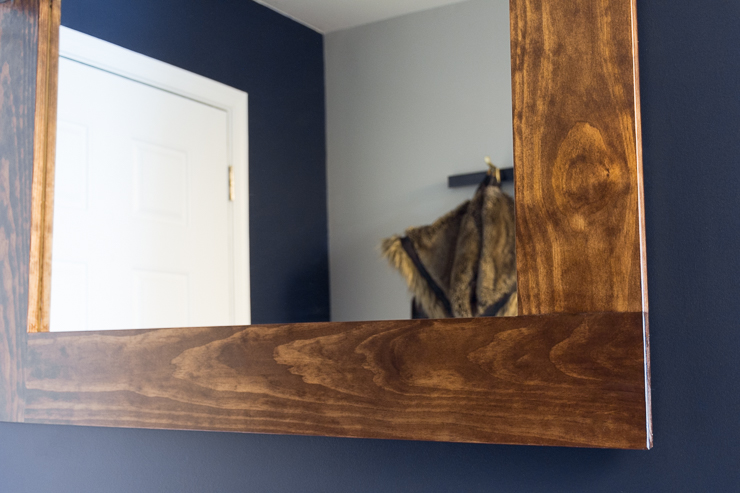
I’m really happy with how it turned out.
What do you think? I think it adds some more dimension to a room that was in desperate need of something extra.
I’ll see you next month here on Pretty Handy Girl, but in the meantime, I’d love to have you visit my blog by Brittany Goldwyn to my entryway! I’ve painted, shared free build plans for a shoe storage cubby, and revealed the final space.
Oh, and I’m finishing up a $100 powder room makeover next week, because apparently 2017 is the year I don’t sit still. Until next time!


Hi! What is the size of your mirror without frame?
Great post! It inspired us to build our own bathroom vanity mirror! We are having trouble finding adhesive that won’t ruin the back of the
Mirror. I noticed the link in your list of things needed is for iron grip (which we ordered), but the image in your blog looks like something else. ANy advice with this?? I’m nervous the iron grip may also damage the mirror.
What a stylish design!!! These wooden mirror frames are mindblowing. Nice share
I have a HUGE mirror that has been in my basement (still in the moving crate) since I moved here 23 years ago. I doesn’t have a frame I keep trying to find the time to frame it. Thank you for the information. This is very helpful
What a stylish design. Honestly, I was searcher of different home interior design and I found this article of yours. It is totally a good design to imitate. The design is so cool. Thanks for sharing this wonderful article. I like it.
I love the finished product. I also live that you made a booboo along the way to show your human. ☺
Thank you,
Heather – Honolulu
Yes, very human! I was peeved when I realized it, but I chalked it up to a learning experience. 🙂