
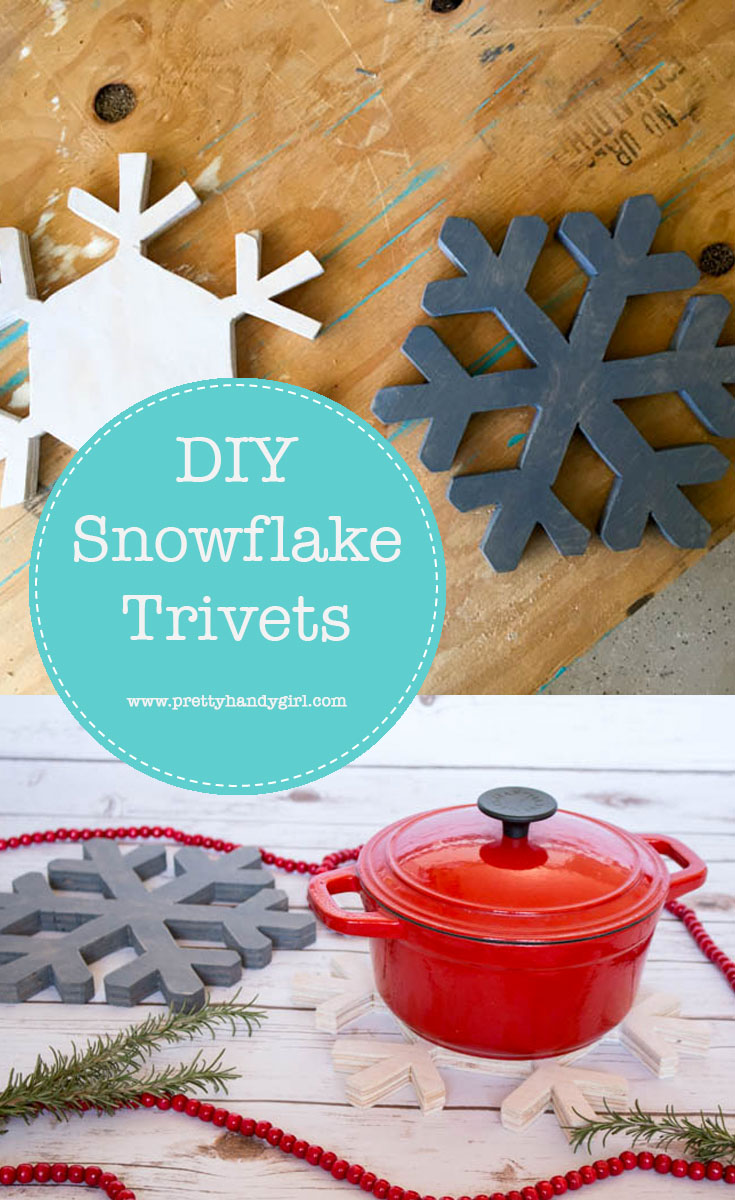
DIY Snowflake Christmas Trivets
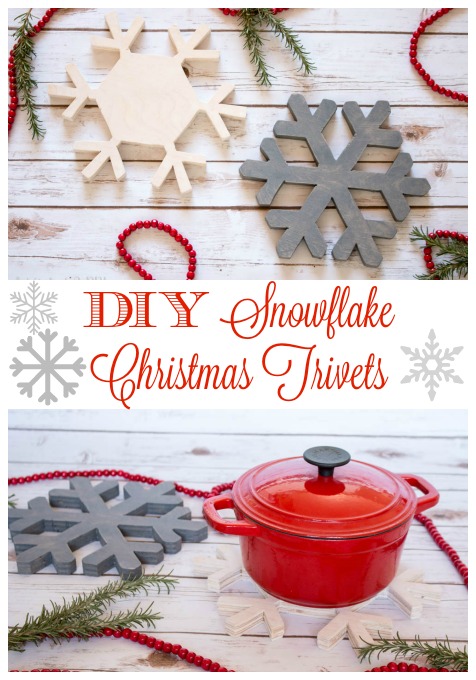
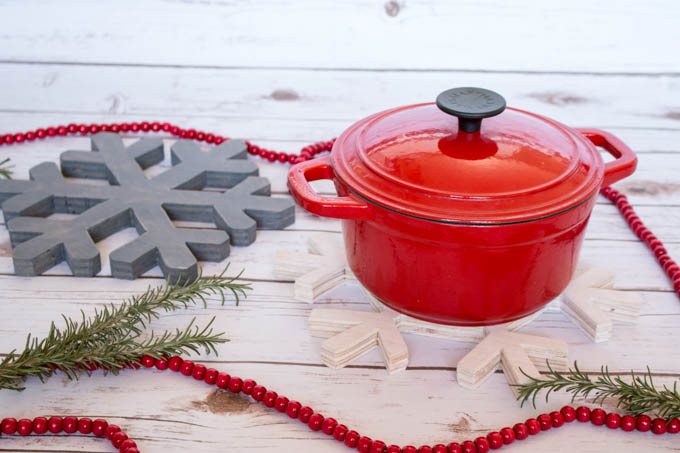
Hey there, everyone! It’s Katie again from Addicted 2 DIY. I’m back with a Christmas tutorial that can pull double-duty as both Christmas decor and a useful accessory for your big family gatherings. I don’t know about you, but in my family finding a spare trivet during Thanksgiving or Christmas meals is about as hard to find as an extra serving spoon. We often find ourselves short one or two and holding hot dishes of food, while trying to decide if it’s cool enough to set on the bare table. I decided that making my own simple and pretty trivets would solve some problems. The fun thing is that you don’t have to just use these pretty snowflakes as trivets. You can hang them as Christmas decor if you like!
To make these, purchase plywood (a 1 – 2′ square piece is all you need) or you can use scrap wood. I used 3/4″ plywood. However, you can easily use 1/2″ or even 1/4″ if that’s what you have on hand. It’s all about saving money this time of year, right?
Materials:
(contains affiliate links)
- Plywood (square sheet or scrap)
- Jigsaw with scroll blade
- Snowflake templates (I found mine HERE)
- 220 grit sandpaper
- Stain of your choice (I used Varathane in Antique White and Weathered Grey)
Instructions:
STEP 1: Size your snowflake templates however you would like and cut them out of cardstock.
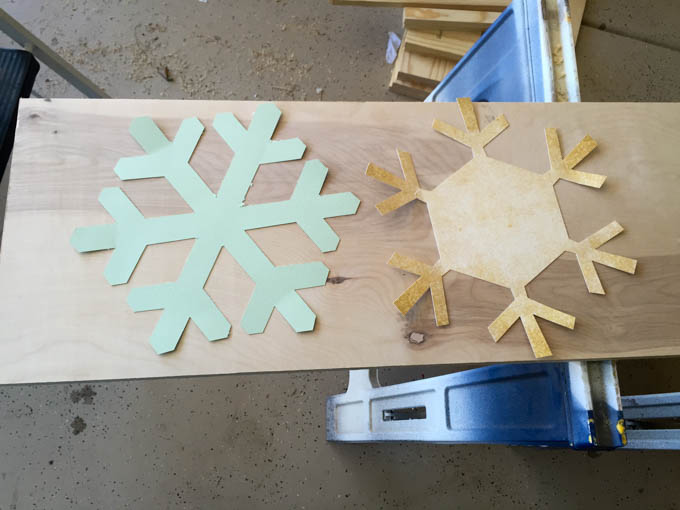
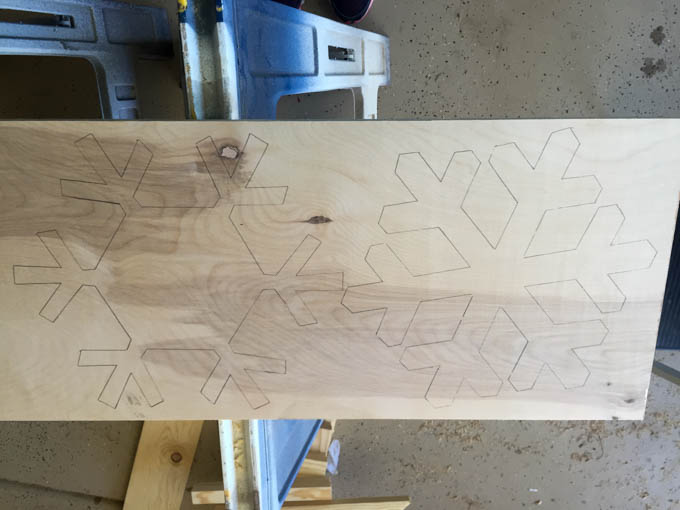
STEP 2: Trace the snowflakes with a pencil onto your plywood.
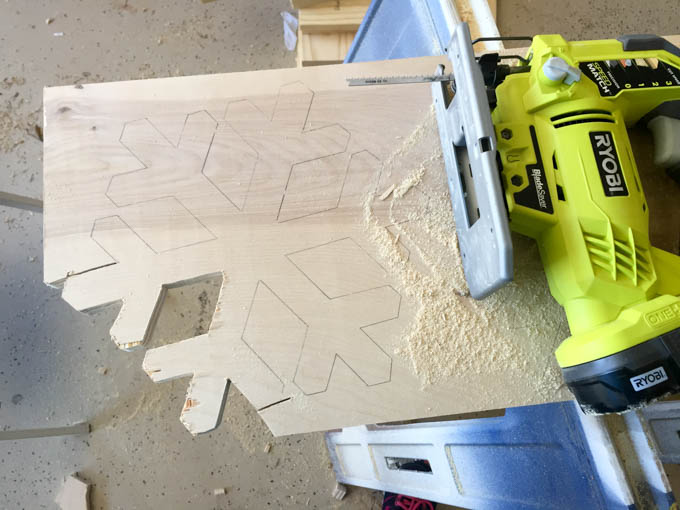
STEP 3: Using your jigsaw (or bandsaw or scroll saw), cut the snowflakes out.
STEP 4: When you’ve finished cutting out your snowflakes, sand them with 220 grit sandpaper until the edges and top are smooth.
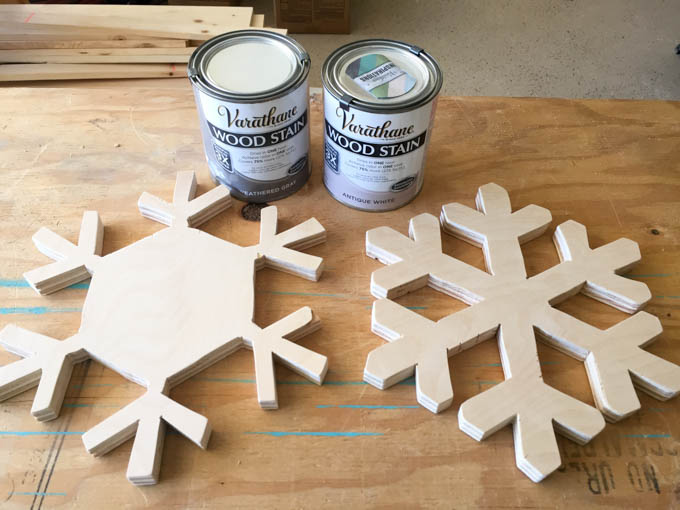
STEP 5: Stain the finished snowflakes in your desired color. There are many colors of tinted stain now, so you can get really creative with colors you like. (I don’t recommend painting these. A hot pan or dish can damage the paint or the paint can melt onto the dish.)
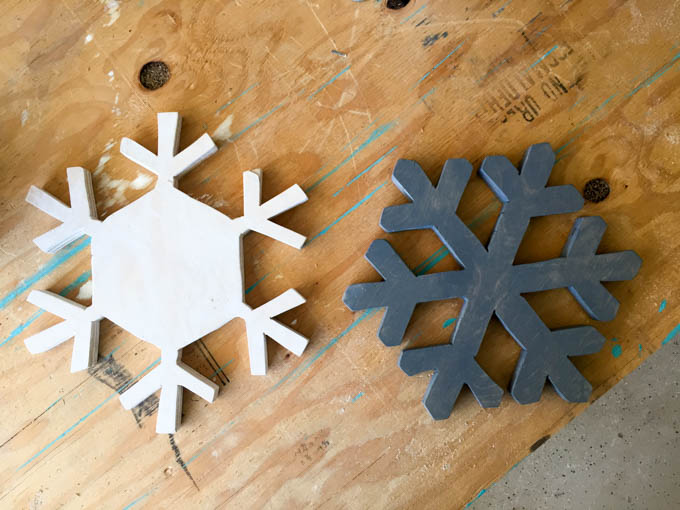
I love the way these cute trivets turned out!
I don’t use my jigsaw very often, but now I want to practice with it more and make even more trivets! I’m thinking some Christmas trees and snowmen would be cute alongside these snowflakes for our Christmas morning brunch. When they aren’t in use, set them vertically on a shelf or against the backsplash in your kitchen and you have pretty DIY Christmas decor as well! Happy building and Merry Christmas!

~see more of Katie’s tutorials~
Pin for later!
Super cute and easy to make. Great gift idea!
These are super cute, but unfortunately I don’t have a jigsaw so I will just have to stick to my paper snowflakes this year 🙂