DIY Scrap Plywood Wall Clock
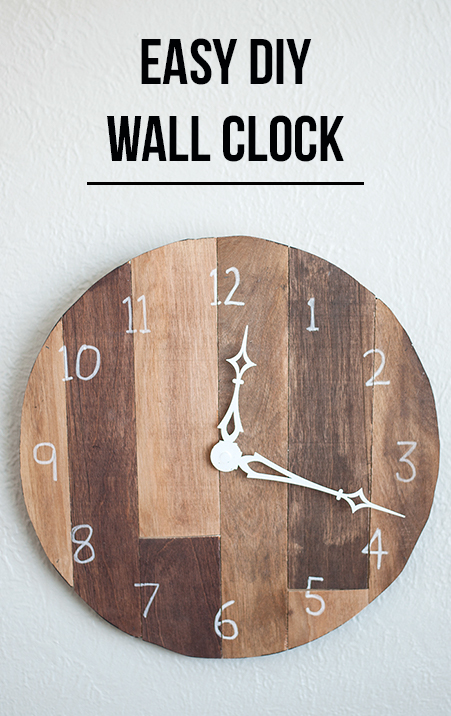
DIY Scrap Plywood Wall Clock
Hello, Pretty Handy readers! It’s Anika from Anika’s DIY Life and I am back with a quick tutorial on making a wall clock using scrap plywood.
I recently gave our staircase a makeover and resorted to a lazy way of fixing up the stair risers. Consequently, I had a bunch of end pieces leftover from cutting down the plywood underlayment to size. But, those scraps now have a new life and they can tell time.
Materials:
(I’ve included affiliate links for your convenience. I earn a small percentage from a purchase using these links. There is no additional cost to you. You can read more about affiliate links here.)
- Scrap plywood (I used 7/32″ plywood underlayment)
- Scrap MDF or [amazon_textlink asin=’B01LZLCXBK’ text=’1/4″ plywood’ template=’ProductLink’ store=’prett-wp-001-20′ marketplace=’US’ link_id=’06050490-df96-11e7-b7c1-e53fa08bfce6′]
- Wood stains in a few colors
- Clock mechanism kit (look for shaft length based on the thickness of your plywood)
- Jigsaw
- Drill
- Table saw
- White paint pen
- Krazy glue
Instructions:
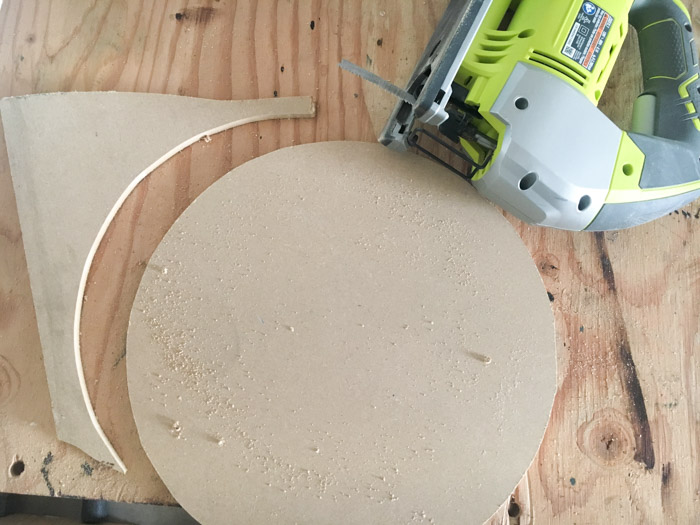
Step 1 – Start by drawing a 12″ circle on the MDF/plywood. You can use anything round like a pot lid or dinner plate to trace.
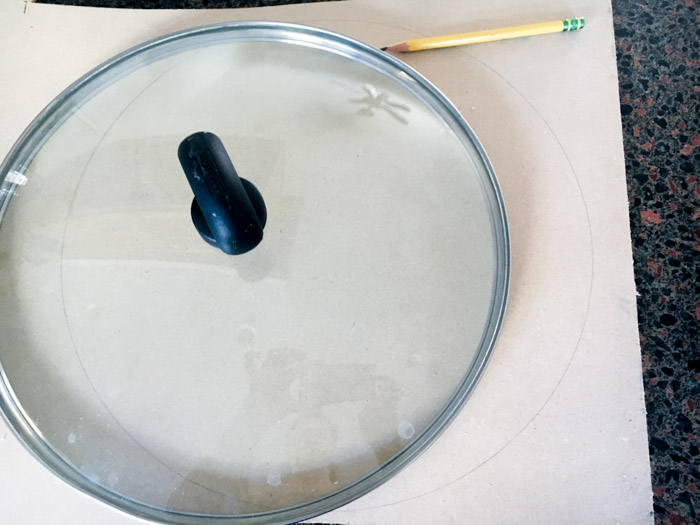
Step 2 – Cut out the circle using a jigsaw. (A scroll saw or bandsaw would make this task slightly easier if you have one.)
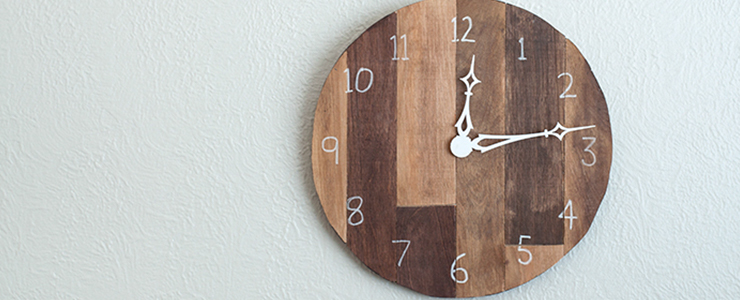
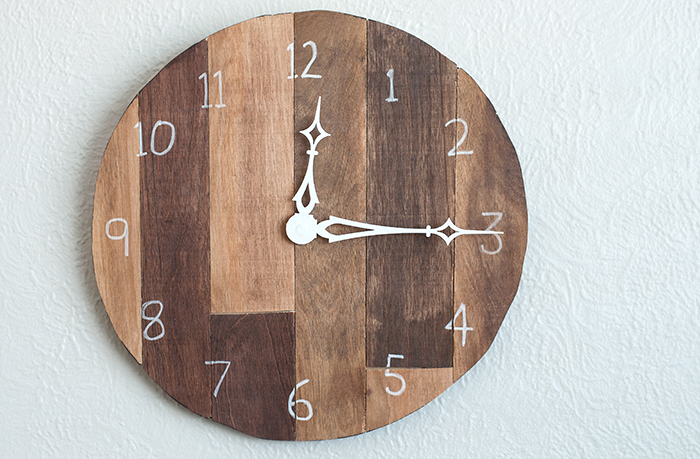
Step 3 – Rip the pieces of plywood into 2″ strips and stain in various shades. You could paint various colors for a fun colorful look!
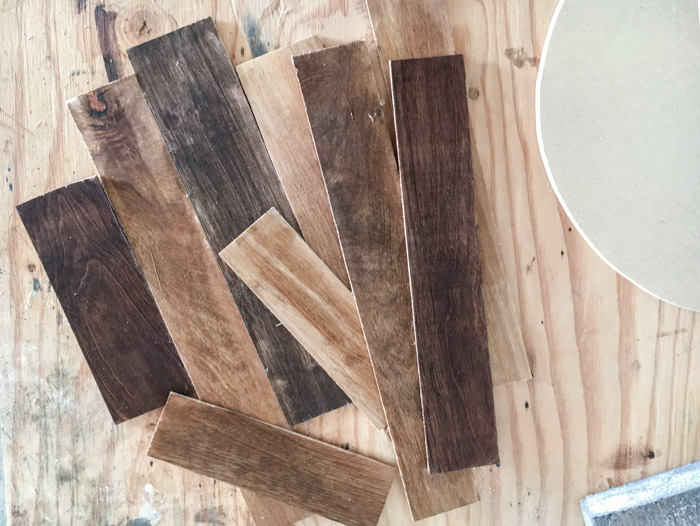
Step 4 – Lay out the strips on top of the MDF circle, adjust until you like the design. Attach them using a strong glue like Krazy Glue.

Step 5 – Flip the circle over and cut off the overhanging plywood pieces.

Step 6 – Mark and write the clock numbers with a paint pen. Attach the clock mechanism per instructions on the package.

Your clock is finished and it will look beautiful with any rustic or modern decor.
The bonus is, I used up a handful of scraps! There is a sense of satisfaction that comes from using up scrap wood to create something useful. Take a look at all the scrap wood projects I have made so far:
 ~See more of Anika’s tutorials~
If you enjoyed this DIY clock tutorial, you will also love these clock projects:
Make Your Own Clock Chalkboard Sign: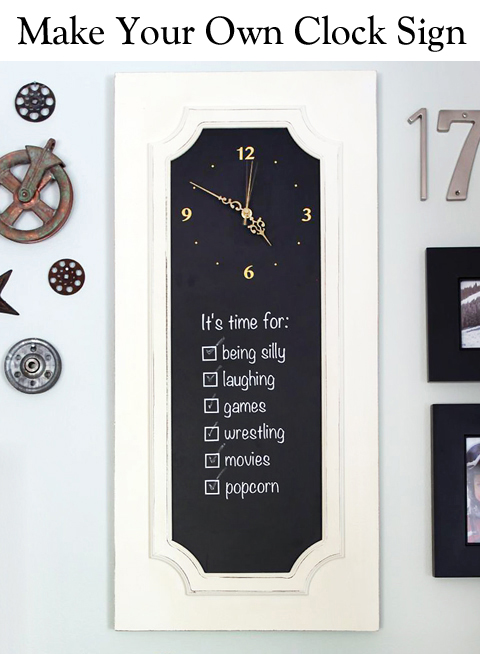


This is so cool
I love this clock, and it seems to be one of the easiest to make. I guess I’ll find out after the holidays. Thank you so much.
..and Brittany too
Thank you, Anika, what fun projects!
Thank you for the diy on how to make the different clocks