
DIY His and Hers Towel Hooks
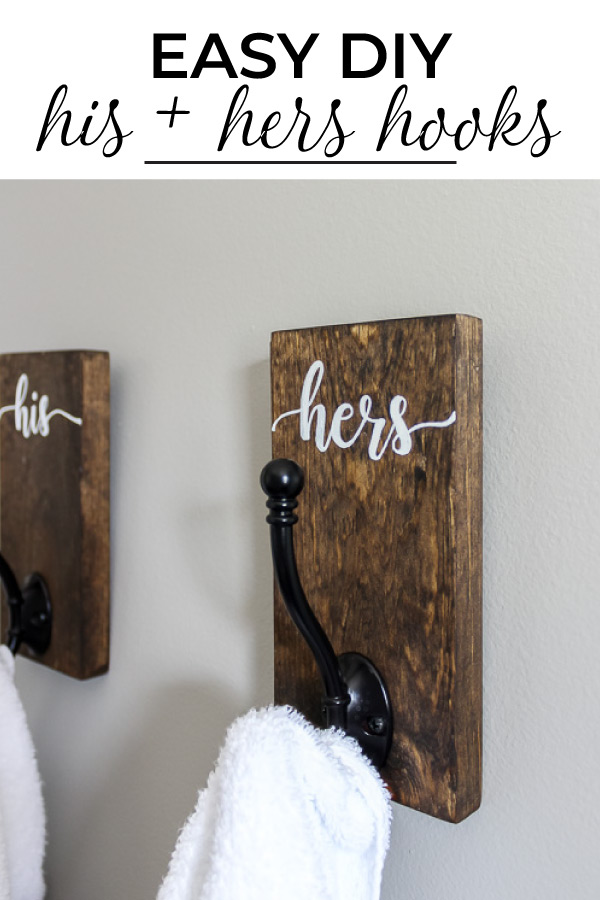
DIY His and Hers Towel Hooks
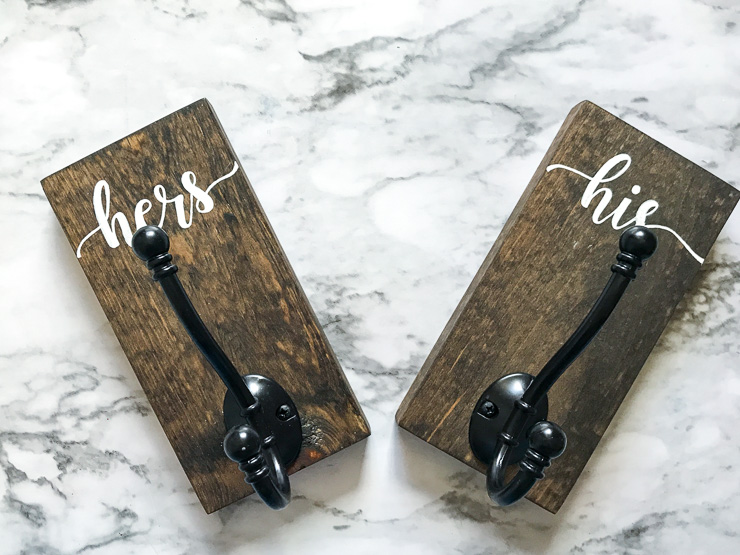
If you are short on space, add some extra storage and personality to your home with these customizable DIY his and hers towel hooks. No stencil or die cut machine required with this easy font transfer method.

This project was born out of necessity for our camper. Right now we have one small double hook in the camper bathroom and we tend to fight over it. The hook isn’t big enough for both of our towels, so I usually find one has fallen off onto the floor. But, these adorable DIY his and hers towel hooks will help us solve the problem, and give our camper a bit of personality at the same time.
Here’s how to make your own pair:
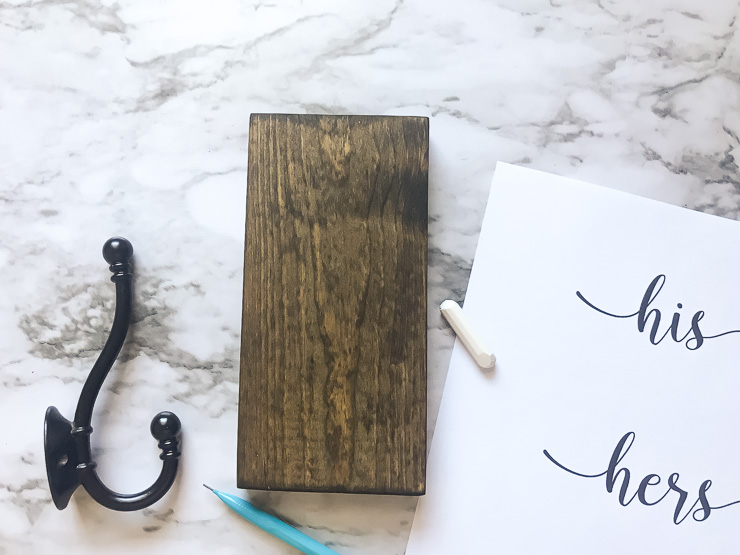
Materials:
(I’ve included affiliate links for your convenience. I earn a small percentage from a purchase using these links. There is no additional cost to you. You can read more about affiliate links here.)
- 1×4 Pine board
- Tape Measure
- Speed Square
- Miter Saw
- Palm Sander
- 100, 150 and 220 grit sandpaper
- Tack cloth
- Wood stain
- Polyurethane (oil based)
- Foam brushes
- “his” and “hers” text printed on paper
- Chalk
- Pencil
- White Sharpie paint marker oil base (fine or medium point)
- 2 decorative hooks
- 2 D-ring hooks
- Drill
- Drill bits
Instructions
1. Cut the wood:
Measure 8″ from the end of the pine 1×4 and mark it with a speed square. Use a miter saw to cut the 1×4 at the marked line. Repeat this step once more for two pieces of 1×4 cut to 8″ each.
2. Sand and stain the boards:
Use the palm sander and 100 grit sandpaper to sand each board, moving the sander with the grain. Step up to 150 grit and 220 grit consecutively to get the smoothest finish possible on each board.
When each board is completely smooth, wipe off the excess sawdust with a clean rag. Then use a tack cloth to wipe down each board to remove any lingering sawdust before staining.
To stain each board, use a foam brush to wipe on a thin coat of stain. Let the stain sit for 5-10 minutes and then wipe off the excess stain with a clean rag. Let the stain dry for 30 minutes before flipping the boards over to repeat staining on the back side. Make sure the stain dries fully before moving on to the next steps. (You might need to wait about 18-24 hours.)
3. Seal the Wood
Give both boards a coat of polyurethane. Let it dry and cure for 24 hours before moving on to the next step.
Don’t skip this step! If you do not add a layer of polyurethane, the paint in step 4 may bleed into the grain of the wood.
4. Add his and hers to the boards:
You can use a stencil for this step, or hand letter if you prefer, but this easy font transfer method just may change your DIY mind.
Cut out each word after printing them off onto a white sheet of paper.
Next, take a piece of chalk and shade all over on the back side of the paper.

Place the paper right side up and secure it to the wood board with a small piece of painter’s tape or washi tape. Then trace over the text with a pencil, but be careful not to press in too hard. Pressing down hard while tracing could leave an imprint in the wood.
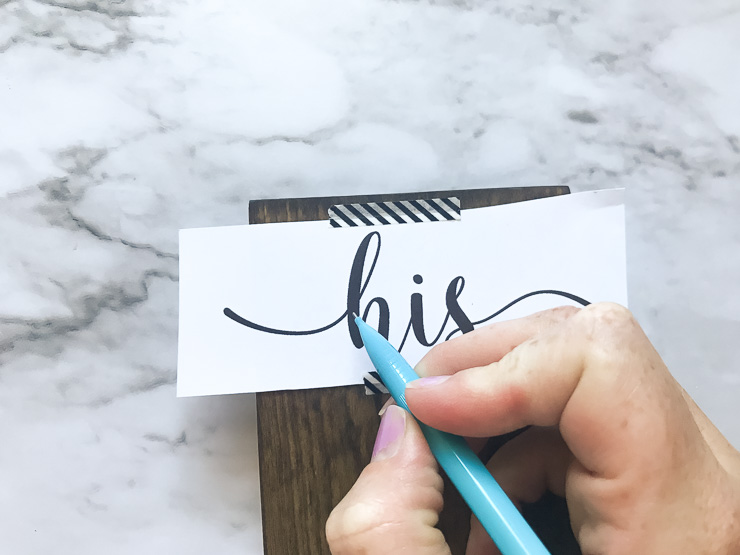
Remove the paper, and a chalk outline of the text will be left.

Next, use an oil based Sharpie paint marker to trace over and fill in the text. Once the paint has dried, brush away any leftover chalk lines or dust.

5. Seal the Wood (again)
Give both boards a coat of polyurethane using a foam brush. Let it dry before moving on to the next step.
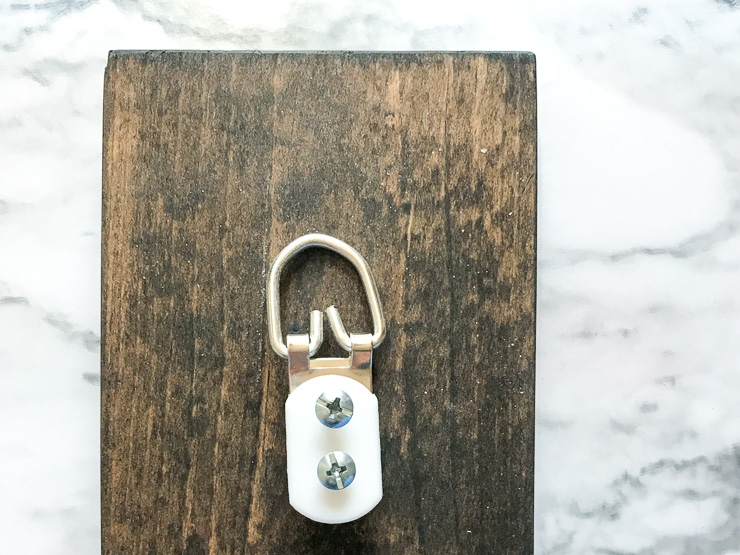
6. Add the towel hooks and hangers
Place one of the hooks in the center of one board under the “his” or “hers” text. Mark where the holes for the screws will go with a pencil. Drill a small pilot hole with a drill bit for each screw. This will prevent any splintering or splitting of the wood when driving in the screws.
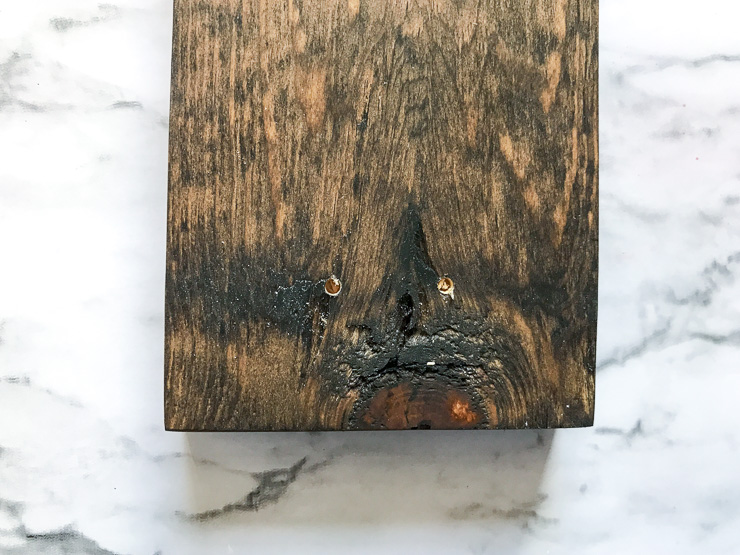
Drive the screws into place to finish attaching the towel hooks to each board.
Next, follow the same steps for adding a D-hook to the back of each board for hanging.
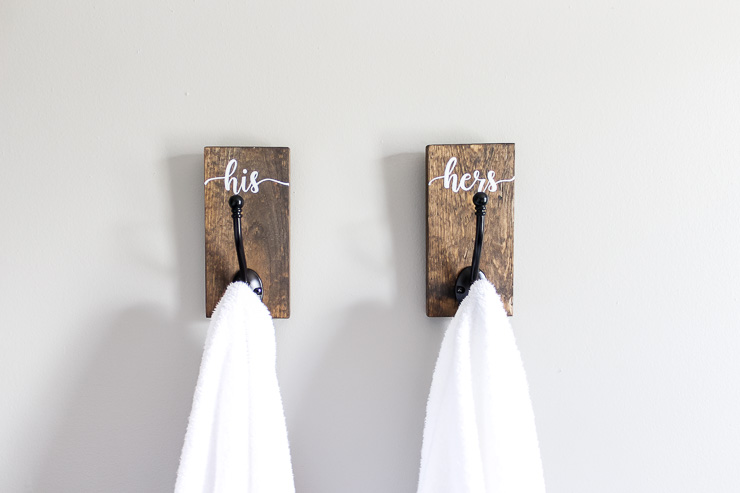
When finished, hang your brand new towel hooks on the wall using an anchored drywall screw and stand back to admire your work!
These hooks will be relocated to my camper before our next trip out to save my sanity!

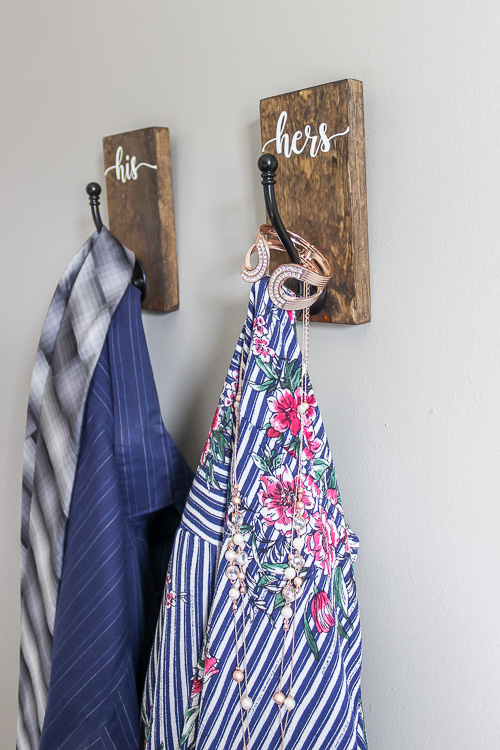
You could also use these his and hers hooks to hold clothes, hats or accessories in a closet. Use them to get the next day’s outfit ready by hanging tops, bottoms, and accessories on them. They would also work great in a guest room for guests to hang up their coats or small bags!
![]()

I’m Amanda, and I am the creator and voice behind the food and DIY blog, Domestically Creative. What started as a place to share updates with friends and family after we moved from Illinois to Tennessee and then to Texas, turned into a passion for finding creative and frugal ways to feed us and decorate our homes.
I have always had the “make it myself” attitude and I’m not afraid to bust out the power tools or get creative when it comes to decorating our home on a budget. You can usually find me scouring the local thrift stores, garage sales and estate sales looking for my next makeover (like this litter box cabinet), or dreaming up ways to make our new house feel more like home. My most recent project was giving my home office a much needed facelift. Some of the plans included creating a fun inspirational accent wall and adding pegboard to store my craft hoards.
I currently call Missouri home, where I live with my husband, dog, and 2 cats in a pretty dull, late 90’s split level. My husband and I both love to travel the U.S and recently purchased a small travel trailer to tag along in our journeys. In our free time together we can usually be found working together on a home project, exploring a new place, or just lounging with our pup, Delilah.
I’d love for you to connect with me on social media via Facebook, Instagram, Pinterest and Twitter!
See all of Amanda’s tutorials HERE.

Love these. What font did you use? It is very pretty.
Outstanding job! This is a must do for me.