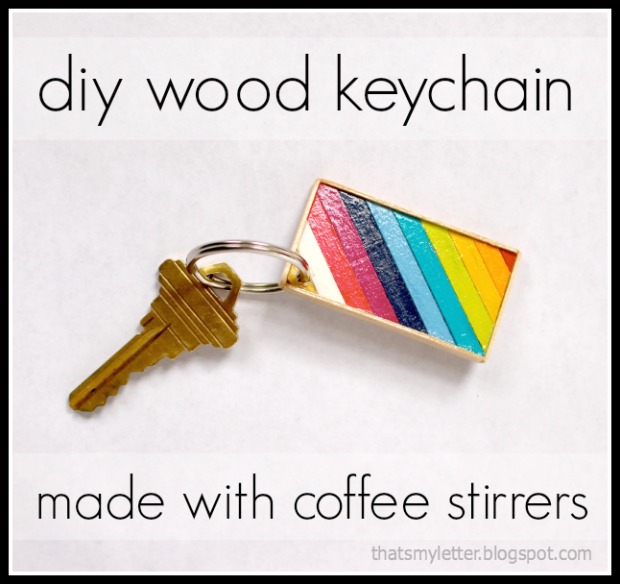
DIY Colorful Coffee Stirrer Keychain
Hello Pretty Handy Girl readers, Jaime from That’s My Letter back again to share a fun craft project. Today we’re making DIY wood keychains using coffee stirrer sticks.
If you love coffee just as much as I do, what could be better than a nifty craft made from coffee stirrers!

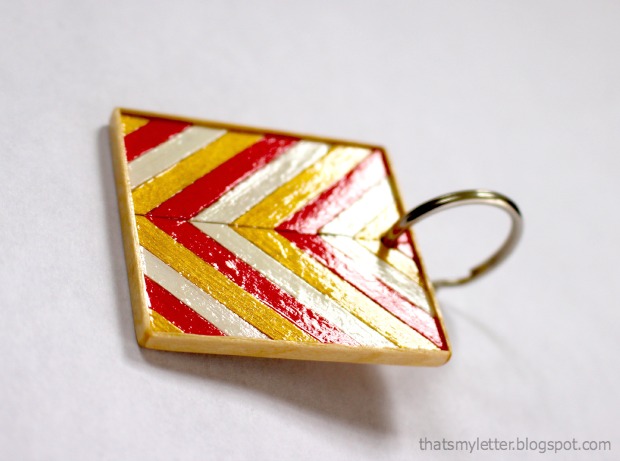
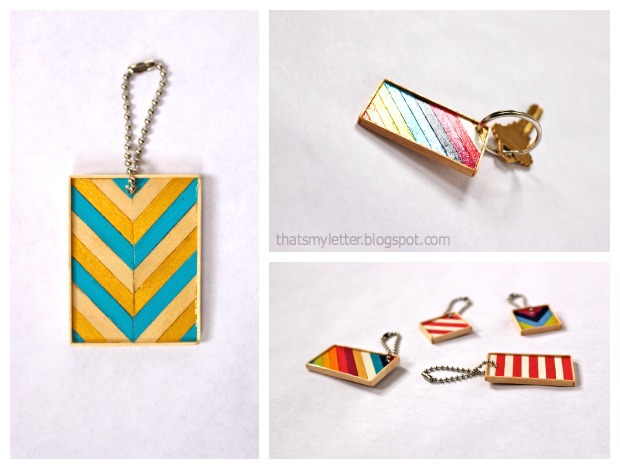
The pattern possibilites are endless, stripes, diagonal, rainbow, chevron and on and on. And what a great gift or favor idea for a party – you could paint them to match the party color scheme.

I may or may not have borrowed a few wood coffee stirrer sticks from my local coffee shop with a green and white logo. Of course, I let my daughter do the dirty work but you only need about 5 sticks for one keychain. Or more appropriately you can purchase coffee stirrer sticks or thin wood craft sticks from most craft and hobby shops.
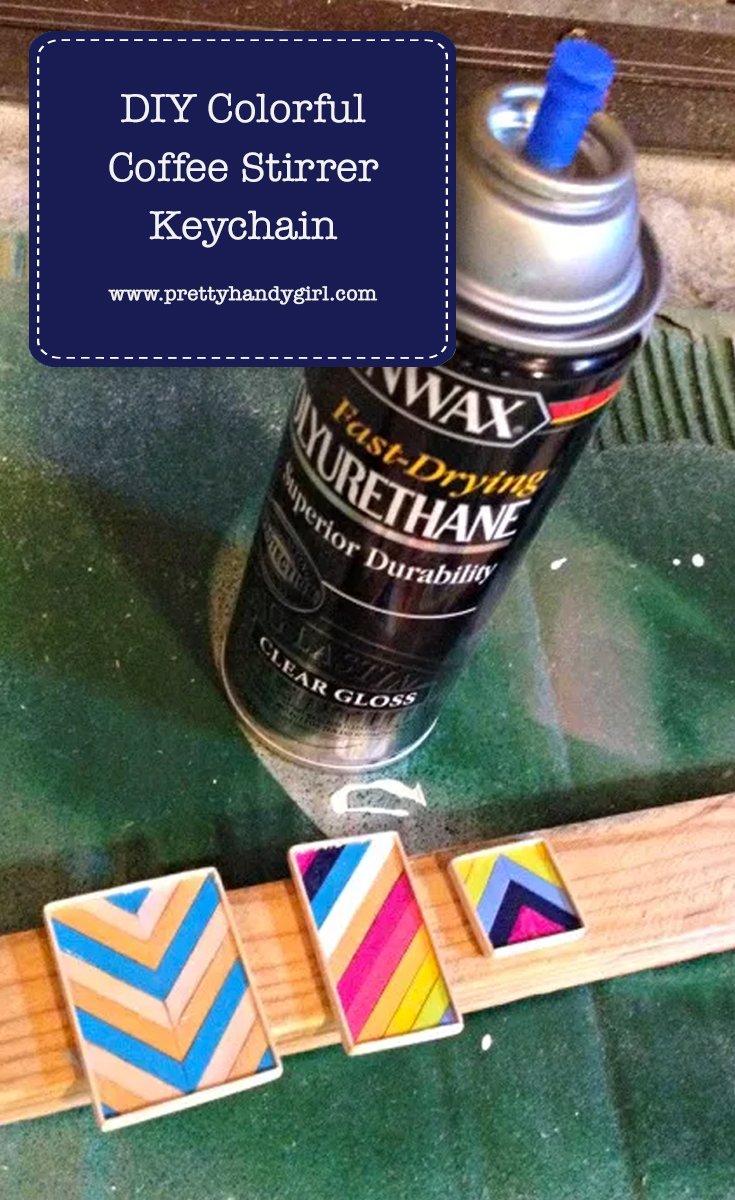
The painted coffee stirrer sticks are sealed with clear gloss varnish which gives a super hard finish that will hold up to everyday wear and tear while protecting the wood and paint.
Try one and I guarantee you’ll be hooked — then you’ll be making different styles and versions for everyone you know in a school or team color scheme ;-).
 Materials:
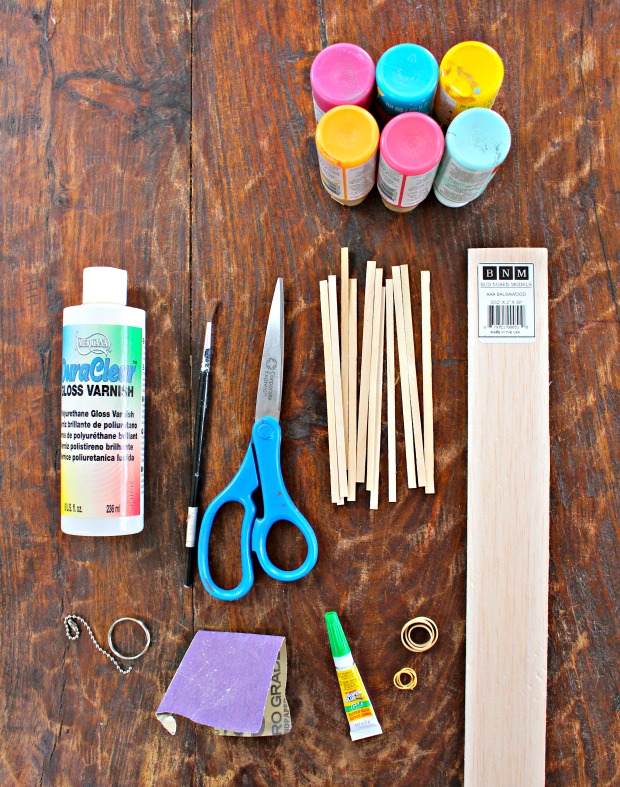
- 5 wood coffee stirrer sticks
- acrylic craft paint
- small paint brush
- basswood (purchase one stick at 36″ l x 3/32″ thick x 2″w)
- super glue (gel version is best)
- scissors
- rubber bands
- clear gloss varnish (Americana DuraClear or similar)
- sandpaper
- clear gloss polyurethane spray (optional)
- drill & small drill bit
- keychain hardware
Instructions:
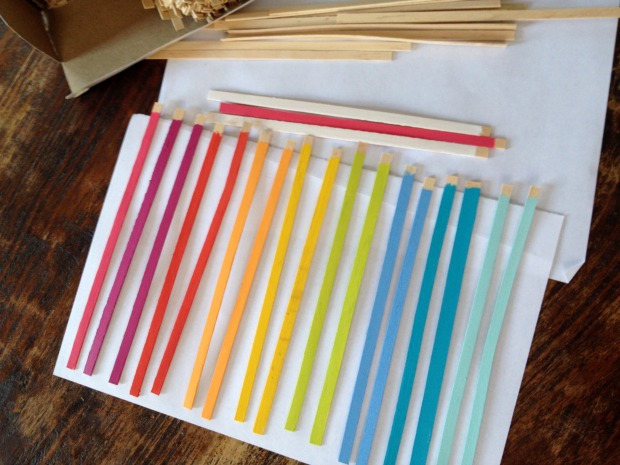
Step 1: Paint wood coffee stirrer sticks desired colors using acrylic craft paint. Paint the edges too but not the back.
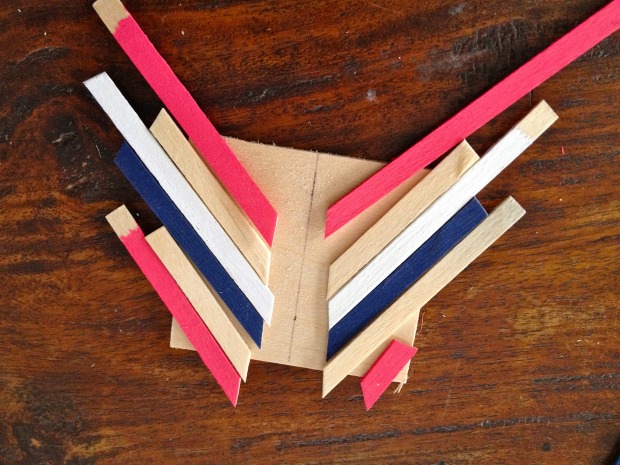
Step 2: Using scissors, cut the basswood backer to size (backer in above picture is 2″ square). Cut coffee stirrers in desired pattern, for an arrow pattern like above cut stirrers at a 45 degree angle, don’t worry about overhang. Draw a center guide line on backer and layout all pieces.
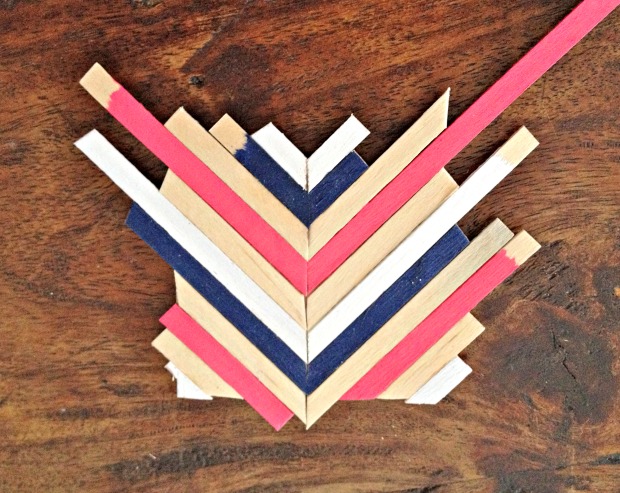
Step 3: Using super glue gel to adhere wood coffee stirrer pieces to basswood backer.
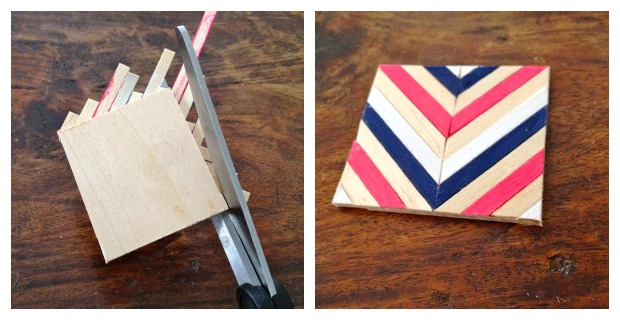
Step 4: Once dry trim excess stirrer bits. Using a scissors and working from the back slowly and carefully trim off any pieces hanging over the edge. You want a clean finished edge on all four sides.
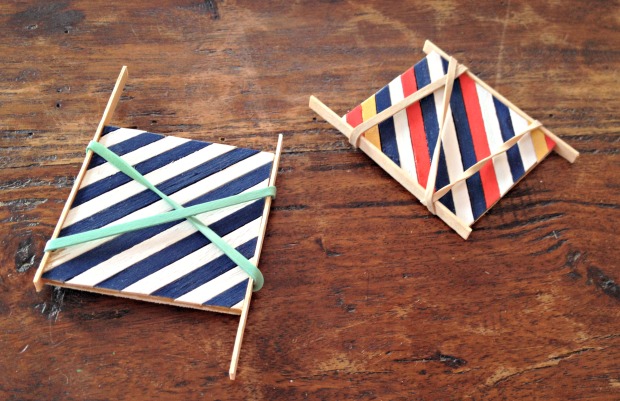
Step 5: Attach coffee stirrer borders. Begin with 2 opposite sides, use super glue gel to adhere sticks to square, sticks should be flush to the back and leave a lip edge on the front. You need this lip border to 1) hold clear gloss varnish sealer in place and 2) cover up all rough edges. Use a rubber band to hold stirrers in place while drying.
Step 6: Once the glue has dried, trim overhanging stirrer pieces with scissors and repeat Step 5 for two opposite sites making a complete wood stirrer border.
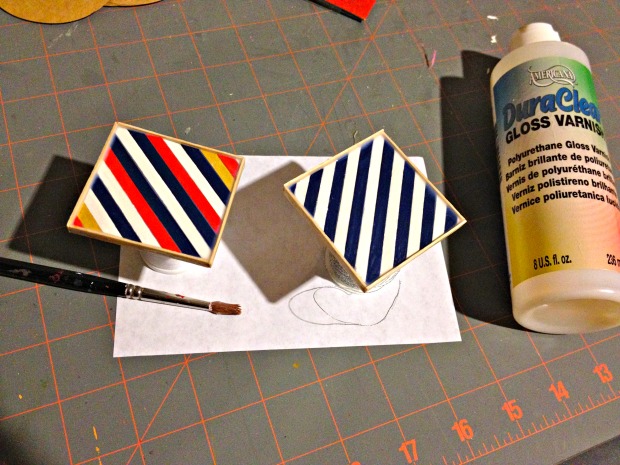
Step 7: To seal the paint and wood, apply multiple coats of clear polyurethane gloss varnish. I applied about 5 coats to create a thick, hard surface so the keychain will hold up to daily wear and tear.

Step 8: Sand any rough edges especially at the corners and any excess super glue on the back side.
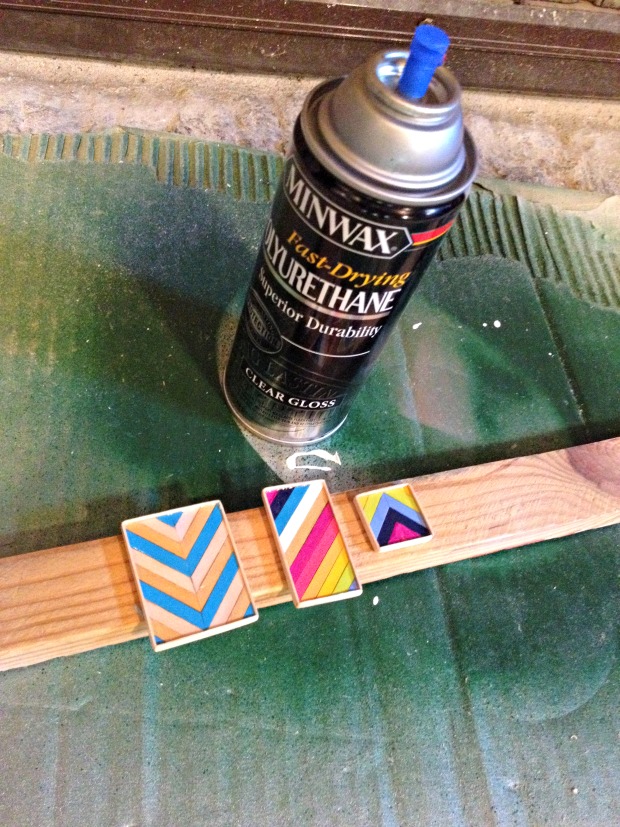
Step 9: Give a final sealing coat of clear gloss polyurethane spray. Don’t forget to flip over and spray the backs too.
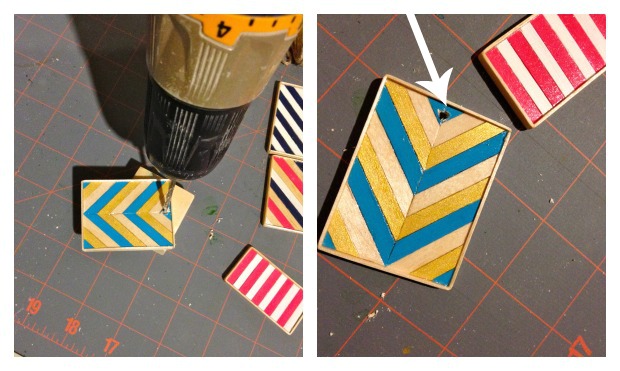
Step 10: Drill a small hole in the desired location and insert keychain hardware.

If your keys could use a Spring makeover, why not add a DIY wood coffee stirrer stick keychain?


Pin for later!


Simply marvelous to make best out of waste. Wonderful use of something that would be thrown out mindlessly. Thanks for sharing dear. God bless you
I wonder if you could put a grommet, rivet thing for more support. I also wonder if you could use a scrabble tile as a base. These are so cute. They sell wood coffee sticks at the dollar store here and I kept eyeing them trying to think of crafty ideas. Thanks now I will try yours.
Hey This is really very beautiful, creative and attractive too. I tried it at home. It was not as much good as yours but ok. I gave it to my girlfriend. She really loved it. And saying thanks to you too. It s wonderful.
These are so lovely, I can’t wait to have a go. I have a friend who is just moving into a new home, this would be perfect for her new house keys!
Lovin’ these little bits of sunshine. I see a bunch being made at the next meeting!
These are amazing. I’m going to have to make them soon. Thanks!
So cool:) I’d love to do this with my kids! Thanks for the ideas!
Great detail project. I have two talented kids who are always looking for a new project to do and give to family and friends. Great idea.
Very clever, usually use these for something to stir my paint with but a great idea.
These are so cute! You did a great job, how cool. I want to make one!