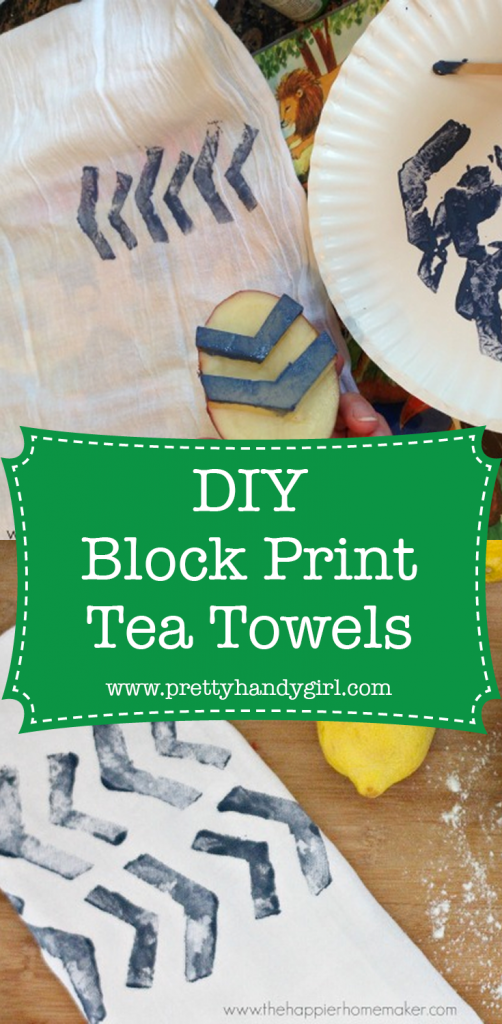
DIY Block Print Stamped Tea Towel
Hey there! It’s Melissa from The Happier Homemaker back again with a fun and easy DIY tutorial you can even get the kiddos involved with! I’ve been noticing block printing coming up a lot in my home decor magazines and catalogs lately. Last week when I was prepping a little rainy day potato stamping activity for my 3 boys, I decided it may be time to try a little block printing DIY of my own.
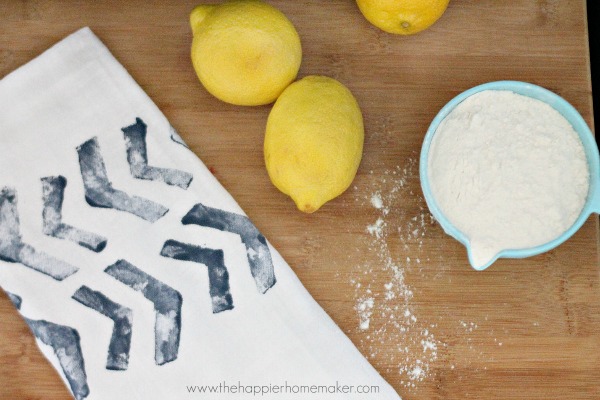
Supplies:
- Flour Sack Tea Towels
- Large Raw Baking Potato
- Knife
- Craft Paint
- Fabric Medium
- Iron and Ironing Board
Instructions:
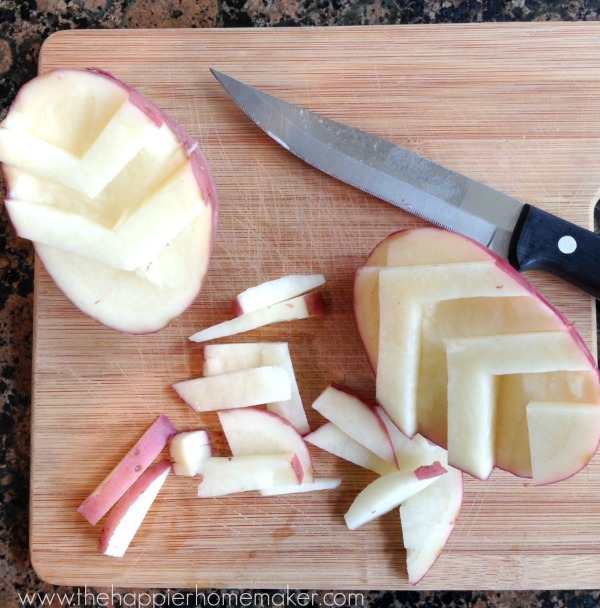
Cut your potato in half and use your knife to {carefully} cut your design. Simple shapes work best for this type of stamping.
On a paper plate, or paint palette, mix your craft paint with fabric medium in a 2:1 ratio (or according to fabric medium instructions.)
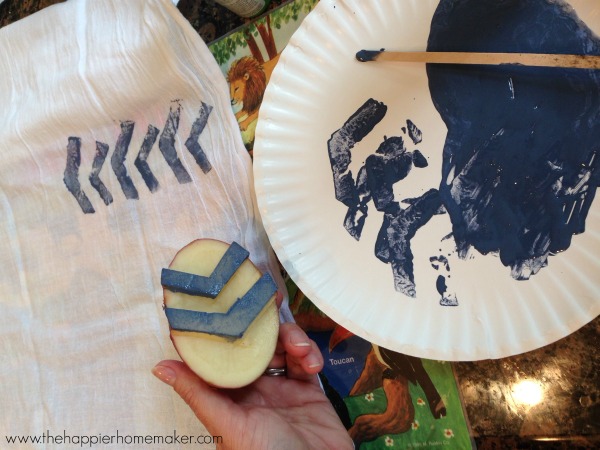
Lay your tea towel out on a protected surface (yes, I used my kid’s plastic place mats!) Push your stamp into your paint and “stamp off” once or twice on a spare surface to remove excess paint before stamping your tea towel. Stamp the design on your towel.
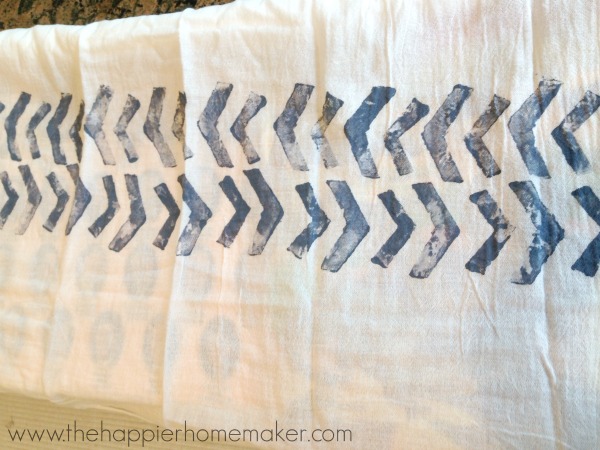
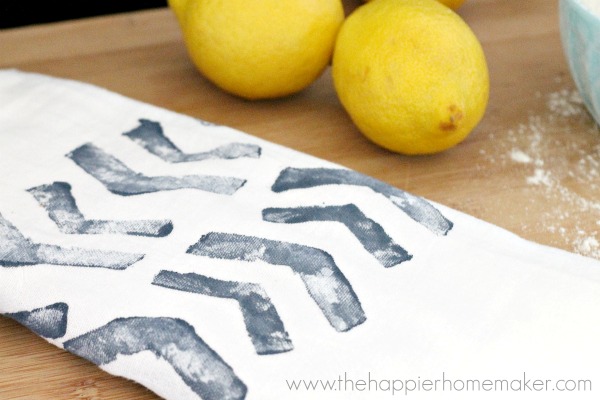
Continue stamping until your design is complete. Allow the paint to dry for 24 hours.
After 24 hours you can heat set your paint. Heat an iron to medium high heat and cover your ironing board with scrap fabric to protect it in case of any paint transfer. Place your tea towel paint side down on the scrap fabric and iron on the back side of the fabric to set the paint.
That’s it! This is such a fun project with tons of possibilities. These would also make great gifts! I love the imperfections of the block print, it’s part of the charm of the final look!
I hope you enjoyed this fast tutorial, I’ll be back next month with something new to share. In the meantime let me know if you have you ever potato stamped before? What kind of design would you try on these stamped tea towels?

Pin for later!


You are so cool! I do not suppose I’ve truly read anything like that before.
So wonderful to discover somebody with some original thoughts
on this issue. Really.. many thanks for starting this up.
This site is something that’s needed on the internet, someone with some
originality!
Thanks Stephanie!
I found my towels at Walmart Lindsay!
I LOVE this idea, and it seems so do-able in a short about of time. Where did you get your flour sack towels? I haven’t seen plain ones on island yet (I live in Hawaii). I’m trying to do a bulk of homemade Christmas gifts this year to save money and the extra special thought of making it, these are going to be perfect!
This s such a cool idea! I really should make some of these for my kitchen!