
Concrete Jewelry Dish

Hello! This is Lindi, visiting again from Love Create Celebrate. I was here a few weeks ago sharing something I made from old milk bottles I found while cleaning and purging. Now I’m back sharing something I made to help organize my life after all of the purging! Concrete projects always seem a little bit intimidating, but this Concrete Jewelry Dish Jewelry Holder can be made in a hour! It’s the fastest concrete project ever!
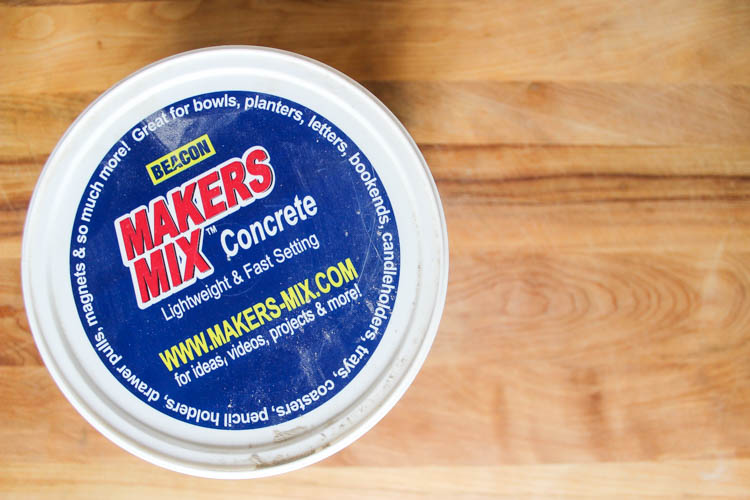
The big secret?! It’s Makers Mix! This stuff is unbelievable! A simple concrete project is made and sets in less than an hour!
(I’ve included affiliate links for your convenience. I earn a small percentage from a purchase using these links. There is no additional cost to you. You can read more about affiliate links here.)
Materials:
- Makers Mix
- Makers Mix Round Two-Part Mold*
- Vegetable Oil
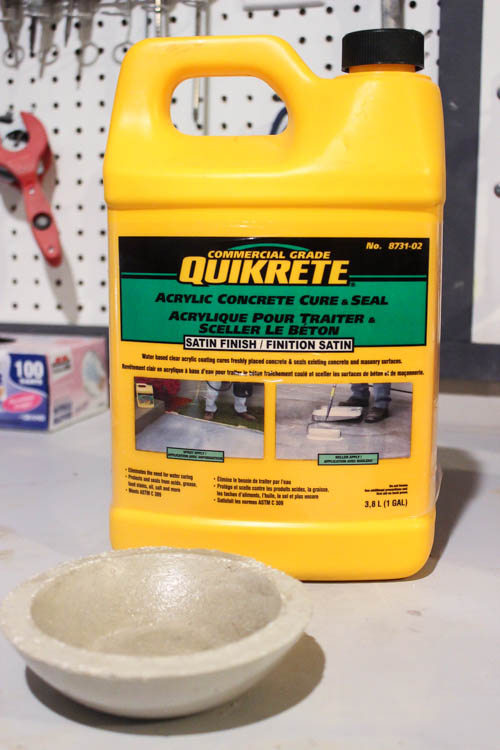
- Concrete Sealer
- Paint
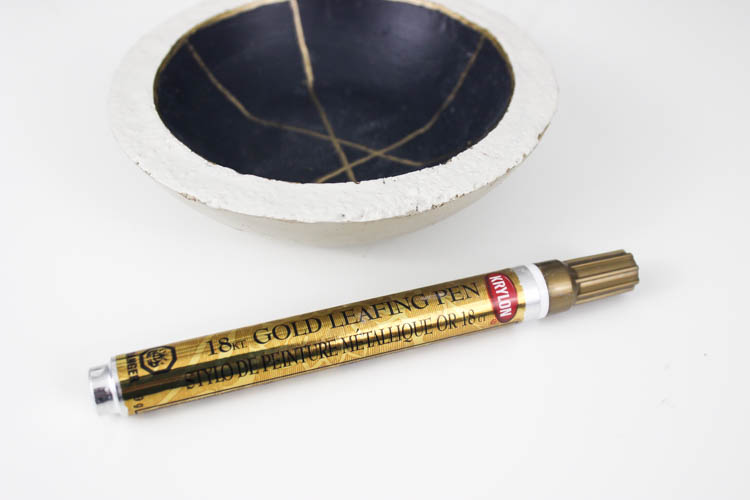
- Gold-leafing pen (optional)
*You could create this project with a couple of greased plastic bowls, but the Makers Mix mold makes it so much easier.
Instructions:
Start by mixing your “concrete” with a little bit of water according to the directions on the container.

Grease both sides of your mold with vegetable oil, and pour your Makers Mix mixture into the mold. Fill until you achieve the desired height.

You’ll notice I only filled the container part way. Place the vegetable oil bottle inside of the bowl while it sets to make sure the top of the mold doesn’t rise.

In about 40 minutes, your bowl will be fully set. Yes, 40 minutes! Use concrete sealer to seal and protect the dish if you wish. This is especially important if your dish is at risk of being exposed to water.
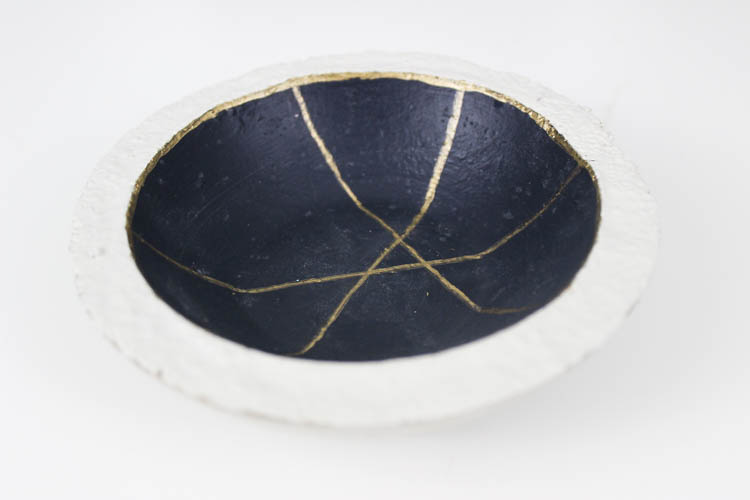
Paint your dish any color you like. I used my favorite Fusion Mineral Paints and painted the inside with Midnight Blue, and the rim with Champlain.

After the paint dries, grab your gold leafing pen and etch a design into the bowl. You can free hand a few straight lines, but polka-dots would also look amazing!
In no time at all you have a beautiful homemade jewelry dish! Put it on display in a bathroom, or at the kitchen sink to store your rings while baking.
Your friends will definitely be impressed and ask how to make their own.

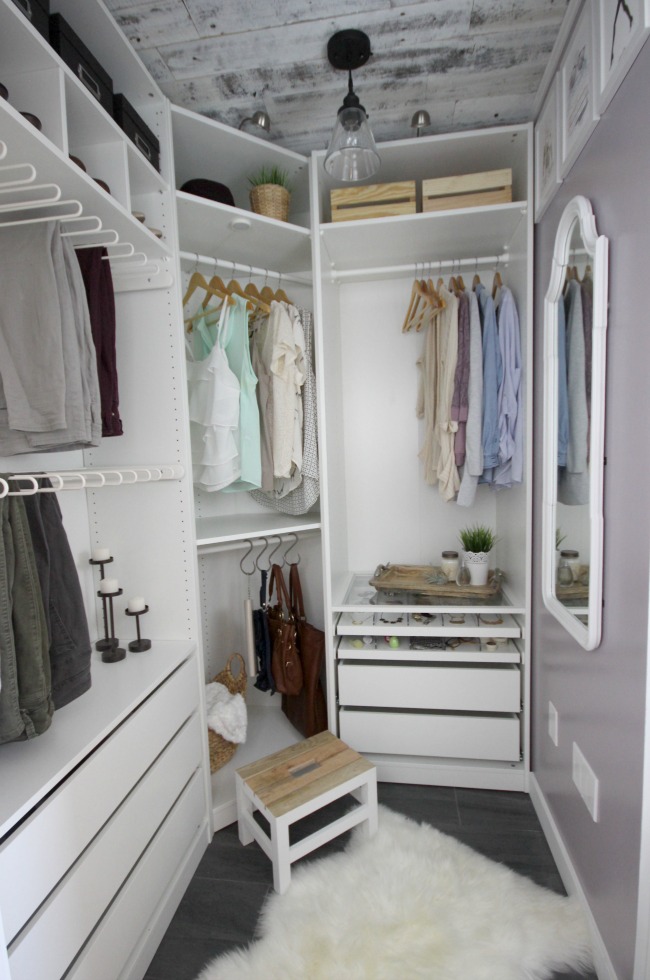
This jewelry dish will look perfect in my newly renovated closet! If you haven’t seen the full closet reveal yet, check it out here!
For more chic DIY inspiration visit Love Create Celebrate.


Can you make this concrete bowl into a fire bowl by placing a can of fire gel in and covering around with fire rocks and a screen on top? I guess what I am asking is the bowl fire safe and heat safe?