Build Your Own Trough Centerpiece
 Build Your Own Wood Trough Centerpiece
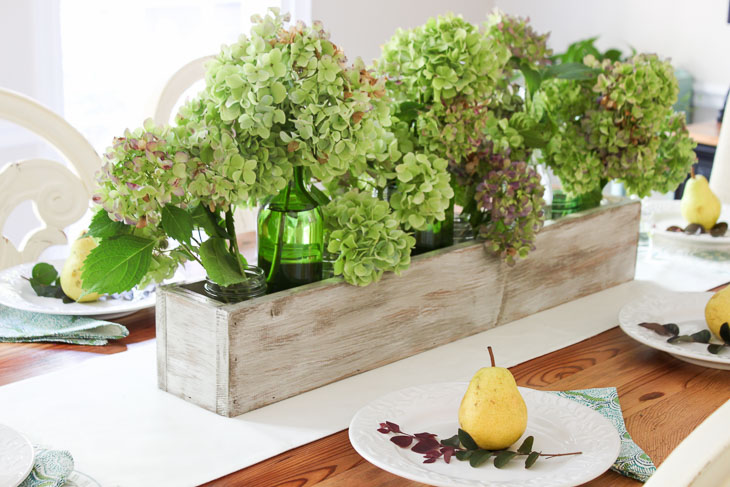
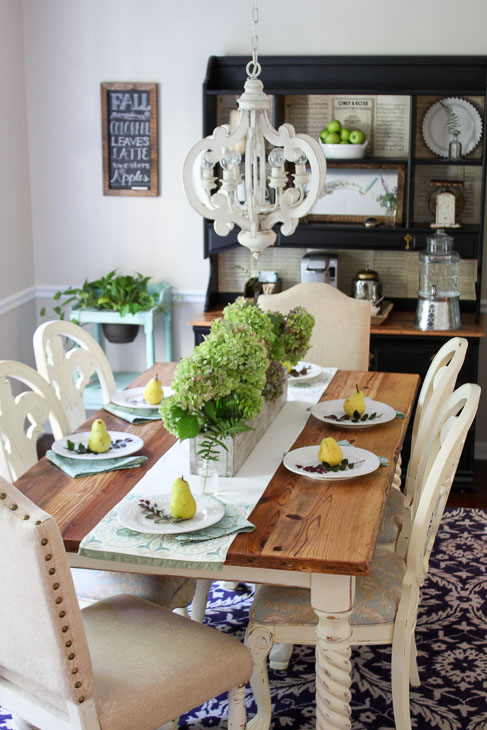
Wood trough centerpieces are very popular right now and for good reason! They will work with any seasonal decor. Add grass and eggs and you have instant spring decor. Add sunflowers and you have just decorated your table for summer. Add pumpkins or dried hydrangeas for a pretty fall centerpiece. And for the holidays, tuck in pine boughs and pine cones.
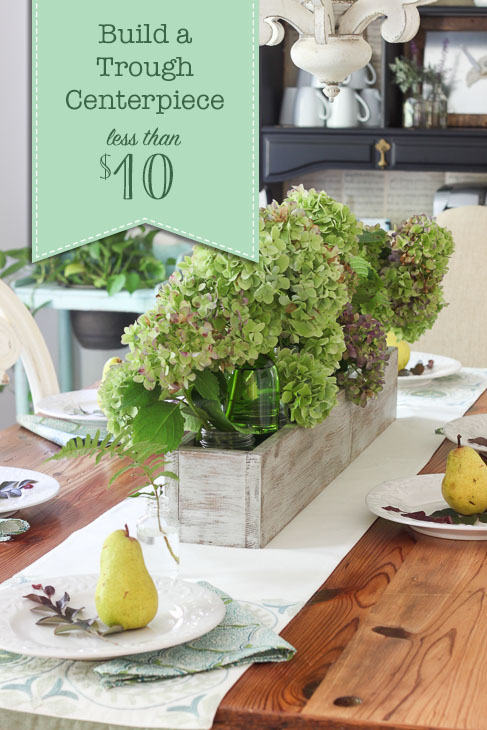
But, if you’ve ever tried to buy a wood trough, you probably noticed the prices can be upwards of $50 or more. That’s hogwash! Let’s Build Your Own Trough Centerpiece for less than $10!
Materials:
- 1″ x 6″ x 6′ Pine board
- 1″ x 4″ x 3′ pine board
- Hammer or Nailgun
- 1 ½” finish nails
- Miter Saw
- Wood glue
- 2 Clamps
- Pencil
Cut list:
- 2 – 1″x 6″ x 32″
- 2 – 1″ x 6″ x 3 ½”
- 1 – 1″ x 4″ x 36″ (we will cut this to size during the tutorial.)
Instructions:
Cut your lumber to the dimensions above. Leave your 1″ x 4″ for now.
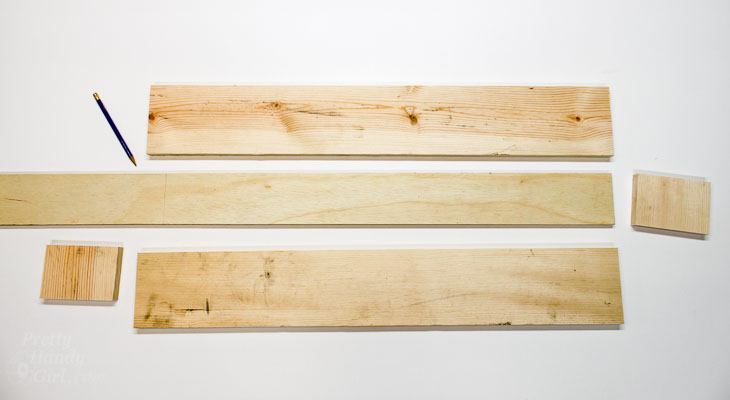
Set up the sides of your trough and one end around the base piece (1″ x 4″ x 36″).
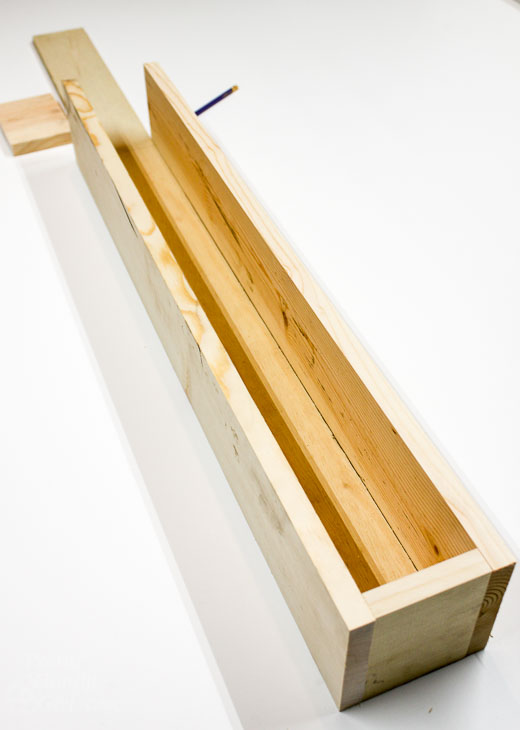
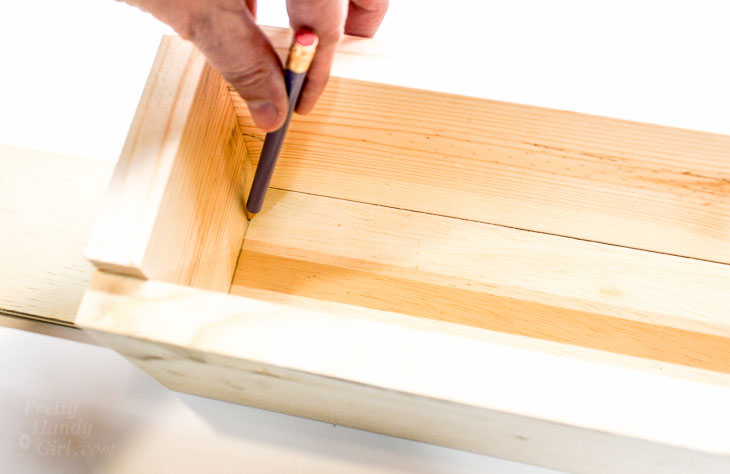
Set the second end on top of the base and mark where to cut the base piece to fit inside the sides and ends of the trough. Cut the base to size.
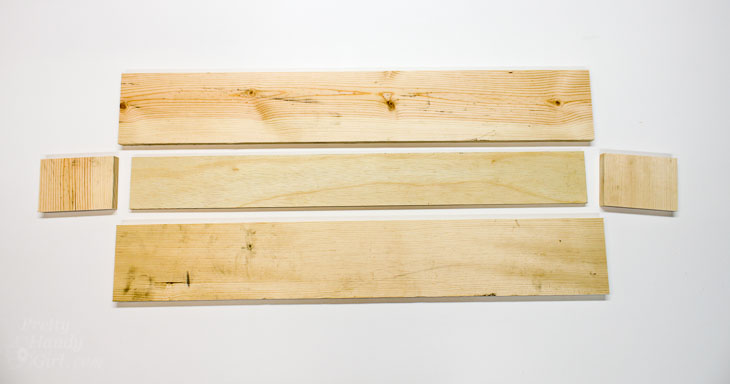
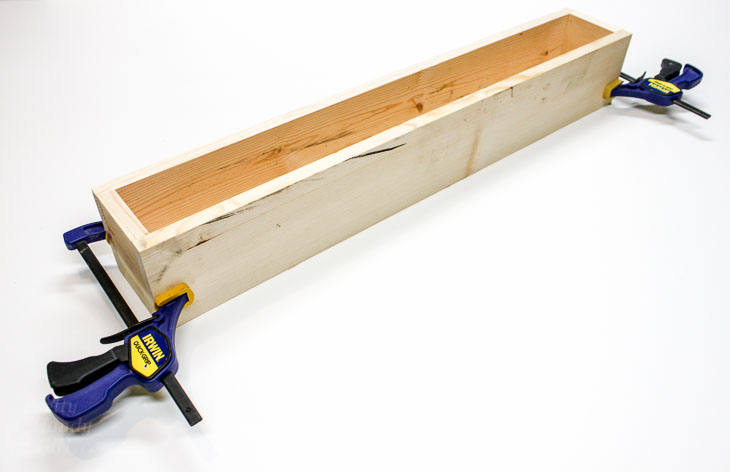
You should now have two long sides, two ends, and a base.
Run a line of wood glue along the bottom of the sides and ends where it will meet the base.
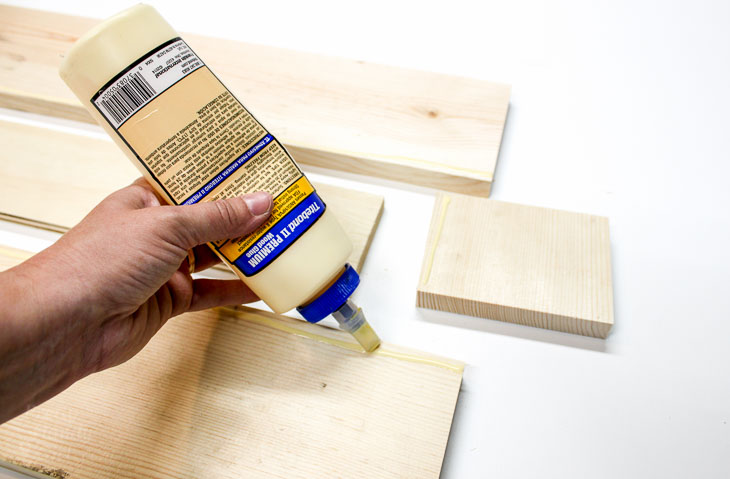
Set the sides and end pieces around the base and clamp in place.
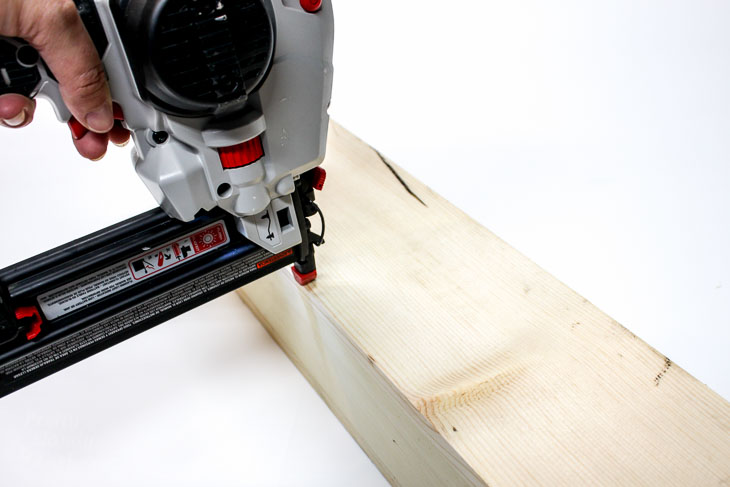
Nail the sides into the end pieces.
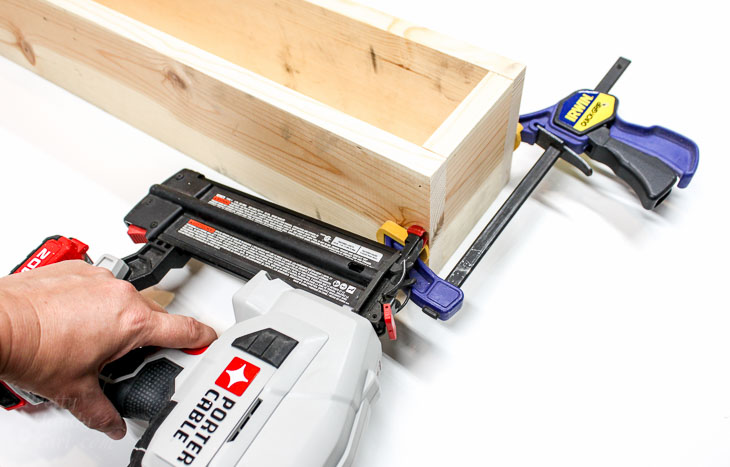
Nail the sides into the base piece.
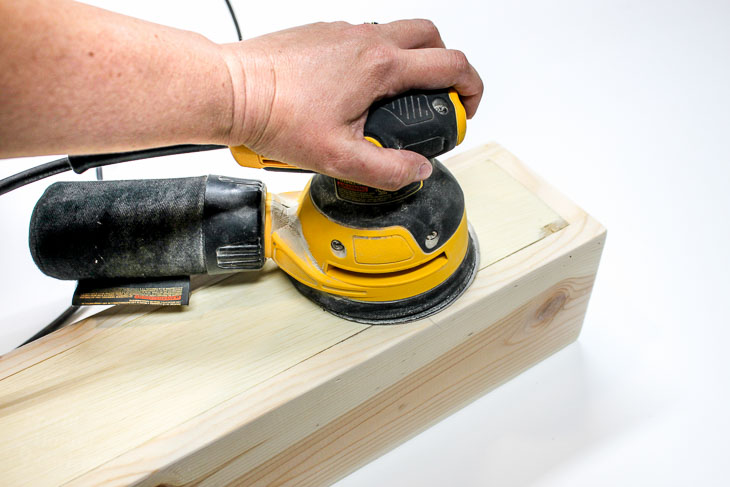
Optional, use a planer or rough sandpaper to round the edges of your trough.
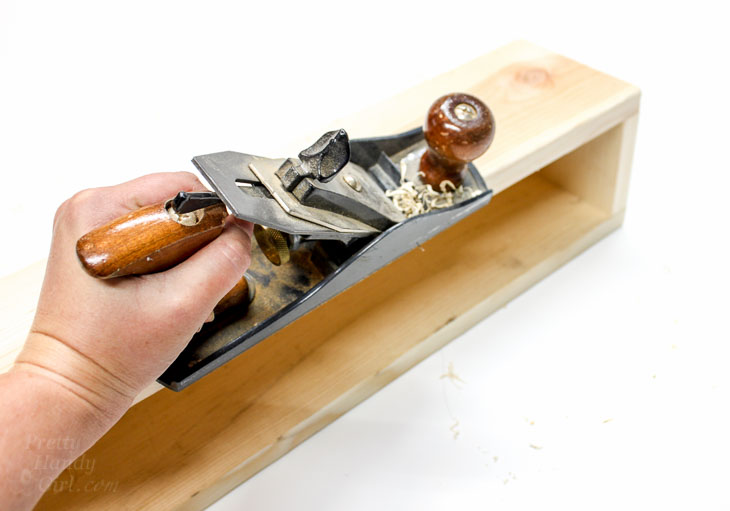
Sand the trough smooth.
Congratulations, your trough centerpiece build it complete! That wasn’t hard was it?

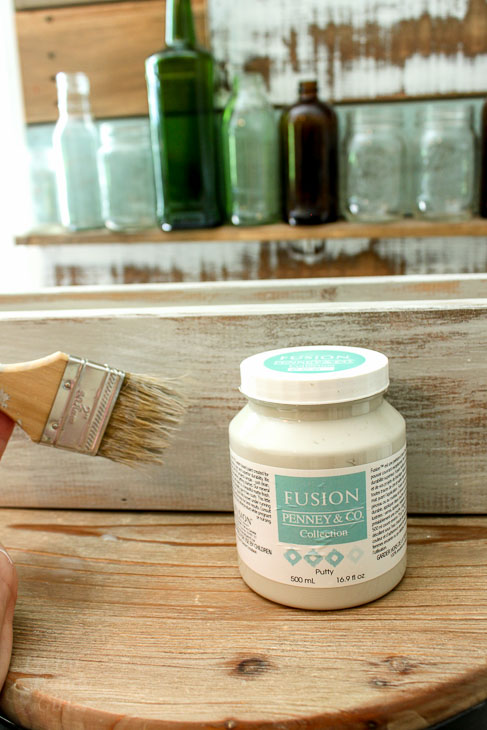
Leave your trough raw. Or stain and paint it to give it a rustic look by following my video tutorial below!
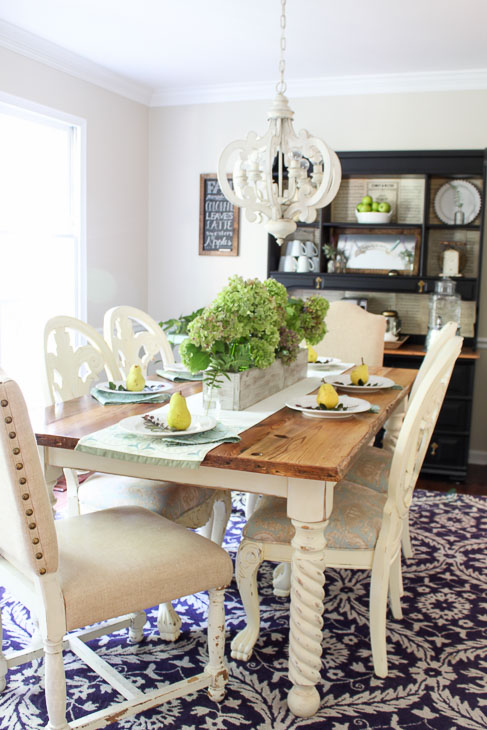
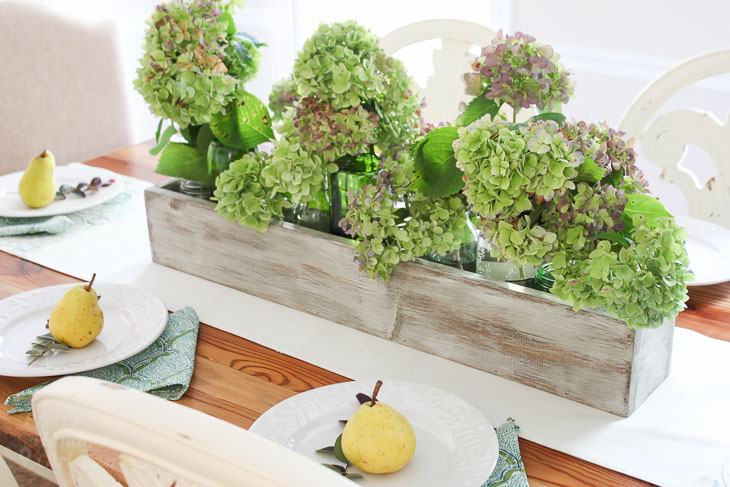
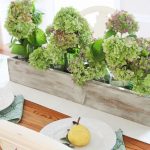
Add some flowers or seasonal decor and put your trough centerpiece on your table (or mantel or anywhere you want to display it.)
Do you like this trough centerpiece? What would you display in your’s?
I’ll be back later with a full tutorial on how I create the perfect aged and distressed look on my trough. See ya’ later alligator!
![]()
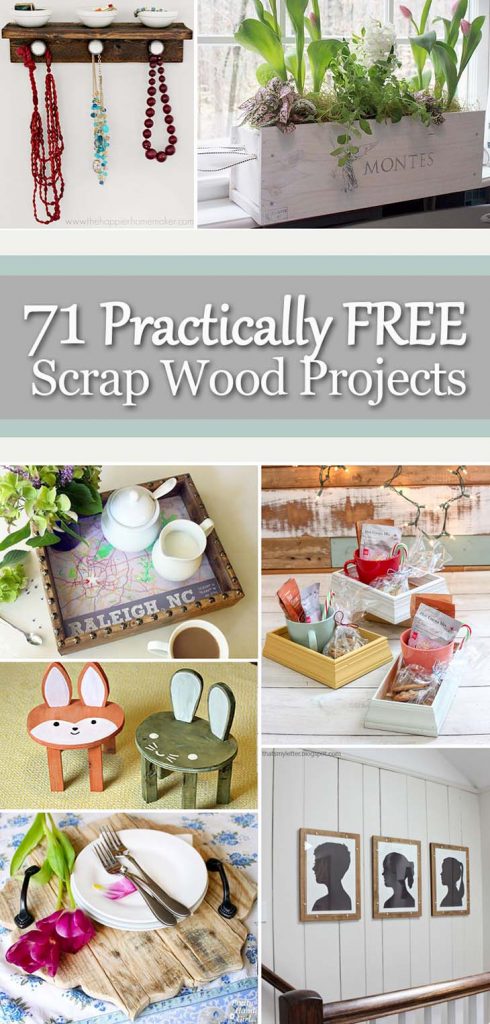
If you liked this tutorial, I know you’ll love this collection of 71 Practically Free Scrap Wood Projects!
Pin for later!


Trackbacks & Pingbacks
[…] year’s tablescape is relatively simple. I built a rustic painted trough to display hydrangeas in, making a beautiful […]
Leave a Reply
Want to join the discussion?Feel free to contribute!