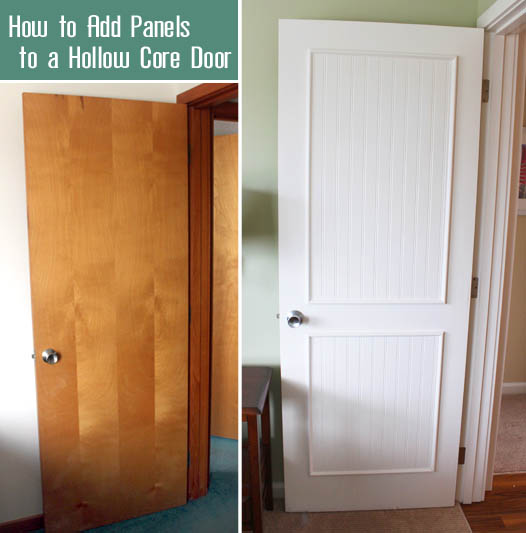
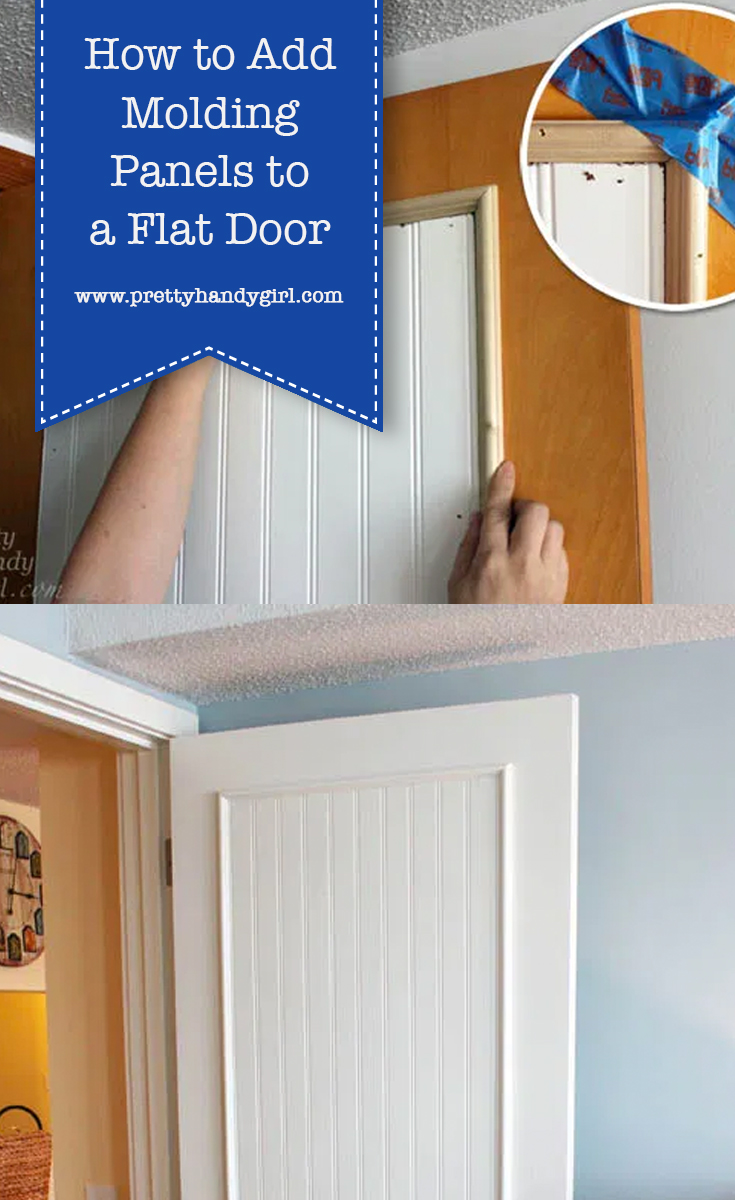
How to Add Molding Panels to a Flat Door
When my sister brought me on to the Topsail Beach condo renovation, she had a laundry list of DIY projects she wanted me to complete. One of them was dressing up the hollow flat doors with moulding panels. She showed me a pin that led to One Life to Love’s DIY beadboard panel doors. After seeing the photo, I knew it would be a great DIY upgrade to make. But, we decided to use real beadboard (instead of beadboard wallpaper) because it had to hold up to the stress of being a rental.
To Begin:
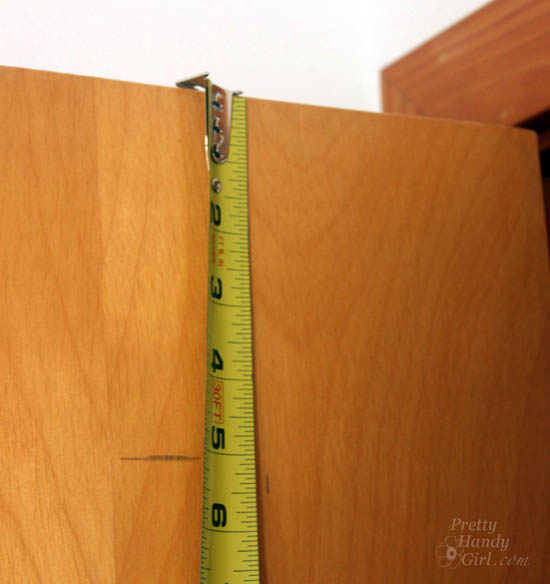
Start by measuring and marking the doors to determine the size of your panels.
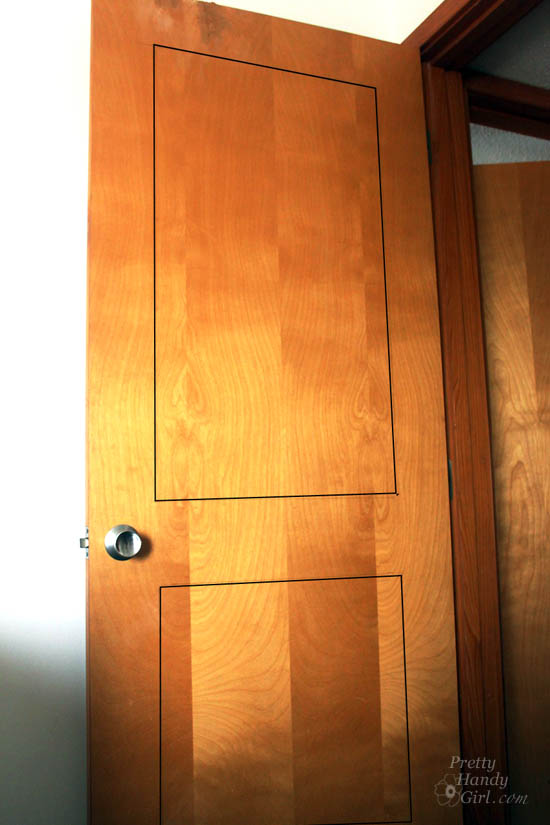
Draw lines 5″ in from the top and two sides of your door. Draw the bottom line 6″ up from the bottom. Finally, leave 5″ between the top and bottom panels.
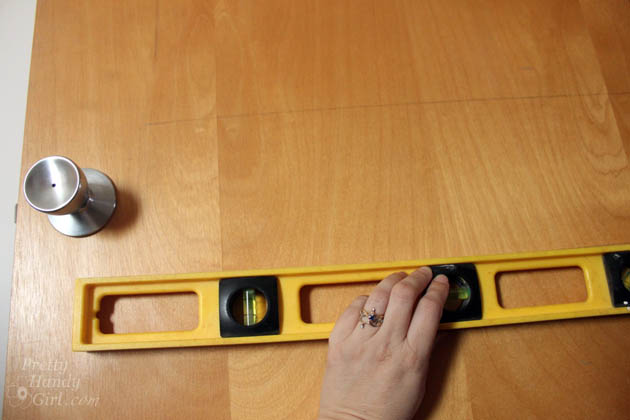
When marking your doors, use a pencil and level to draw your lines.
After we had our panel measurements, Caitlin and I headed to Lowe’s. But, she refused to push me in the cart (party pooper!)

We pulled some 4′ x 8′ beadboard panels and took them to the lumber cutting area. We gave the Lowe’s employer our measurements and asked him to cut the boards for us. While he cut our beadboard, Caitlin and I gathered the rest of our supplies.
Materials:
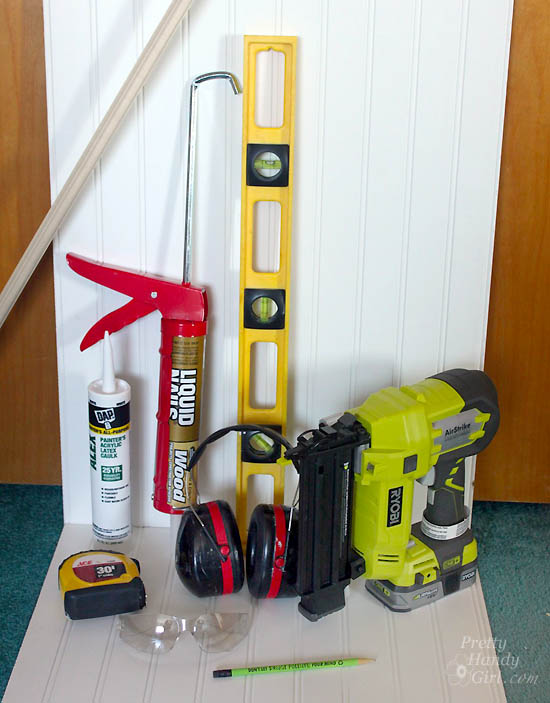
- Beadboard panels
- Moulding to frame panels
- Tape measure
- Pencil
- Level
- Construction glue
- Latex paintable caulk
- Finish nailer
- 1 1/4″ finish nails
- Painter’s tape
- Hand saw
- Miter box
- Eye protection
- Hearing protection
- Plastic wood putty
- Putty knife
- Sanding block
Instructions:
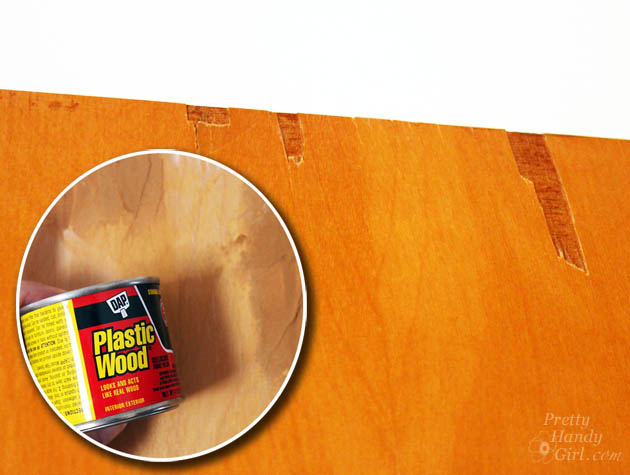
Assess the condition of your door. If there are chips or dings, you need to fix them before proceeding.
Apply wood putty and allow it to dry.
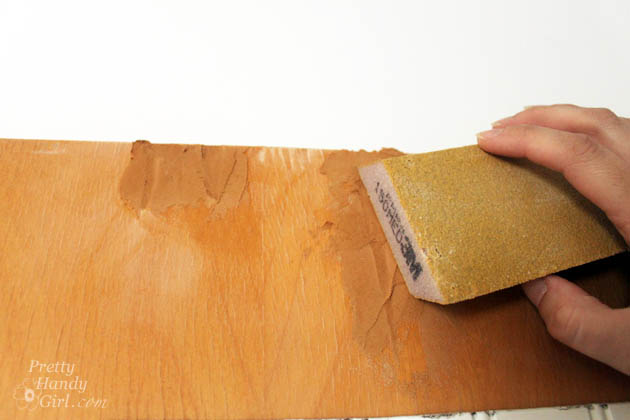
After dry, sand the putty smooth.
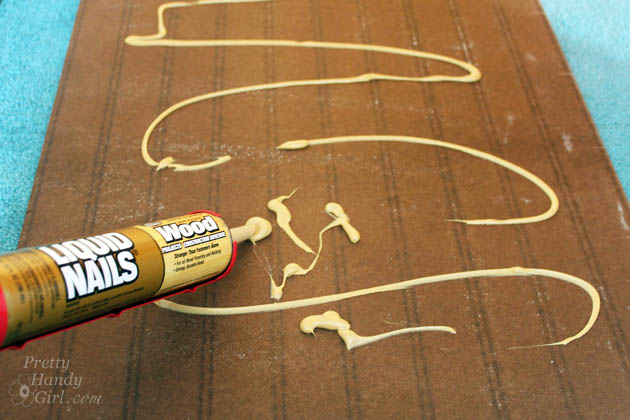
Time to apply the beadboard panels. Squeeze construction glue onto the back of the beadboard panels.
Set the panels on the door and double check the level and plumb of the panel.

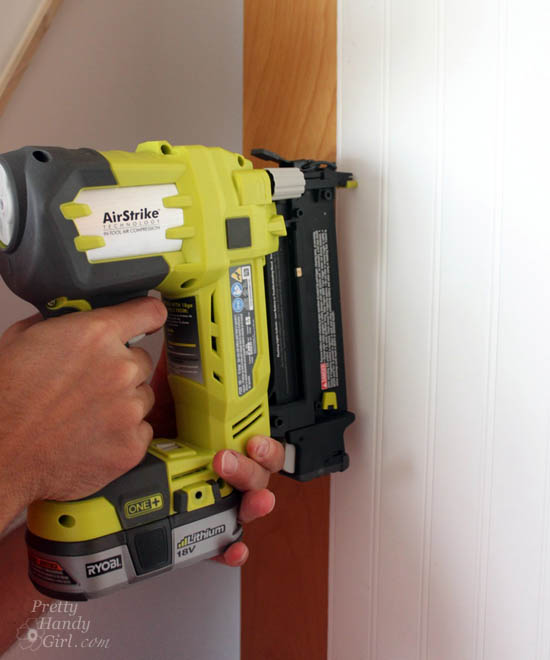
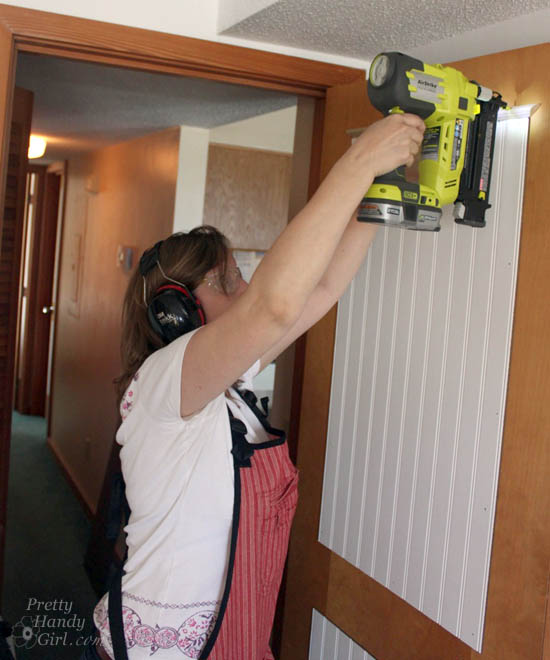
Press the panel firmly to spread the glue. Use the finish nailer to secure the panel around the perimeter.

Attach the lower panel next.
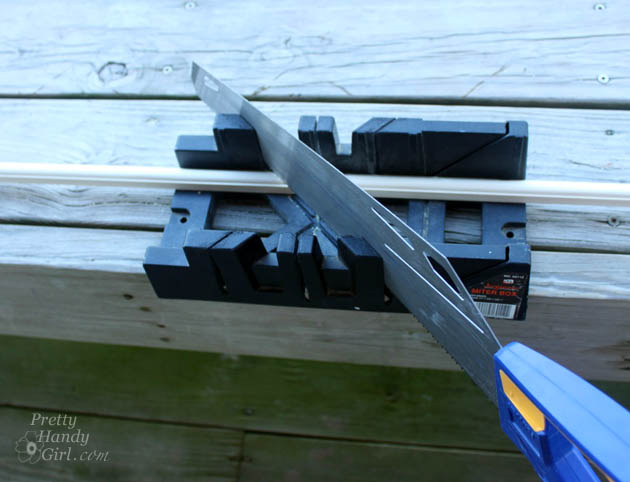
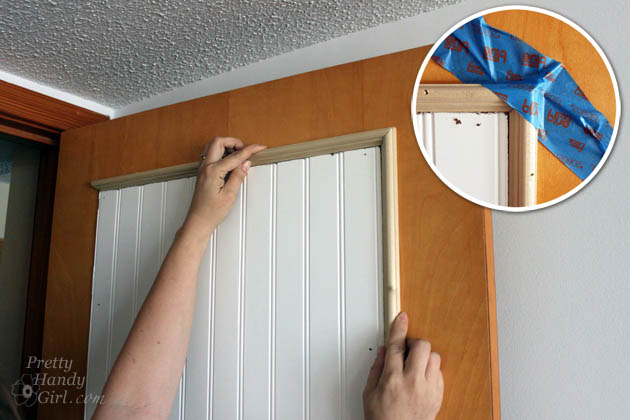
To trim the panel, measure and cut your trim molding to fit around the panel.
Set your top piece in place and secure it with the finish nailer.
Set the side pieces in place. Use painter’s tape to hold the corners tightly. Use more tape to secure the side piece if necessary.
Attach the side molding with finish nails.
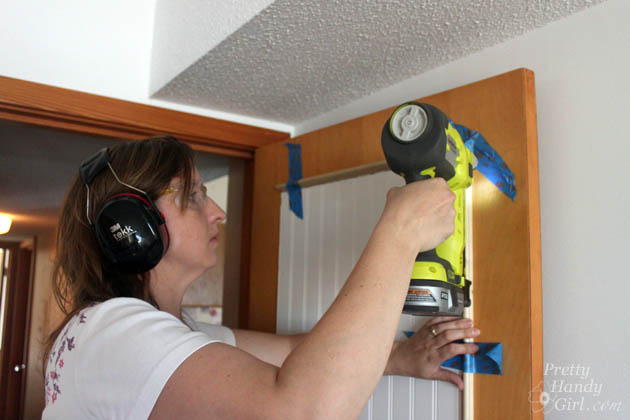
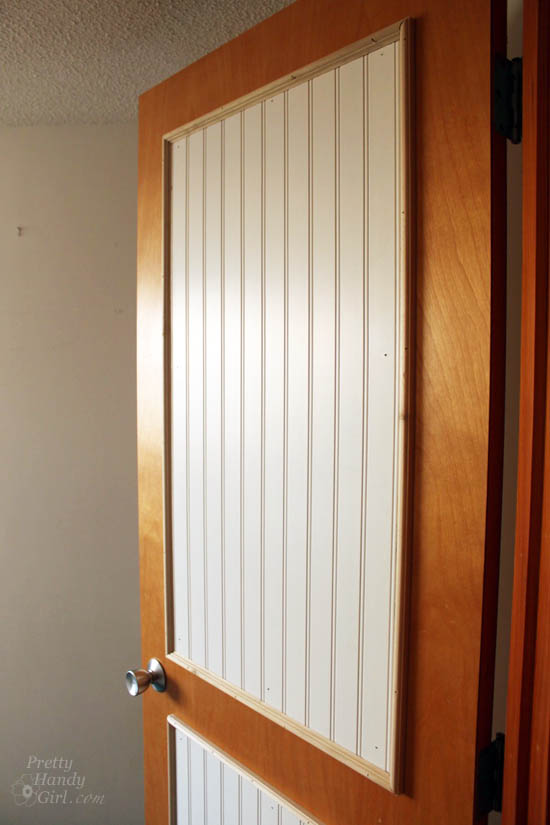
Attach the opposite side and the bottom molding pieces. Putty the nail holes and caulk the seams. Then prime and paint the doors.
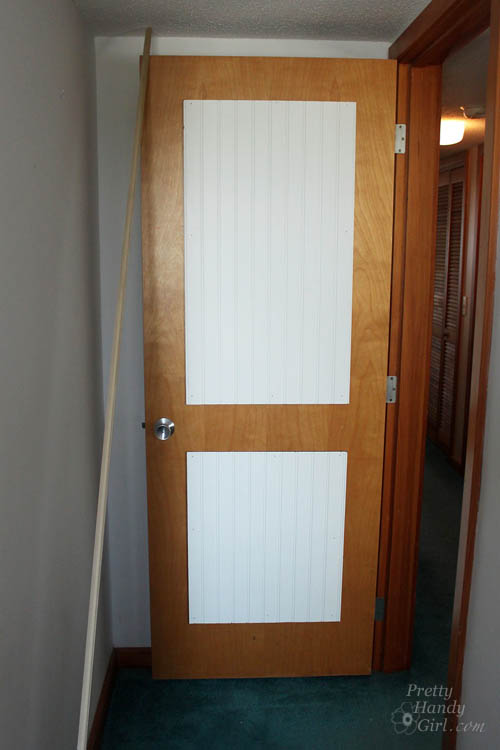
Ooolala. How about that transformation?!
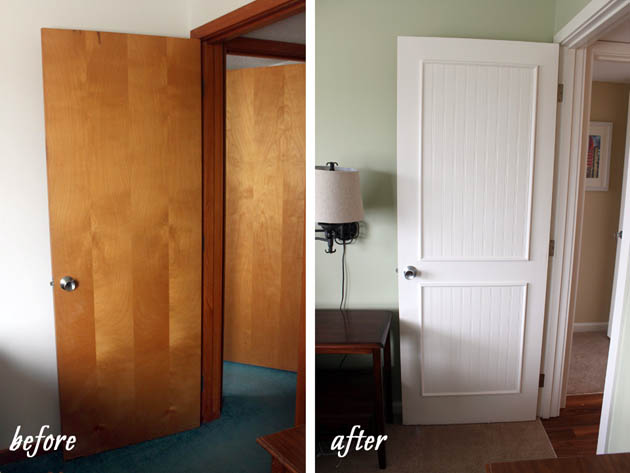
The newly paneled doors make a huge difference in the look of the condo.
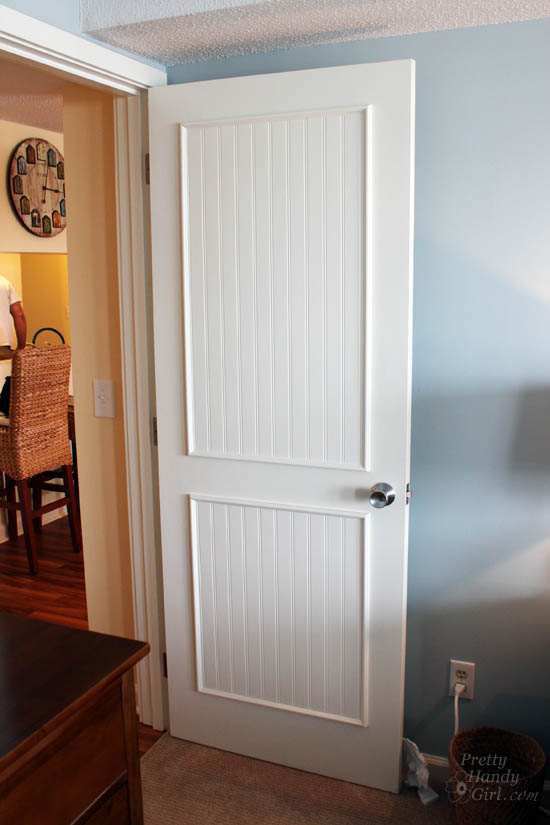
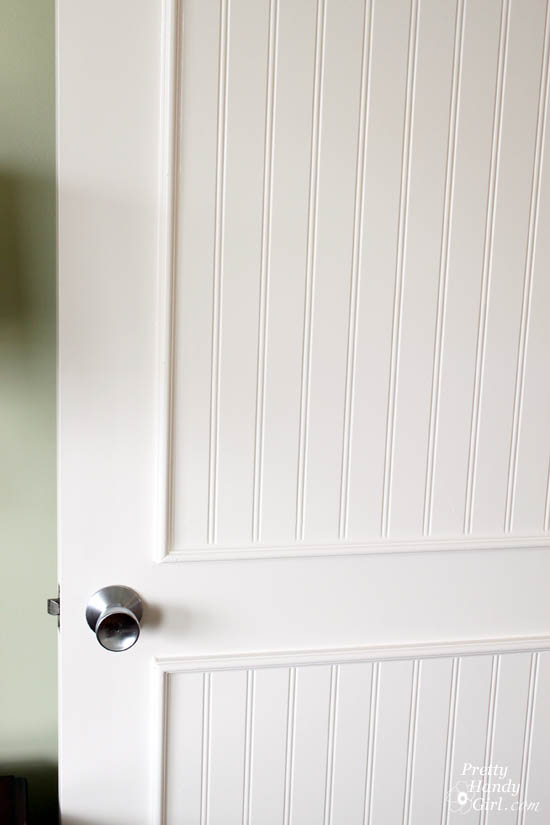
It’s all in the details.
Like what you see? Take the tour of the entire Topsail Beach Condo Renovation for more upgrade ideas.
![]()
Pin for later!

Hi! I’m trying to add moulding to a flat door but I’m having trouble finding moulding that is small enough. What type did you use? I was just at Lowe’s and I didn’t have any luck. Thanks! The doors look great!!!
Sally, I’m sorry you are having a hard time finding the moulding we used. I don’t know the name of it, but you can use any moulding you like for your project. Just take pieces off the shelf and lay them out with beadboard to see how they’ll look.
Beautiful door!
Any suggestion on how to re-create the look with a curved top panel? One that looks exactly like yours- except the piece at the very top is curved?
Thanks
Courtney, look for the flexible moulding. Perhaps use MDF? Or you can soak wood and gently bend it around your shape. You can see how here: https://prettyhandygirl.com/sports-gear-storage-shelves-small-space/
Hi Brittany!
This is an amazing idea and I’m thinking of trying it this weekend to dress up my apartment front door as I can’t afford to replace it at the moment.
I just had a couple of questions – when you were working out the measurements, was it 4″ from the top to the edge of the bead board or to the outer edge of the moulding? Also, do you remember how wide your moulding was?
Going to go and explore all your other ideas now! 🙂
Nicola, it was 5″ in from the sides and top to measure for our panels. After you have the panels cut and installed, then measure for your trim. I think the trim was about 3/4″. But, I’m not 100% sure.
Hi
Was it around $25 per side or for both sides.
Thanks
I can’t remember, but I’d guess per side because we only did this on one side of the doors.
Loved your post, we are buying a place at the lake. It is old and needs updated. I was wondering, if it would be easier to take the doors down. Just thought it would be easier to glue and paint them and the door jams.
Jan, if you have the room to take them down, go for it. We were cramped in the condo, so left them in place.
Brittany,
First let me say…AMAZING idea!! I feel the same way regarding replacing all our flat “natural” wood 1980’s doors. I cringe thinking they would go to the dump especially the heavier door leading to the garage. However they are hideous dated and clash with my brand new kitchen!! I would like your opinion if you were living in the property would you panel the interior side as well? I’m curious if you kept the popcorn ceilings Ha? Your opinion is appreciated!!
If I was living there, yes, I’d spend the time to do the interiors too. And yes, I would scrape the ceilings. We didn’t because this is a rental and we were already over budget. Hope that helps. Be sure you test your ceilings for asbestos if you decide to scrape. And if you do, here’s how: https://prettyhandygirl.com/scraping-your-own-popcorn-ceilings-its-a-messy-job-but-someones-gotta-do-it/
Hey – amazing transformation. I had 2 Questions; read through the comments and the one I had about ‘nails’ into a hollow door was answered….but here is my next concern BEFORE I go ahead with this….
WHAT paint/primer, etc do I use? How have your doors stood up? Paint chipping on the frame? I am most worried about going to all the work and then with the opening and closing….they look horrible (or the door frames do) in a month or so. ADVICE PLEASE and Thankyou!!
Tasha, our contractor ended up priming and painting all the doors for us. It hasn’t been a full year yet, but when I checked on them in August, they still looked great. Number one is to use a paintable caulk to seal all the seams. Caulk is flexible and will stand up to any swelling and contracting of the door. Regarding paint and primer. From experience I can tell you that you get what you pay for with paint and primer. Use a good primer like BIN or KILZ. Be sure to lightly sand the door after each coat and wipe off any dust. Paints that hold up REALLY well on doors, trim and cabinets are Benjamin Moore Advance and Sherwin Williams ProClassic. They are expensive, but again, you get what you pay for. Here’s a great post on painting doors for more information. https://prettyhandygirl.com/how-to-paint-doors-the-professional-way/
I know I’m late to this post but I just can’t help but comment. We are looking at purchasing a foreclosure and only planning on living in it for about 3 years. It is a true fixer upper and this is my answer to the old hollow core doors! If this were your home would you recommend doing both sides and for resale purposes? I also want to update the molding in the house and hoping to go with more of a craftsman style. Would like kind of molding look ok with the beadboard door?
Thank you so very much for the idea and instructions! I can’t wait to get started.
Awesome! My husband found your blog when searching “how to dress up a hollow core door”. I am so glad he came across this! thank you for sharing! This will save us a ton.
My wife and I have been checking your site out and it is awesome! I love this project as it takes a very traditional cheap door and makes it looks far nicer.
Such a great idea! I am filing this one away for our upcoming move.
Thanks Jill. It was an easy way to add character to plain doors.
I am SO excited about this post. I have hollow core, flat doors everywhere in my house and I knew that I wanted to paint them (they’re currently a dark stained wood), but I didn’t know how to dress them up without making them look cheap. Thank you for blessing me with this post 🙂
Also, we lived in Hampstead, NC for a while and loved visiting Topsail Beach. The last time we were able to go back for a visit was six years ago and we stayed in a condo on the beach. I miss that area and it brought a smile to my face to see it mentioned.
Kacy, you’re welcome. And Topsail is beautiful isn’t it! I hope you get back one day.
It was just last night that I was thinking to myself, “When I am rich and famous, we can finally replace all the hollow doors out for cute, paneled ones.” Looks like you saved me from buying all new doors! Clever, awesome, fabulous…just like you!