5 Great Tips to Grout a Shower
At first, tiling a space in your home can seem overwhelming and confusing, but it doesn’t have to be. Doing a tile project on your own can save you a lot of money and give you a lot of satisfaction. Recently we renovated an entire bathroom in our basement that included tiling and grouting a shower floor, walls and bench.
Brittany has shared several posts on how to tile a backsplash, how to seal tile, and how to tile without mortar. See those posts for full step-by-step instructions on how to tile.
Today I wanted to share 5 Great Tips to Grout a Shower. When you are tiling a large space, it helps to have some ideas on how to prepare and work for the best results.
Materials:
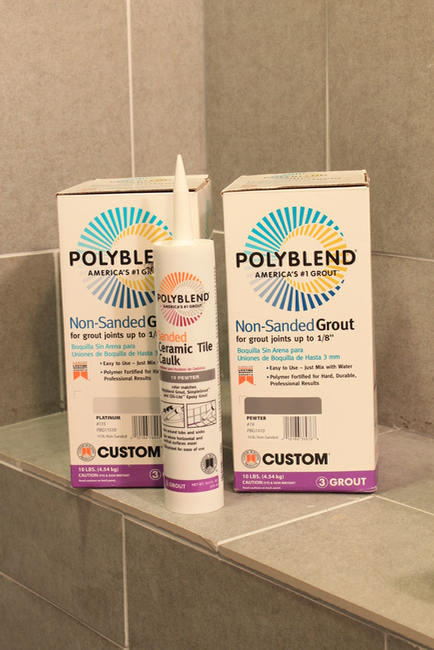
- Grout (We like Mapei UltraColor Plus Rapid-Setting Sanded Grout or Polyblend Unsanded Grout)
- 5-gallon bucket
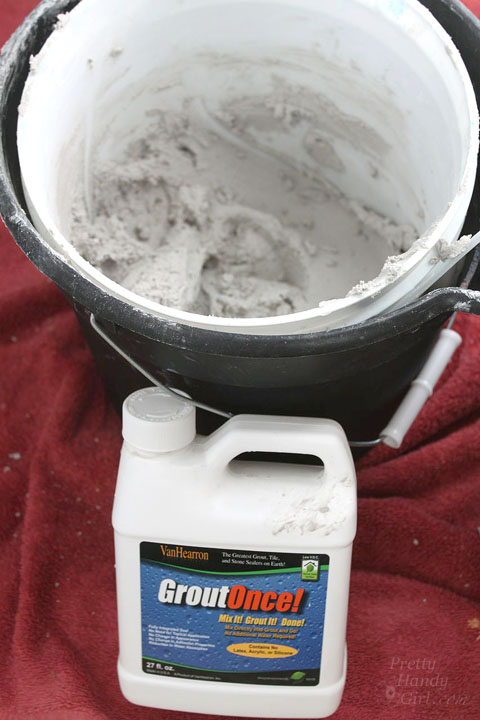
- Grout Boost or VanHearron’s Grout Once
- Corded drill that will accept a mixing paddle
- Mixing paddle
- Metal spatula
- Grout Float
- Grout Sponge
- Painter’s Tape
- Silicone Caulk
- Rag
- Buffing rag
- Sponge
- Water
5 Great Tips to Grout a Shower
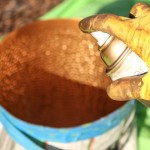
1. Use Grout Boost or Grout Once
These are liquid products that mix with your grout instead of water so that you don’t also have to seal the grout. Follow the instructions on the package to prepare your grout (usually involves mixing, waiting and mixing again.)
Then apply the grout as usual. Then you don’t have to spray your grout with a grout sealer afterwards.
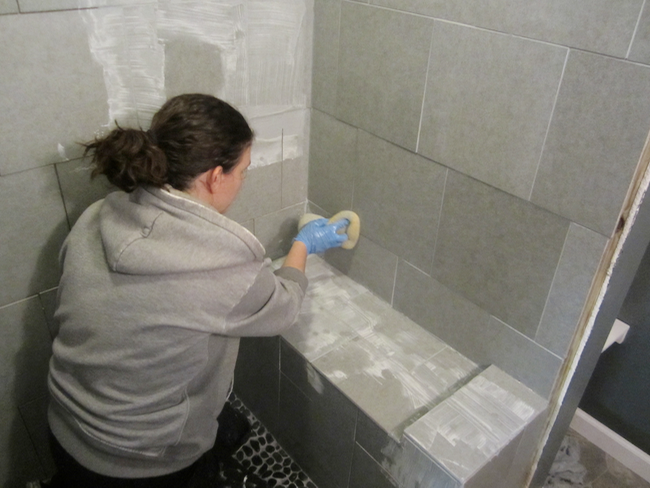
2. Work in small sections at a time.
This is not the time to apply all of the grout at once and remove the extra after you are done putting in all the grout. You have to apply small sections (4′ x 4′) of grout. Then go back to remove the excess grout on that same section right away.
Don’t wait too long or the grout will become dry and difficult to remove from the surface of the tile. As you’ll see below, I wiped off the grout with a damp sponge while the other area on the left was drying. It helps to move relatively fast so your grout doesn’t dry too quickly.
3. Check for holes or bubbles in the grout
It’s important to check for air holes or bubbles in the grout. Any spaces between the tile would allow water to penetrate and get behind the tiles. A good way to check for bubbles or holes is to take a flashlight and hold it flat against the wall. Look for any dark spots in the grout. This will signify a hole where grout is missing. If you see a hole, use your finger to patch it with grout and follow the usual drying times to remove the excess grout.
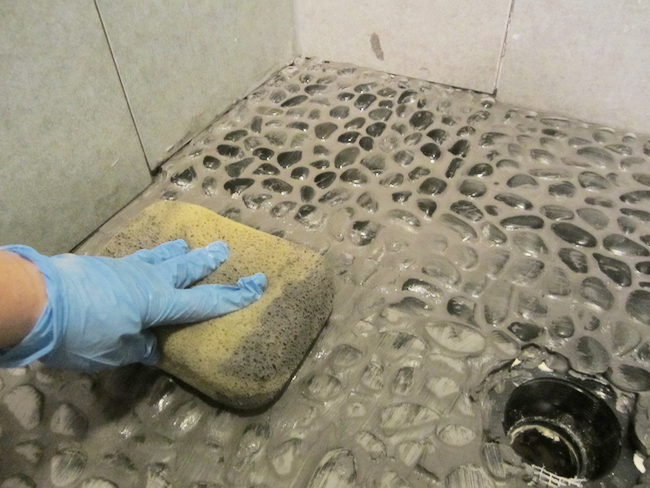
4. Wipe the extra grout off with a sponge that’s flat against the tile
Although you wipe off excess grout with a grout float (at a 45 degree angle), you want to lay your sponge flat on the surface of the walls or floor. Keeping your sponge flat helps to clean off extra grout. This is especially true of irregular surfaces like pebble tiles, or smaller tiles where there is more grout per area.
Use a damp sponge to wipe and rinse it often. Change the water in your bucket often. This will result in less haze on your tiles and a cleaner finish.
5. Caulk in the corners and at the edges with a caulk the same color of your grout
Colored caulk can be found at the home improvement store in the tile products aisle. It seals the edges of your shower where the wall meets the floor and blends right into the grout color. See how to use a caulk gun here.
Read more tips for tile projects:
- How to Tile a Backsplash
- Grouting and Sealing a Backsplash
- Tile Setting WithOUT Thinset Mortar
- How to Tile a Small Table Top
- How to Grout Pebble Tile
Follow these tips and your tile project will turn out great. Come see me at Decor Adventures, where I share how to grout pebble tile here. Happy grouting!


If you see tiny line cracks in new grout of new shower being built how should they fix?
Lynda, cracks in new grout is not a good sign. The grout was probably too dry when it was applied. You’ll have to scrape out the top 1/4 inch and re-grout.
Can you add more grout if you wanted to make it look nice again? I wonder if it would be easier to add grout then clean it.
no you would needto remove the existing grout first as the new grout wouldn’t be deep enough to take hold. A trimming knife with some new blades will get it out but it can be hard work.
whoa. wait what??? I didn’t even know that mixing a sealing product with the grout instead of water was an option. This seriously just change my whole world. Seriously. That’s a good tip about changing your water often too, I have figured that out the hard way…and unfortunately that is not something you can fix once it’s done it’s done…thanks for the post