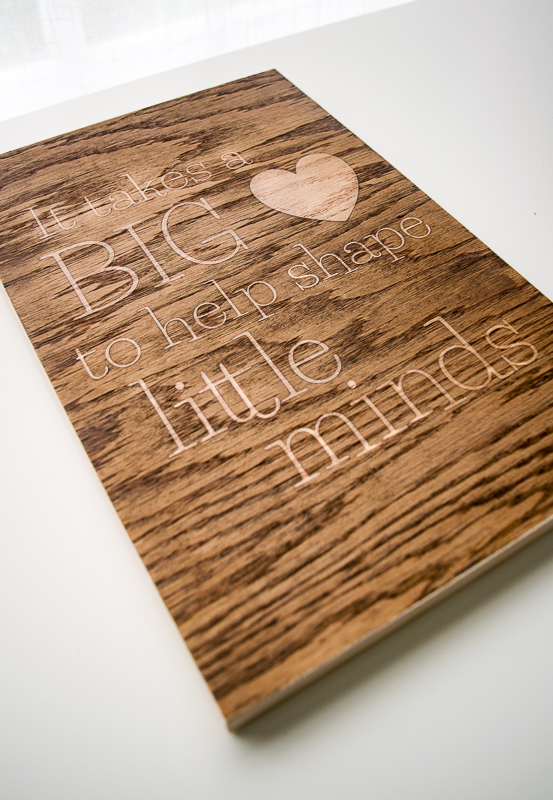
DIY Teacher Sign for End-of-Year Gift

Hi everyone! It’s Vineta from The Handyman’s Daughter back with another fun project to share with you! It’s almost the end of the school year, and I’ve been racking my brain to come up with a nice gift for my son’s second grade teacher. Hopefully this little wooden sign will make its way into her classroom next year and reminds her of how much she means to her students.
I used one of my favorite stencil techniques, on this family birthdate sign I created for Mother’s Day. The reverse stencil effect appears almost like magic when stain is applied!

We’re going to use the same technique for this DIY Teacher Sign. Here’s how it works!
Materials:
(I’ve included affiliate links for your convenience. I earn a small percentage from a purchase using these links. There is no additional cost to you. You can read more about affiliate links here.)
- Scrap piece of plywood about 9″ x 12″
- Stencil vinyl
- Silhouette or Cricut machine
- Wood glue
- Gel wood stain
- Sanding sponge
- Small paint brush
- Foam brush
- Tack cloth
- Iron-on edge banding and iron (or use wood trim to create a frame)
Instructions:
I started by digging through my wood pile for some scrap plywood and unearthed a 9″ x 12″ piece that would work perfectly. Remove any dust from the surface with a tack cloth.
You can choose from one of the many designs in the Silhouette Store (I used this one), or design your own. Apply the white stencil vinyl to the cutting mat and let the machine do the cutting.

Weed out the letters and shapes, then lay the transfer tape on top of the design. Use the smoothing tool to push out any air bubbles and ensure that the stencil is on securely.
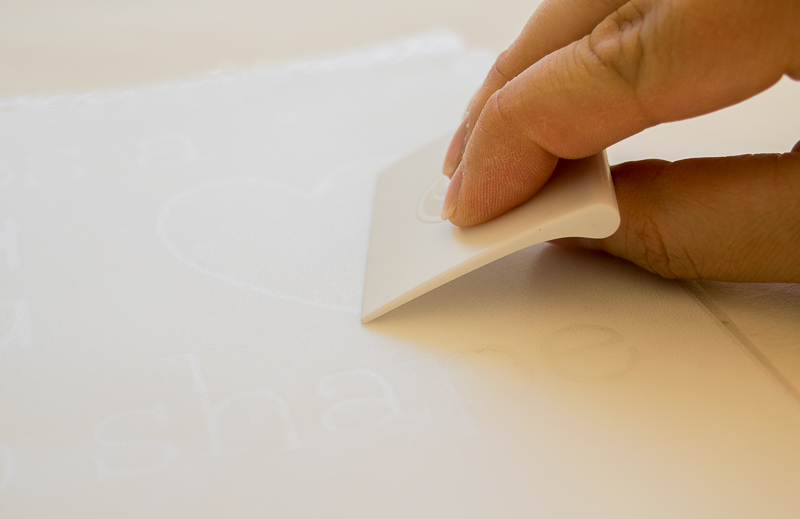
Peel up the stencil and transfer tape together. Apply it to the plywood. Smooth out any air bubbles, then remove the transfer tape. The stencil should remain. Give the stencil one last rub, concentrating on the edges of the letters and shapes.
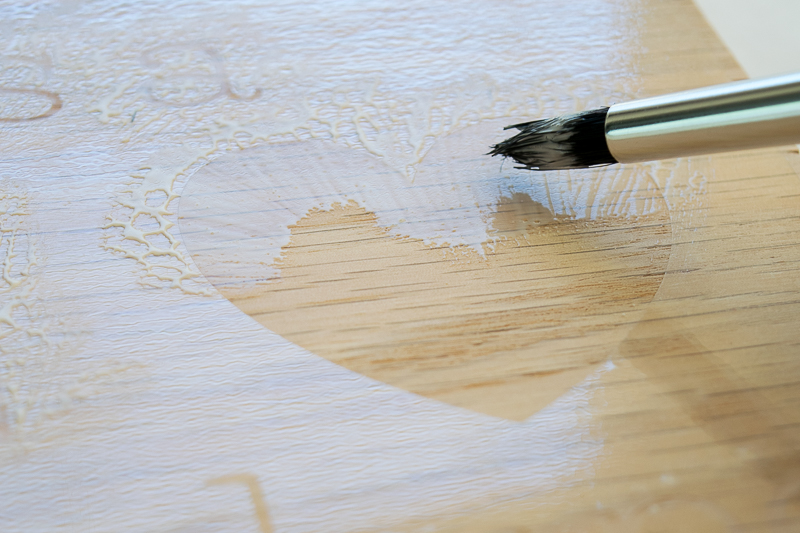
Here’s the trick to this stenciling technique: wood glue! Have you ever discovered a big blob of wood glue preventing stain from soaking into your project? We’re going to take advantage of that instead of fighting it!
Dip your craft brush into the wood glue and carefully paint a thin layer inside the stencil. Move from the outside in, and try not to get any glue under the stencil vinyl. Allow it to dry for at least half an hour and the wood glue has turned clear.
Carefully remove the stencil from the plywood. Some of the wood glue may flake off or stick to the letters. Use the fine grit sanding sponge to remove any excess. Anything with glue on it won’t take the stain, so make sure the edges are as sharp and clean as possible.

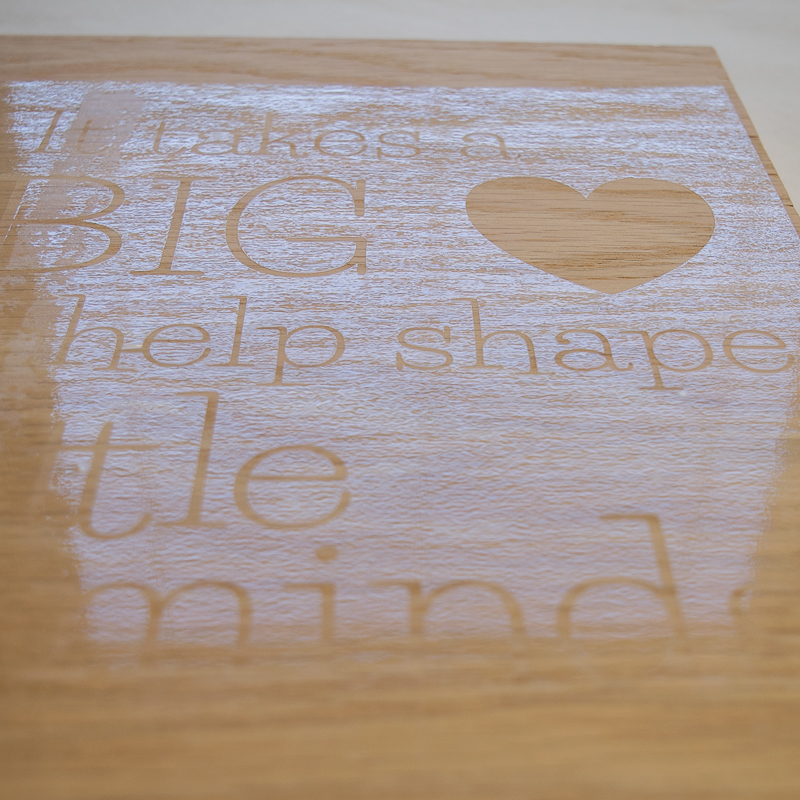
Using a foam brush, stain the surface of the sign. Gel stain works best for this technique.
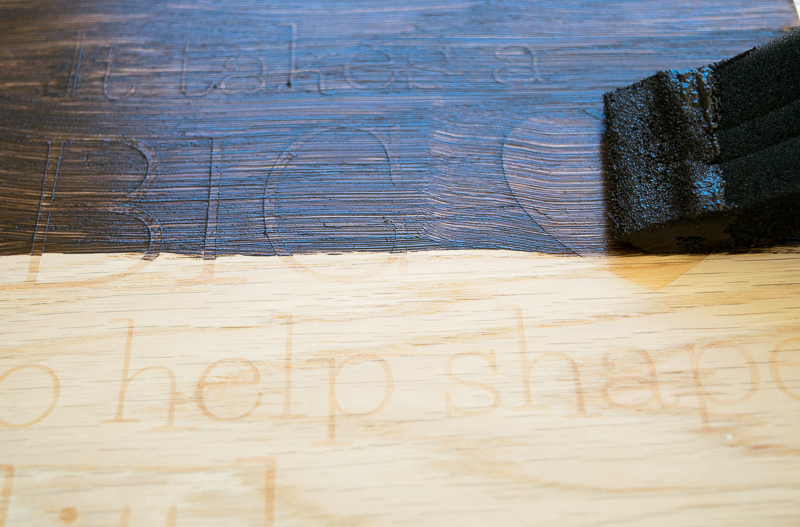
After a few minutes, rub off the excess. I prefer to stick my gloved hand in an old sock to wipe off the surface. Like magic the letters pop against the dark stain!

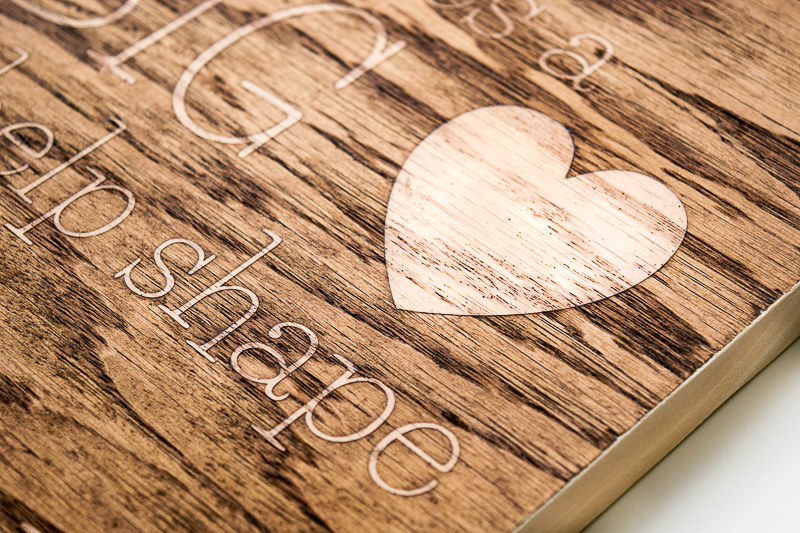
If you prefer more contrast, apply a second coat of stain. I found that thicker fonts and dark stain show up best. Apply a coat of poly over the surface to protect the surface and give it a glossy finish.
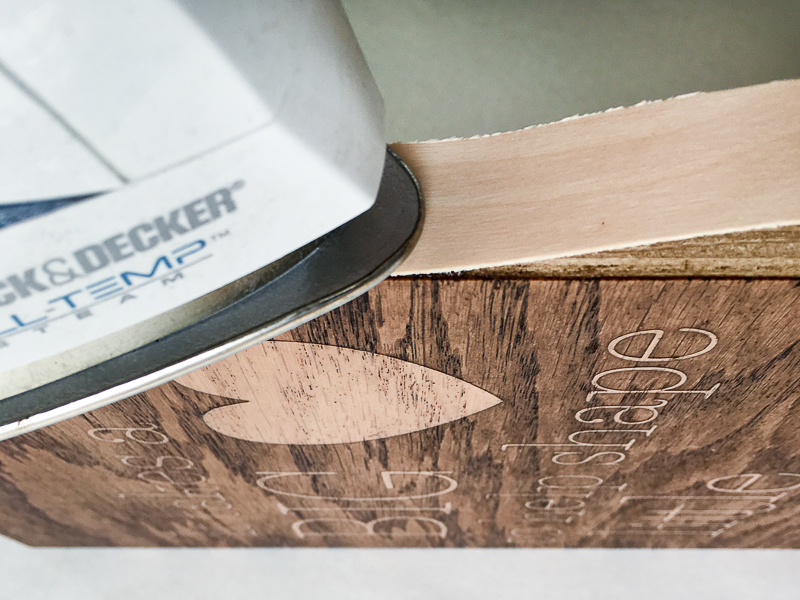
Use iron-on wood veneer edge banding to cover up the plywood edges and cut off the excess with a utility knife. Brittany has a great tutorial on how to apply edge banding. You could also create a simple frame using trim.
Your teacher sign is ready for the last day of school (although I’m not!)
Hope you enjoyed this tutorial! Don’t forget to check out all my other woodworking projects over at The Handyman’s Daughter!
Until next time!


Yet again, you did a fabulous job. Any teacher that get something like this is so lucky.
What a lovely idea. Soon my kids will be out for summer!
I love the result! Amazing!