Rustic IKEA Hacked Cabinet
Rustic is not usually a word used to describe IKEA. IKEA is better know for their modern furniture, simple lines, meatballs and funny Swedish words. Today I’m going to change how you perceive IKEA furniture forever! Are you ready for this? Well, hang onto your hästes (Swedish for horses) because you’re going to see a transformation nothing short of amazing! You too can customize your plain jane furniture by adding legs and cladding the exterior with reclaimed picket fence wood.
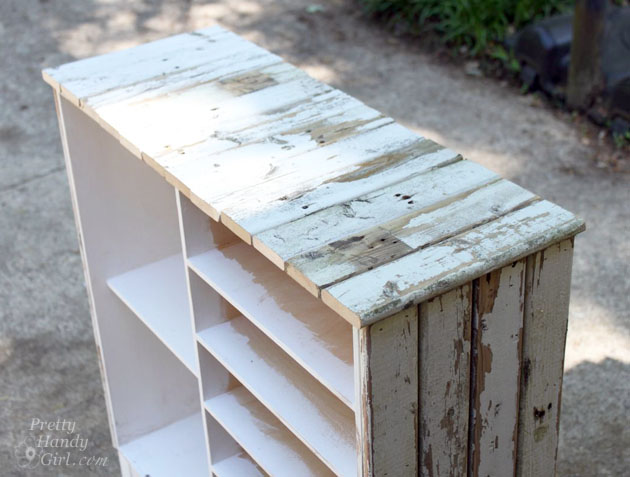
This tale starts with a hunter green stained IKEA storage chest that I bought for our first apartment and stained myself (can you tell what decade it was? Hint: hunter green, honey pine, throw some burgundy in there and I’m sure you’ll be guessing no more.) It moved from room to room each time we settled into a new home. But, it never really fit in.
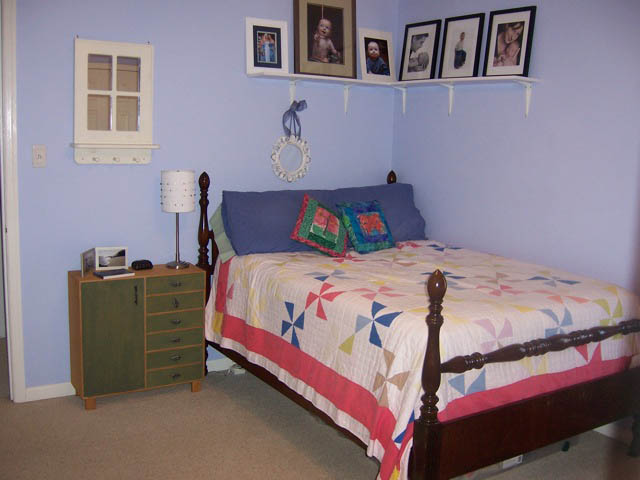
The cabinet was short and not very deep. Plus, it bore the mark of the popular 90’s hunter green. It was ugly. Why didn’t I get rid of it years ago? Maybe I was attached to it because it was the first piece of furniture I ever stained myself. And it brought back fond memories of calling the fire department because I smelled gas. Turns out you aren’t supposed to use an oil-based stain indoors, especially if you have a gas stove. Lesson learned.

Fast forward two decades and it’s still hanging around. The other day as I was lamented the fact that our foyer is too small to fit a cute dresser, I found myself looking at this sad little IKEA chest. I picked it up and put it in our foyer. The fit was perfect in the small space behind the front door! But, it was short and let’s not mention the hunter green again. Plus, it just wasn’t cute. And it doesn’t reflect my warm and weathered style. But, you know me, I wasn’t deterred.
I did some mental gymnastics and began to hatch a plan to create a marriage that would last longer than two decades.
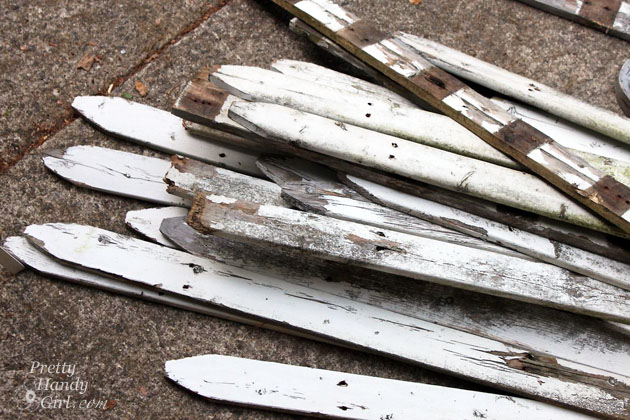
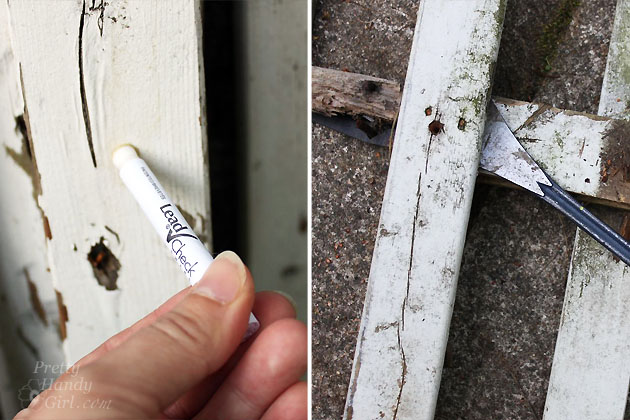
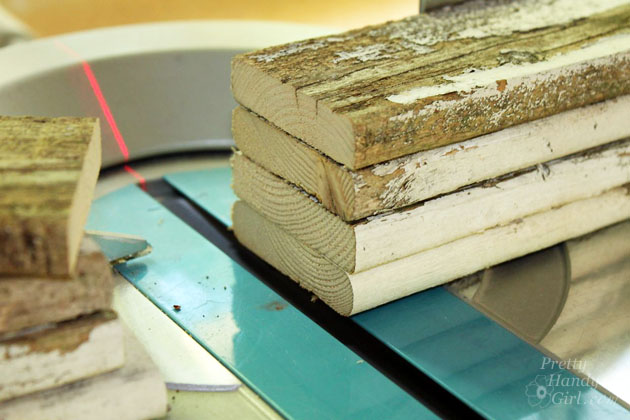
It began with some pieces of old picket fence that I found by a dumpster. They were perfectly chippy and rustic! Luckily the 3M Lead Check results were perfectly negative. I carefully took the fence apart and removed all the nails.
Ready to see how I convinced the two polar opposites that they belonged together — rustic and modern — to create a match made in heaven? Let’s explore this couples’ counseling further:
Materials:
- IKEA cabinet (or other plain smallish cabinet)
- Reclaimed pickets or lumber
- Wood glue
- Finish nails
- Old table legs
- 1×2″ boards for table skirt
- Pocket hole screws
- 1.25″ wood screws
- Paint
- Primer
- Polycrylic
- Paint brushes
- Knobs
- Sharpie Marker
Tools:
- Kreg Jig
- Finish nailer
- Drill
- Sander
- Miter saw
Instructions:
Adding new legs to the cabinet.
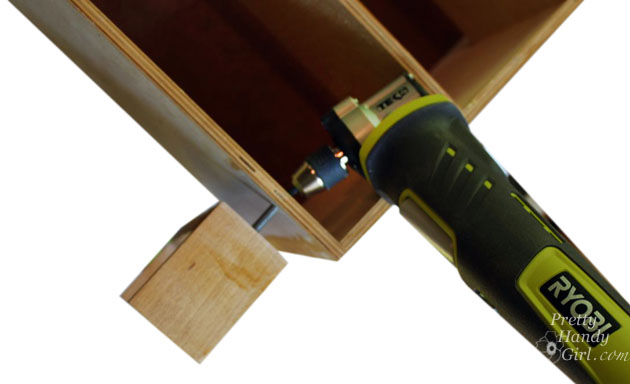
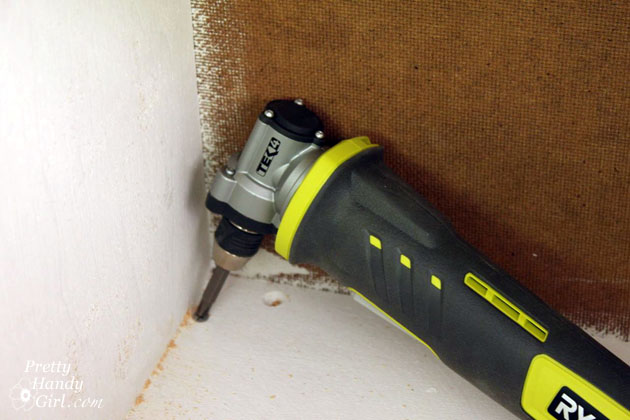
Begin by removing the legs from the IKEA chest. Short and stubby block legs aren’t very cute, so they had to go. (A small right angle driver works great for tight spaces.)
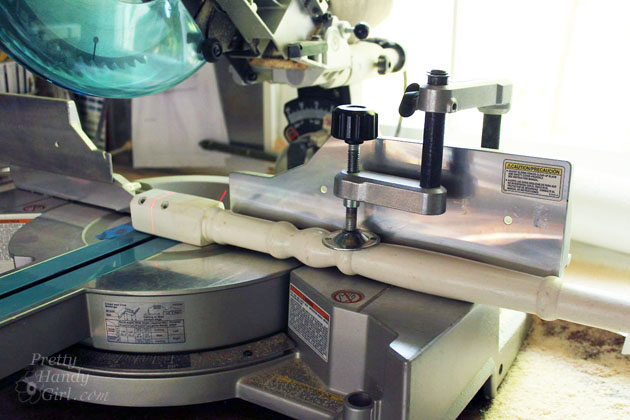
Determine the height you would like your cabinet to be. Subtract the height it is now. This gives you the measurement to cut the salvage table legs.
Cut four pieces of 1×2″ lumber to fit in between the legs and act as a table skirt. (Measure the base of your cabinet and subtract the width of the table legs to get the skirt piece dimensions.)
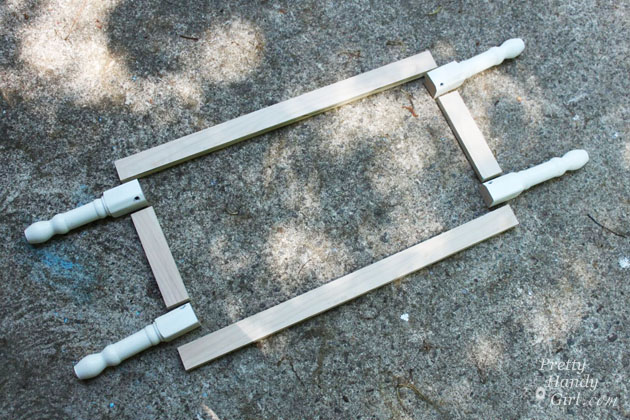
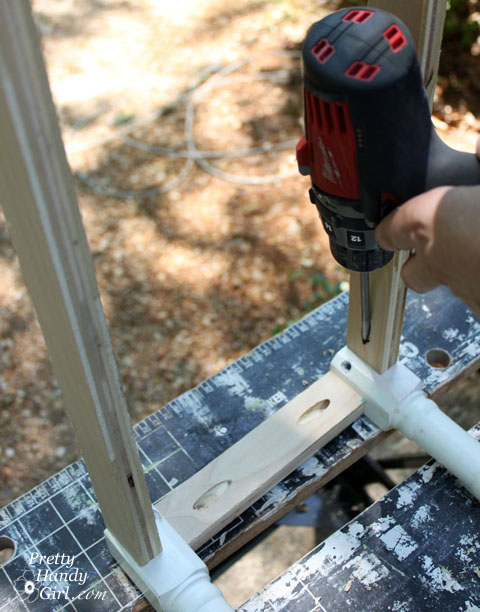
Drill a pocket hole into both ends of the 1×2″ boards. (Click here to learn how to use a Kreg Jig. It’s easy.)

Attach the skirt pieces to the legs with pocket hole screws.
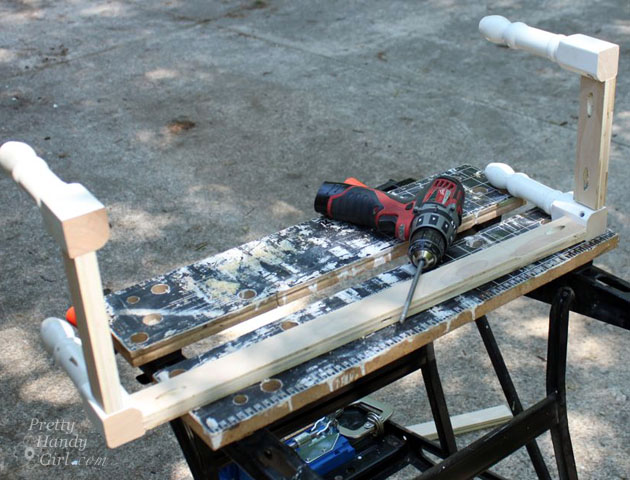
(Hint: Attach the short sides first and leave one of the long lengths for last. That way you’ll be able to fit your drill inside the skirt without the other sides getting in the way.)
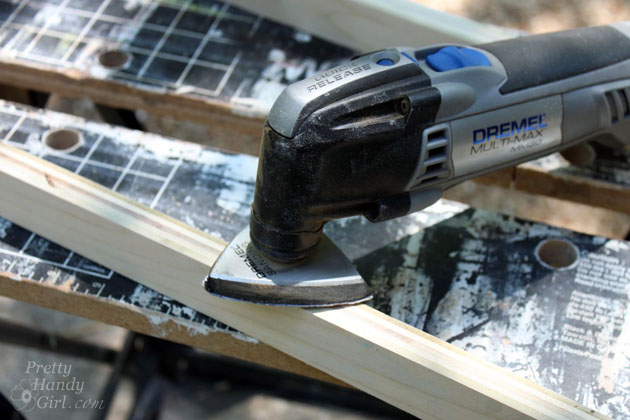
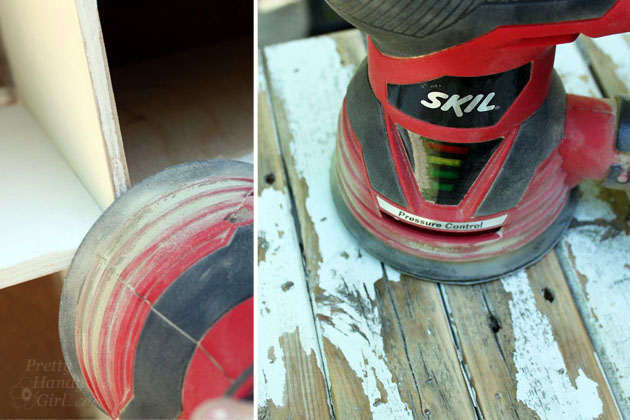
Sand any rough edges smooth.
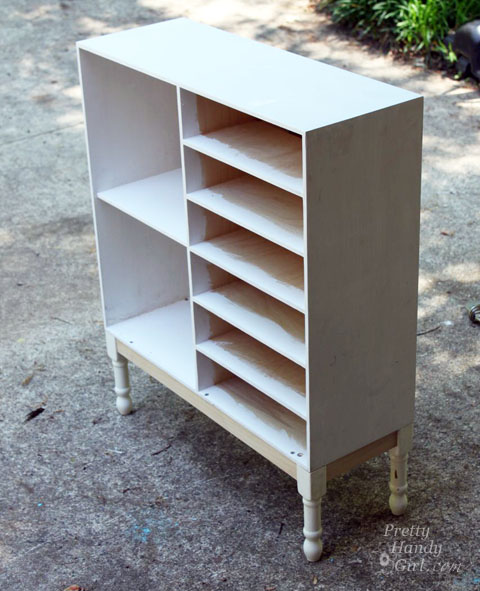
Drill pilot holes into the base of the cabinet where the skirt will rest.

Drive screws through the holes and into the skirt to attach the skirt/legs to the cabinet.
Prime the cabinet and paint it white.
Adding the reclaimed pickets:
Using a miter saw, cut the pieces of picket down to fit the sides and top of the cabinet.
Run a bead of wood glue on the back of each picket.
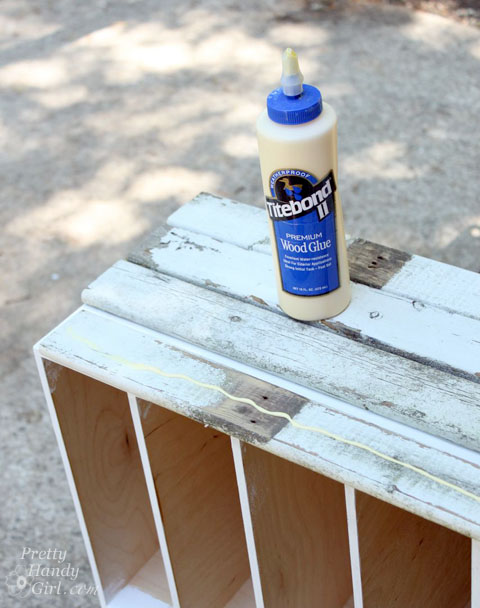
Flip the picket over and secure it to the cabinet with finish nails.
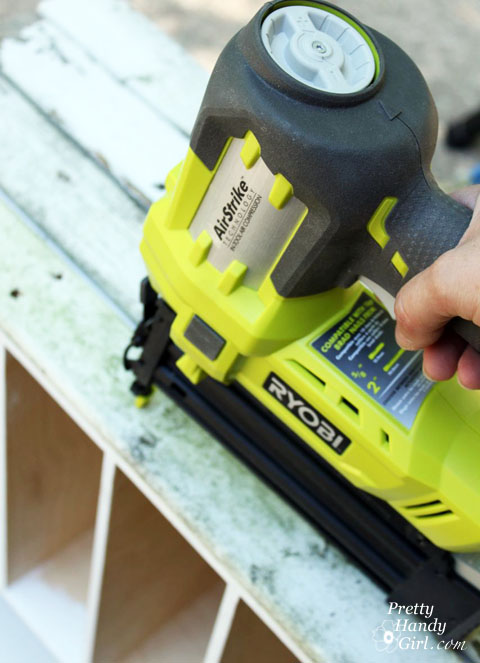
Repeat the process of adding glue and nailing the pickets to the top of the cabinet.
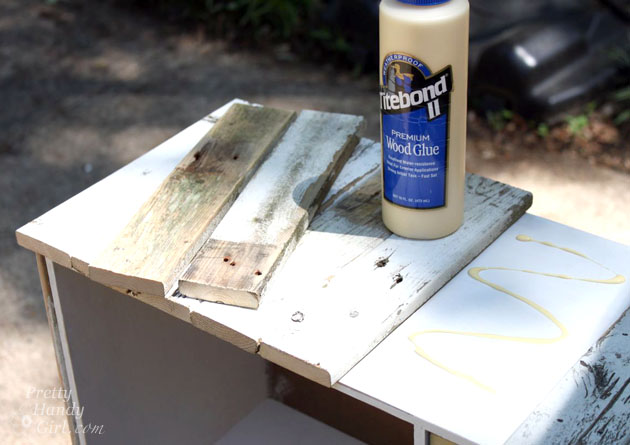
Ooooo, she’s starting to look beautifully rusticated!
Sand any flaking paint and sand to distress the newly painted areas of the cabinet.
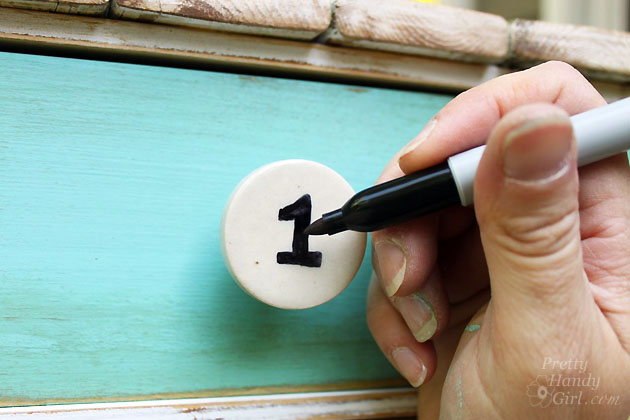
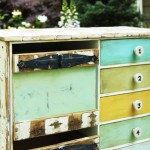
Paint the drawers a variety of colors (I used a variety of Farmhouse Paint colors: Aqua Provence, Coastal Palm, White Ash, Turquoise Toulouse, Dijon & Tuscan Sun). You can bring out your inner dominatrix with whips and chains or invite it over for a little tea staining. Read more about my abusive ways to distress the drawers. Add new knobs (a clearance score at Hobby Lobby) and add numbers with a Sharpie permanent marker.
Apply a few coats of Minwax polycrylic to seal the cabinet and stop the paint from peeling.
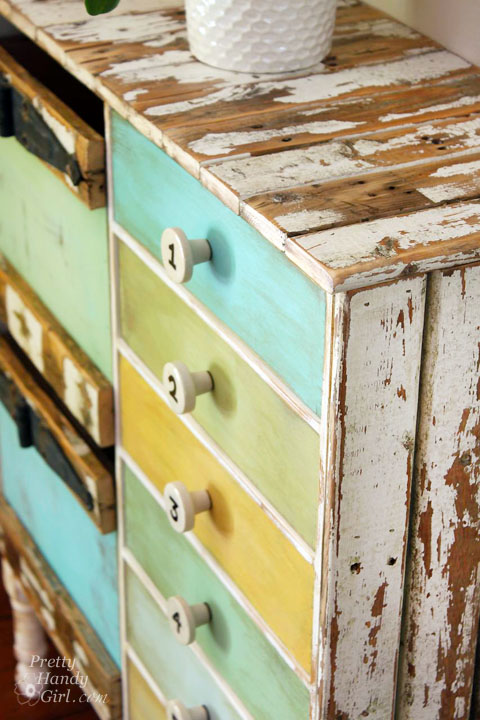
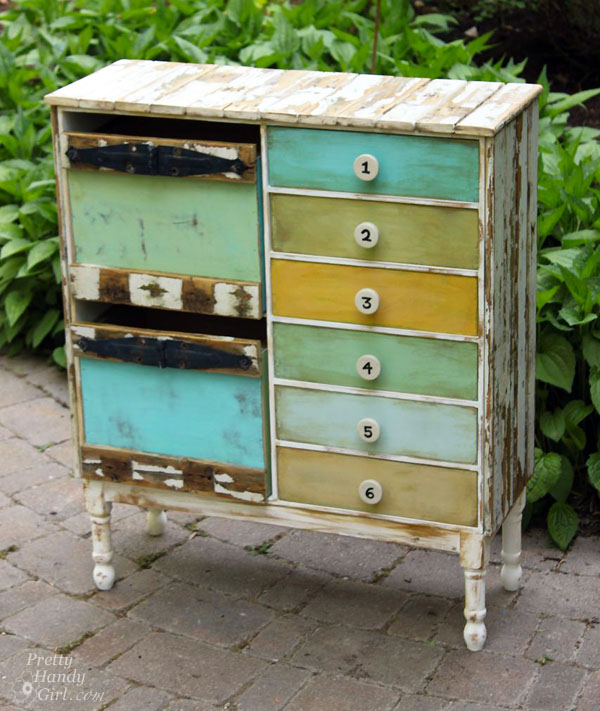
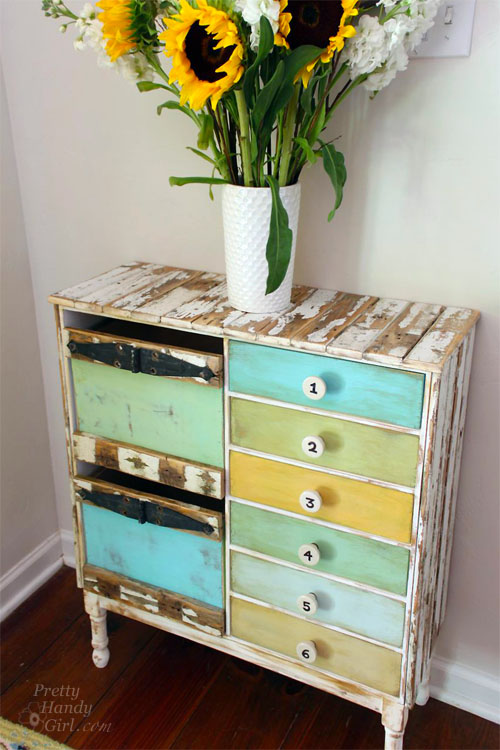
Stand back and admire! The transformation is complete.
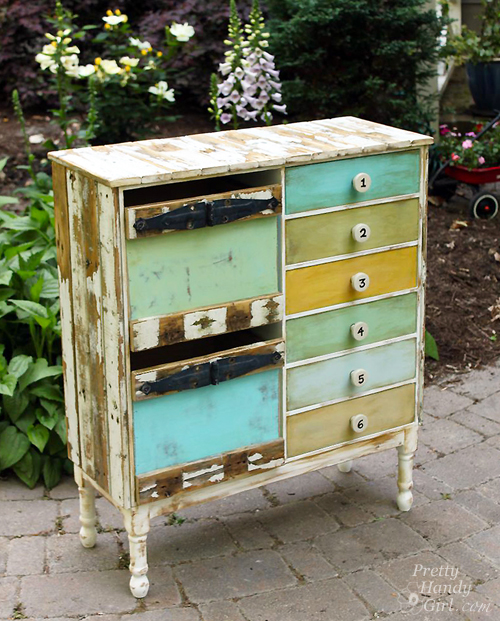
Tell me the honest truth. Is there anyway you would have guessed that this cabinet used to be an ugly stained IKEA chest?
If you have a sharp eye, you’ll notice I removed the door on the left and added two rustic box drawers instead. (Tutorial for creating custom rustic crate boxes is HERE! Be sure you subscribe to my emails, so you don’t miss any future tutorials!)
The drawers are perfect for storing sunglasses, batteries, flashlights, and other odds and ends.
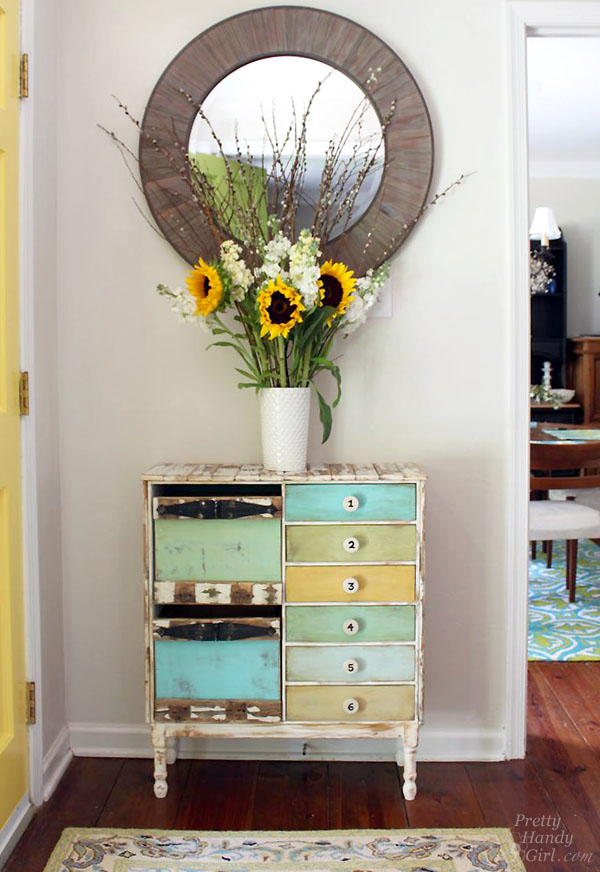
And I finally have a cute little dresser in my foyer!
On a more personal note, thank you for all your thoughts and prayers for Handy Dog. We did get the biopsy back and he does have a rare form of cancer. We are currently meeting with an oncologist to weigh our options. I’ll keep you posted.
![]()
Oh that’s stunning Brittany. What a beautiful makeover erhm I mean marriage 😉
Thanks!
I love it! Can you tell me how you did the drawers?
You mean the larger ones on the left? Here’s the tutorial to make them: https://prettyhandygirl.com/build-rustic-wooden-box-crates/
Thanks!
It’s beautiful. My only comment is would you consider daubing a little bit of the white on top of the black on the metal just to tone it down a little bit. With the pastels, the two black metal piece “draw” your eye towards them. The black looks good with the black in the numbers, but overpowers the soft pastels of the whole piece. I really like it though. When you compare the old and the new it is amazing. Nice work.
Thanks for your comment. The black hinges have never bothered me, and it’s been 3 years since I transformed this chest so I’ll probably leave it as is.