How to Build a Tall & Skinny Storage Cabinet
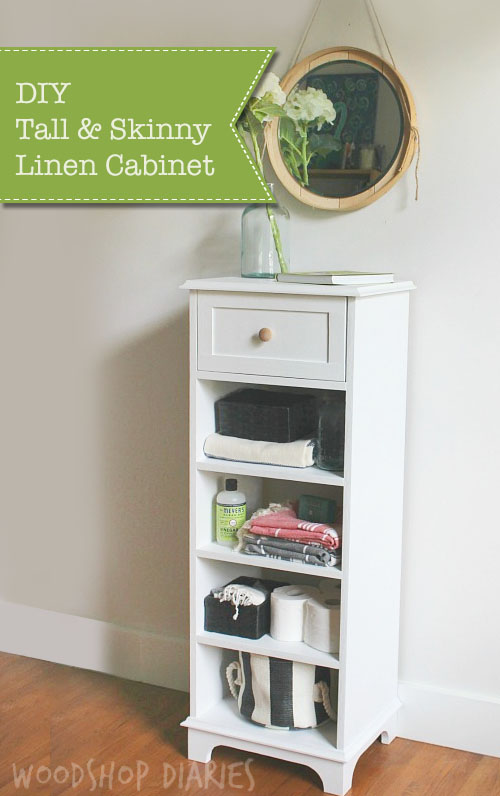
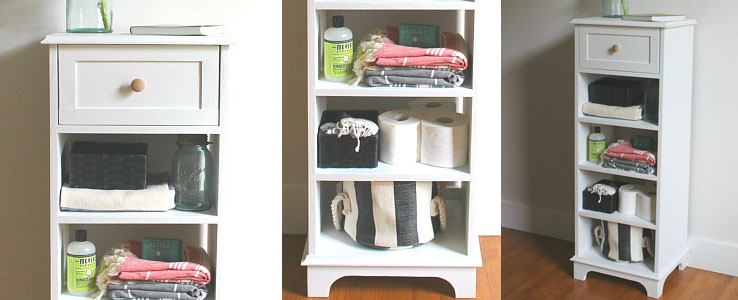
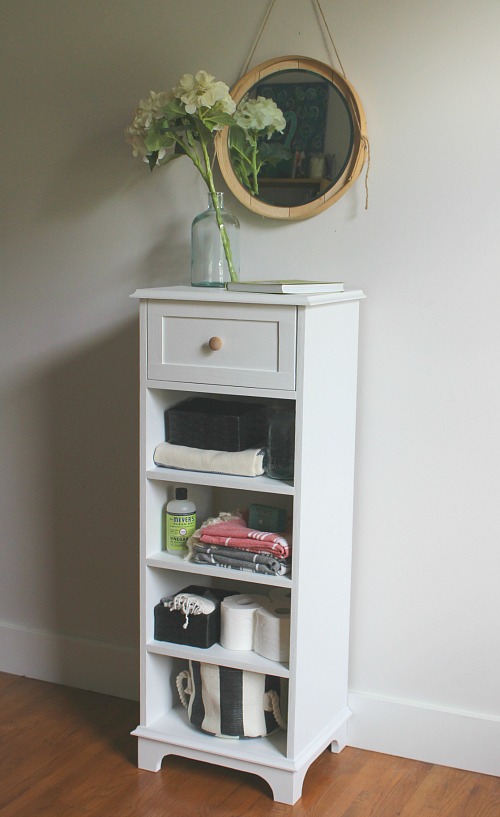
Hey everyone!! It’s Shara from Woodshop Diaries back to show you How to Build a Tall & Skinny Storage Cabinet. This storage unit works perfectly as a bathroom linen cabinet. Of course, it could work elsewhere besides a bathroom. An entryway would make another perfect spot for it. I use mine in the bathroom because it is the perfect size for towels, toilet paper rolls, baskets, and cleaning supplies.
If you need something a bigger, you can check out this “whatchamacallit” cabinet that would be really cute for storing linens and such. Ready to learn How to Build a Tall & Skinny Storage Cabinet? Let’s gather a few items and get building.
Tools:
(I’ve included affiliate links for your convenience. I earn a small percentage from a purchase using these links. There is no additional cost to you. You can read more about affiliate links here.)
- Circular Saw
- Kreg Rip Cut (optional, but helpful)
- Miter Saw
- Kreg Pocket Hole Jig
- Drill
- Jig Saw
- Nail Gun
- Measuring tape
- Square
- Sander
Materials:
- (1) full sheet ¾” plywood
- (1) ¼ sheet ¼” plywood
- (1) 8’ stick cove molding
- (1) 1”x 4”x 8’ board
- (1) knob
- Wood Glue
- Wood Putty
- 1 ¼” pocket hole screws
- 1 ¼” nails for nail gun
Cut List:
For Cabinet:
- (2) 3/4″ x 13″ x 40″ plywood
- (5) 3/4″ x 13″ x 14½” plywood
- (1) 3/4″ x 13″ x 16″ plywood
- (2) 1″ x 4″ x 13″ (beveled 45 degrees on one end)
- (1) 1″ x 4″ x 16″ (beveled on both ends)
- Cove molding cut to fit
For Drawer:
- (2) 3/4″ x 5½” x 12″ plywood (for drawer sides)
- (1) 3/4″ x 5½” x 12¾” plywood (for drawer back)
- (1) 3/4″ x 7″ x 14¼” plywood (for drawer front)
- (1) 1/4″ x 12″ x 14¼” plywood (for drawer bottom)
Instructions:
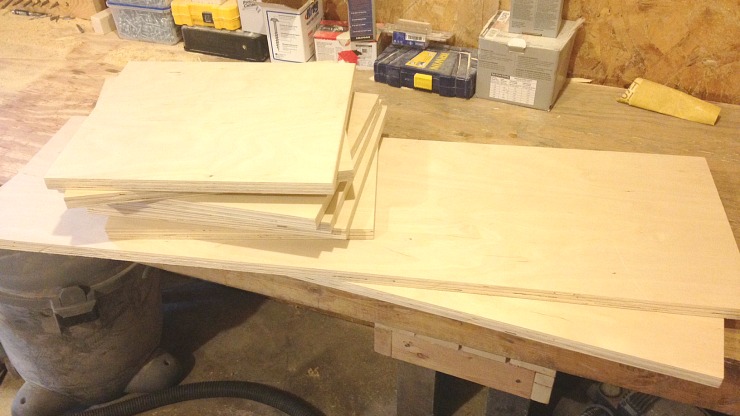
Cut down your 3/4” plywood. I used a Kreg Rip Cut to help with this, but you could also use a straight edge with your circular saw, or skip the circular saw altogether and use a table saw.
Cut your plywood into two 13” wide strips. Then, cut two pieces at 40” long. You will also cut five pieces at 14 ½”. And finally, one piece at 16” long. Did you get all that?? Lots of cutting at first, but the rest is easy 🙂
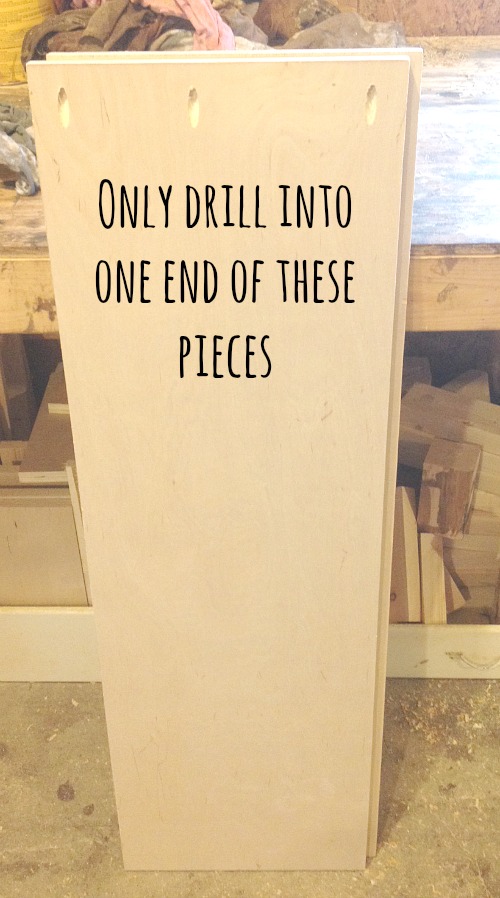
Drill pocket holes into both ends of all five of the 14 ½” pieces…
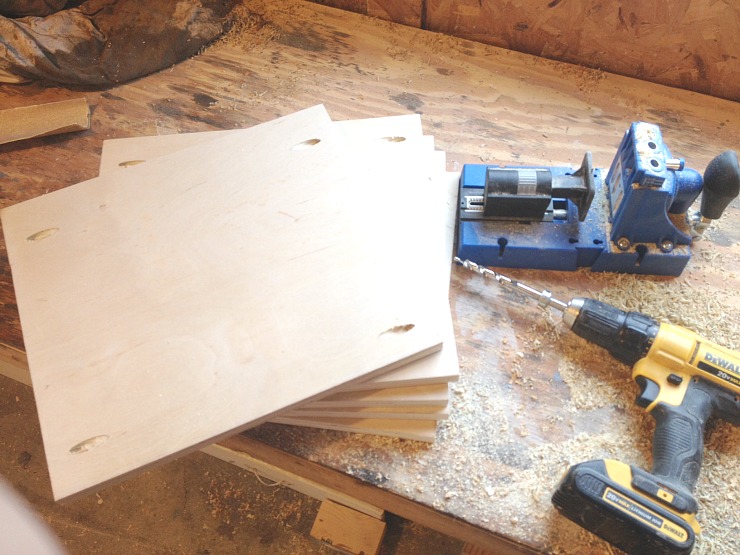
…and into only ONE end of the 40” pieces.
Assemble the Cabinet
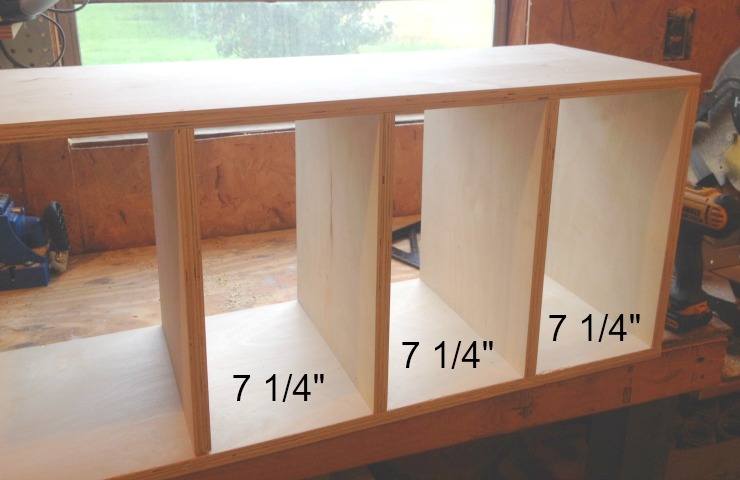
Attach the shelves between the two 40” boards using 1 ¼” pocket hole screws. Make sure you attach the bottom shelf on the opposite end from where you drilled the holes on the 40” boards. Those are for attaching the top later.
Space the shelves 7 ¼” apart. It helps to use a measuring tape and square to line them up.

Before you attach the last shelf, attach the top (the 16” long piece you cut in step 1 using 1 ¼” pocket hole screws.)
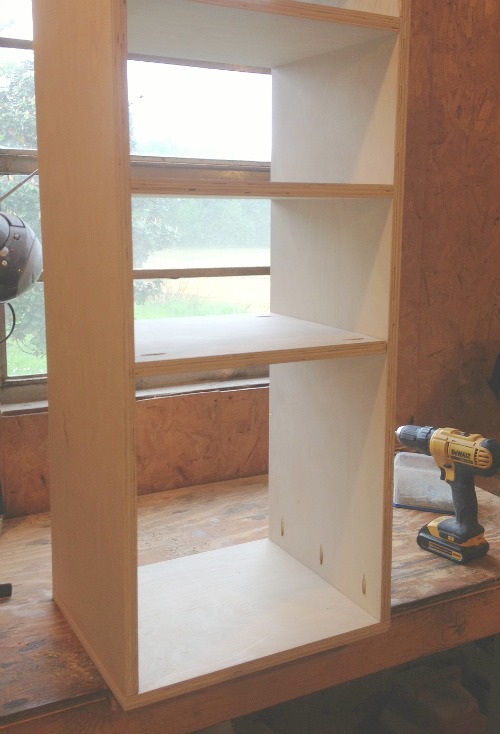
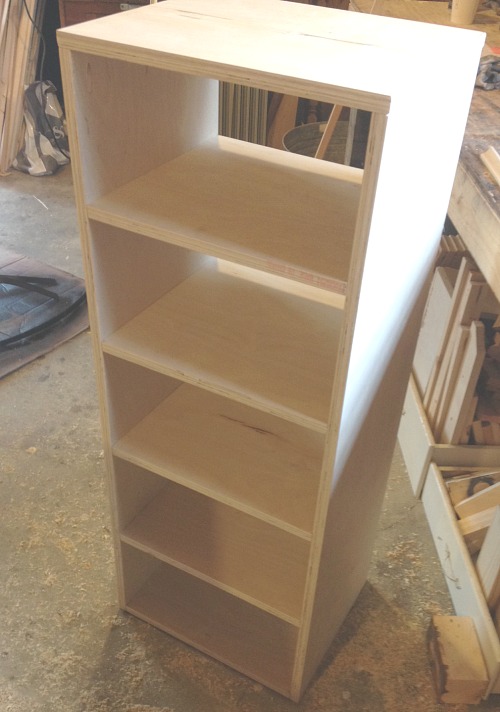
Then, attach the last shelf in place.
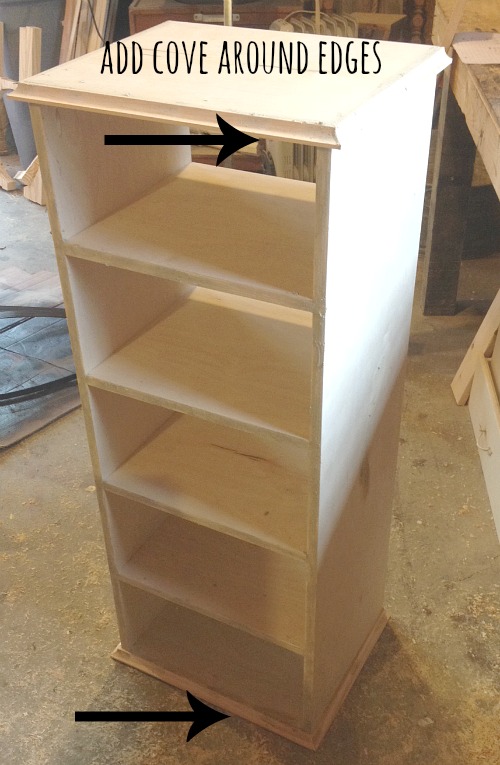
Add Trim:
Measure and cut the cove molding to fit along the top and bottom edges of the cabinet. Using wood glue and 1 ¼” brad nails, attach cove molding along the edges of the top and bottom.
Putty the nail holes and corners. Let the putty dry while you move on to the next steps.
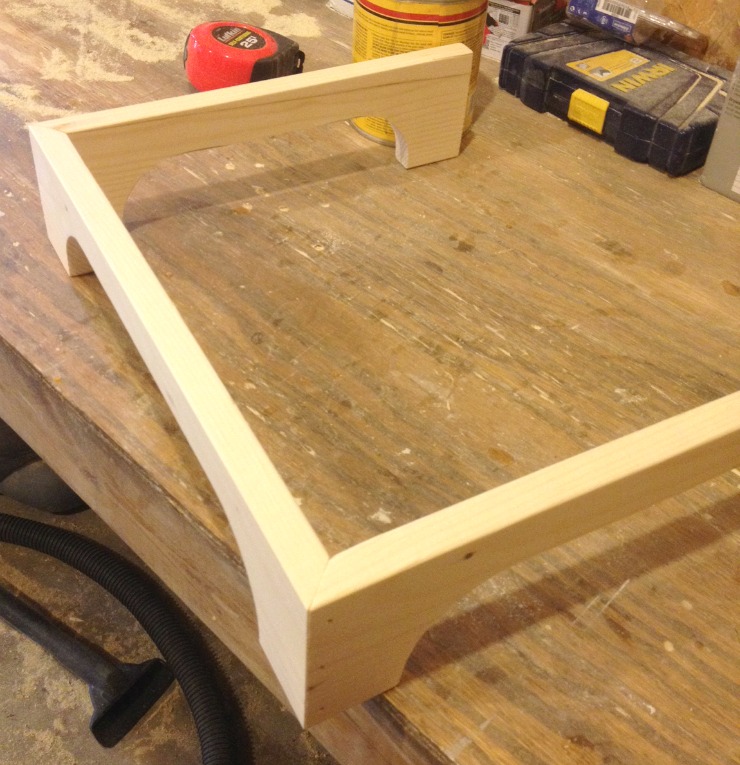
Cut two pieces of your 1” x 4” board at 13” long and one piece at 16” long. Miter both corners of the 16” long piece at 45 degrees and miter one end of each 13” long piece.
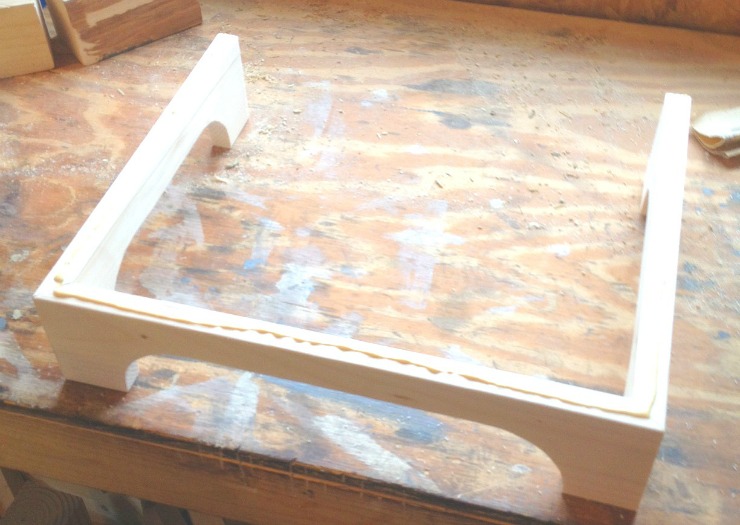
Use a jig saw to cut out a decorative pattern in the pieces (if desired). I used a stain can to help me draw perfect curves.

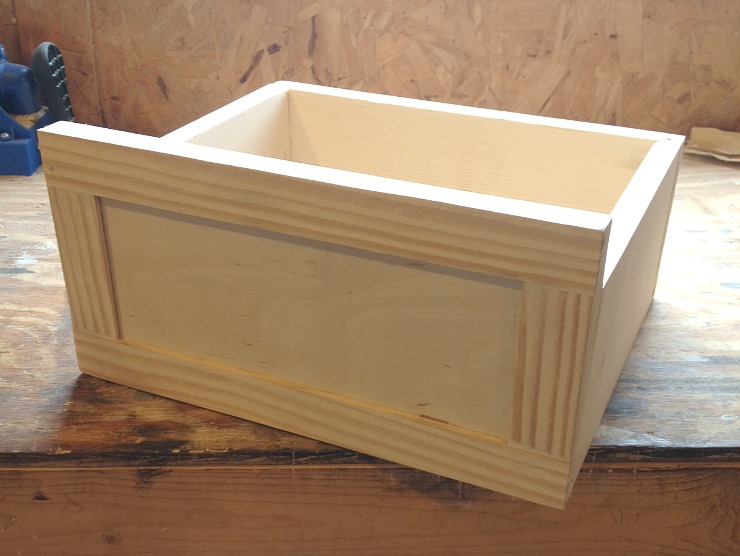
Sand all the pieces, then glue them together at the corners and use 1 ¼” brad nails to hold them in place.
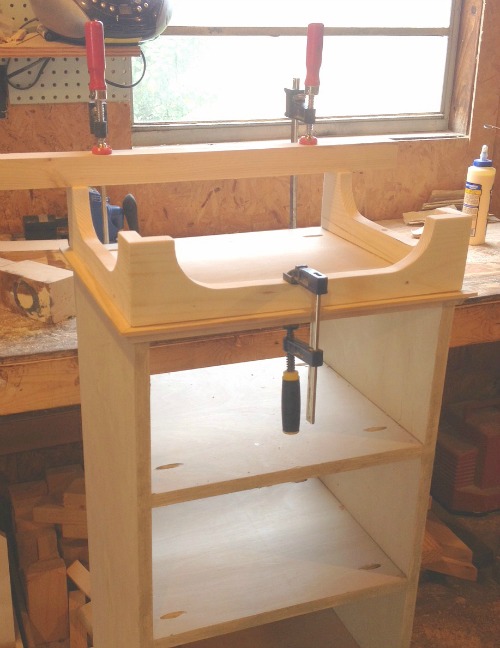
Flip your cabinet upside down and glue this piece onto the bottom making sure everything is square and lined up nicely. You can use a heavy object or clamps to hold it in place until the glue dries.
Construct Drawers:
You don’t necessarily have to add drawers. You could leave it open if you’d like. To see how to make drawers, check out my post about maknig drawers here.
You could cut a piece of ¾” plywood from the remaining sheet 5 ½” wide and then cut two pieces 12” long and one piece 12 ¾” long. Glue and nail the 12” long pieces onto the end of the 12 ¾” piece.
Cut a piece of 1/4” plywood to 12” x 14 ¼” and glue and nail it onto the bottom of the drawer box.
Then cut another small piece of 3/4” plywood 1/4” narrower and about 1/8 – 1/4” shorter. Making sure your box stays square, glue and nail this piece onto the front of the drawer. I added some thin wood strips to the front for decoration. That’s optional.
Finally, to keep the drawer in its place, glue and nail some small pieces of scrap wood onto the back to keep the drawer from sliding out the back side.

Putty and sand. You could add edge banding to the plywood edges if you plan to stain. Since I was painting, I just puttied and sanded the edges.
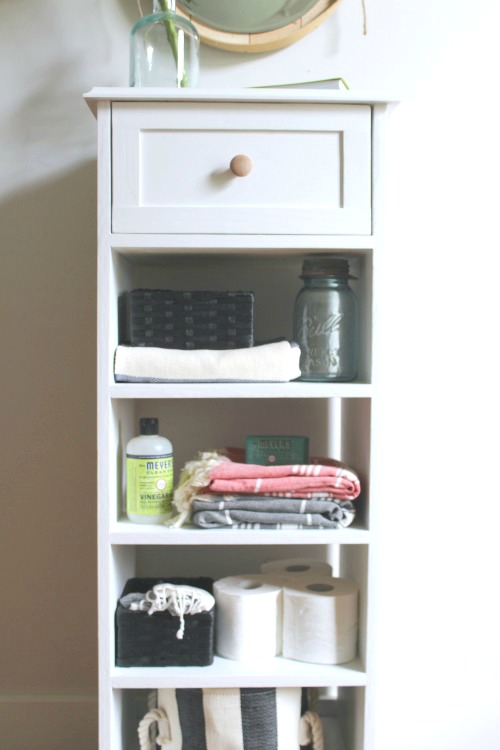
Once it’s sanded, prime and paint the piece any color you like. When the paint is dry, add a little knob to the drawer.
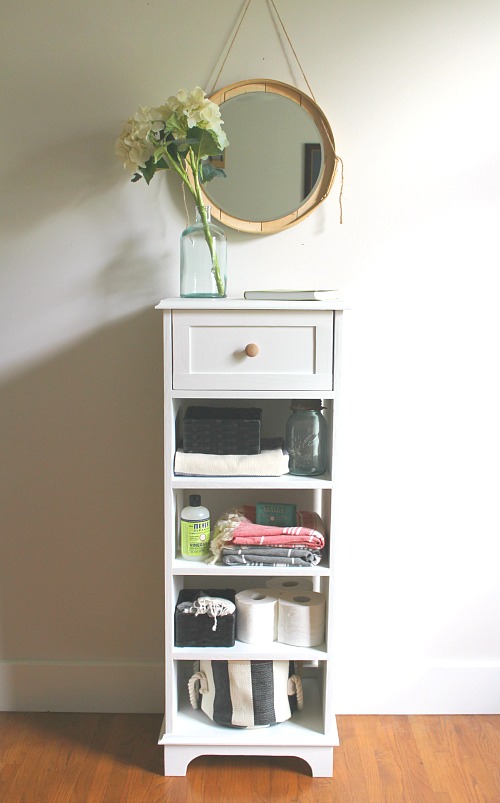
This is a great piece to add matching baskets to, or to leave open for storage.
If you’re looking for more linen and bathroom storage ideas, check out this storage from one 1″ x 8″ x 8′ board or this gorgeous pantry cabinet.
Until next time, happy building!!


As I read this list, all I can think of is the atrocities that fewer than five people have chosen for their children’s names. These are bad enough, but there are at least five of everyone. Imagine the one- or two-offs! Oh, and BTW, just found out my son has a “Remington” – one N, not 2 – on his hockey team. I think of this list every time I see that name.
bijoux bulgari prix faux http://www.bvlbzero.cn/fr/
what a great and easy way to make this self. I was so happy to find this.
So simple but elegant. It even has the base to prevent water. And we should add some color that suitable for our bathroom.
Hi Shara! I’ve always wanted one for my kitchen, but I never found one to buy. It never really passed by my head to make one myself! I love the end result. Thank you for the step-by-step!!