DIY Scrap Wood Fall Sign
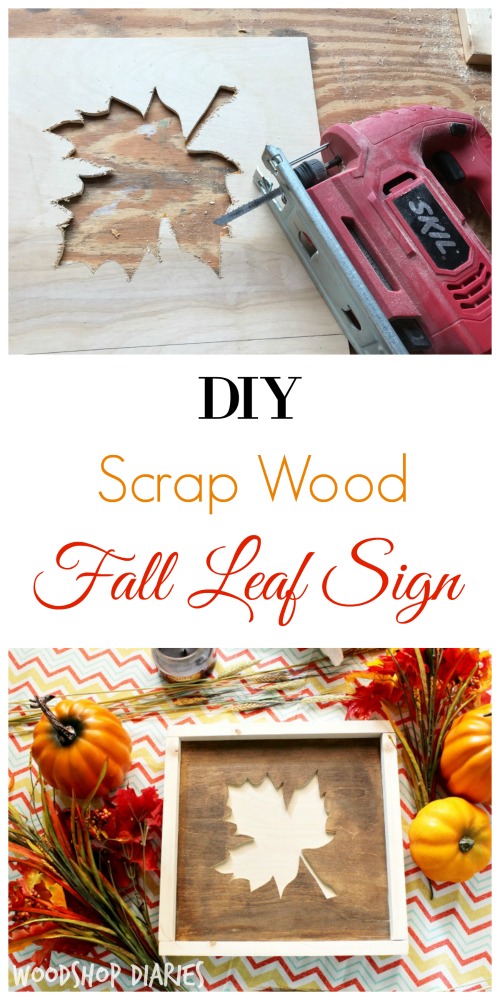 DIY Scrap Wood Fall Leaf Sign
It’s Shara from Woodshop Diaries and I’ve been on a roll lately with scrap wood projects (remember the scrap wood caddy?) Today I have another fun project to help you get ready for fall! It’s a super easy DIY Scrap Wood Fall Leaf Sign.
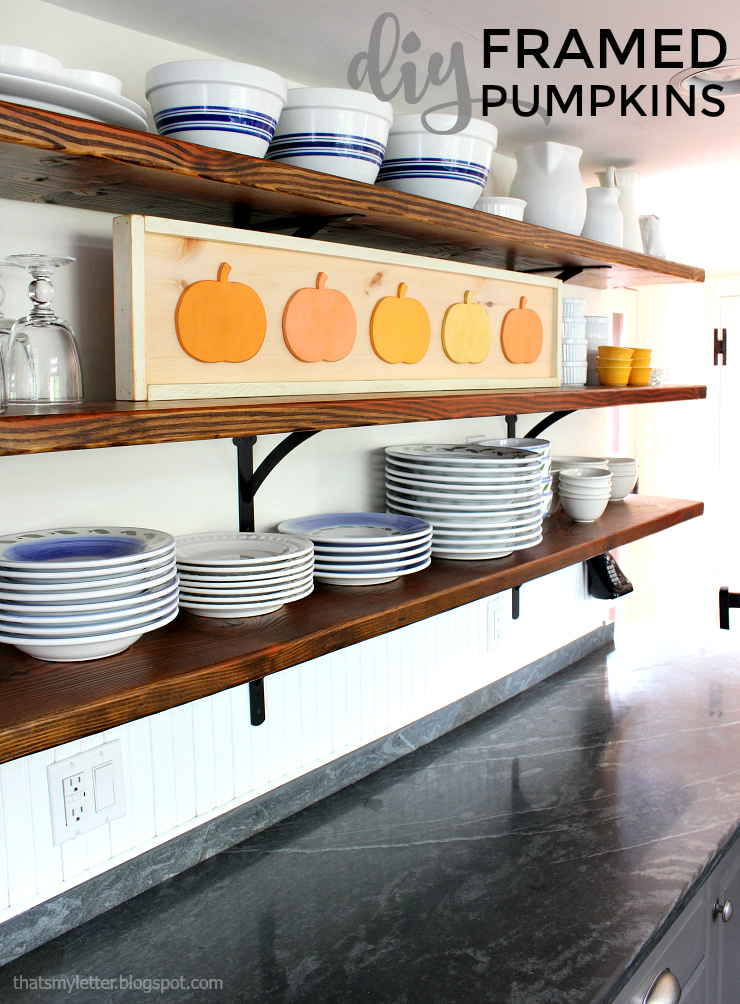
I’m ALWAYS in the mood for fall because it’s my favorite season! I know it’s August, but in just a few short days the calendar will flip to September! Time to get a head start. This simple project is great for decorating your house. Instead of a leaf, you could make a turkey, pumpkin, or whatever you want!
Materials:
(I’ve included affiliate links for your convenience. I earn a small percentage from a purchase using these links. There is no additional cost to you. You can read more about affiliate links here.)
- Scrap 1/4” plywood (my piece was 11 ½”x11 ½”)
- Scrap 3/4” plywood (should be same size as your ¼” piece)
- 1″ x 2″x 5′ board
- Jig Saw
- Drill
- 1/4″ Drill bit
- Sandpaper
- Miter saw
- Tape measure
- Nail gun (or hammer and nails)
- Wood glue
- Leaf stencil (Grab one from a Google search)
- Stain and/or Paint
Cut List:
- 1/4” x 11 ½” x 11 ½”
- 3/4” x 11 ½” x 11 ½”
- (2) 3/4” x 1 ½” x 11 ½”
- (2) 3/4” x 1 ½” x 13”
Instructions:
Step 1: Cut your plywood to size
Cut your 1/4” and 3/4” piece of plywood to the same size. (Mine are 11 ½” square, but if you have larger or smaller pieces of scrap, feel free to alter the sizes. The only rule is to make sure your 1/4″ & 3/4″ plywood scraps are the same size.)
Step 2: Cut out your leaf shape
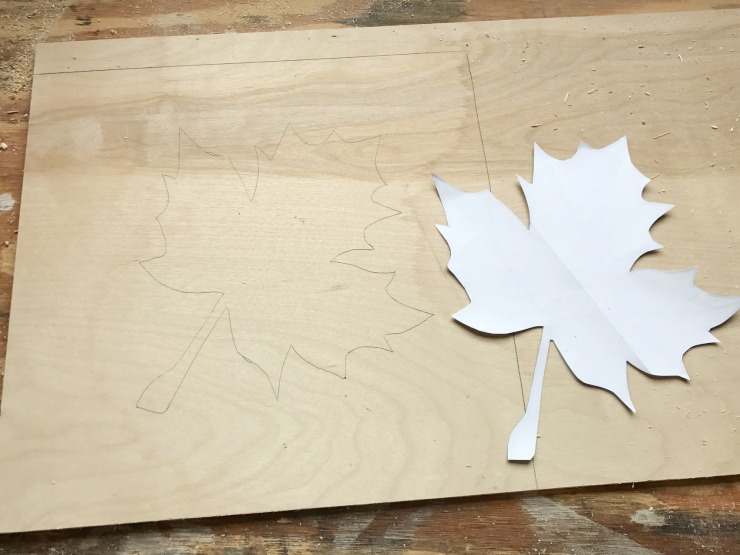
Perform a Google search for “leaf clip art” and make your own stencil from a leaf print out.
Trace your leaf shape stencil onto the 1/4” piece of plywood, making sure it is centered. (Ignore the fact that I didn’t cut out my plywood square shape first.)
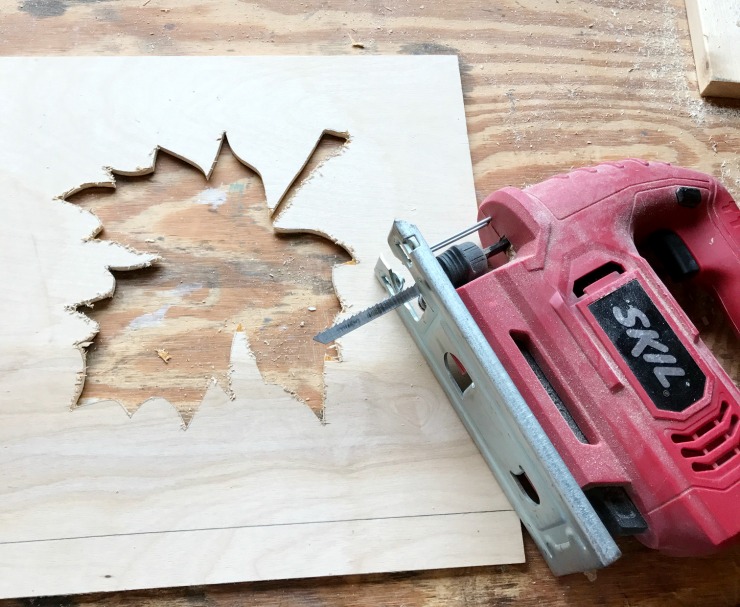
Using a large drill bit, drill a hole into the middle of the leaf shape.
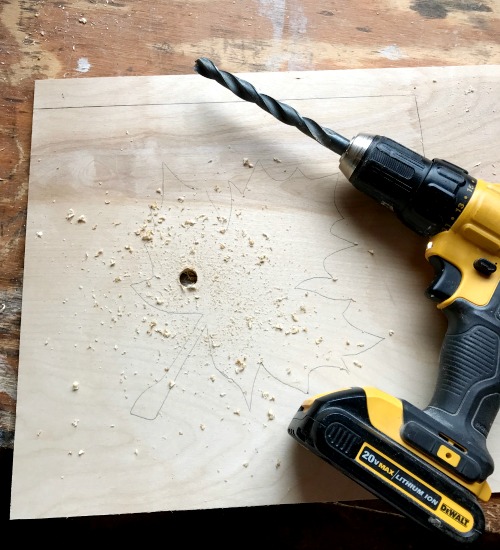
Insert your jig saw blade into the pre-drilled hole.

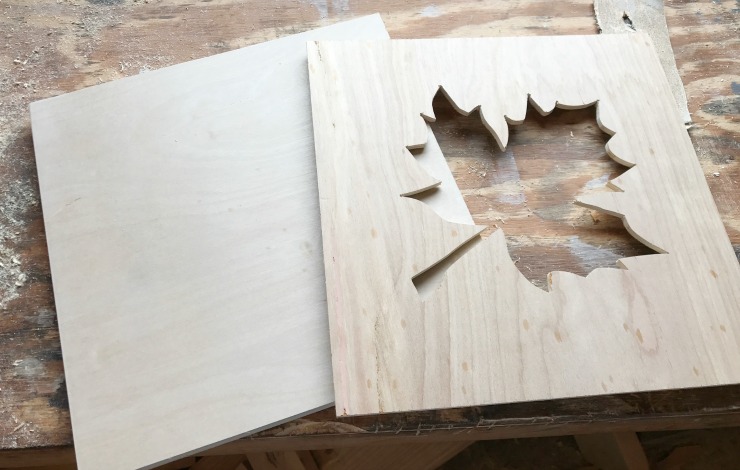
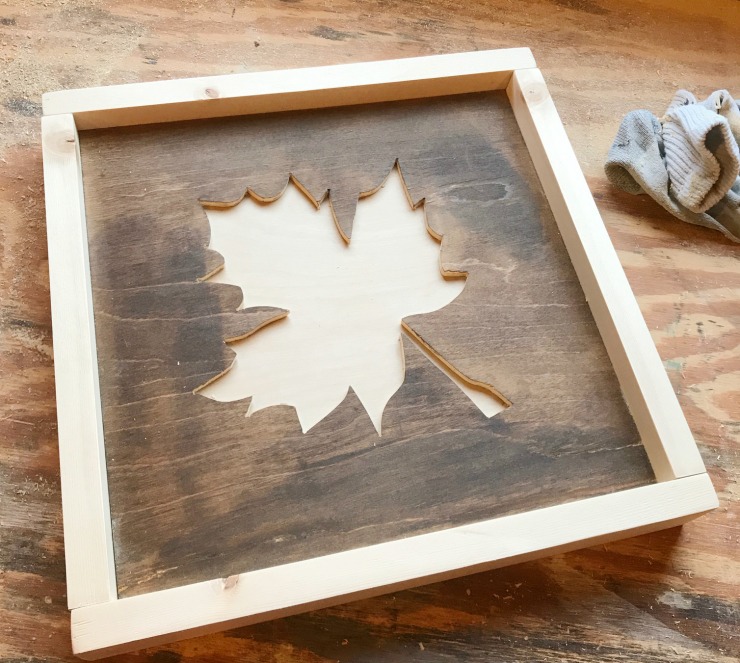
Cut out the leaf shape.
Sand the rough edges with sandpaper.
Step 3: Stain or paint pieces
Paint or stain the pieces at this point. For the same look as mine, stain the 1/4″ plywood and leave the 3/4” piece unfinished. This will allow the leaf shape to stand out against the dark stain. In addition, you can paint the ¾” piece, or stain it a different color. Use your own creativity to finish your DIY Scrap Wood Fall Sign.
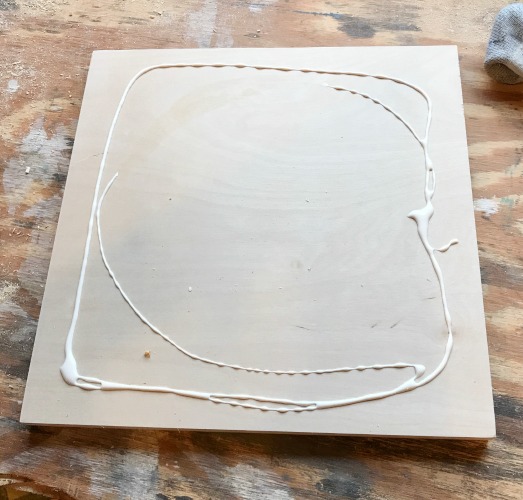
Step 4: Glue the pieces together
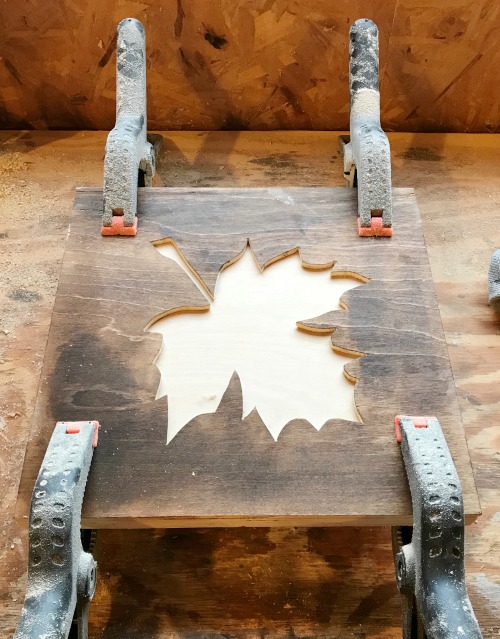
Glue the 1/4” plywood cut out to the 3/4” piece of plywood.
Clamp the two pieces together as the glue dries.
Step 5: Add the frame
Once the glue is dry, cut pieces of 1″ x 2″ to fit around the edges of the plywood art. (Measure yourself or use the cut list above). Attach using a nail gun or hammer and nails.

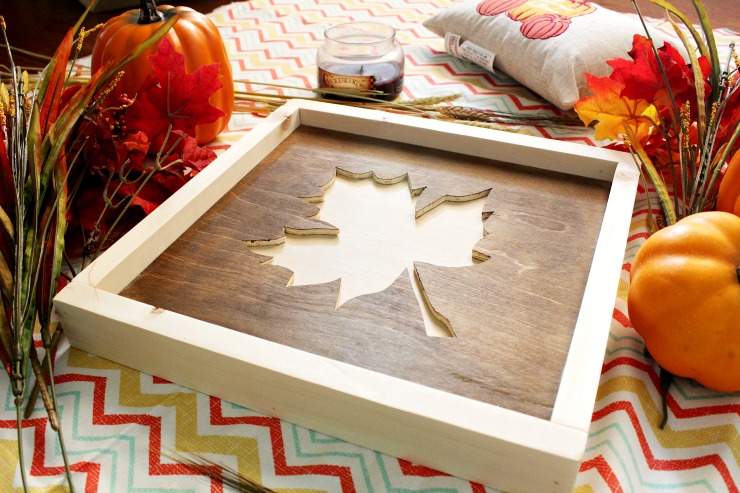
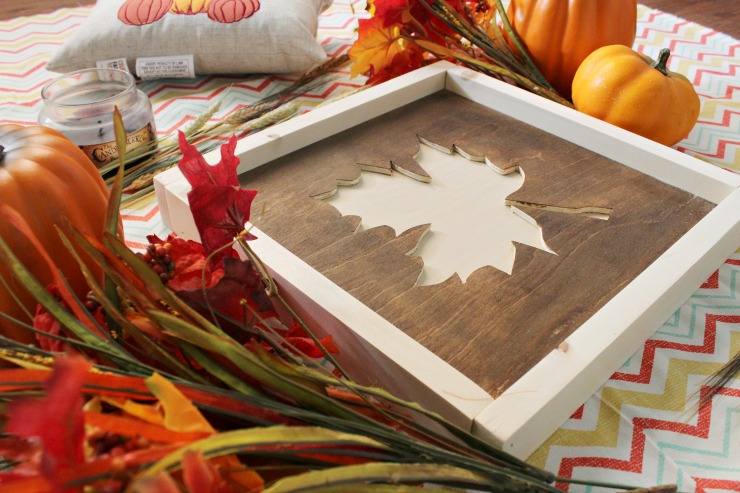
Add a coat of polycrylic to protect the wood.
Then hang that baby up or set it somewhere where you will see it.
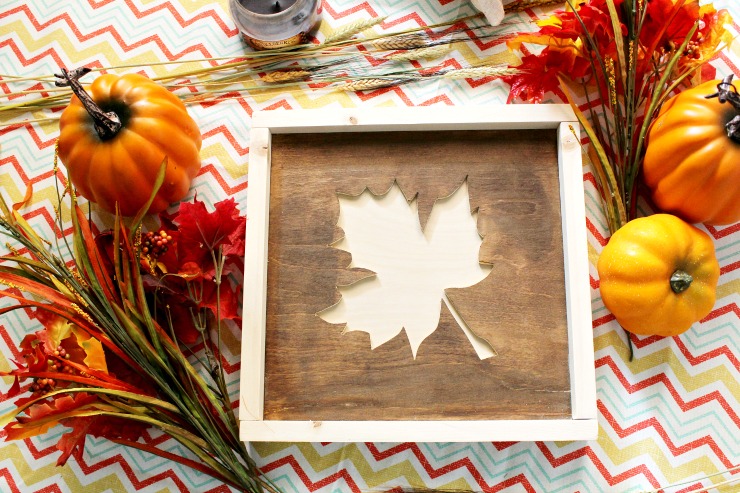
Now grab your hot chocolate and hoodies because you are officially ready for sweater weather and the fall season!
For more scrap wood inspiration, be sure to check out these other awesome scrap projects:
DIY Cake Carrier from wood scraps or DIY Keepsake Box from wood scraps
Until next time, happy building! And happy fall, ya’ll! 🙂 ~Read more of Shara’s Projects~


Trackbacks & Pingbacks
[…] I’ve got the full tutorial for this scrap wood leaf sign for you over at Pretty Handy Girl. […]
Leave a Reply
Want to join the discussion?Feel free to contribute!