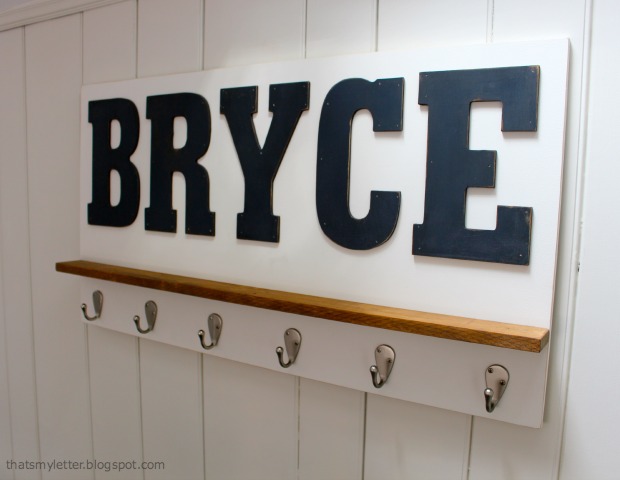
DIY Personalized Wall Shelf
Happy Wednesday Pretty Handy Readers! Today’s project is a DIY personalized wall shelf and I’ll show you how to make it. I’m Jaime from That’s My Letter, a fellow DIY blogger who builds, paints and sews. I made this wall shelf as a gift for Bryce’s birthday, it makes a great statement AND it’s useful too!
Just a bit of painting and assembly to make this awesome, personalized wall shelf. And of course you can adjust the paint colors to fit your scheme. Bryce happens to have navy painted walls in his bedroom so I know this wall shelf will really pop once hung in his space.
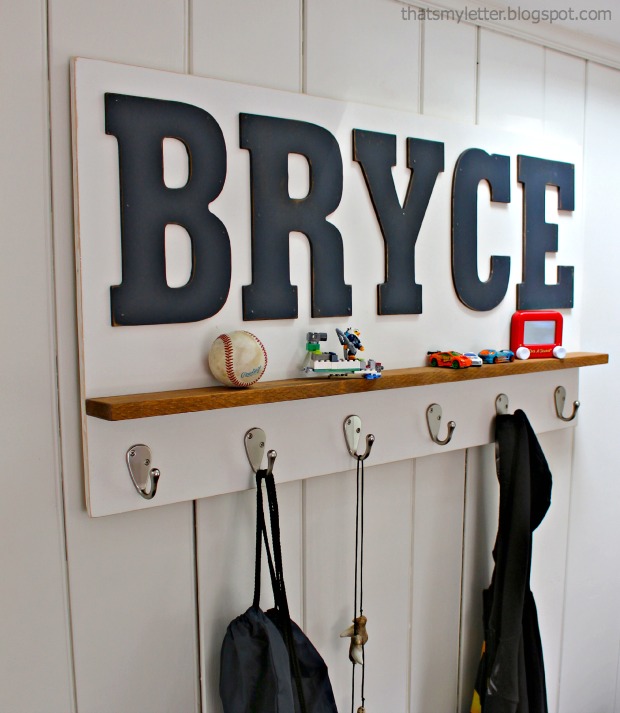
The stained wood shelf adds just a touch of warmth and coordinates well with the hardwood floors. For a deeper shelf, use a wider board. I used a 1×3 but you could use a 1×4 or larger.
Materials:(Amazon affiliate links included)
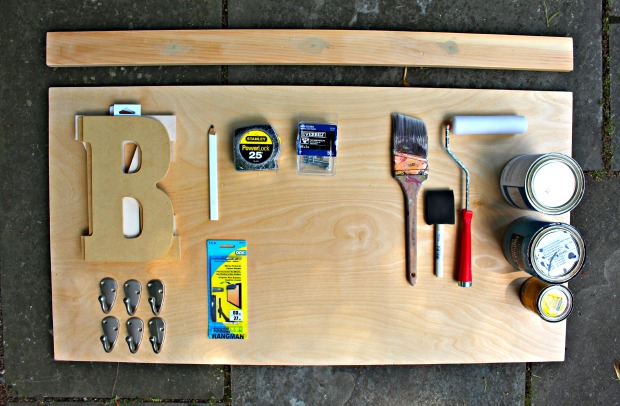
- 1/2″ or 3/4″ plywood cut to desired size (approx. 2′ x 4′)
- scrap piece of 1/2″ plywood approx. 4″ x 36″
- 1×3 pine board cut to width of plywood
- 9″ MDF Pre-cut letters
- Single robe hooks
- French cleat kit
- paint, roller & brush
- stain & foam brush
- sandpaper
- tape measure
- pencil
- wood glue
- 2″ wood screws
- 3/4″ wood screws
- drill & bits
- nailer & finish nails
Instructions:
Before beginning, layout your letters onto plywood and cut the plywood to size based on the length of the name.
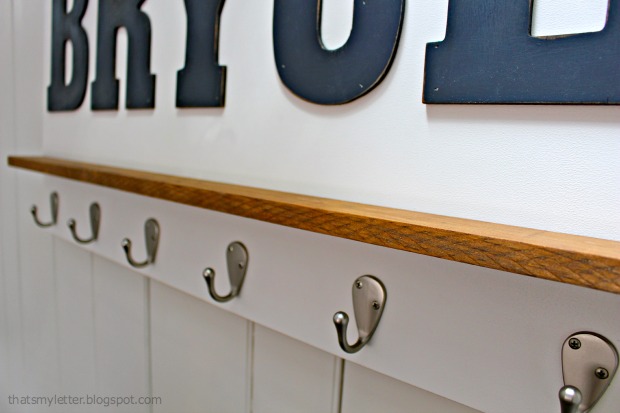
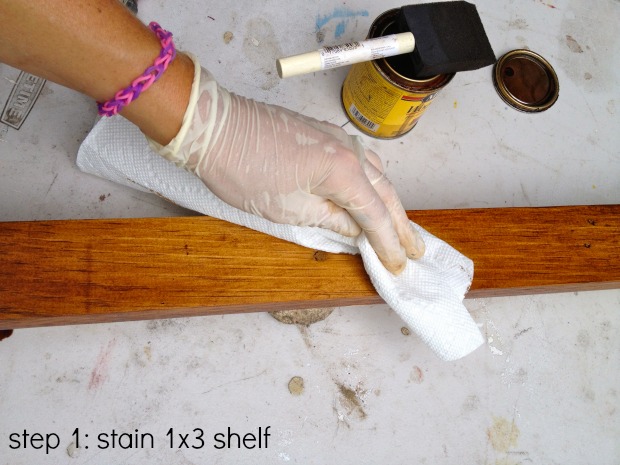
Step 1: Apply stain to the 1×3 shelf piece on all sides using a foam brush. Wipe off the excess. Set the shelf aside and let it dry.
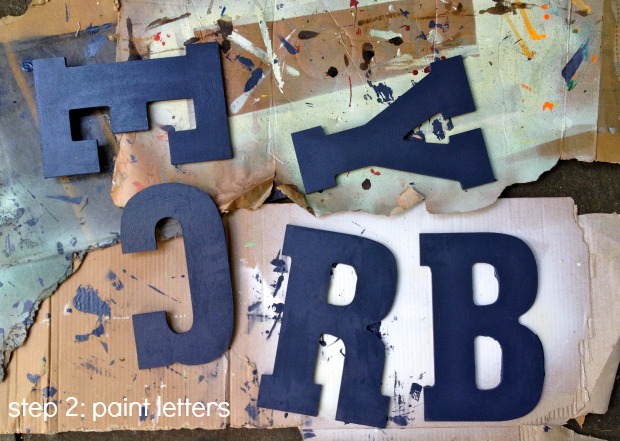
Step 2: Paint your letters. Paint your plywood back (not shown).
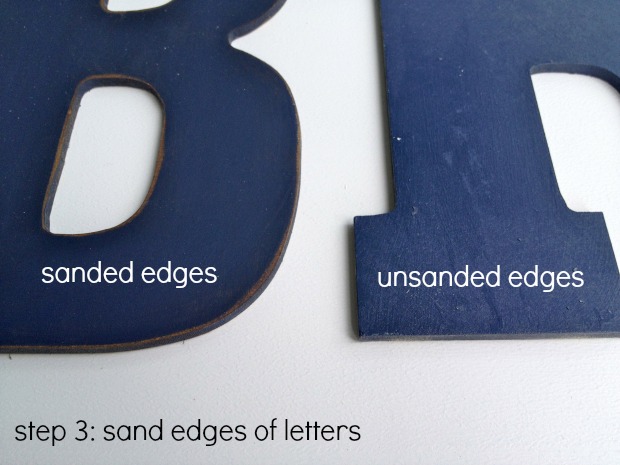
Step 3: Distress the edges of the letters using sandpaper.
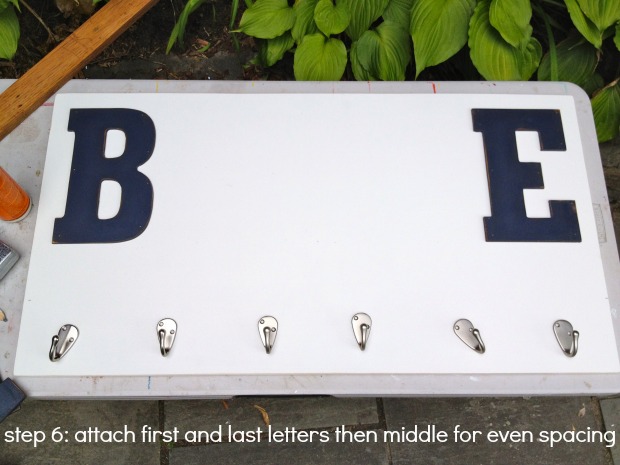
Step 4: Layout your letters, shelf and hooks to determine placement and even spacing. Mark the shelf location with a pencil line.

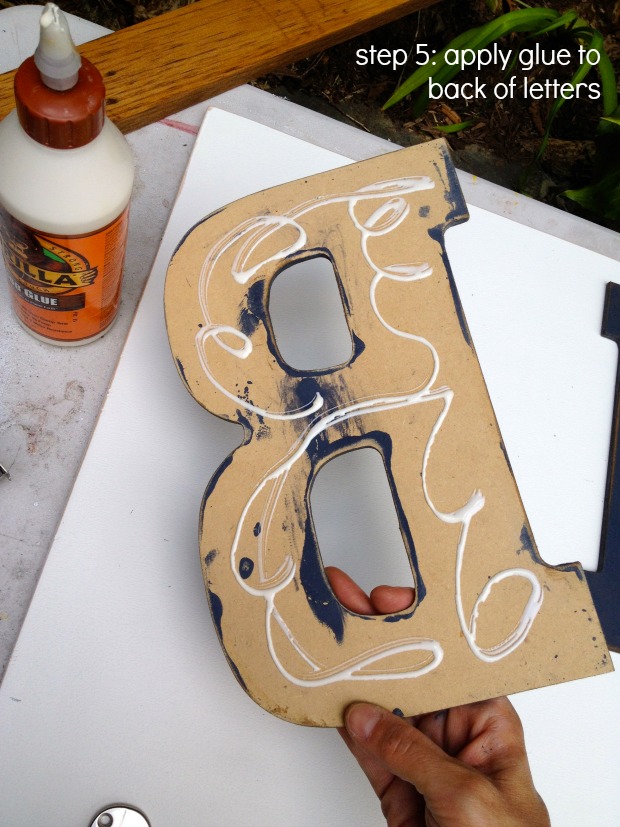
Step 5: Apply glue to the back of the letters.
Step 6: Attach the letters to the plywood back using 3/4″ finish nails.
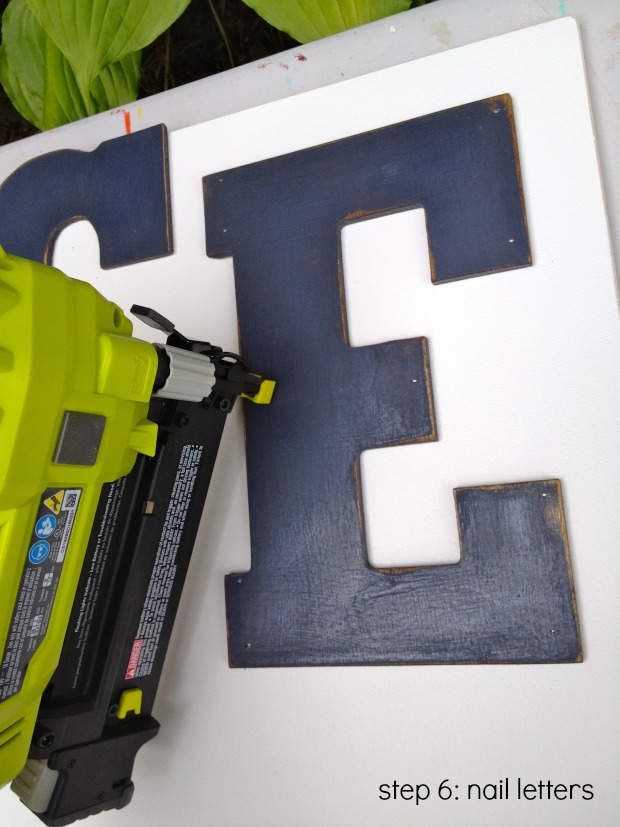
Begin attaching the first and last letters. Then add the middle letters for even spacing.
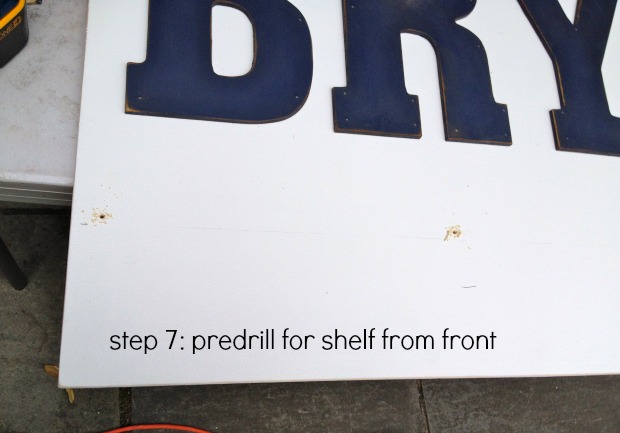
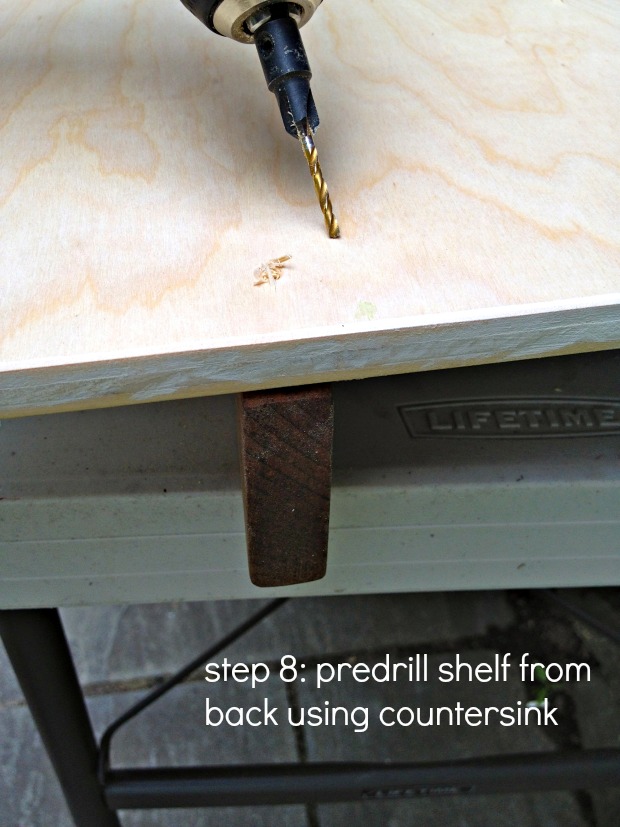
Step 7: Predrill holes for the shelf from the front using the pencil line from step 4 as your guide.
Step 8: Flip the board over to the back. Place the shelf in position and follow pre-drilled holes to create a countersink hole from the back.
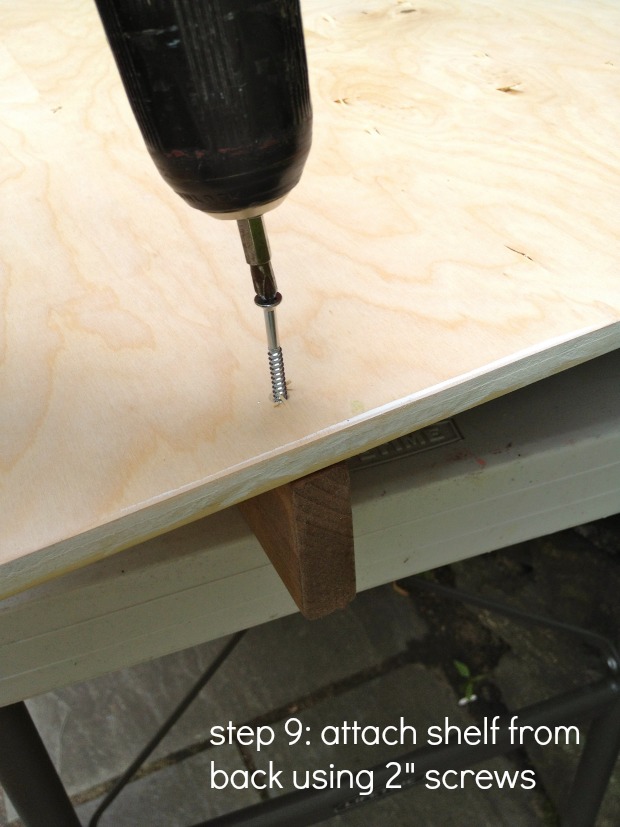
Step 9: Attach the shelf from the back using 2″ wood screws (and glue).
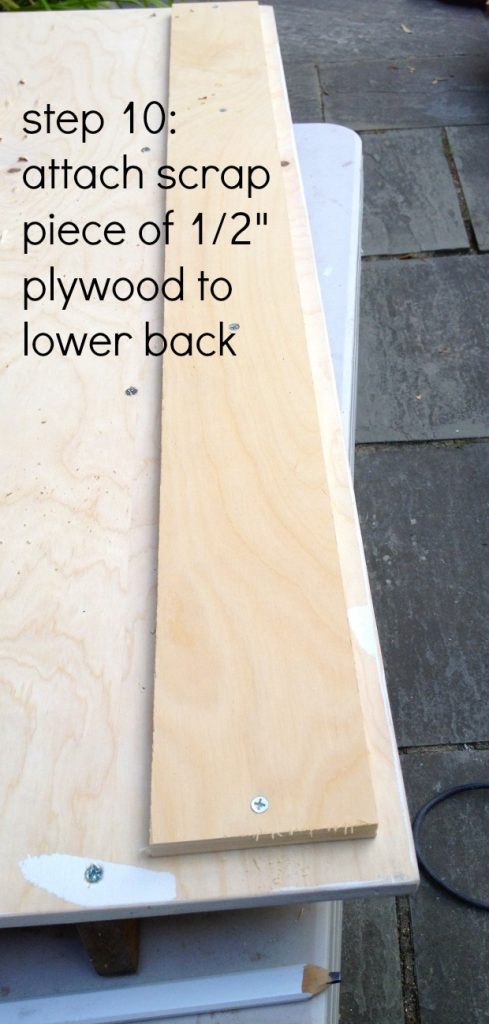
Step 10: Attach the scrap piece of 1/2″ plywood to the lower back using more glue and the 3/4″ wood screws.
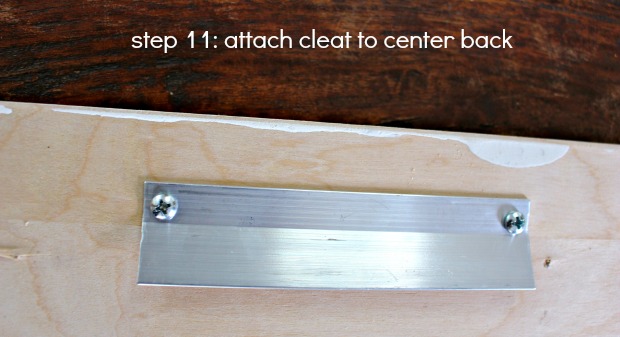
Step 11: Attach the french cleat to the center of the back.
Step 12: Attach the robe hooks with even spacing below the shelf.
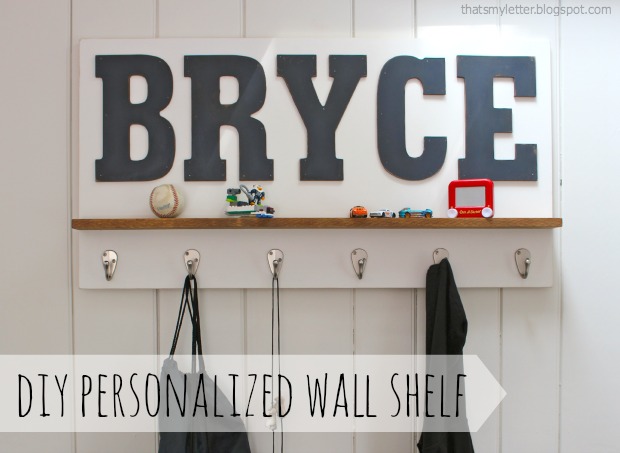
Now it’s ready to be hung and filled. This personalized shelf makes a great gift idea and and a nice way to add style to any kid’s space.
Don’t you think someone in your family would appreciate this shelf?


Hello There. I found your blog using msn. This is an extremely well written article.
I’ll be sure to bookmark it and return to read
more of your useful info. Thanks for the post.
I’ll definitely return.
Wow! I just have to comment because I never see anything with Bryce on it!!!!
Thanks, yes Bryce is definitely not a common name.
Great tutorial, great for a girls room too!
Thanks Colleen, you’re right this could be perfect for any room, any color or size would work.
I LOVE this , although I may be a little biased bc my son’s name is Bryce;)
Thanks Jennifer, it’s for my friend’s son. Definitely not a common name!
Super cute!
What a great project Jamie, I love this. And it’s easy enough to make for all kinds of spaces.
Thanks Jessica, you’re so right this could be made any size, in any color for any room. And that’s why we love DIY!