DIY Firepit and Seating
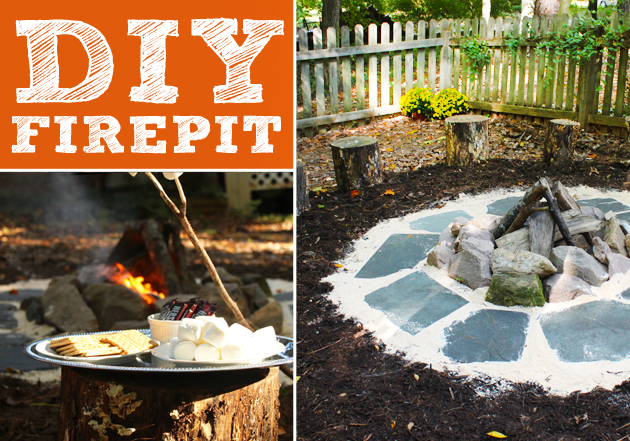
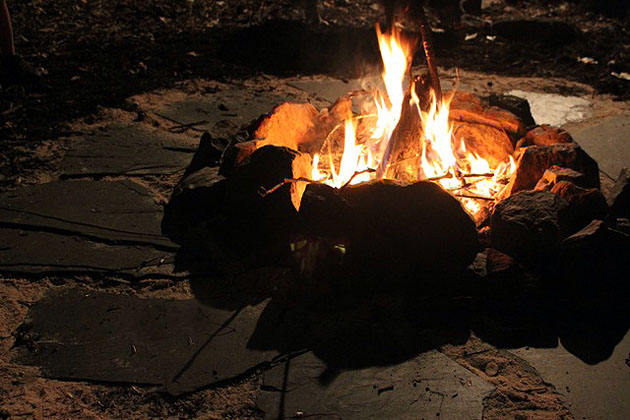
Firepits are very popular right now. You can purchase a simple firepit at your local home improvement store, or put in a little sweat equity and create a DIY Firepit with Seating.
When we had several hardwood trees taken down in our yard, I asked the tree guy to cut some of the base pieces of the tree trunk into 18″ segments to use as stumps to sit on.
Then I set about creating a DIY firepit and seating in our back yard.
Materials:
- Shovel
- String
- Stake
- Stick
- Rocks or fire ring
- Sand
- Bag of drainage gravel
- Slate, stepping stones or pea gravel
- Mulch or crushed stone
- Stumps or seating
- Wood to burn
Instructions:
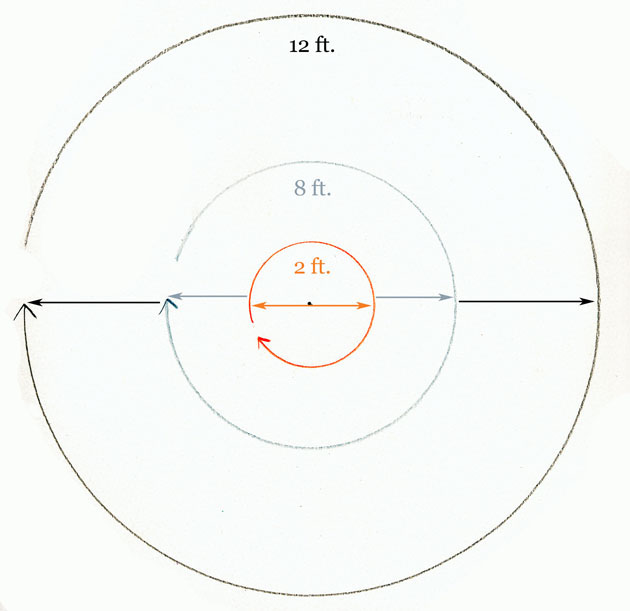
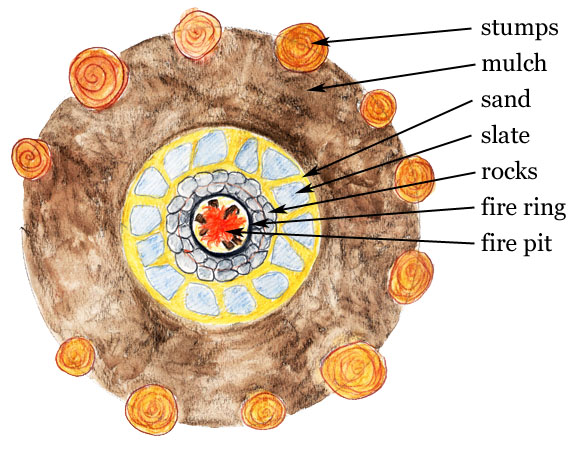
Begin by locating a level location to build your fire pit. Take note of any overhanging branches and trim them away from the firepit area. Hammer the stake into the center of your firepit area. Attach string and make a loop in the string at 6 feet. Insert a stick into the loop and walk around pulling the string taut while dragging the stick in the earth to mark a 12 foot diameter circle. Create another loop at 4 feet and repeat marking an inner circle. Finally, create a loop at 1 foot and drag the stick to mark the firepit ring area.
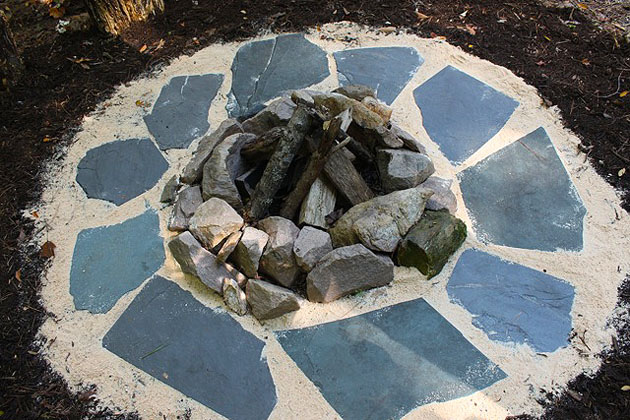
Dig a hole in the 2 foot firepit ring area. Remove any roots from the dirt. Dig about 12″ down. Fill the bottom of the hole with gravel. Add a layer of sand on top of the gravel. Line the 2′ firepit area with a fire ring or rocks (or both).
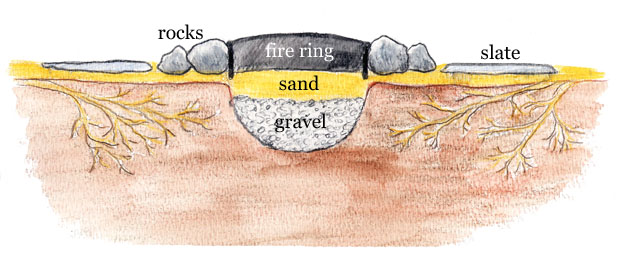
Pour sand around the 8 foot diameter circle and set your stepping stones or pea gravel in this area.
Fill around the stepping stones to create a level surface to walk on.
Line the edge of the 12 foot circle with your stump stools or seating and fill in the remaining area with mulch or crushed stone.
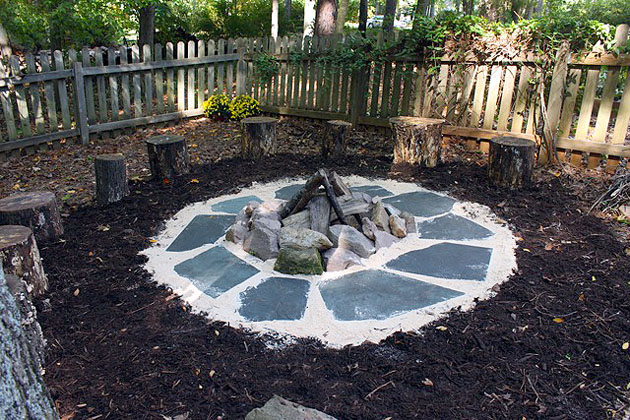
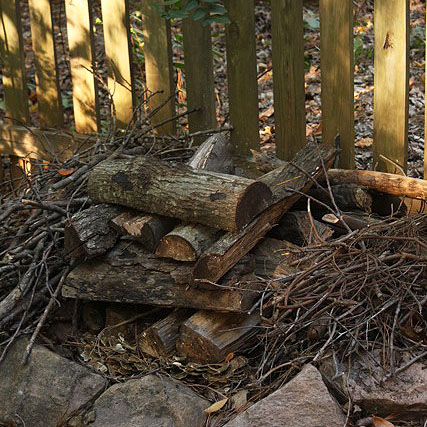
Start a pile of firewood outside the 12 foot radius circle.
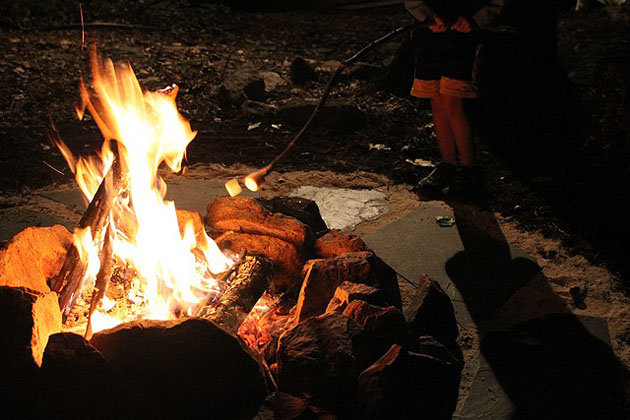
Invite friends and family over for an outdoor, camping-style fire.
Don’t forget the marshmallows and s’mores.
Always use caution with fires. Keep a bucket of water or hose nearby to extinguish any accidental flames outside the pit. Fires should not be lit on windy days. Never leave a burning fire unattended.
Pin for later!



What type of rocks did you use? I’ve heard that some types of rocks aren’t good for fire pits.
Nice post! Where can you get those slates and rocks? I don’t see them in the big box stores.
Check with your local stone or landscaping yard. I know my landscaper gets a lot of her materials from SiteOne.
Looks good. Nacho cheese Doritos is a great fire starter!
This looks gorgeous! I would love something like this for roasting marshmallows this summer! Thanks so much for sharing this.