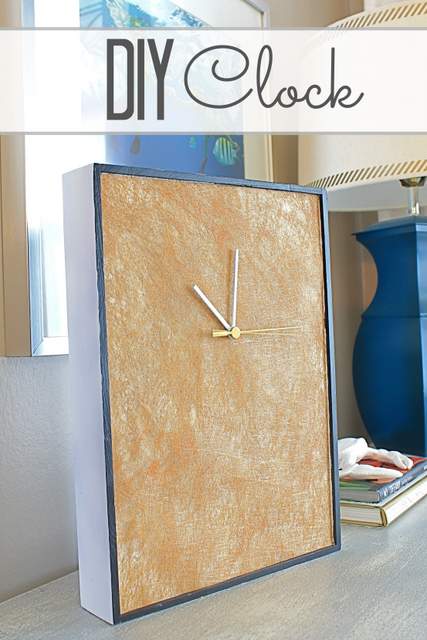
DIY Clock
August means getting ready for the upcoming fall season, back to school, sports season and the holidays. Hi everyone, it’s Jessica at Decor Adventures and I have an easy project to keep you on time for all the activities you and your family have planned these next months, a DIY clock. Did you know you could make your own clock? It’s super easy to put together and you can paint or decorate it to perfectly match your home’s decor. Let’s get started.
Materials
- Clock kit
- Double sided tape
- Wooden tray to make your clock
- Paint (optional)
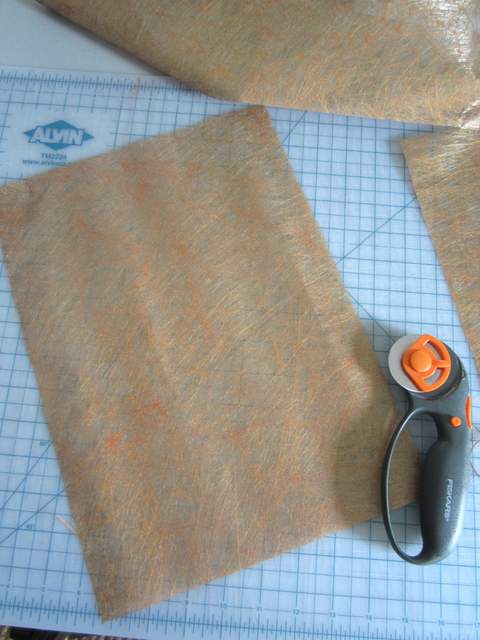
- Decorative paper
- Spray adhesive (optional)
- Scissors
- Pencil
- Ruler
- Drill and drill bits
- Hanging hardware
Instructions:
1. To make this clock, I found a 99 cent tray at the thrift store. I knew it would be great for this project because it can hang on the wall and will conceal the clock kit inside the tray. You could also use a picture frame without glass or even some other creative object you’d like to use for your clock face. Make sure it’s something flat so your clock kit will fit into it.
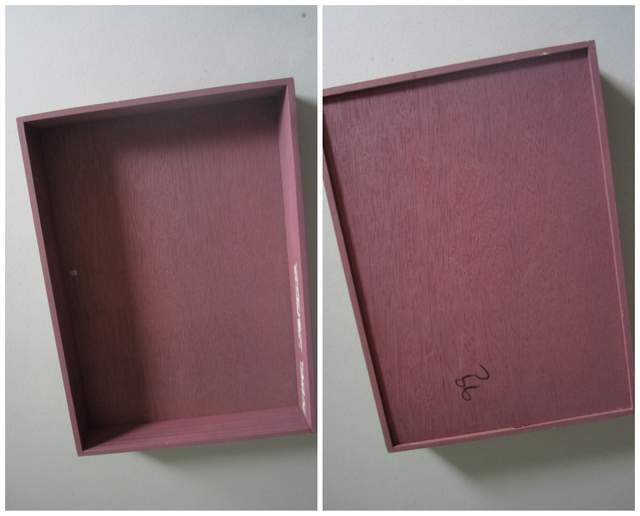
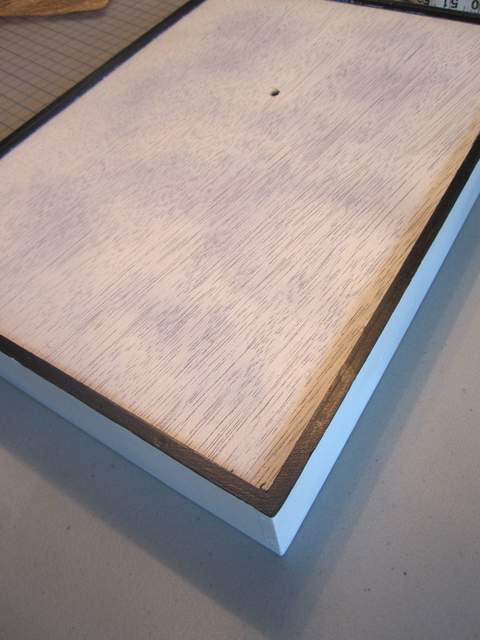
2. The back of the tray will actually become the face of my clock. To prepare it, prime your tray.
Decide where you would like to put the hands of your clock. It can be in the exact center of the tray or off center for a different look. Mark where the center of the clock will be placed.
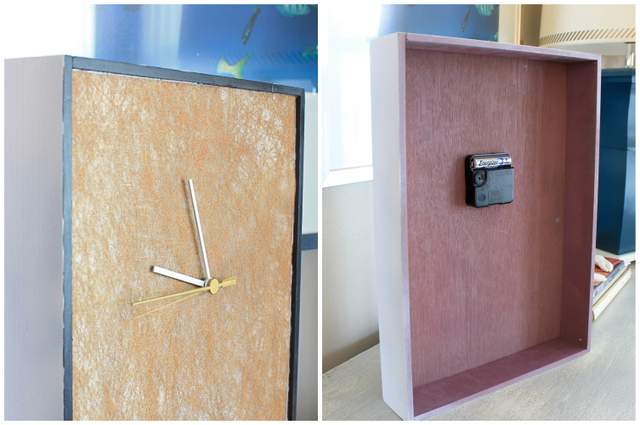
3. Use a drill bit exactly big enough for your clock kit to fit through. Carefully drill a hole in the tray. Make sure your kit fits into the hole and wipe away any saw dust.
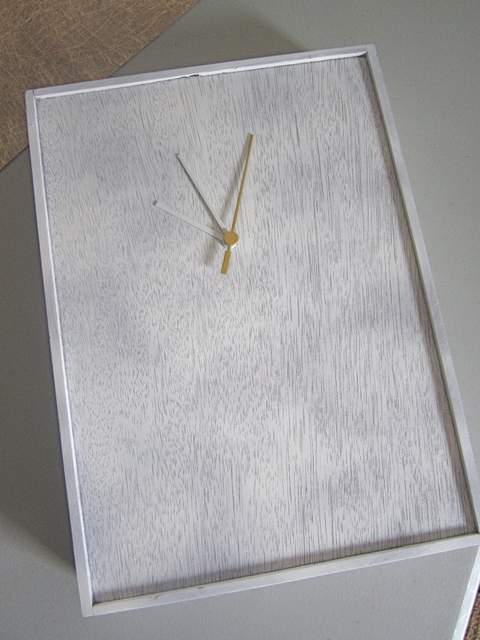
4. Paint the tray with your favorite color. Spray paint or wall paint works well. To add a little something special to the clock face, cut a piece of decorative paper. (Find some at a local art supply store for less than $2.00.)
Paint the edges of the frame with a black paint pen. This can be an easy way to bring a unique pattern or color accent to your space. Feel free to get creative with a stencil or washi tape stripes. Have some fun with your clock and make it your own.
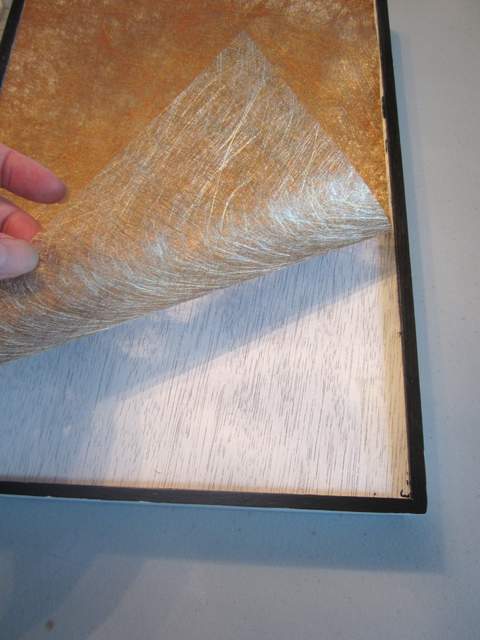
5. Cut the paper to fit the clock face. Add double sided tape to the back side of the decorative paper. Carefully lay the paper onto the tray. Use a pencil or small scissors to make a hole in the paper where your hole was pre-drilled.
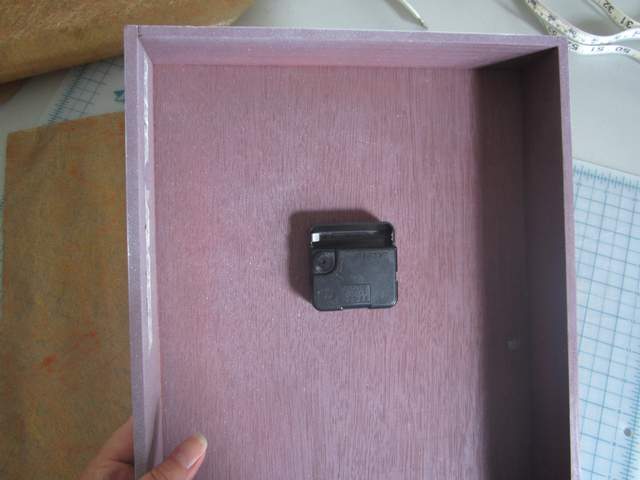
6. Assemble the clock kit. Put the square motor part on the inside of the tray.
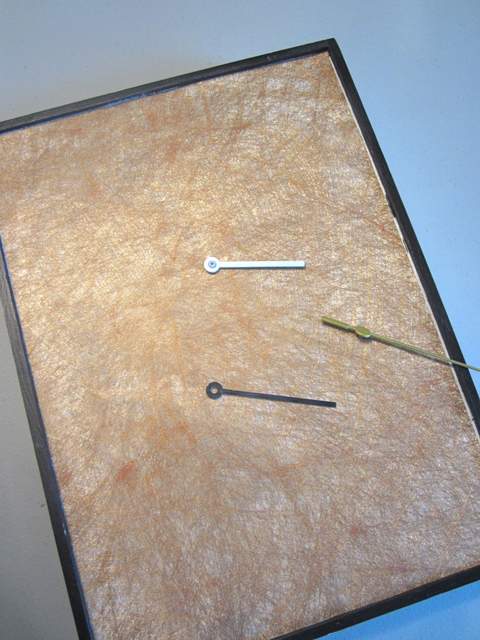
Thread the post through the hole and thread the hands onto the post. Use double sided tape to secure the clock kit to the inside of the tray.
Add the battery and set the time. If you want more precision time telling, you can add numbers to your clock face.
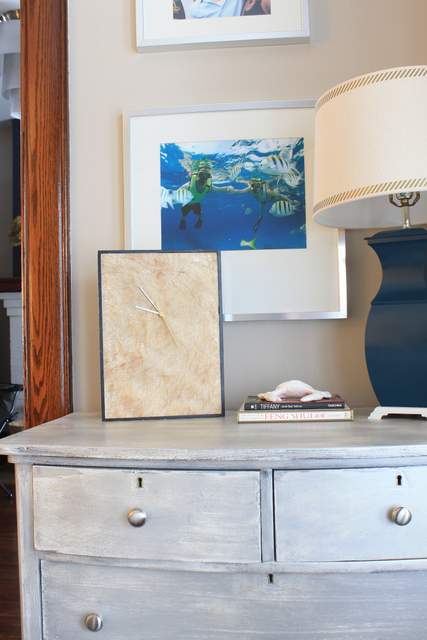
We will be hanging this in our living room since we don’t have a clock there, but it would work well in any room.

But, you can also prop it up on a shelf.
Have fun creating a unique clock for your space. Come see my recent projects at Decor Adventures. I’m making over my home office and getting ready for baby to arrive in November? Did you see the picture of Brittany and I at the Haven conference? Happy August!


Jessica, this is so unique and awesome! I would love to have a clock that looks like that. Thanks for sharing 🙂
Hi Andy,
Great idea with the wooden board. It’s fun to be able to make something unique.
I’ve made clocks this way from a few different things including a wooden chopping board with inset dice for the numbers.
Here’s some of my others http://www.workshopshed.com/2014/05/previous-clock-projects.html