Cute Critter Plant Stakes

Spring is here and so brings the critters, but these are the cute kind you’ll want to keep. Jaime here from That’s My Letter sharing how to make cute critter plant stakes using wood parts and pieces. I’m a sucker for any project with wood and today is no exception. Gather up all the wood parts you have and let’s make some cute critter plant stakes!
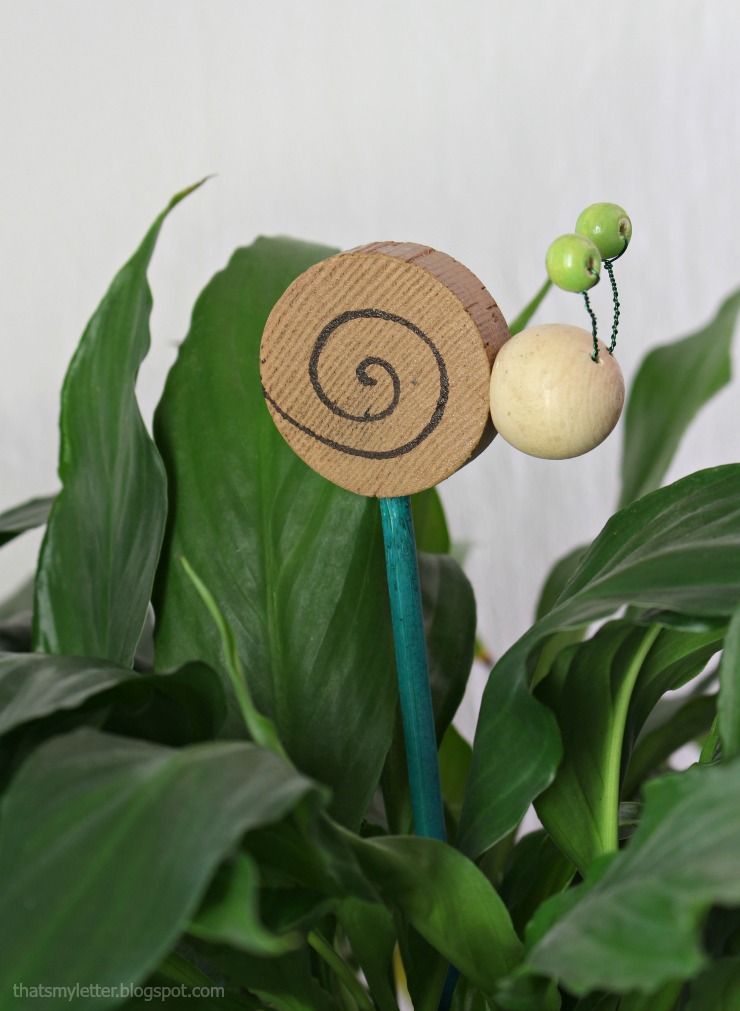
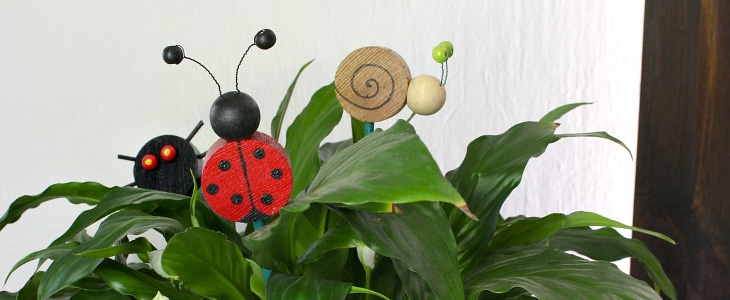
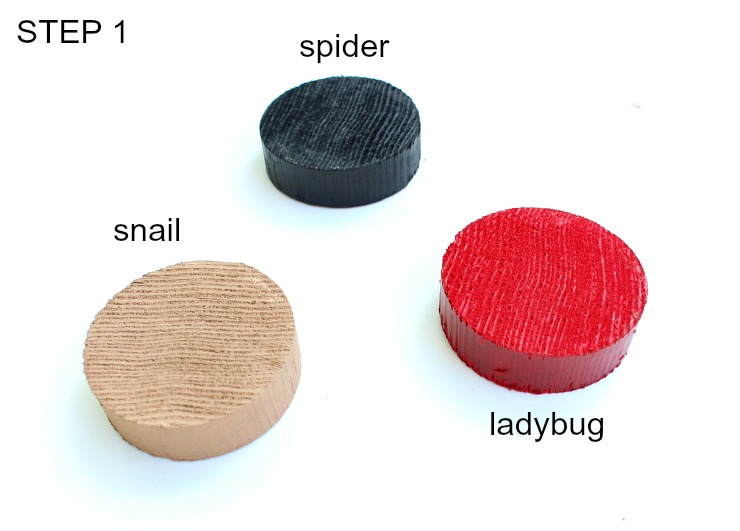
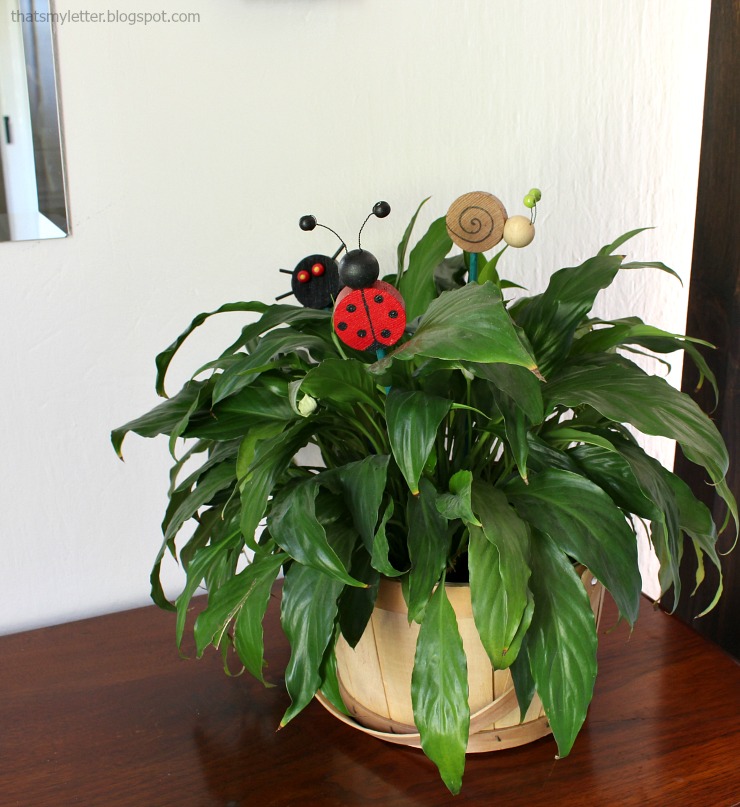
No slime on this snail, he’s just hanging out in the plant with his ladybug and spider friend. You could create any kind of critter and paint them many fun colors. My kids wanted in on this project so I added it to our summer ‘to-do’ list. I can only imagine the creations they will come up with.
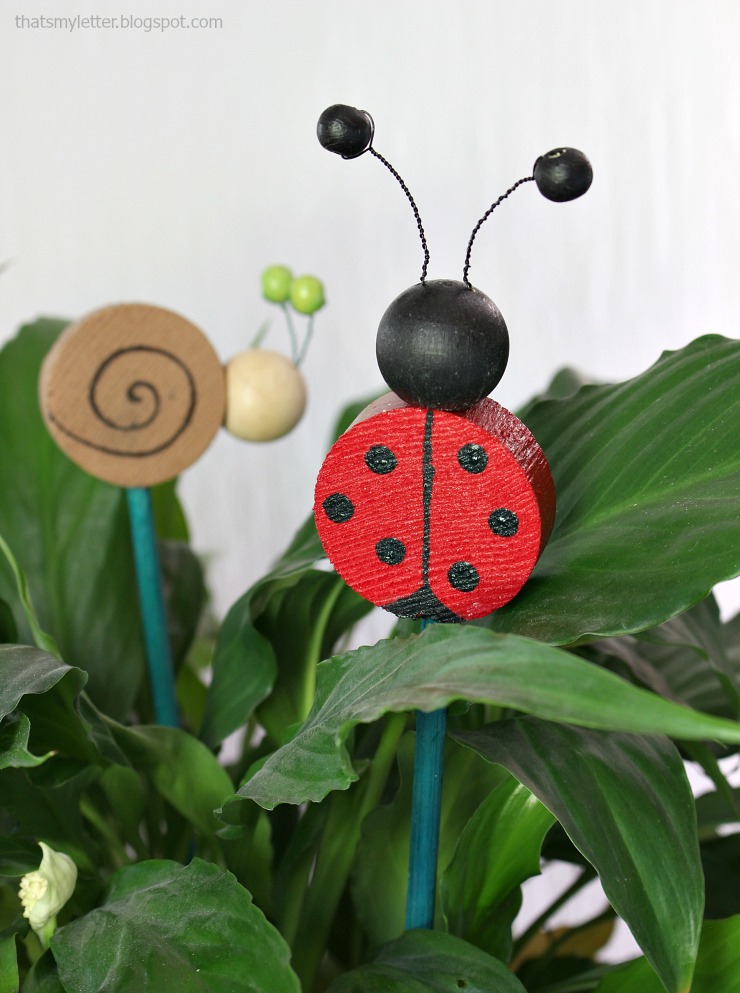
How cute are those ladybug antennae? I sprayed the critters with clear gloss poly so they could live in my outside planters.

Below are step-by-step instructions to make these cute critter plant stakes. Get creative and attach parts as you like, it doesn’t have to be true to form.
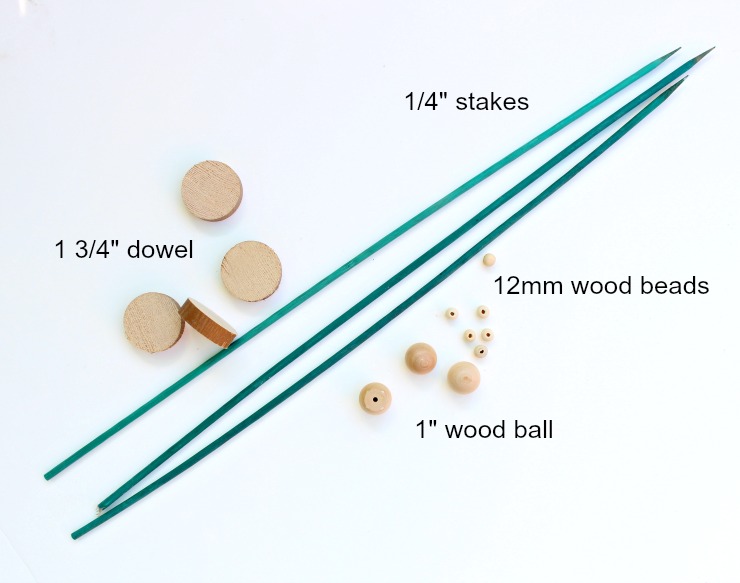
Materials:
- 1/4″ plant stakes (you can repurpose from yard fertilizer sign)
- 1 3/4″ dowel cut into 1/2″ thick slices (bodies)
- 1″ wood balls (heads)
- 12 mm wood beads (antennae & eyes)
- wood skewers
- acrylic craft paint
- paint brush
- drill and drill bits
- wood glue
- small saw or scissors
- colored craft wire
- colored straight pins (spider eyes)
- clear gloss spray poly for exterior
Instructions:
Step 1: Paint critter bodies using acrylic craft paint.
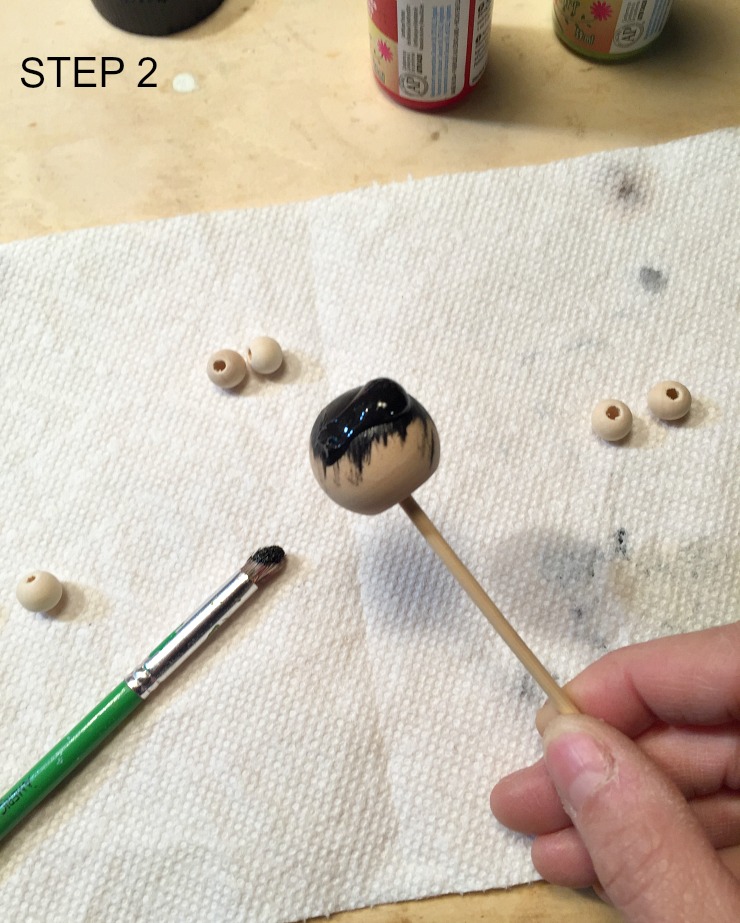
Step 2: Paint remaining body parts, use a skewer to hold balls and beads while painting.
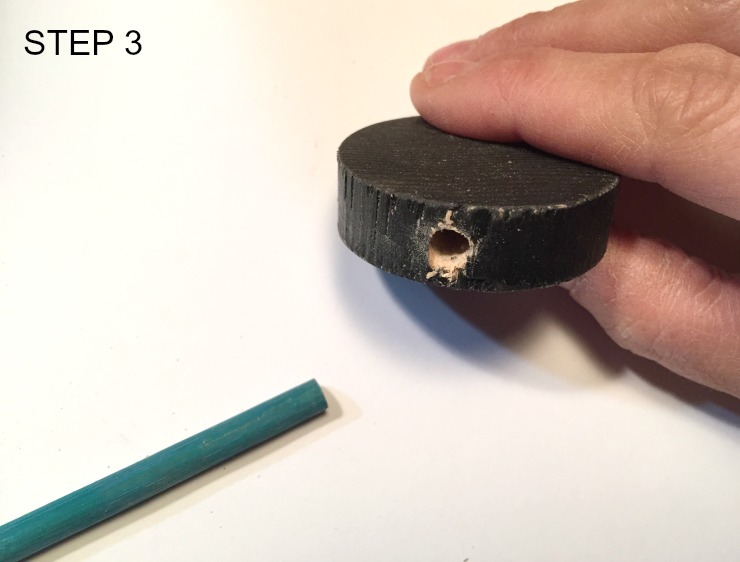
Step 3: Pre-drill hole for plant stake using matching size drill bit.
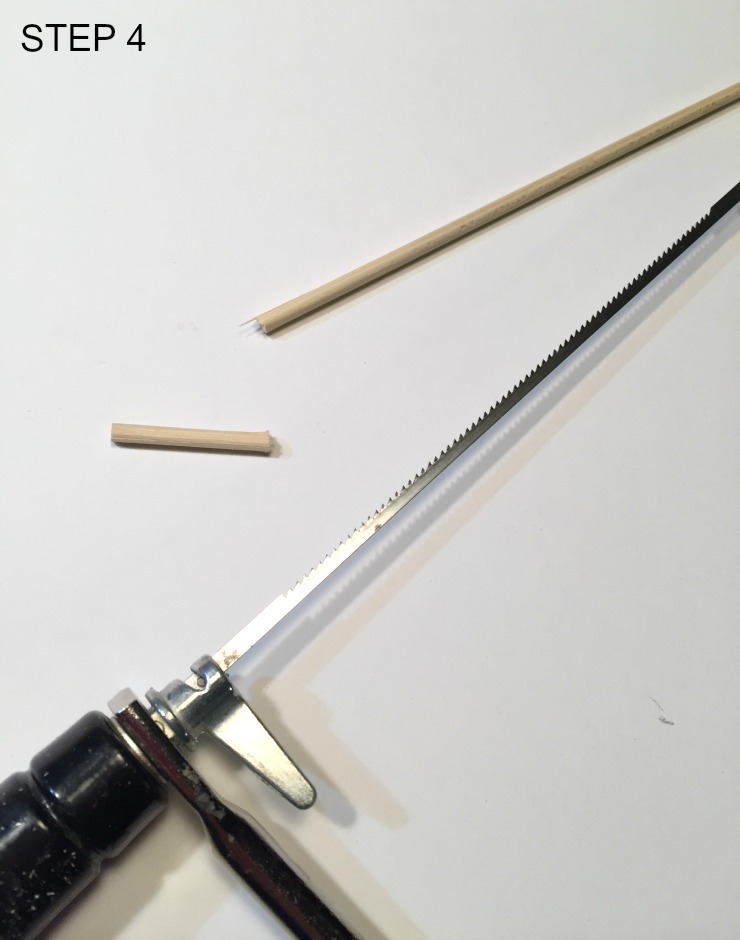
Step 4: Cut skewers about 1″ using coping saw or scissors.
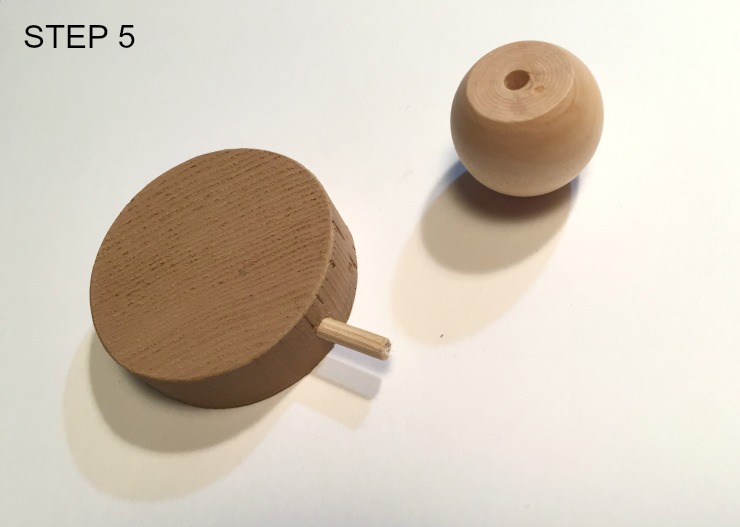
Step 5: Pre-drill body for skewer and insert using wood glue. Set head onto other end of skewer.
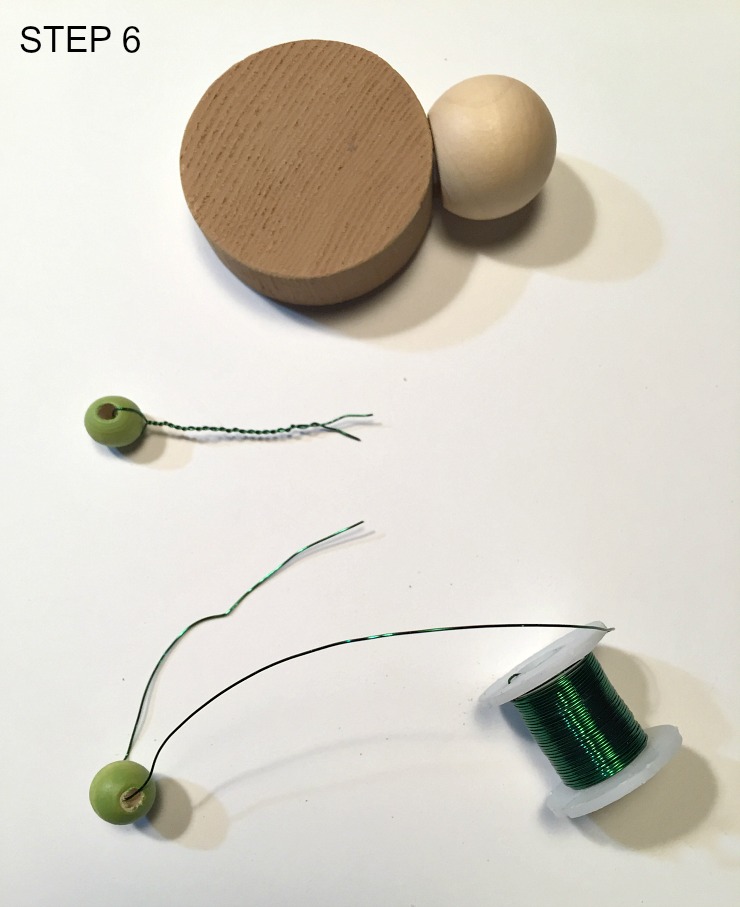
Step 6: Add colored wire to antennae beads and twist ends together. Pre-drill a tiny hole in head for wire then fold a short portion of end of wire in half and insert into critter head with wood glue.
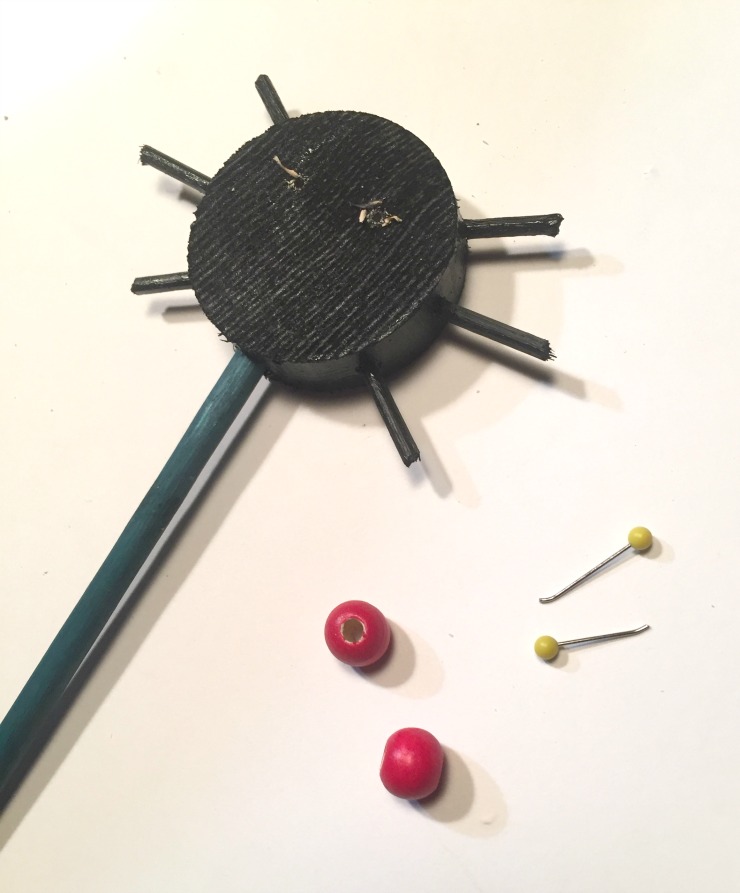
For the spider eyes use colored straight pins. Pre-drill holes in spider head then insert pins down into bead, use wood glue.
Spray the critters with clear gloss poly for exterior use to seal the paint and protect from the elements.
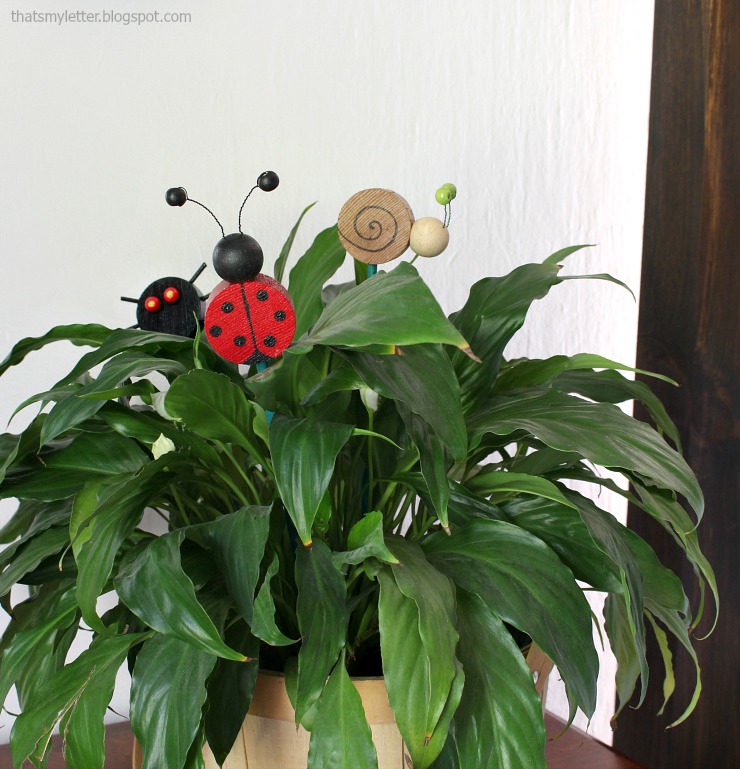
Stick all the critters plant stakes down into the soil. Now you have a fun addition to any plant, inside or out! These are the type of cute critters I can enjoy. Hope you do to.


AAAW!! These are SOO cute! Must try & make some for my craft market table sometime!! They’d look good with metal foil coverings instead of paint OR even as blank DIY kiddy craft packs!! Thanks for all the great ideas! XXX
These are so adorable!! I love how easy they are to make. It will make a great project to do with my daughter this summer!!
These are spot on for my next DIY project. My grand daughters have a fairy garden, these are the perfect addition. I will set them around the house in various spots and make a bug hunt out of it for them. Adorable idea.
The plant stakes are 10th level adorable. Thanks for posting the how-to with the materials! I’ve seen these for sale on sites like Etsy, but i’m excited to make them myself.