Backyard Landscaping and Patio Reveal
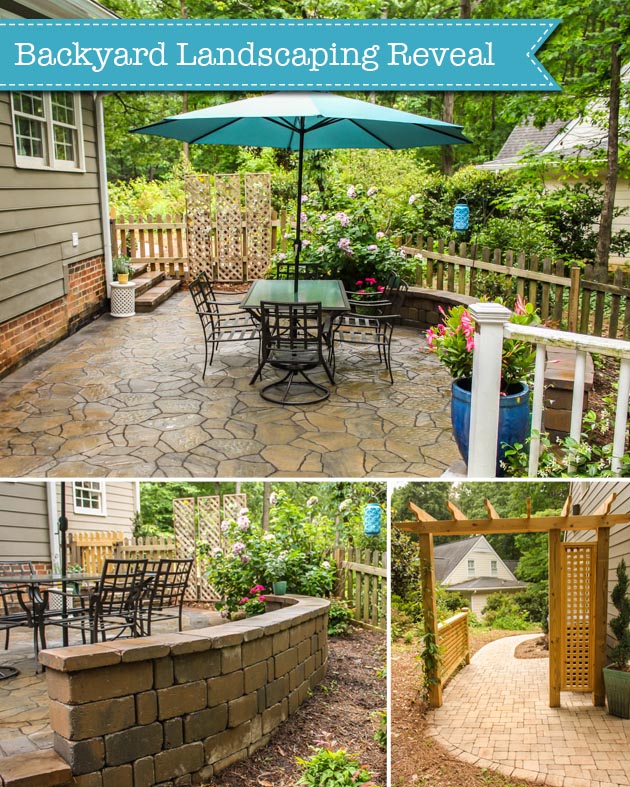
I’ve had many friends and readers ask if our backyard renovation was complete. Truth be told, it was finished right before Spring arrived. I wanted to wait for the plants to start blooming before taking the final pictures. Plus, I had to wait for the pollen and tree debris to stop falling all over everything. Tree droppings: it’s a real struggle here.
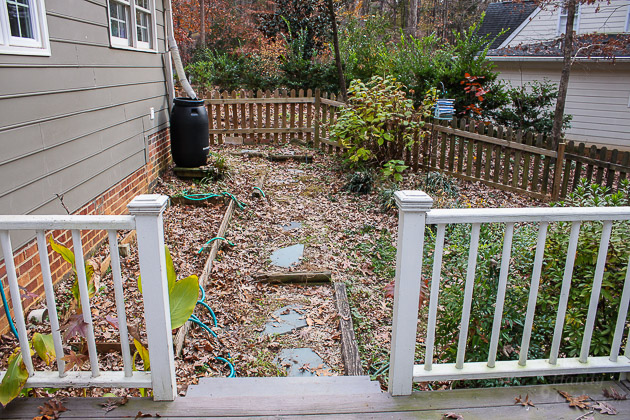
Currently the flowers are blooming and the trees have stopped bombing us. I can’t wait to show you the backyard landscaping reveal photos I took this week. Before I show you the amazing after photos, you probably need a reminder of what our sad yard looked like before:
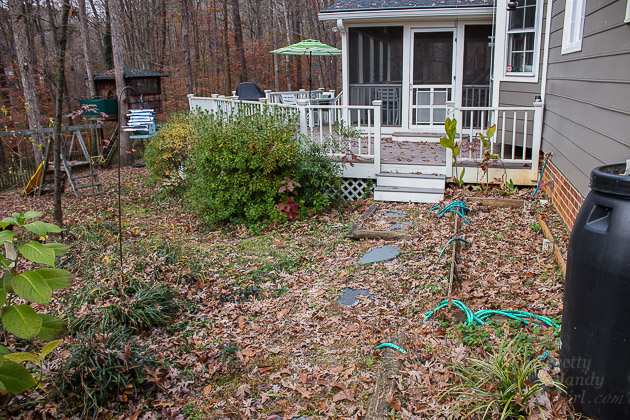
A mess, right?! My favorite lawn decor is the aqua hose for a pop of color. LOL.
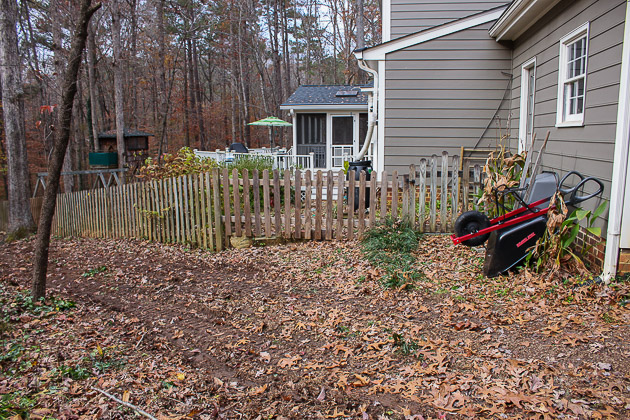
Backyard Landscaping
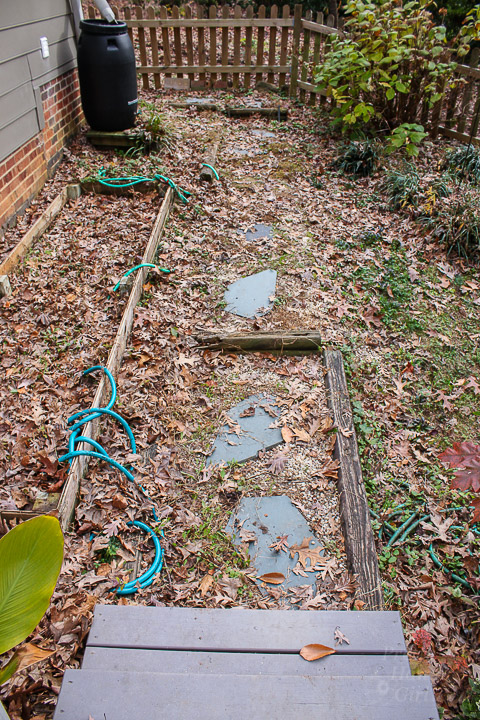
Several homeowners before us installed rounded landscape timbers and pea gravel to stop the inflow of mud into the home. Unfortunately as the timbers rotted, the gravel spread outside the frames. In its place, a congregation of weeds sprang up. Frankly, I think the weeds were enjoying themselves more in our backyard than we were. It was embarrassing to invite friends to a weed-filled jungle with rotted timbers dotting the landscape. We longed for a backyard that was devoid of messy pathways, and was a usable space for entertaining. This past Autumn we decided a plan needed to be implemented to solve our landscape woes.
We contacted a local landscape designer who came highly recommended. She took my style and our desires into consideration when drawing up the plans.
After we had plans in hand, Belgard reached out to me about working with them. (It was uncanny how good the timing was.) I was more than thrilled to work with them since I already loved their products. (This is a sponsored post for Belgard.)
Several years ago (before I knew what a blog was), we had a Belgard pathway and circular patio installed near our front door. We love the look of those pavers. The Dublin Cobble has an old world feel and the color variation between the pavers gives them the look of old tumbled pavers. I watched the landscaping crew install the Belgard Universal Circular and was amazed by how quickly and easily the pavers fit together. To us, Belgard has always stood for quality landscaping hardscapes.
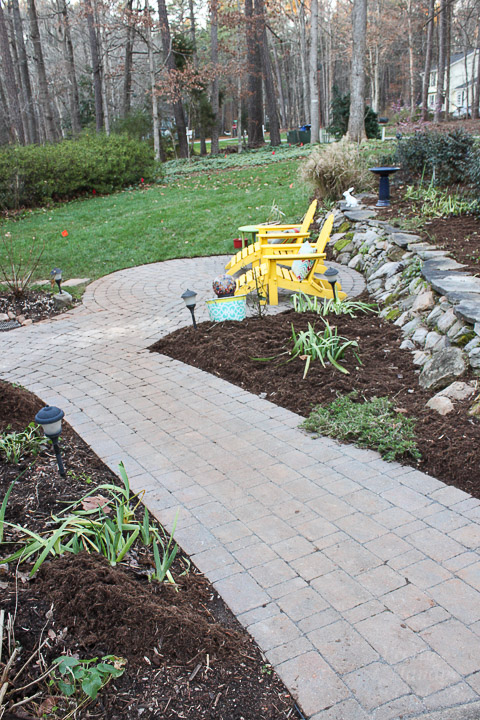
After the plans were drawn for our backyard, choosing the brand to use for hardscapes was easy. Deciding on the pavers and wall blocks was more difficult because of the large variety of Belgard products to choose from. In the end, we were able to merge formal and informal areas easily. The hardscapes compliment the style of our house and look like they’ve been here for decades.
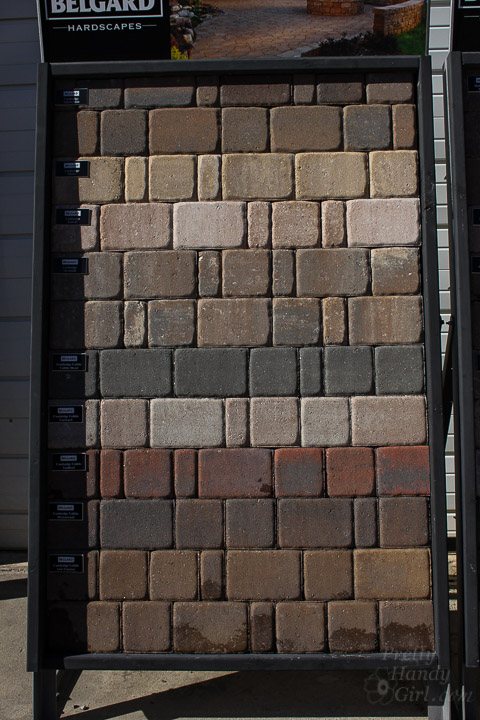
Once we finalized our decisions, work began in our yard. As oftentimes happens, the yard went from bad to worse before it got better…a lot better! Luckily, I gave my full trust to Arbor Enterprises who completed the work. Now, if you’ll step this way, I’m thrilled to take you on the tour of our new yard (without a speck of mud or rotten timbers anywhere!)
One of my favorite projects, was this giant pergola I built to screen the trashcans.
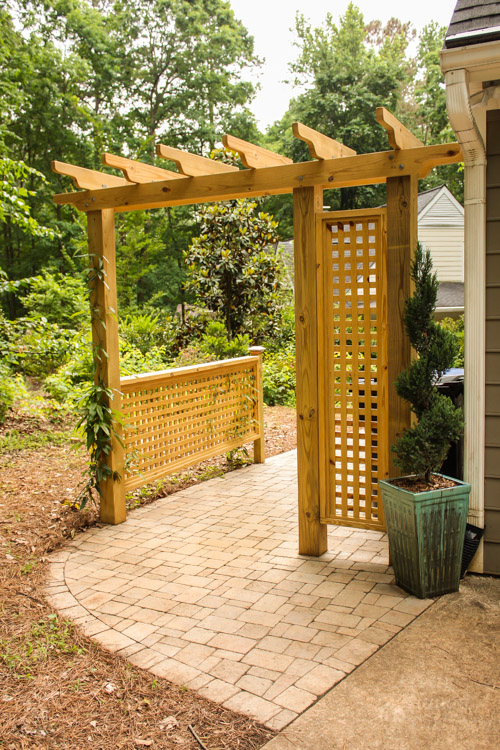
Can I be completely honest? I used to dread taking out the trash at night because I could never see the path clearly and worried that a copperhead might be waiting for me.
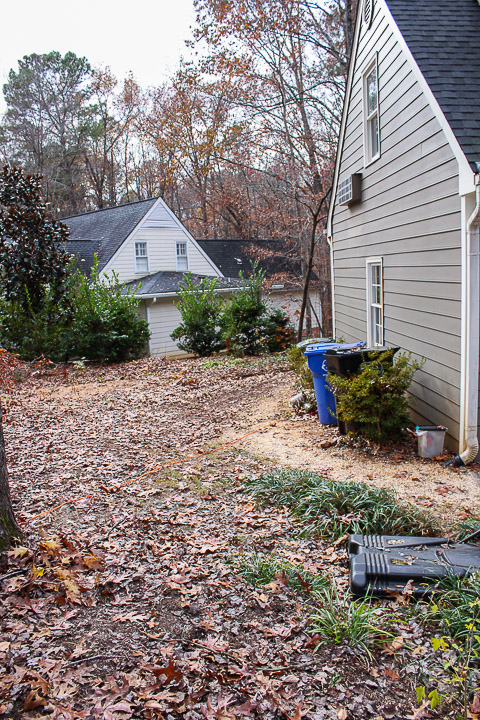
Not anymore! The beautiful walkway provides a clean and even walkway. Nothing is muddy. The trashcans don’t get dirty every time it rains. And there are no random shadows that make me think SNAKE!
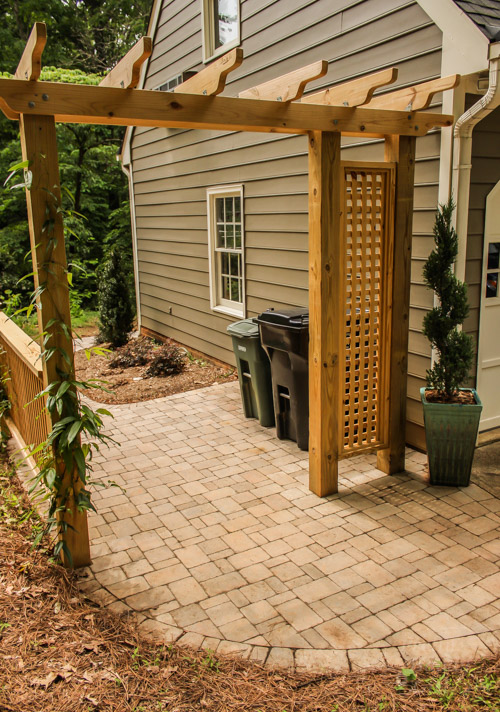
Best of all, our guests pull in the driveway and no one notices the trash cans!
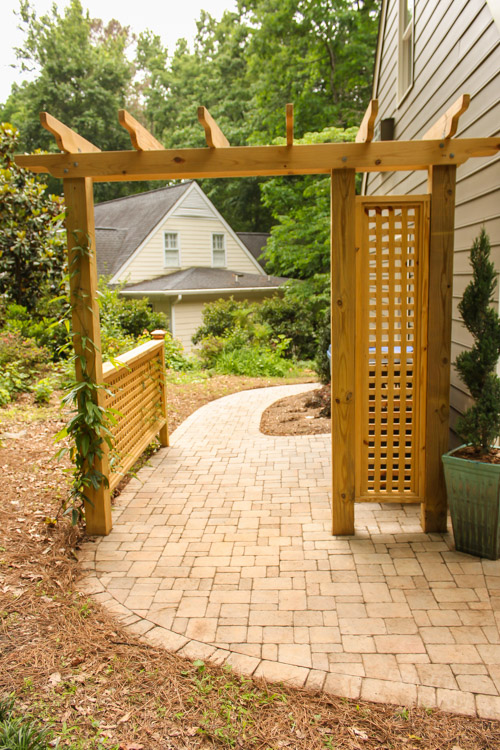
We decided to use the Dublin Cobble (Fossil Beige) pavers on this side to match the front walkway. They fit together leaving a consistent joint. Everything is smooth, even and gorgeous.
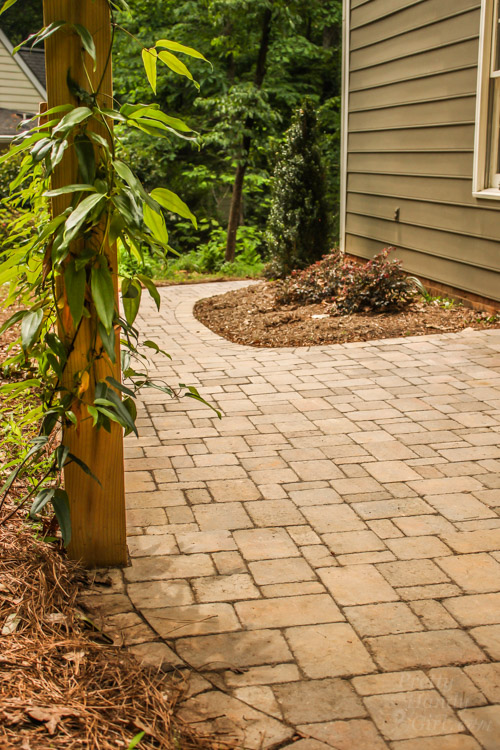
About that joint—when installing pavers, ask for polymeric sand in the joints. The sand forms a membrane that prevents weeds from growing in and it won’t wash out. But, water still permeates the joints.
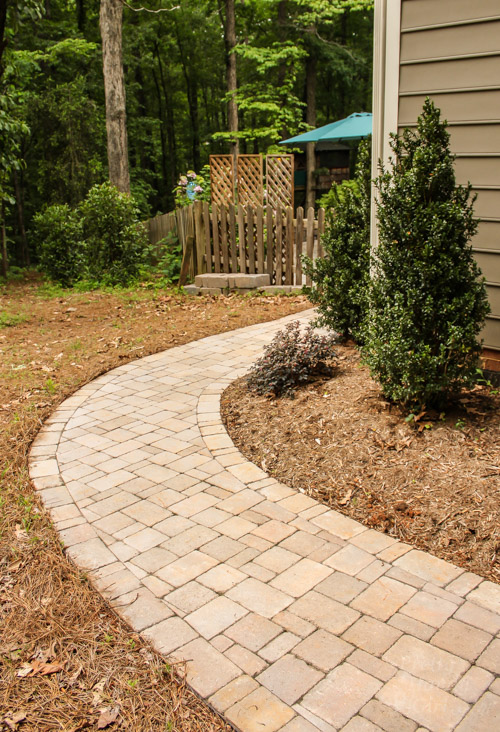
Walking around the side of the garage to the back yard is no longer an exercise in avoiding rocks and mud puddles.

We have a safe and clean place to walk. It’s a nice invitation for guests to come around back for some drinks and burgers.
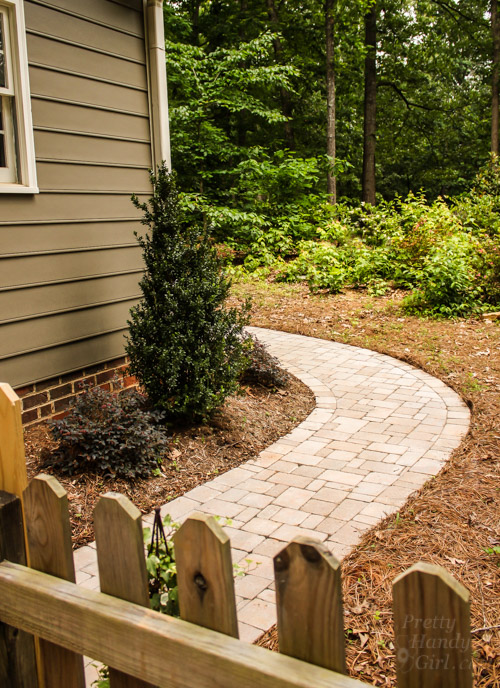
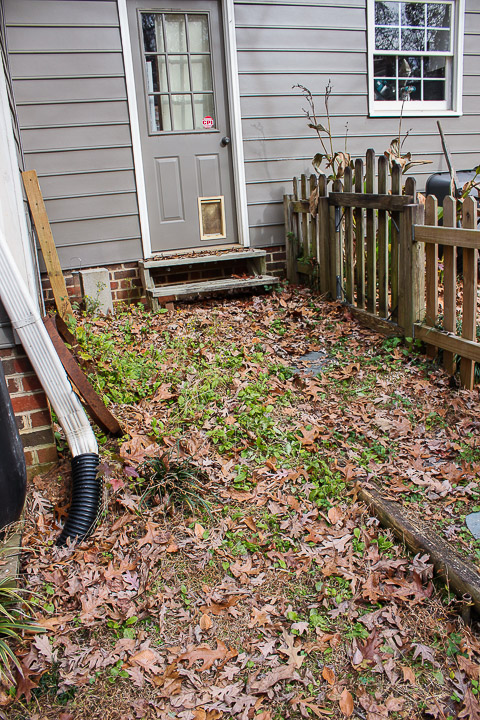
This spot was previously a big sliding mess of earth dotted with weeds.
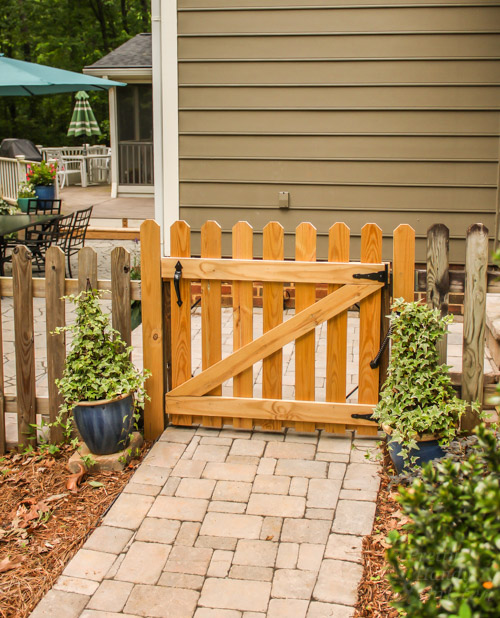
After the new pavers were installed I rebuilt the gate and made it rock solid!
The landscapers installed the pavers and steps down to the patio. I have some plans for this little spot. Tune back in on Friday to see what I’m up to!
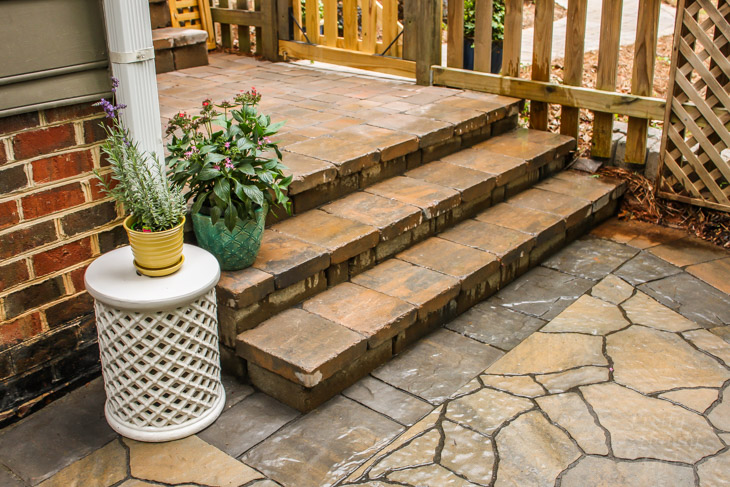
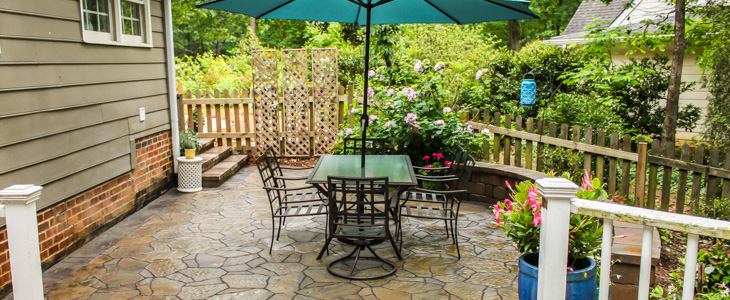
I love how the landscapers bordered the Mega Arbel (Smoky Mountain) patio with Mega Lafitt (Belgian Stone) and Tandem Wall Caps (Shelby Blend). It adds a beautiful design element.
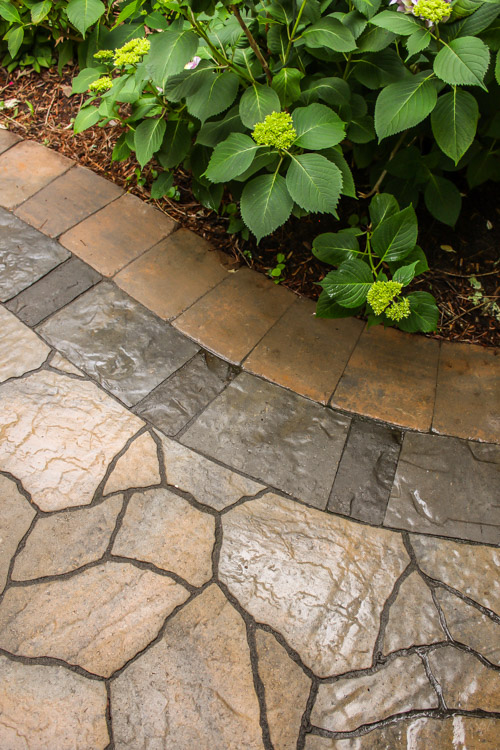
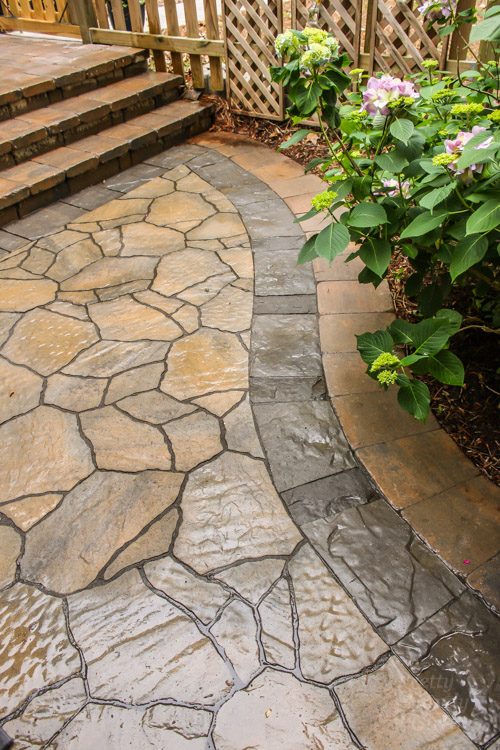
This is by far the biggest change and our new favorite spot in our backyard.
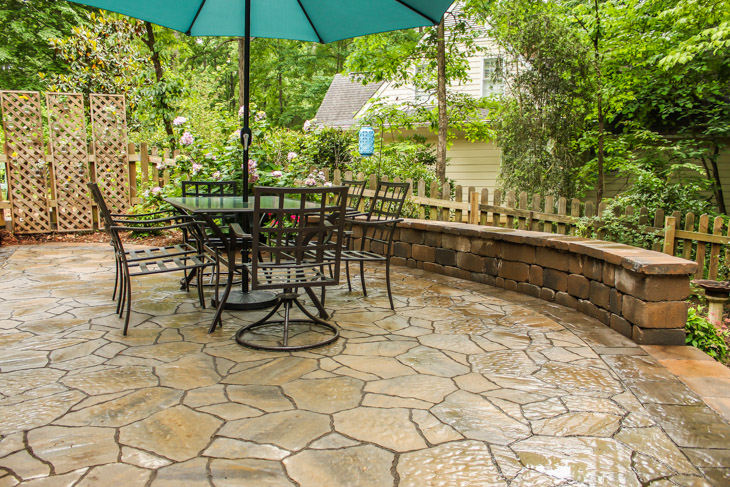

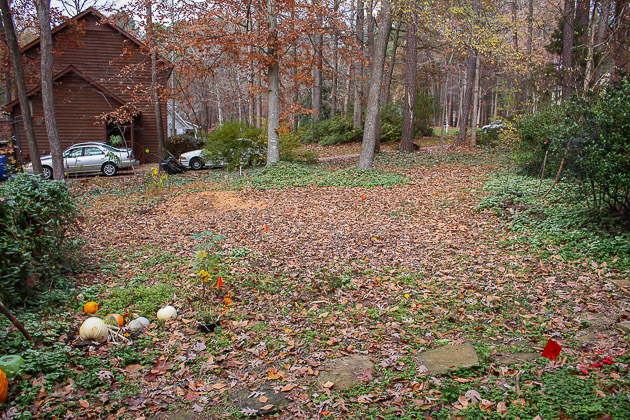
Remember the before?
And the Ahhhh-fter! I love the Mega Arbel random pavers. It adds a beautiful design to the patio and is a change from the methodical pavers on the pathways.
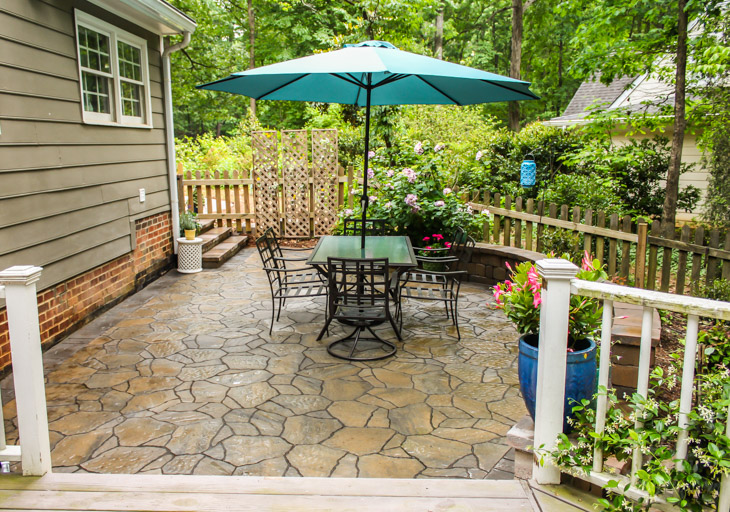
If you have a keen eye, you’ll notice I removed a section of the railing to open it up to the patio.
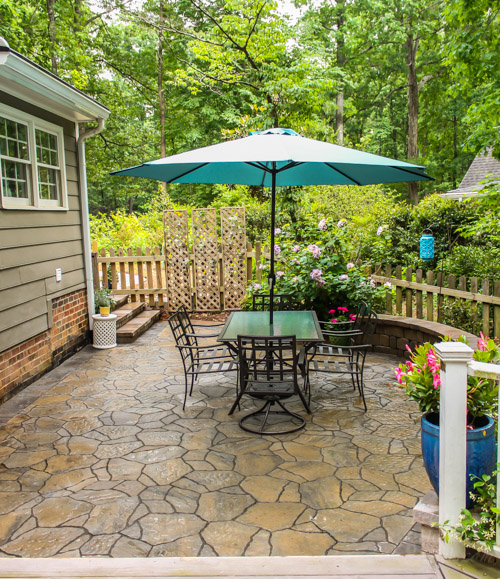
One of the ideas the landscape designer had was to add a seating wall framing the edge of the patio. The Keystone Stonegate wall blocks (Colonial Blend color) fit together easily for a permanent and sturdy structure. You can see how it was constructed in the progress post.
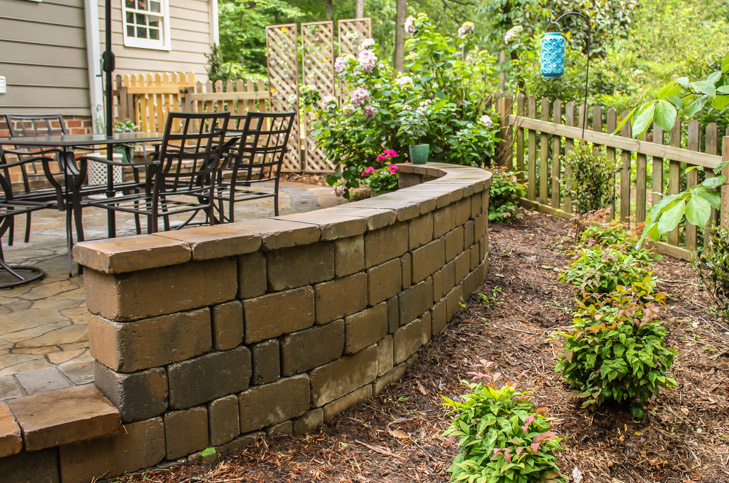
This will add lots of extra seating during parties.
When the caps were first delivered, they were not what I had wanted. The landscaper had substituted the Tandem caps for Keystone Country Manor caps. I didn’t like the texture on the edge of the Keystone caps and worried people would scrape their legs on the edges. She gave in and went back to the Tandem caps and I was a happy girl.
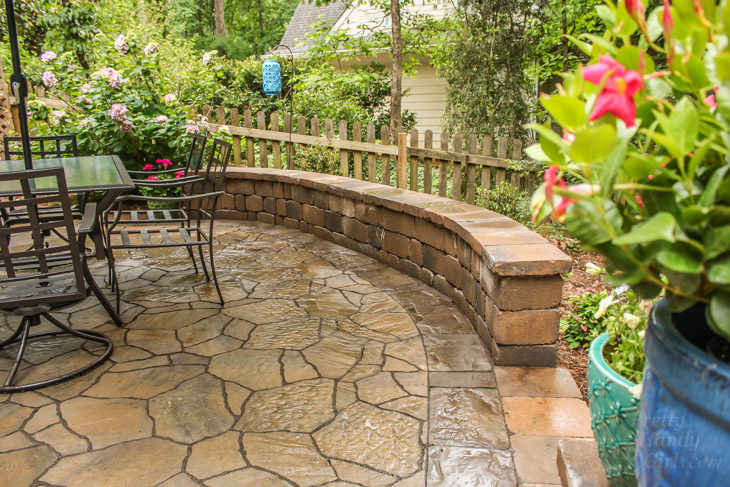
To frame the opening that leads to the yard, I requested a small section of wall on the side closest to the deck.
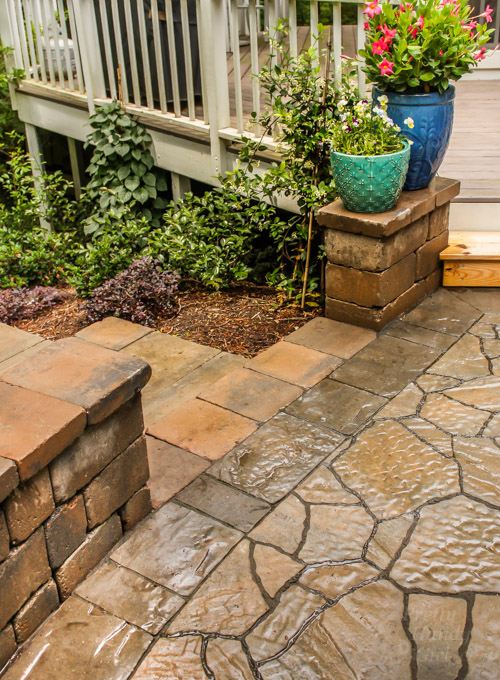
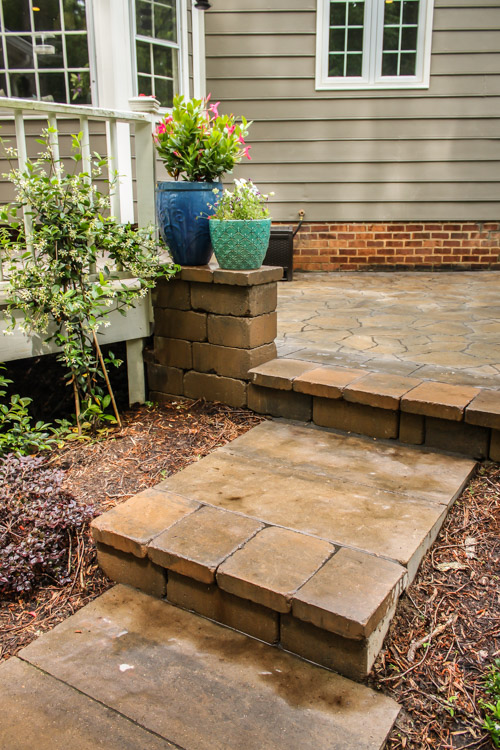
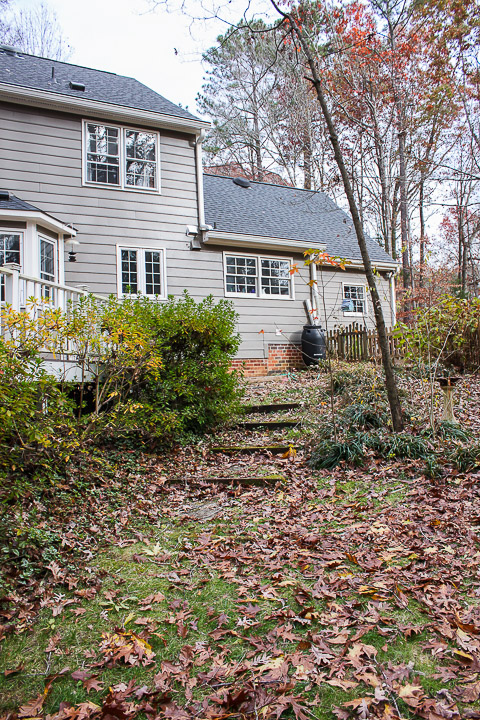
Do you remember what the yard looked like from this angle? The railroad ties had rotted from the inside and were a hazard to walk on.
The Belgard Granika steps (Cotswold Mist color) were instrumental in creating a permanent solution for travel from the patio to the lower lawn. Each step is composed of two Granika steps, plus Keystone Stonegate wall blocks with Tandem wall caps. This was a design decision I made after seeing the two Granika steps on their own.
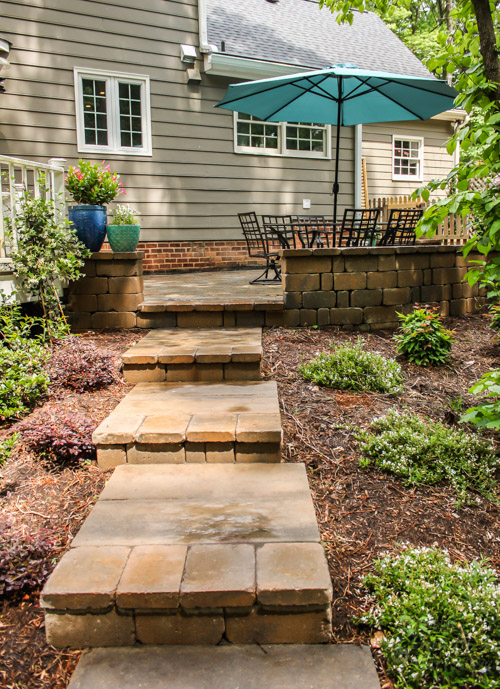
Each Granika stone weighs 275 pounds. So, you can imagine my hesitation to ask for any changes. But, ultimately I knew I wanted the steps to tie in with the patio and the idea to nose the steps with the same materials as the seating wall seemed like the right decision.
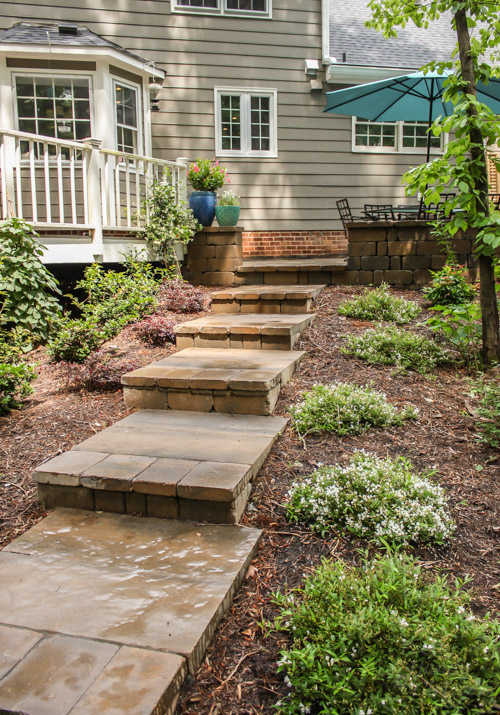
This also allowed us to deepen the steps and make the transverse to the grass more gradual.

You should have seen how muddy the yard got during construction.
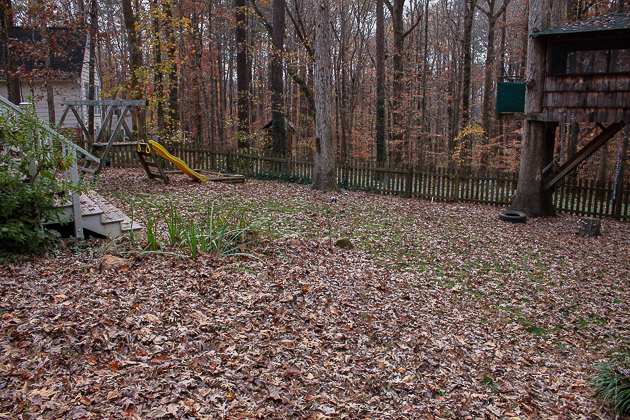
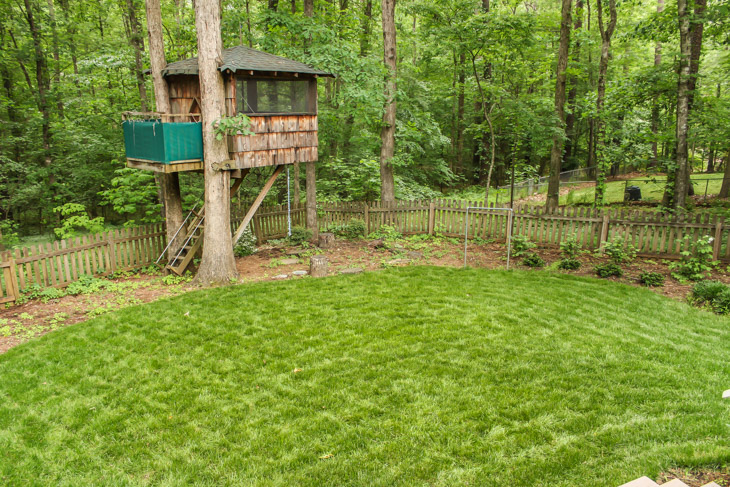
We had a big mound leveled where a tree used to be. This was all in preparation for an area that we could play soccer, badminton and more yard games.
The perimeter of the yard received many new plants and a new sod lawn.
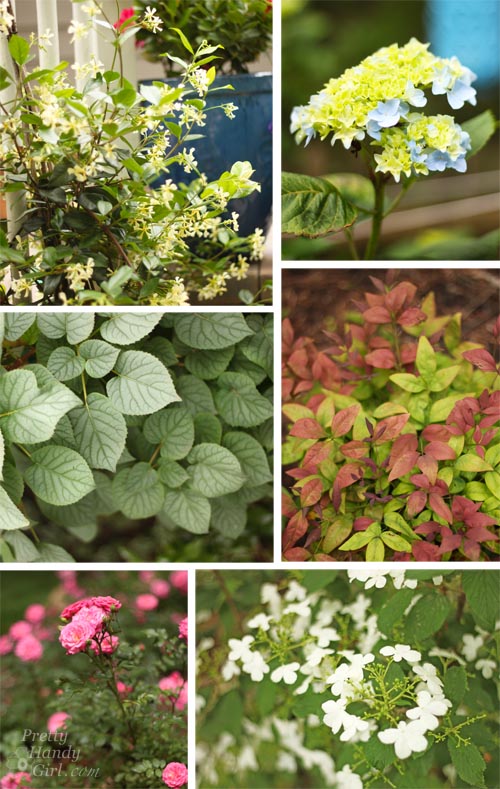
These are just a few of the beauties that are blooming right now. I was pleasantly surprised when little lilacs started popping up after Winter. The designer also called for several viburnum shrubs in the plans. I can’t wait for them to get huge and covered in big white snowballs!
On the other side of the yard is a small patio landing spot using more Mega Arbel and Tandem wall caps.
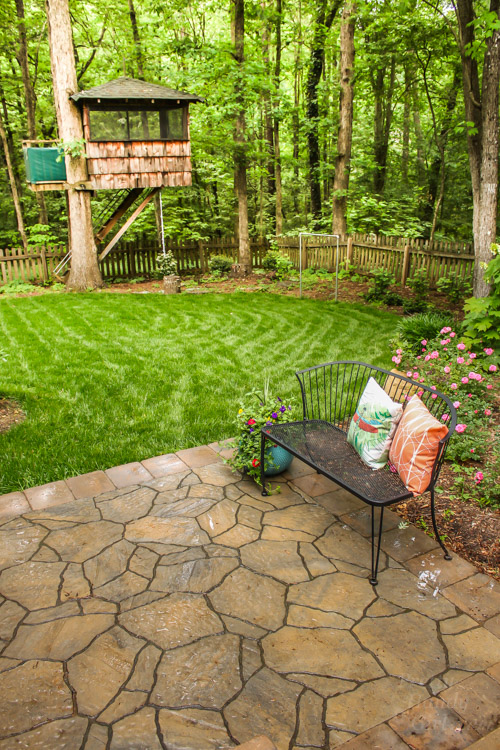
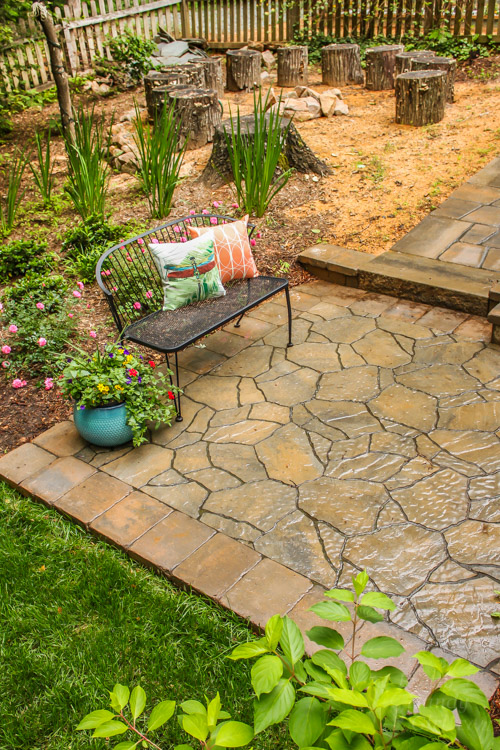
The firepit area got a much needed leveling and we had the blue stone slabs removed. Previously, I worried that someone might trip and fall into the fire pit.
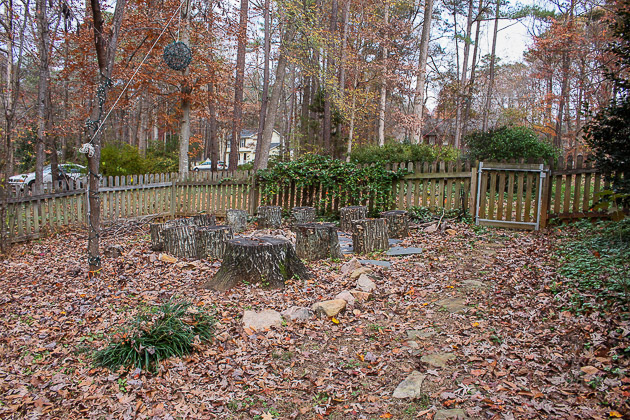
The landscaper recommended Chapel Hill grit around the fire pit area. I’m still not sold on it because some of the grit has washed away and the weeds are popping up in spots. But, overall it’s a big improvement.
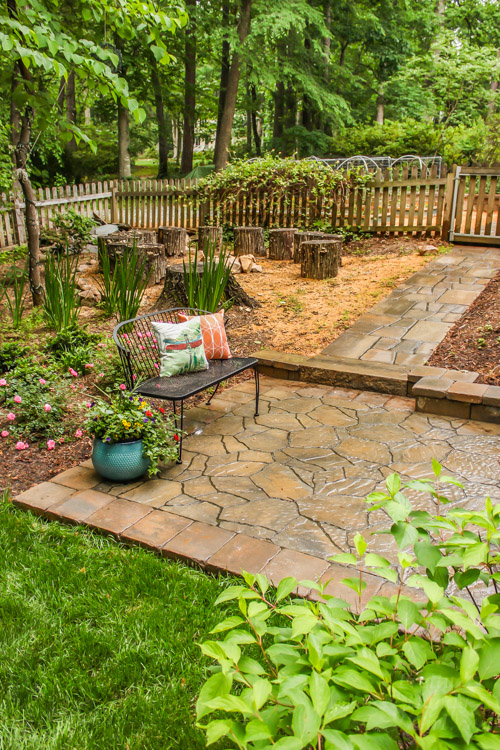
The walk way to the firepit was also a welcome improvement! Previously this was a muddy mess that meant there was lots of tracked mud in the house.
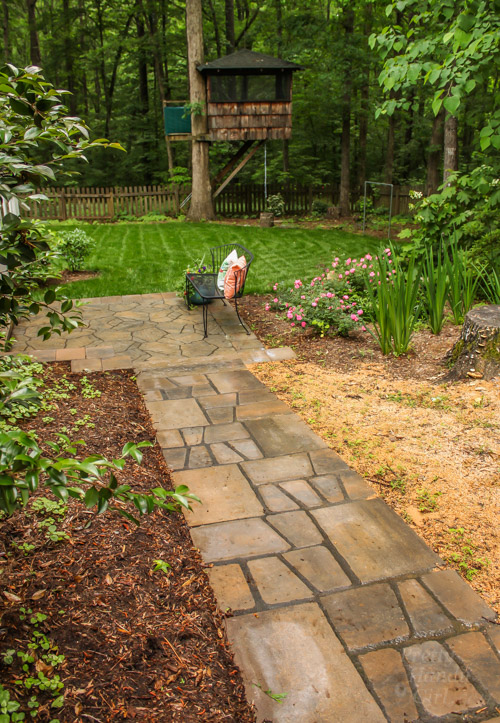
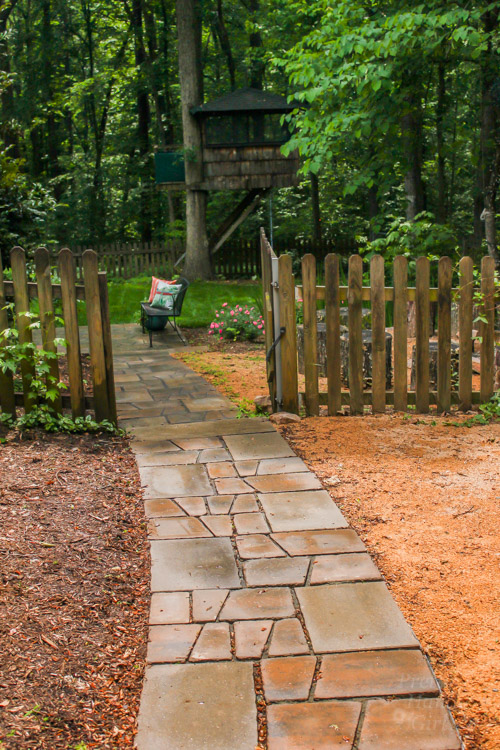
The walkway was my brainchild. These pavers are actually the wall caps the landscaper ordered. Yes, you heard that right, they are the Keystone Country Manor caps. We also used two more Granika steps to help soften the slope.
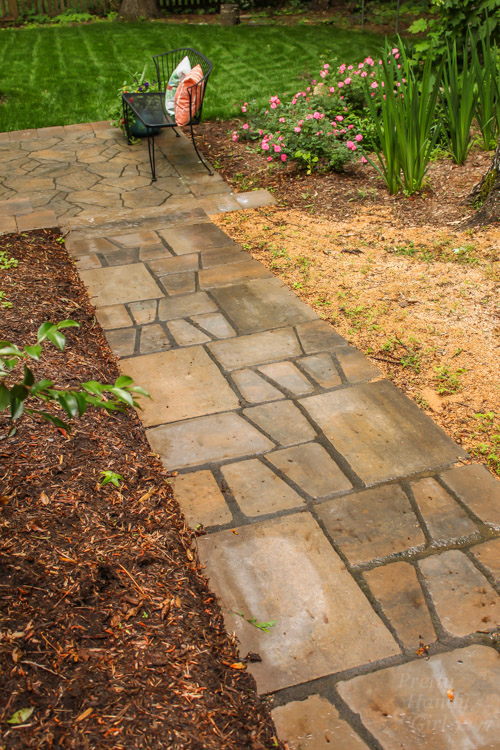
They provide a less formal path that fits in perfectly with the rustic fire pit area.
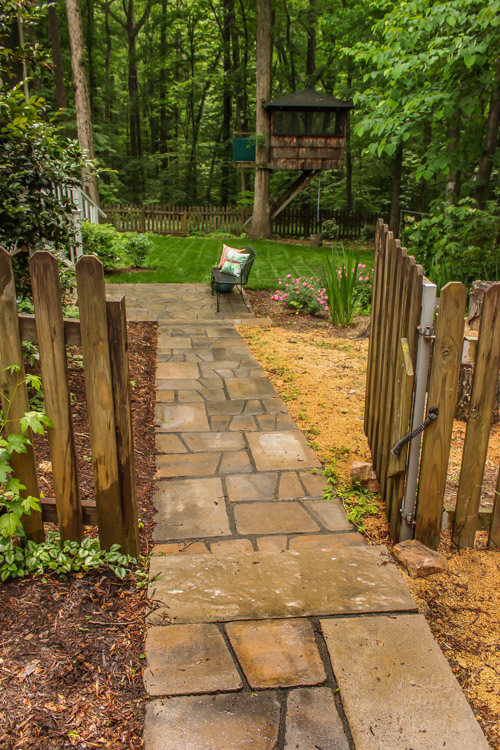
I think Belgard needs to name this new pathway design after me. What do you think about the Brittany Walkway or Bailey Pathway? LOL.
You have seen some of the garden area in my recent tutorials to build a rot-resistant planter and a budget-friendly trellis.
This spot was a barren sloping landscape before. It’s hard to tell from this photo, but there was a decent slope to the land.
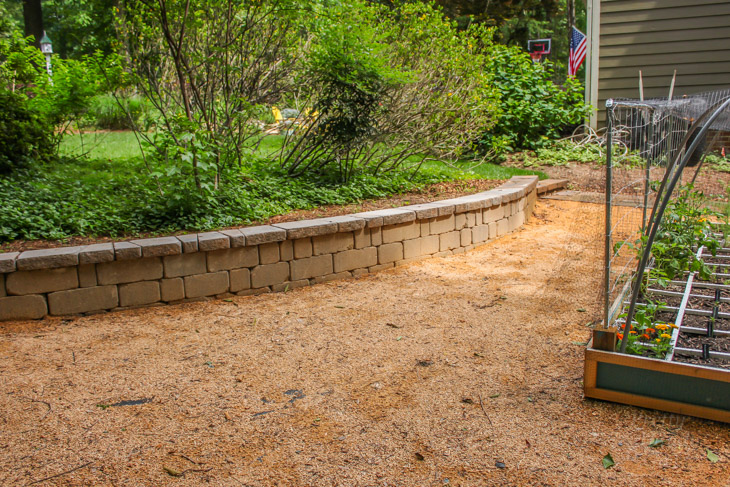
The landscapers leveled out the spot and installed Belgard Stonegate blocks for a retaining wall and used the Keystone Country Manor caps here. (Don’t tell my landscaper, but she was right. I’ve sat on this wall many times and it doesn’t scrape my legs. ;-D)
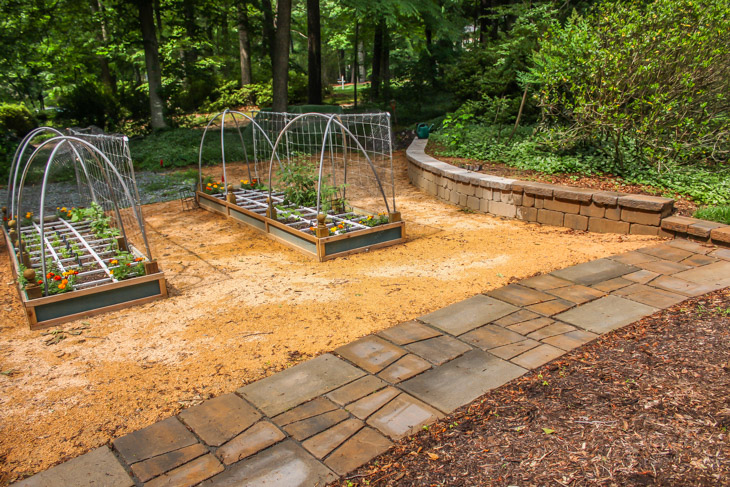
This was the perfect spot to build my garden beds. They get plenty of sun and my vegetables are growing fast!
This concludes the tour of our yard. I hope you get some inspirations for your home. If you need more ideas, you can order a Belgard idea book.
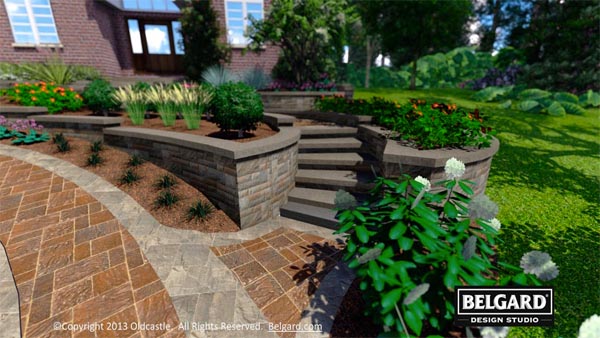
Belgard also has a 3-D Visualizer that can help you visualize your own space with the new hardscapes. You can upload your own photo or work with a Belgard authorized contractor and have them give you a visual look at your new space before you even break ground! How helpful is that?!
It’s time for me to kick you out now. I have some party planning to attend to. It’s time to invite some friends over to enjoy our new outdoor entertaining spaces.
See ya’ later!

Disclosure: This is a sponsored post for Belgard. I received complimentary products in exchange for writing a post about Belgard. I was not told what to write. All opinions are my own. As usual, I am very particular about the brands I work with and will always tell you if you are reading a sponsored post.



What a beautiful space! It all looks so peaceful and secluded.
Very nice job. I love all the pavers you used. I am looking for something like that for my next project. I so like seeing the before and after pictures. Guess that is why I too am hooked on DIY! Thanks for the great pictures.
Fabulous results. I would not have expected anything less. Your designs and the work you do is outstanding, always.
I love the difference- it’s like a whole new yard! I love all the stonework- it definitely looks well worth the time and effort to get it all in. I do have a question, though- How is it all lit in the dark? Maybe you can have lighting along the walkways to keep them extra safe, for example of an elegant solution.
Hi Brittany
Congrats on your fabulous back yard. Love the stone work especially how you used the seating wall material to nose the steps! Keep up the good work!
Hi Brittany,
I think you should change your moniker to “very handy girl”!
Keep up the good work.
Wow! What an incredible transformation! I love all the stonework.