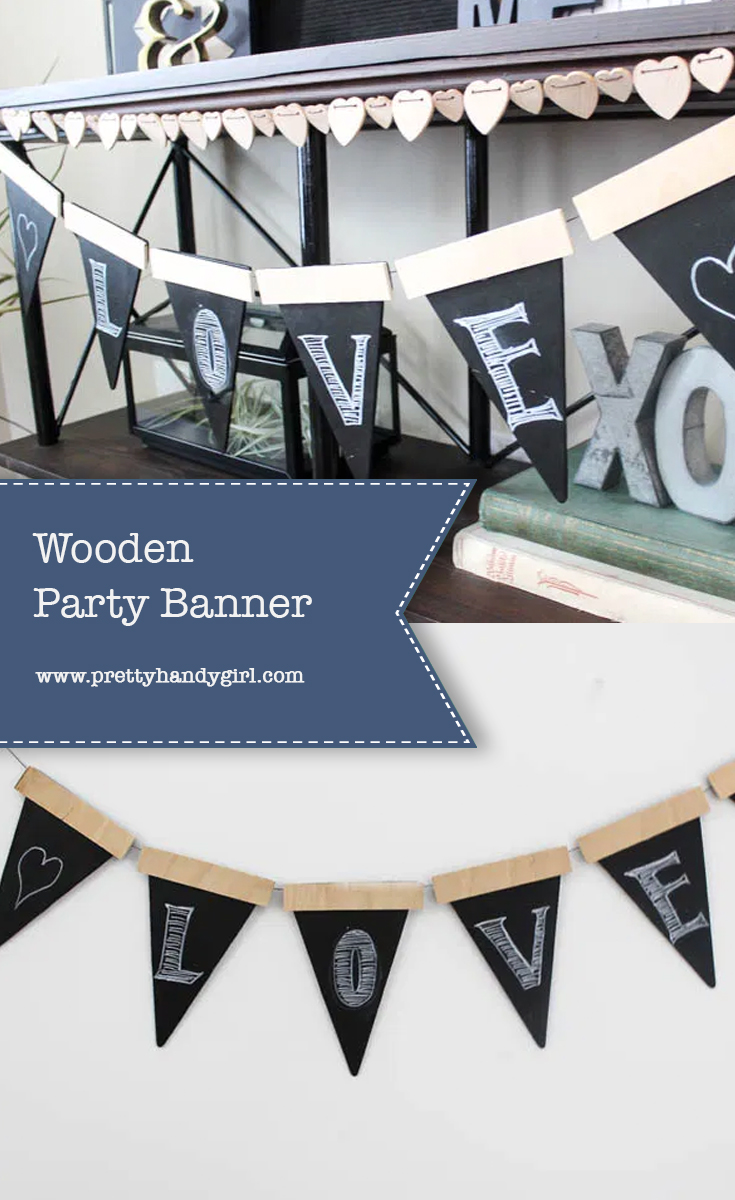
Wooden Party Banner
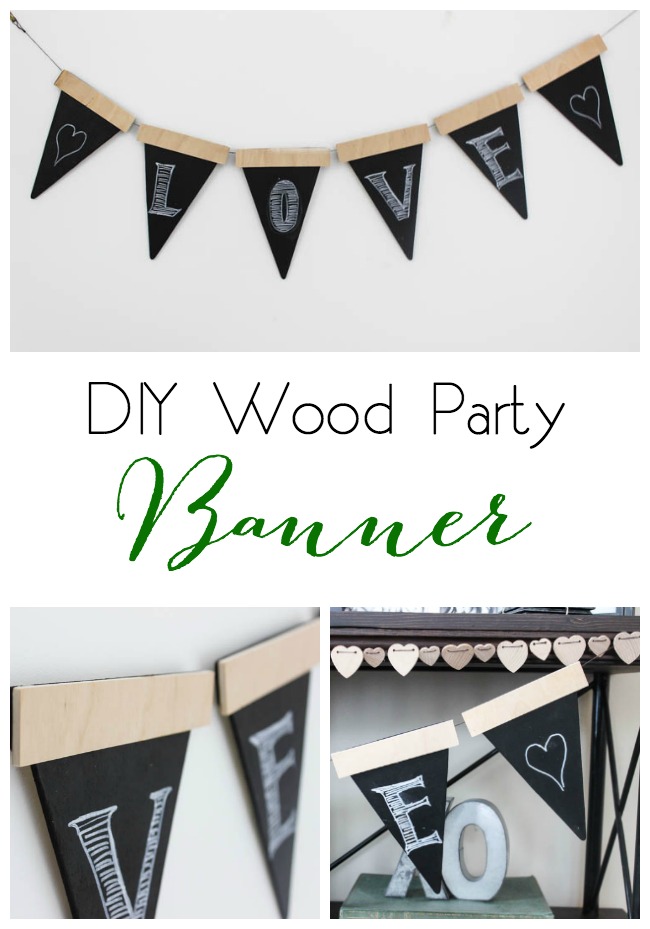
Hello! This is Lindi, visiting again from Love Create Celebrate. This month I was planning out some decorations and I realized that I didn’t have a party banner anywhere. When I looked around, all I could find were banners that you use once and throw away the next day. So I decided to make myself something more permanent. This Wooden Party Banner is perfect for any occasion and it’s reusable!
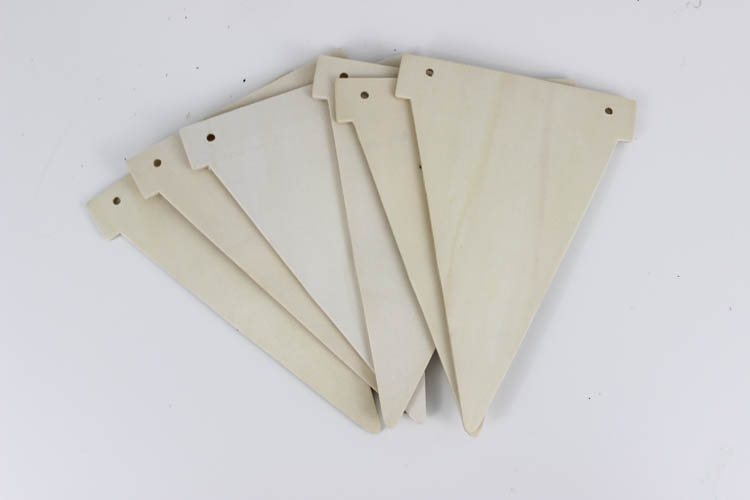
I could’ve made the triangle banners as well, but I already had these prepared wooden banners sitting around at home – which made the project even easier!
Materials:
(I’ve included affiliate links for your convenience. I earn a small percentage from a purchase using these links. There is no additional cost to you. You can read more about affiliate links here.)
- Blank Wooden Banner pieces (or cut triangles with holes in the corners)
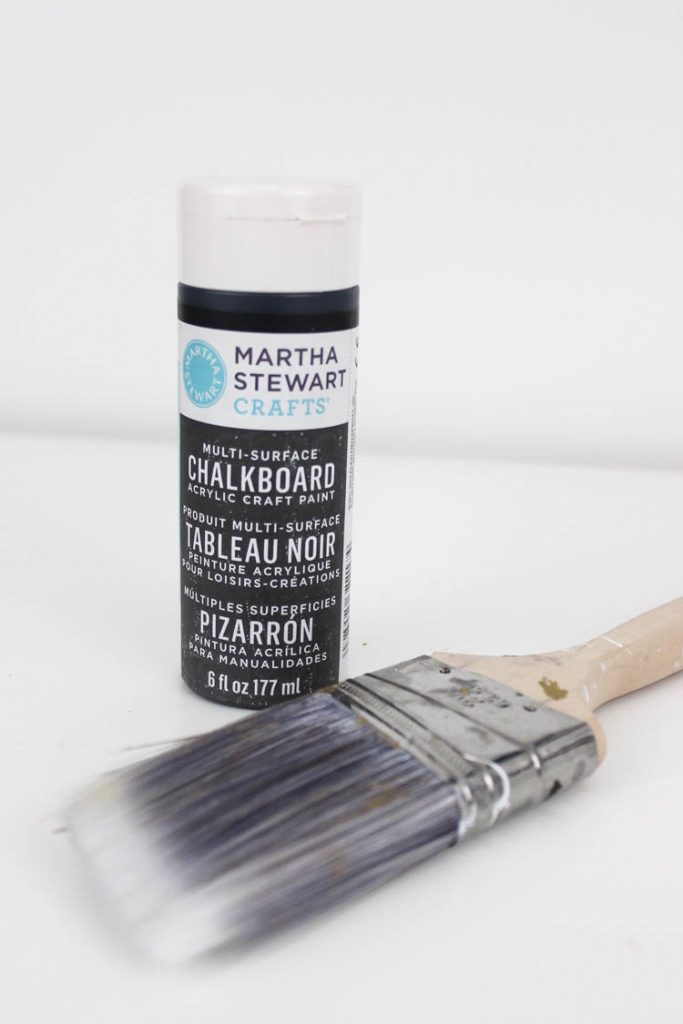
- Chalkboard Paint
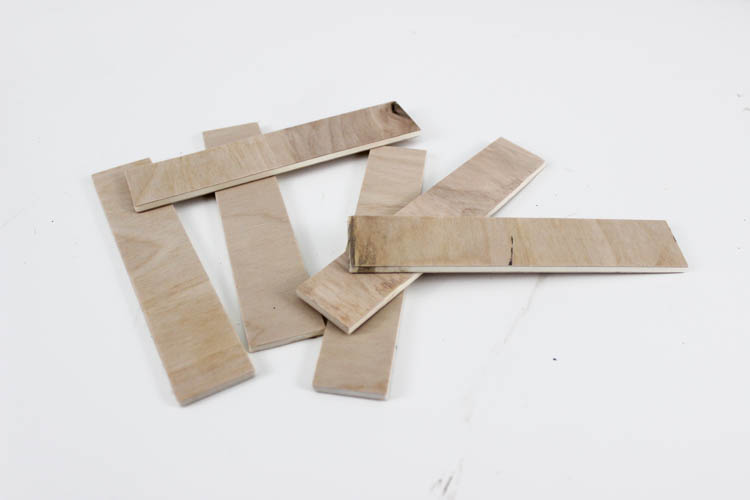
- Plywood (1″ x 5″ pieces for each banner
- String
- Quick Hold Glue
- Miter saw (or hand saw)
- Sander
Instructions:
Cut your plywood into 1″ x 5″ strips. I wanted my pendants to look a bit bulkier than the pre-made edges, so I cut the plywood pieces by cutting 1″ strips on the table saw, and then cutting those to 5″ in length on the mitre saw. After cutting all the plywood, sand down all of the sides and edges so that they are nice and smooth.
Next, paint your banners with chalkboard paint. Chalkboard paint makes everything re-usable!
Once it’s dry, paint the back to make your banner look finished (even though people don’t usually see the back).

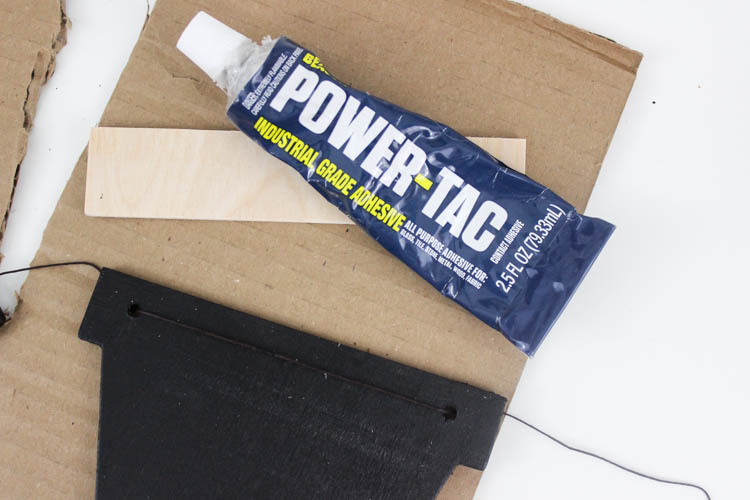
Cut a long strand of string and run it through the pre-cut holes of the wooden banners. Run your banner pieces onto the string. Space them about an inch apart (they will look closer together once the plywood is attached.) Glue the plywood pieces onto your banner. I used Power-Tac glue (you could also use E-6000 or any quick drying glue) to adhere the pieces.
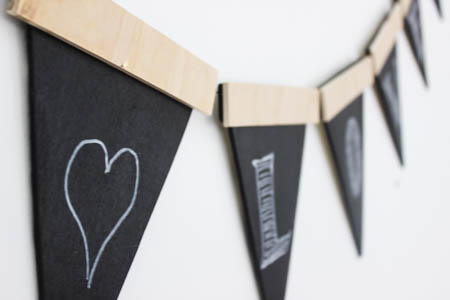
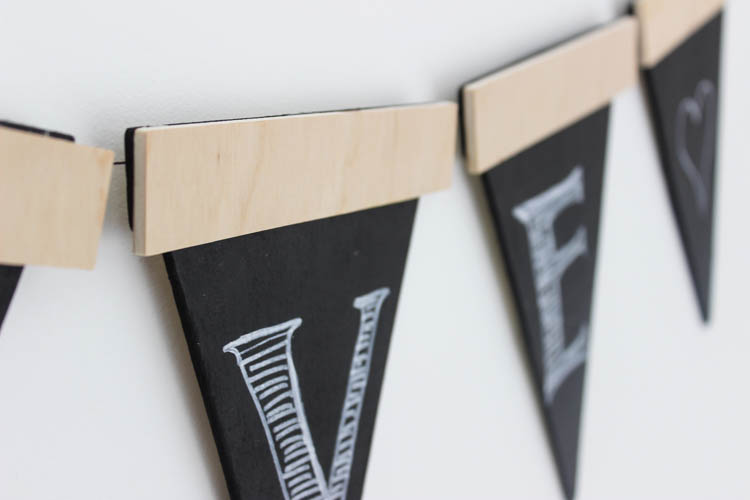
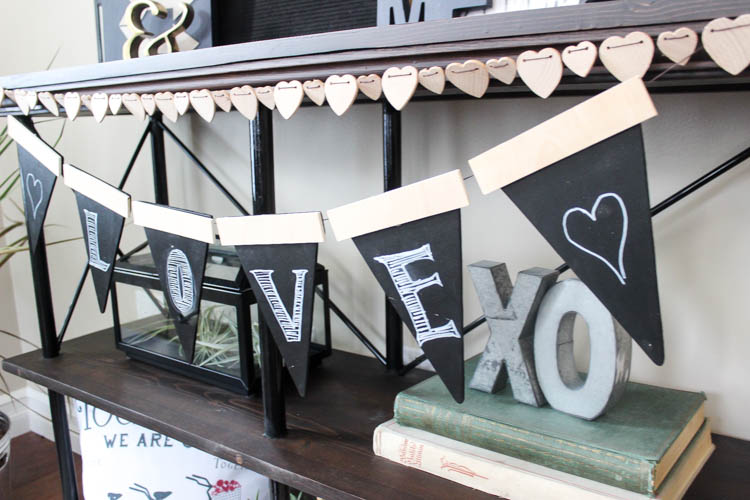
Now grab some chalk and decorate your banner! I love how sleek and modern this banner looks.

It’s definitely not like any you can buy in the store.
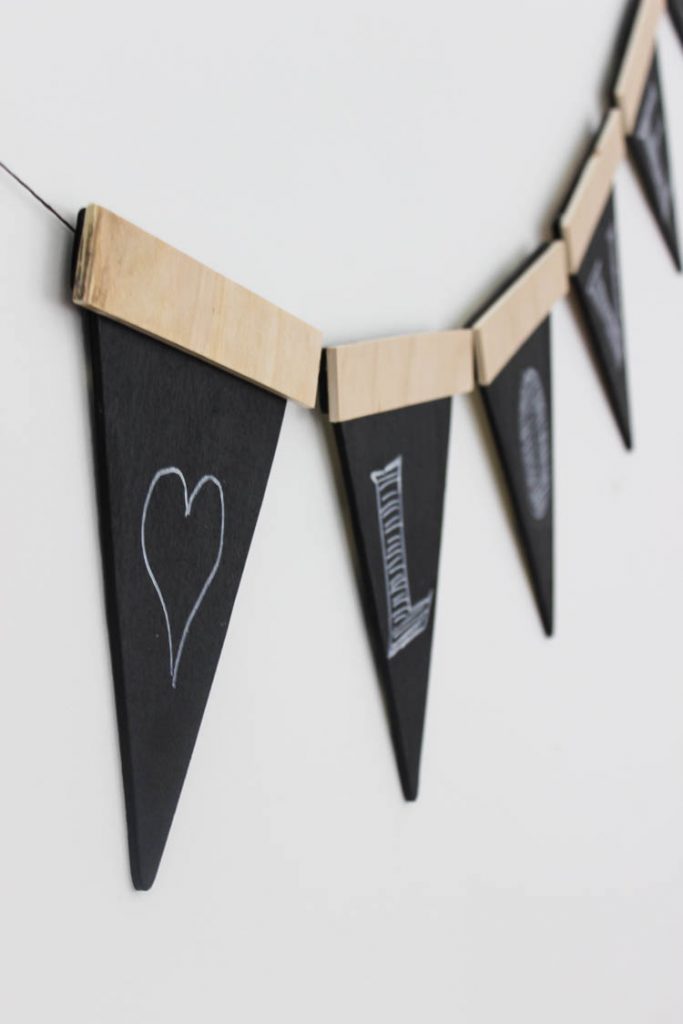
I recently used my banner in my Modern Valentine’s Day decor and I LOVE how it turned out! I can’t wait to rub the chalk off and use it for another party!

I’m sad to say that this will be my last time contributing for Pretty Handy Girl. I’m so grateful of the opportunity and it’s been a wonderful experience. Don’t forget to stop by and visit me from time to time!
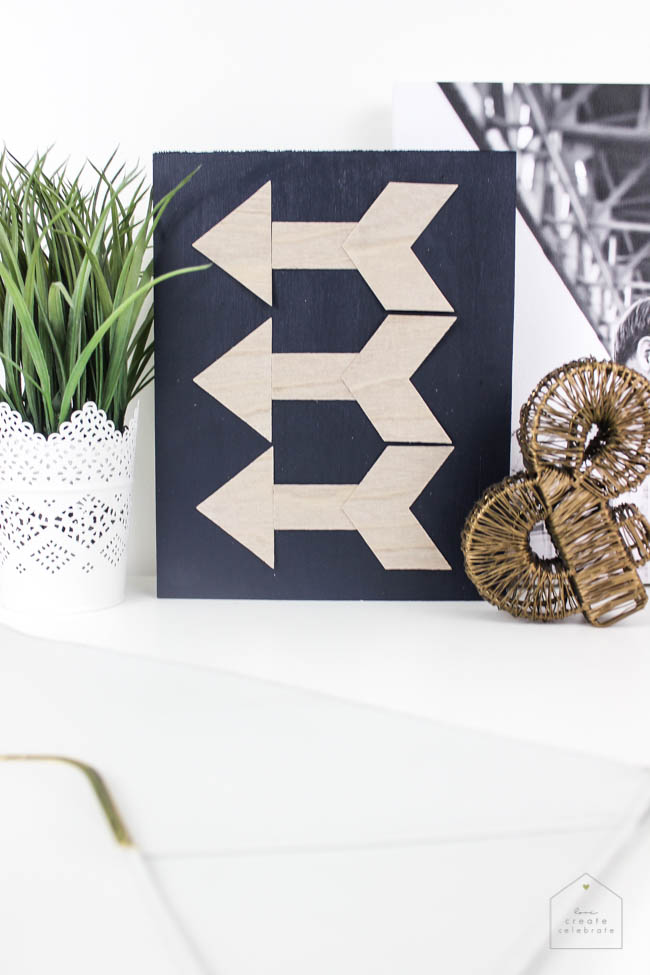
For more great modern projects, like this Wooden Arrow Decor, visit Love Create Celebrate!

~ view more projects by Lindi ~
Pin for later!

Simple, but great DIT recipe. Love it! Thanks for share, Pretty Handy Girl.
More creative and simple.
This is so cute! And easy to do! Love it!