Two Ways to Install a Ceiling Hook for Plants
Two Ways to Install a Ceiling Hook for Plants
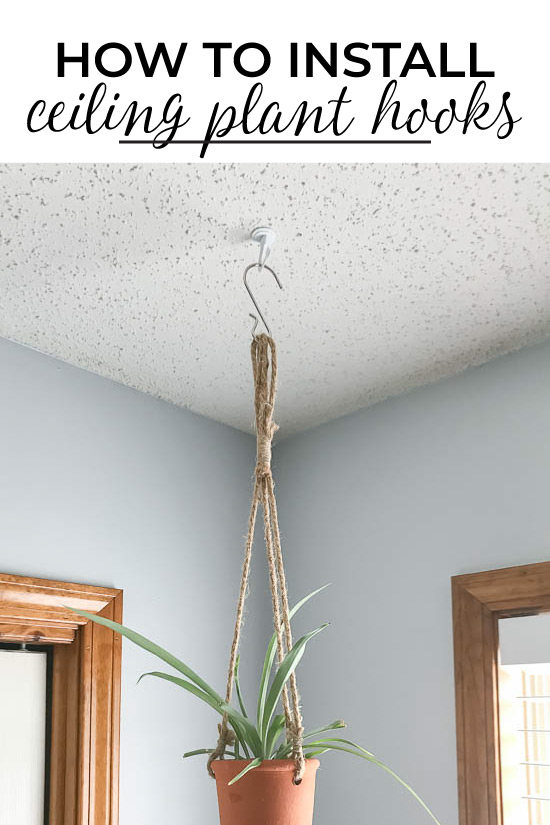
There are a few different methods to install a ceiling hook to hang a plant from, but this post is going to cover two of them. The first method involves finding a joist, and the second method uses a toggle bolt. Don’t let the words “joist” or “toggle bolt” worry you though, both of these methods are very easy, and require few tools. Read on for instructions for two ways to install a ceiling hook.
Install a Ceiling Hook into a Joist
Hanging a plant hook using a ceiling joist is the most secure way and the safest, especially if you plan to hang a heavy planter.
Materials:
(I’ve included affiliate links for your convenience. I earn a small percentage from a purchase using these links. There is no additional cost to you. You can read more about affiliate links here.)
- Stud finder
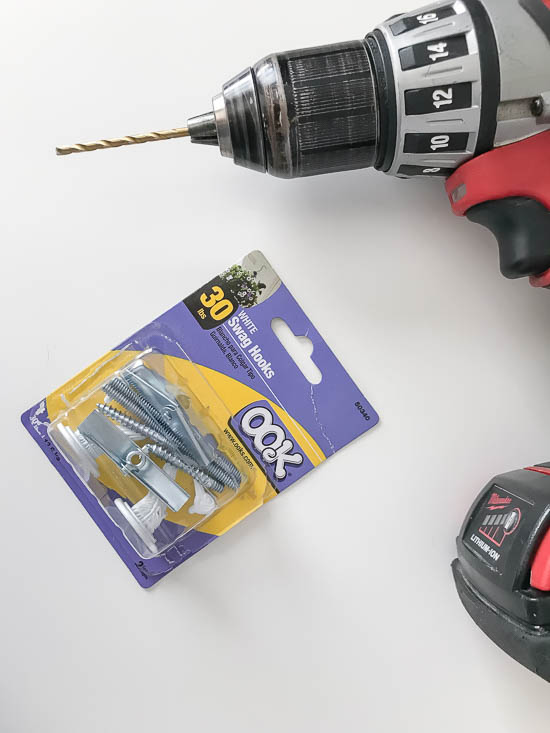
- Drill
- Drill bits (slightly smaller than the screw being used)
- Swag Hook kit
- Pencil
Instructions:
Step 1
Decide where you will install the hook. Grab the stud finder to locate a joist in that area. Don’t have a stud finder, try one of these 5 Ways to Find a Stud without a Stud Finder. Make several passes to ensure you know exactly where the joist begins and ends, and mark the area accordingly.
Step 2
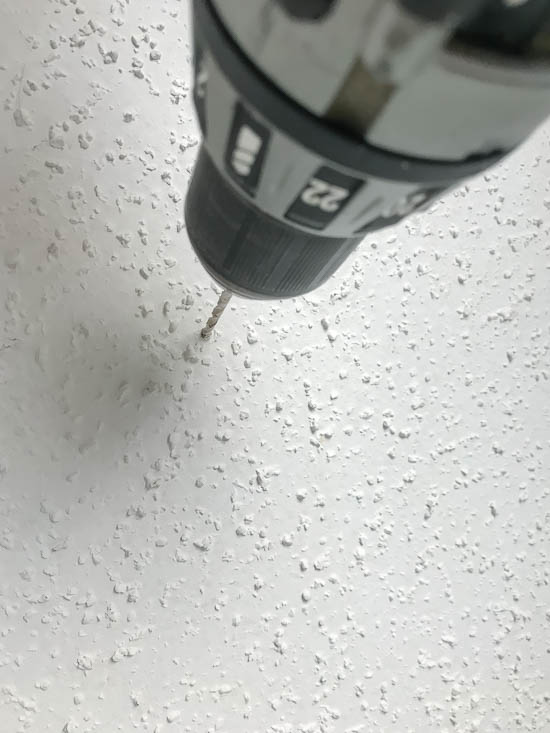
Drill a small pilot hole into the drywall and joist with a drill bit slightly smaller than the size of the screw being used.
Step 3
Hand screw the hook into place until it is flush against the drywall. (If it becomes too difficult to turn, you can put a screwdriver into the hook to use for leverage.)
Step 4
Hang your planter and pat yourself on the back for a job well done!
Install a Ceiling Hook with a Toggle Bolt
If you don’t want to go through the trouble of finding a joist, or there isn’t a joist where you want to hang your plant, you can use a toggle bolt with the hook. (Just make sure your plant isn’t heavier than the specified weight limit for your ceiling hook.) It sounds intimidating, but it’s actually very easy!
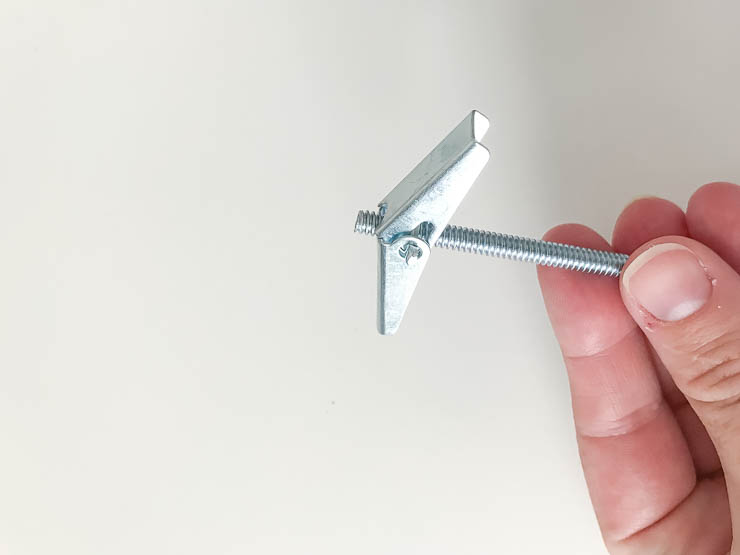
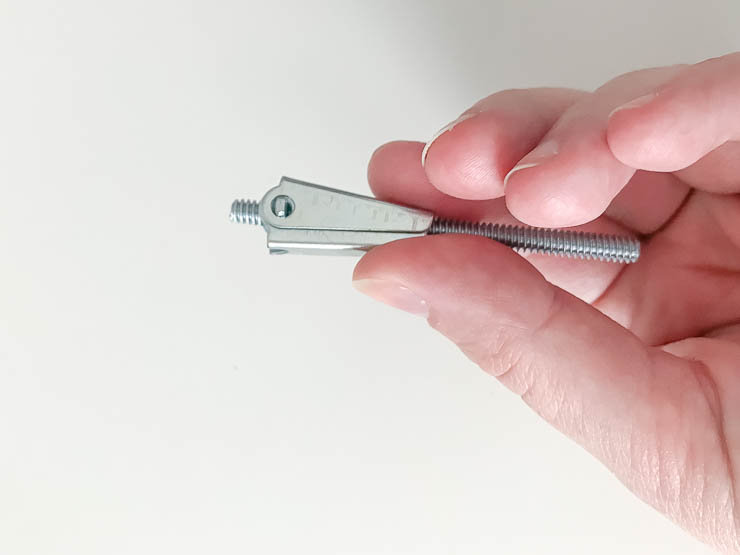
First, what is a toggle bolt? A toggle bolt is a bolt with “wings” that you hold closed to insert inside a hole in drywall, and once inside the hollow wall the wings spring back open. They are great for using with ceiling hooks!
Instructions:
Step 1
Decide where you’ll be installing the ceiling hook for your plant and make a small mark with a pencil.
Step 2
Make a small pilot hole where you just marked using a drill and a 1/8″ drill bit. If you happen to hit a joist consider going back to the first method above, otherwise you’ll need to move to the left or right of the joist.
Step 3
Using a 3/8″ drill bit and drill, make a larger hole into the ceiling drywall to fit the end of the toggle bolt.
Step 4
Holding the wings on the toggle bolt closed, gently insert the bolt (hinge side first) into the hole in the ceiling drywall.
Once inserted the wings will pop open, securing the bolt inside the drywall.
Step 5
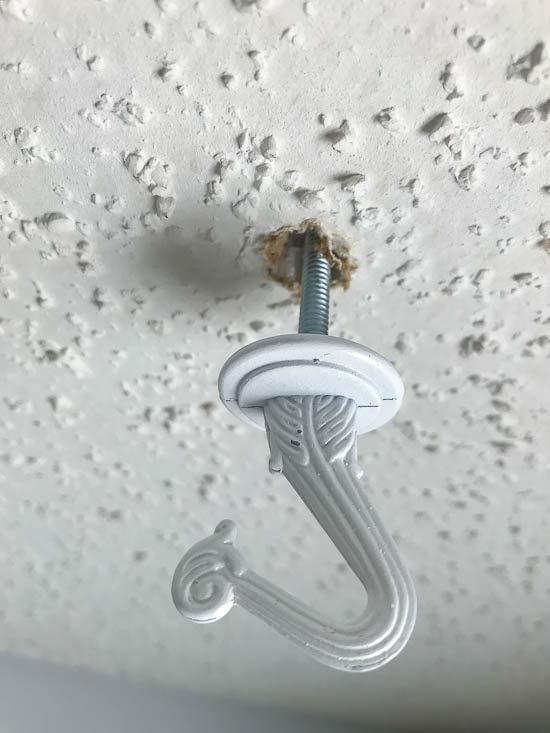
Screw the swag hook onto the bolt, and continue screwing until the hook is flush against the drywall. It’s helpful to pull down gently on the bolt while screwing the hook into place to keep it from just spinning in place.
Step 6
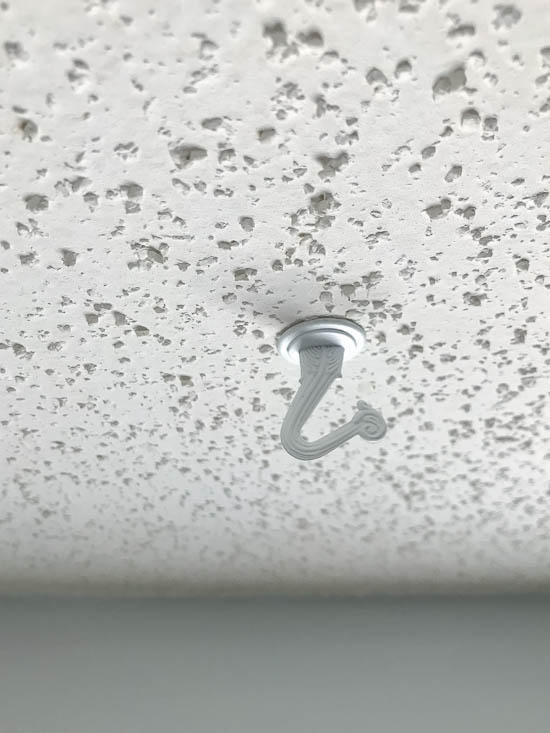
Hang your planter and you are finished with this project!
I hope this tutorial gives you the confidence to install a ceiling hook in your own home!
Check out my other tutorials HERE.
![]()

I’m Amanda, and I am the creator and voice behind the food and DIY blog, Domestically Creative. What started as a place to share updates with friends and family after we moved from Illinois to Tennessee and then to Texas, turned into a passion for finding creative and frugal ways to feed us and decorate our homes.
I have always had the “make it myself” attitude and I’m not afraid to bust out the power tools or get creative when it comes to decorating our home on a budget. You can usually find me scouring the local thrift stores, garage sales and estate sales looking for my next makeover (like this litter box cabinet), or dreaming up ways to make our new house feel more like home. My most recent project was giving my home office a much needed facelift. Some of the plans included creating a fun inspirational accent wall and adding pegboard to store my craft hoards.
I currently call Missouri home, where I live with my husband, dog, and 2 cats in a pretty dull, late 90’s split level. My husband and I both love to travel the U.S and recently purchased a small travel trailer to tag along in our journeys. In our free time together we can usually be found working together on a home project, exploring a new place, or just lounging with our pup, Delilah.
I’d love for you to connect with me on social media via Facebook, Instagram, Pinterest and Twitter!
See all of Amanda’s tutorials HERE.
If you liked this tutorial, you’ll love this two-tiered scrap wood plant stand:





Love your site. As a newly single woman at 57, there is so much to learn and you make it simple.
Thank you.