Tag Archive for: storage

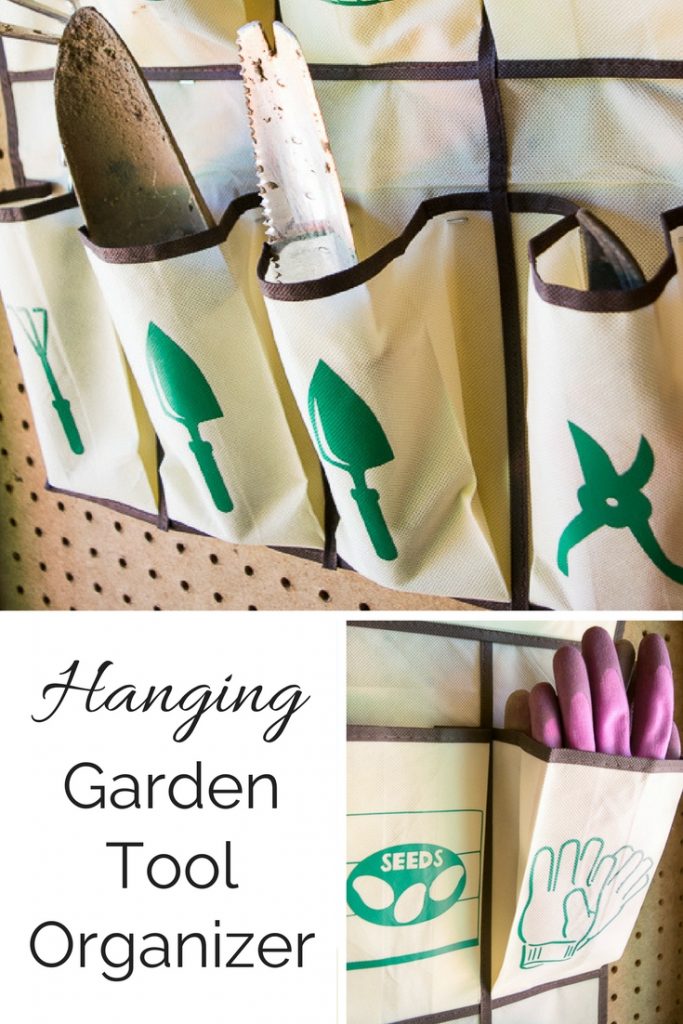
Get all your gardening tools in one spot with this hanging garden tool organizer!

Get all your gardening tools in one spot with this hanging garden tool organizer!

Hi again, I’m Vineta from The Handyman’s Daughter and I’m back this month with a smart idea for organizing your garden tools. My garden tools were always scattered throughout the shed making it hard to get started on a gardening project. Thanks to this Hanging Garden Tool Organizer, there’s now a place for everything.

Seattle’s Spring got off to a slow start, so as soon as the sun came out I was anxious to get new plants in the ground. I recently built a garden trellis and it was time to add climbing vines! Unfortunately, when I opened the garden shed, I faced this disaster . . .
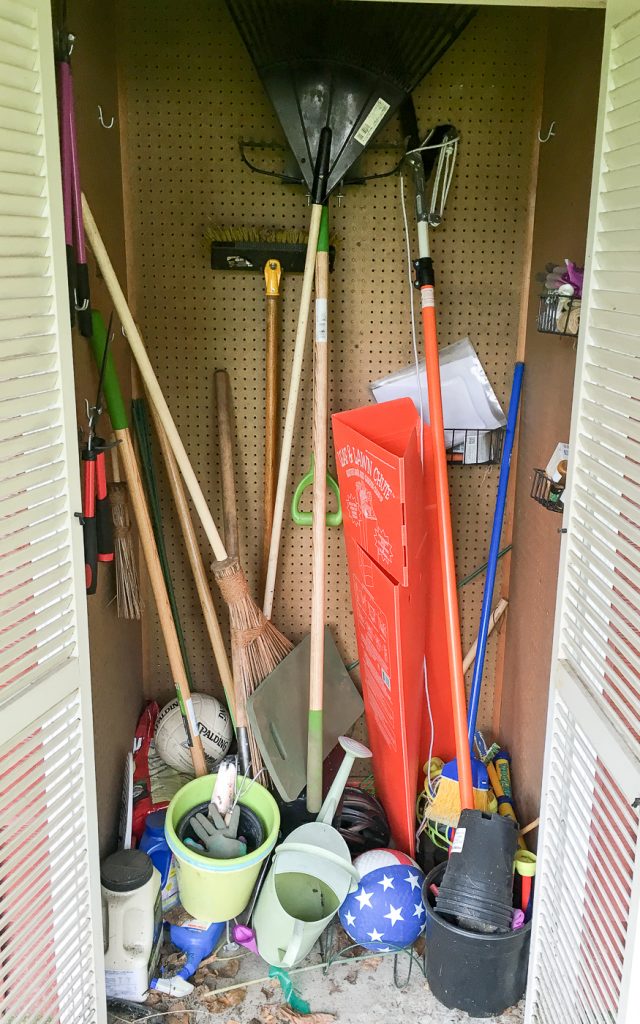
Our garden tool shed was a disaster! But with my new hanging garden tool organizer, small tools each have their own space.

Toys, leaves, and even my husband’s long lost bike helmet littered the floor. Sadly half the hooks on the pegboard walls were empty. Obviously I needed a better organizational system before someone got a rake to the head!

I cleared everything out (including too many spiders) and took inventory. Toys were relocated to the new storage bench I built for the backyard; plastic pots were recycled; and broken tools were tossed. Bigger shovels and rakes went back on the hooks, but I needed to create a home for the small hand tools and gloves.
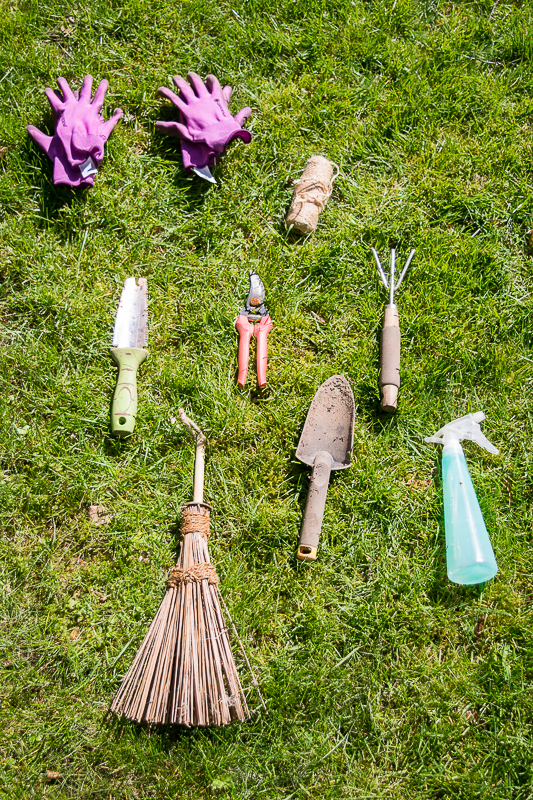
My new hanging garden tool organizer created a home for all these garden tools, and more!

I didn’t want to throw all the smaller items in a bucket where they would get lost again. An inexpensive shoe organizer was the perfect solution. Adding labels to each pocket helps keep everything in its place.

Materials:

(I’ve included affiliate links for your convenience. I earn a small percentage from a purchase using these links. There is no additional cost to you. You can read more about affiliate links here.)
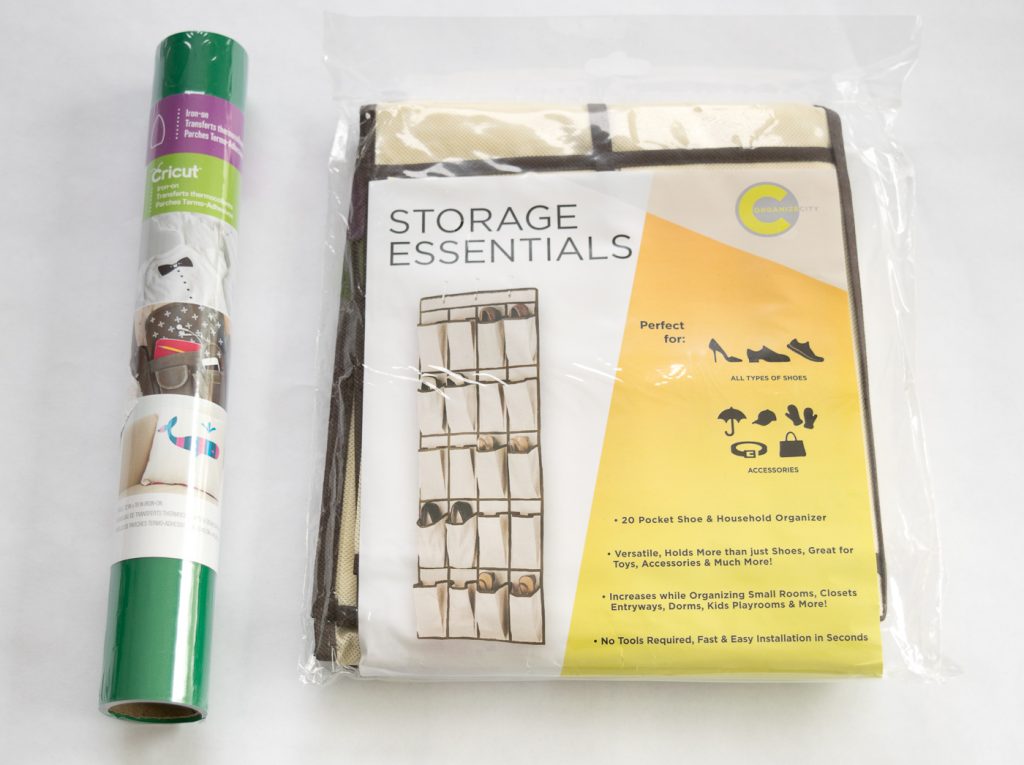
These are all the supplies you'll need to make a hanging garden tool organizer!

How to Make a Hanging Garden Tool Organizer:

Start by measuring the size of one pocket of the shoe organizer. (Mine are a little over 4 inches wide and 7 inches long.) If you don’t want to use all the pockets, feel free to trim off the extras. I only needed a dozen for all my small items, so I cut off the bottom two rows.
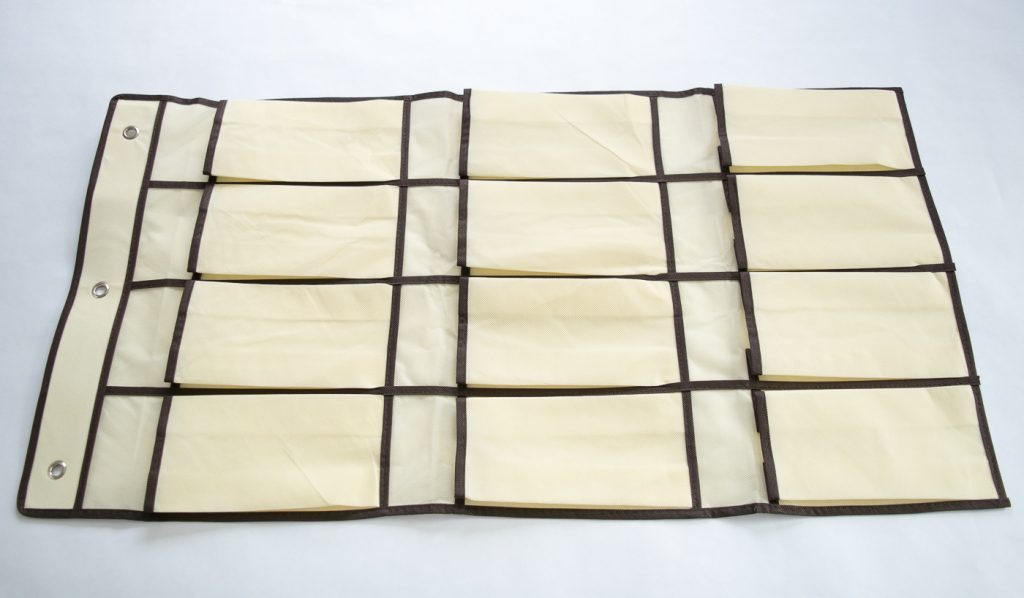
If there are more pockets than you have tools, trim off the bottom rows of your organizer.

Make a list of all the tools you want to store in the pockets. Using the software that comes with your vinyl cutting machine, create labels with text or images. (Mine are a combination of this design and clip art I found online.) Don’t forget to mirror the image if it has text!
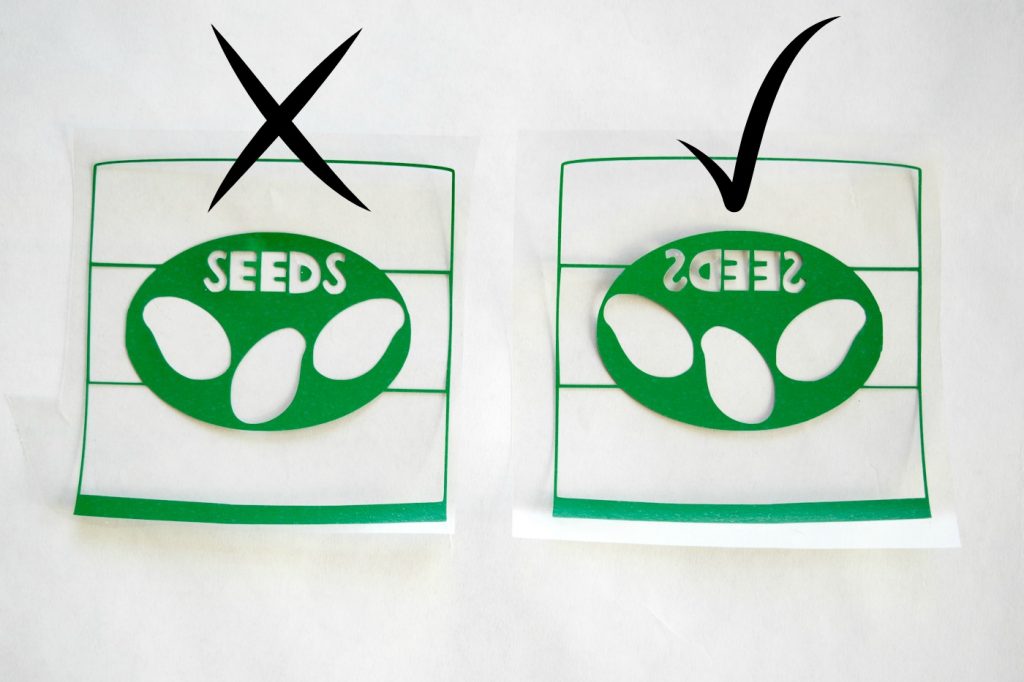
Make sure to create a mirror image if you're using text with iron-on vinyl!

Place the iron-on vinyl onto the sticky mat (shiny side down) and feed the mat into the machine. Send your design to cut. Cut apart the individual designs and weed out the negative space.
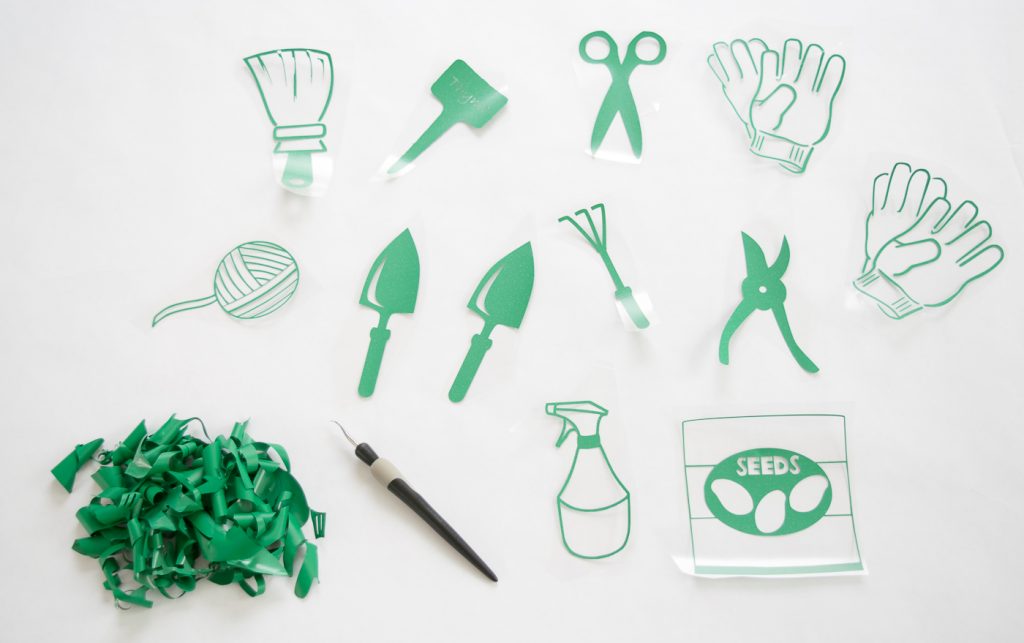
Each design corresponds to an item to be stored in the hanging garden tool organizer.

Place each design (plastic side up) on a pocket of the shoe organizer. It’s a good idea to keep heavier tools like the trowel and pruning shears at the bottom and lighter items like seeds and gloves at the top.
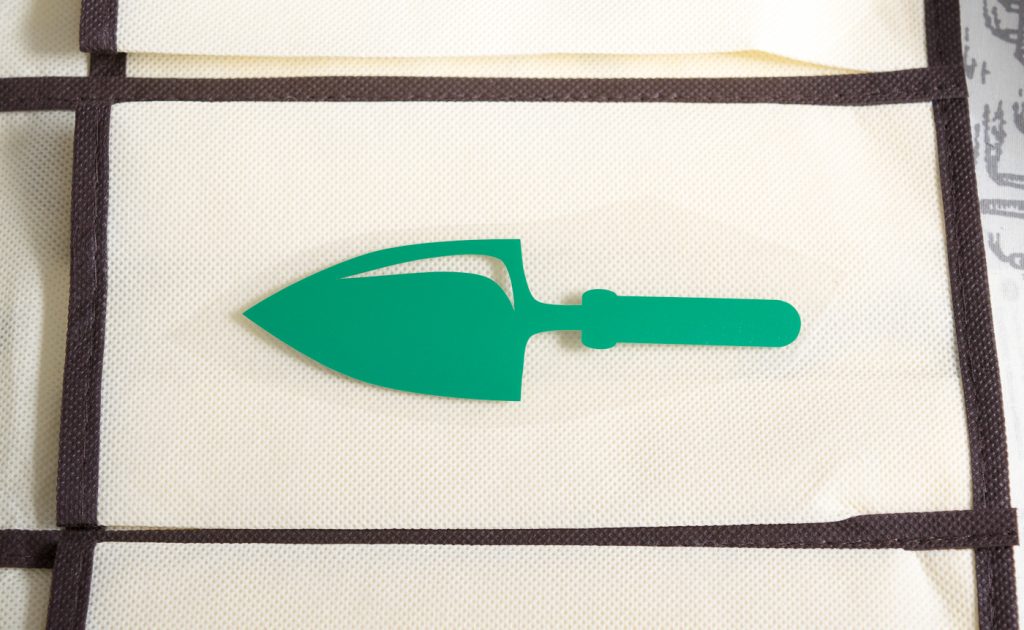
When using iron-on vinyl, make sure to apply it with the clear plastic side up.

Set your iron to the highest setting. Lay a piece of cotton cloth (a thin tea towel or even a t-shirt is fine) on top of your design. Iron it in place. Move the iron around over the design for 30 seconds to adhere the vinyl to the pocket. Be careful not to leave the iron in one spot too long or you risk scorching the fabric.
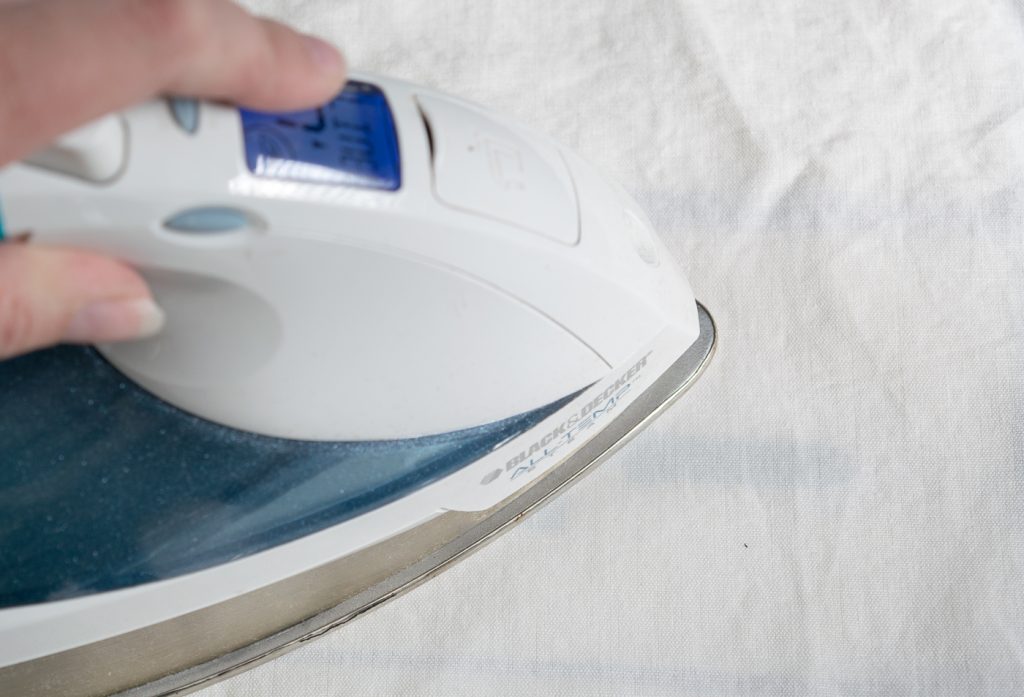
Iron your design to the pocket of your hanging garden tool organizer.

Your design is adhered properly when the clear plastic peels away cleanly. If it still sticks, iron more!
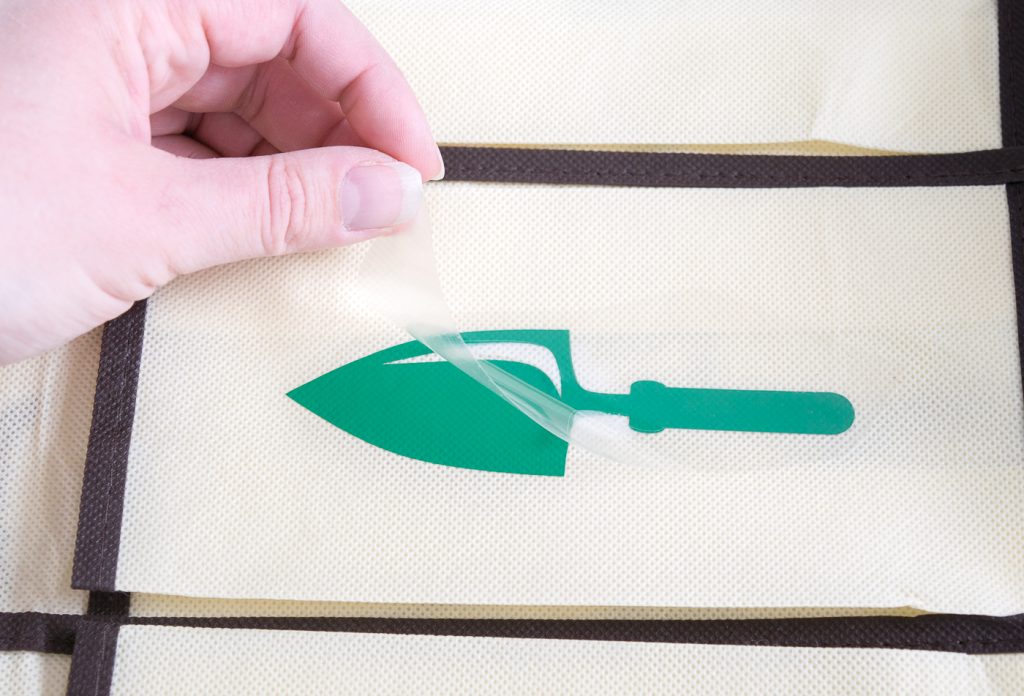
You know your design is ironed onto the fabric well when the plastic peels up easily.

Once the iron on is cool, move on to the next one. I had never used iron-on vinyl before and was pretty impressed at how flexible it is. The vinyl looks like it would peel up easily, but it adhered firmly.
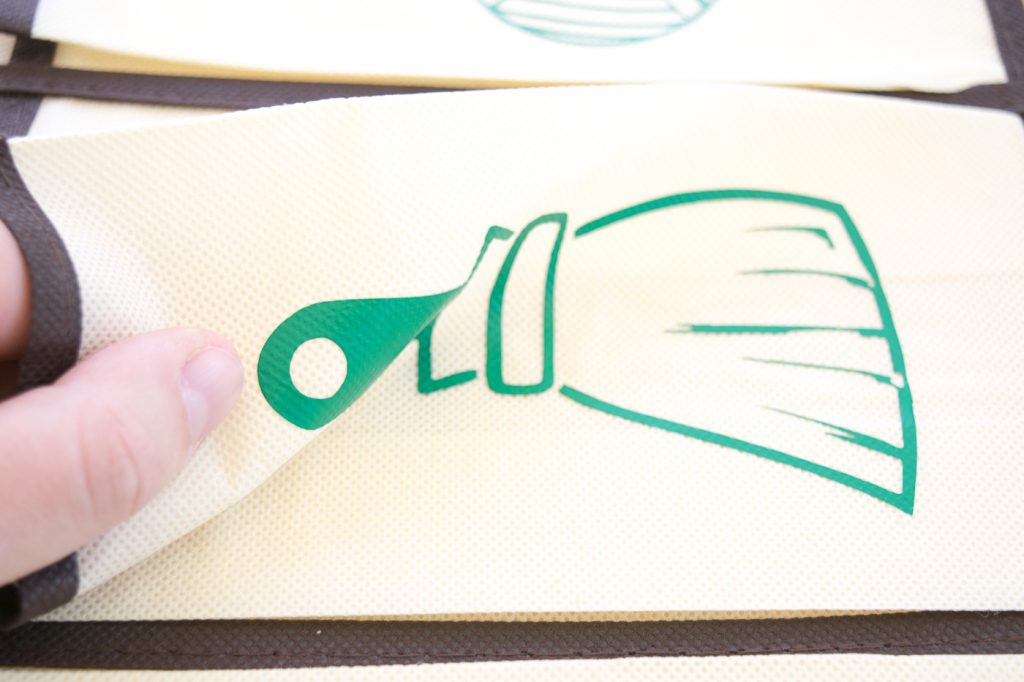
The iron-on vinyl is more flexible than it looks!

Hang your organizer. My organizer came with over-the-door hooks, but they were too big for the louvered doors of my shed. I used hooks to hang it on the pegboard wall. Time to fill up your organizer.
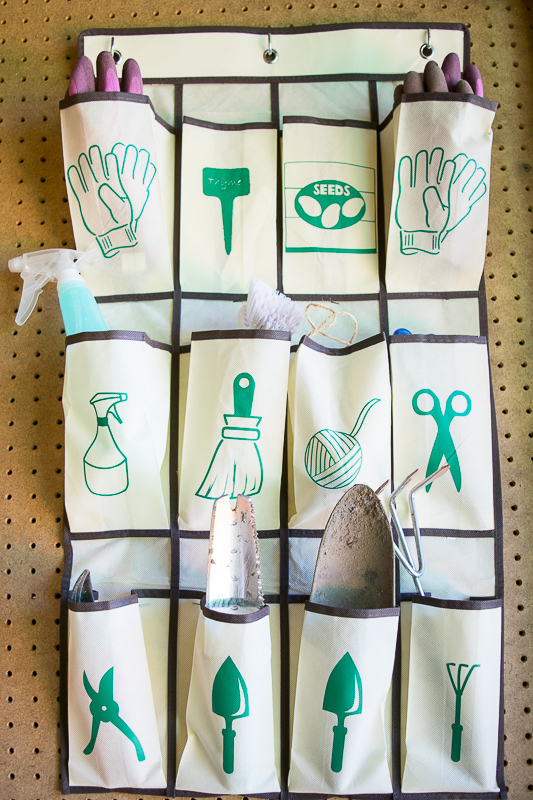
Get your shed or garage organized with this hanging garden tool organizer!

The heavier tools flopped forward so I stapled the fold of the pockets to the pegboard to keep them straight.
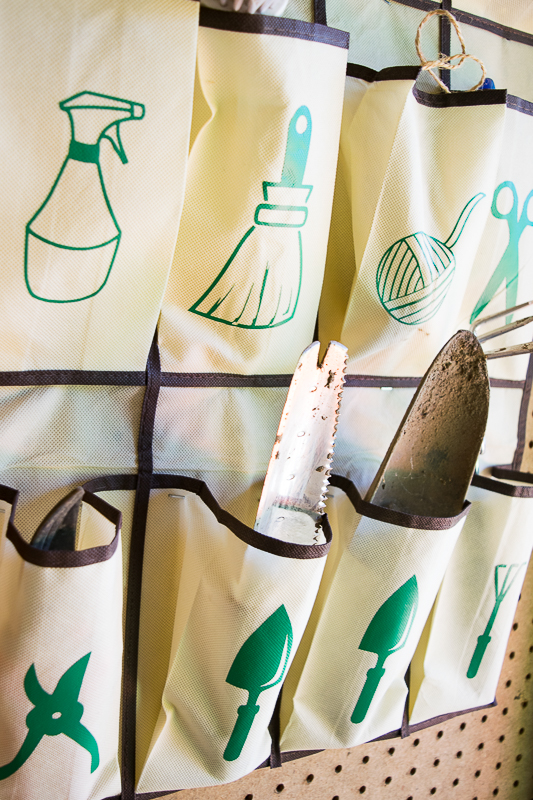
If the tools fall forward too much, staple the fold of the pocket to the wall to keep them straight.

No more hunting for that matching glove! They always have a home now.
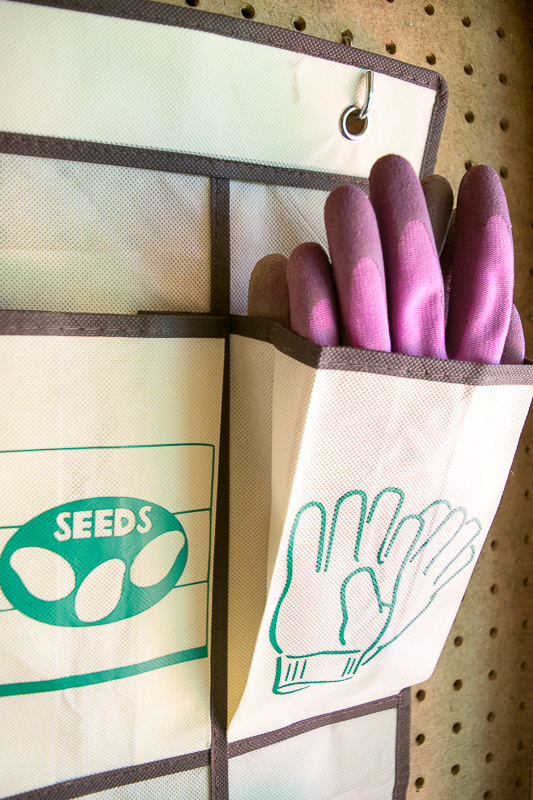
No more hunting for that missing gardening glove! Matching pairs fit perfectly in the pockets of this hanging garden tool organizer.

Now my garden shed is neat and organized! I can instantly see what tools are missing and hunt them down in the garden before they turn to rust. The images on the garden tool organizer make it easy for even the little kids to help with clean up.

Need more garden tool storage ideas? I’ve found some genius garden tool storage ideas, including the inspiration for this project, here.

Get organized with these 10 genius garden tool storage ideas!

Thanks for reading and don’t forget to check out my blog at The Handyman’s Daughter for more projects!

~ view more of Vineta’s projects ~

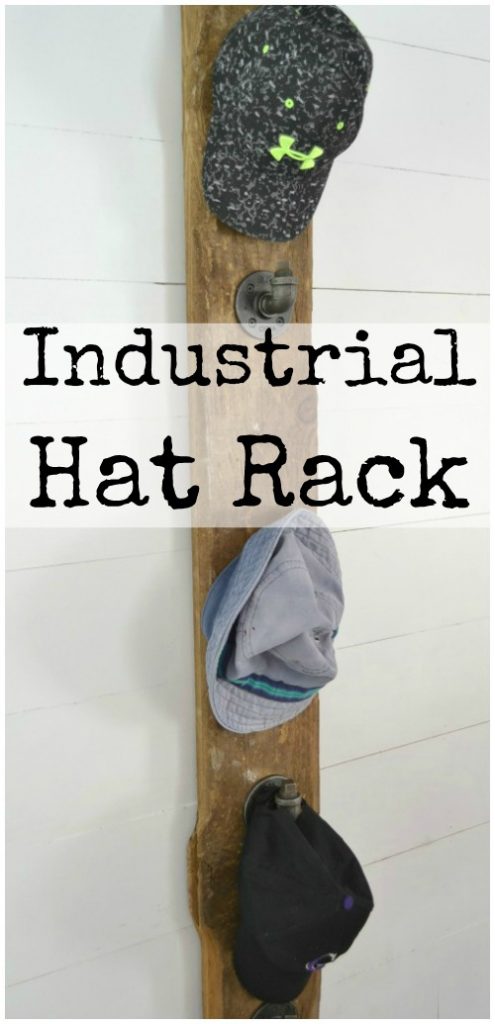
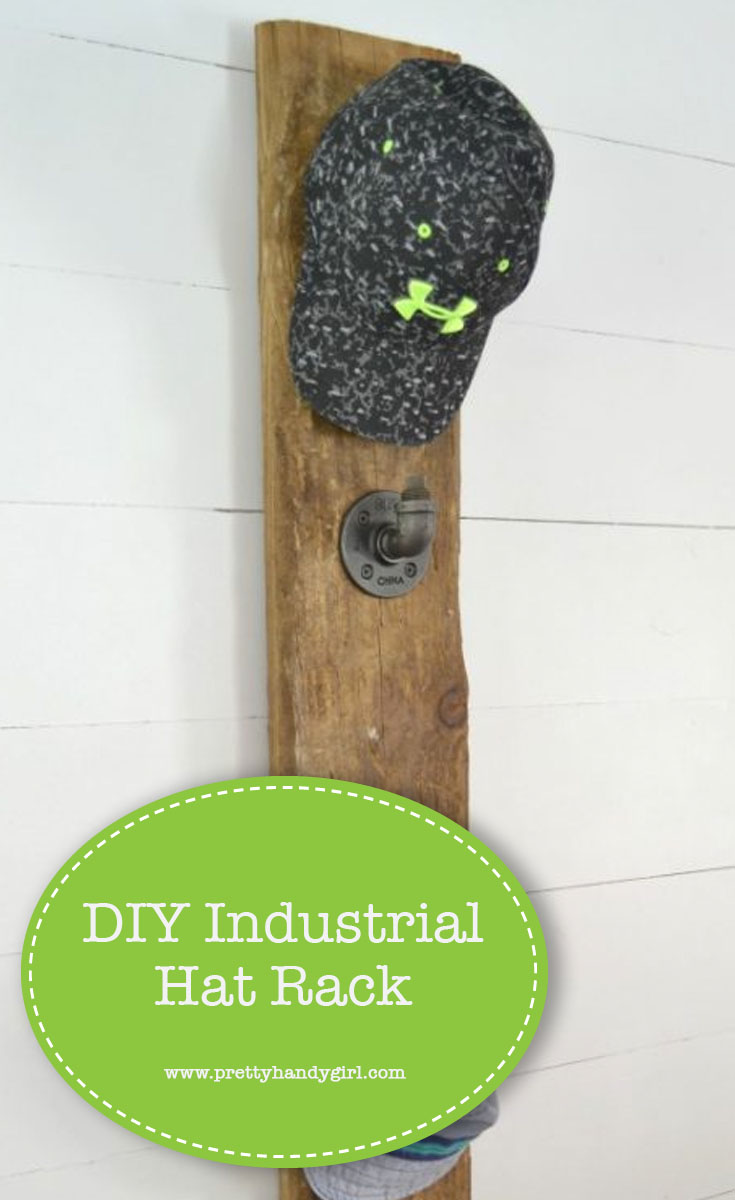
How to build an industrial hat rack to keep all your hats organized. | prettyhandygirl.com

How to build an industrial hat rack to keep all your hats organized. | prettyhandygirl.com

Hi Pretty Handy readers, it’s Jillian from I Am a Homemaker. I’m here to show you how I finally wrangled all the baseball hats my son has collected, with an industrial hat rack.

I absolutely love to add some unexpected touches to my projects and the plumbing aisle is a fantastic place to get those unique ideas.

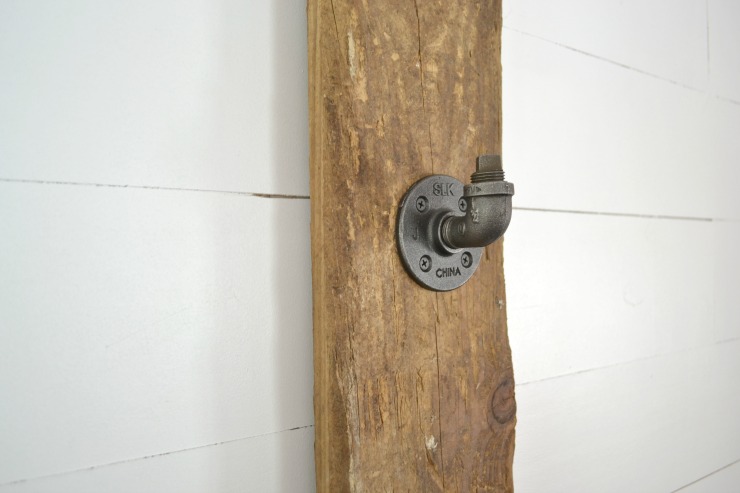
My latest idea was hatched while trying to figure out what to do with my son’s ever growing baseball hat collection.  Iron pipes are used for everything from shelf brackets to table legs, and now we can add hooks to that list of usefulness.

How to build an industrial hat rack to keep all your hats organized. | prettyhandygirl.com

My son’s room already has some industrial decor, so using the pipes for this hat rack works perfectly.

Here’s how to DIY your own industrial hat rack.

Materials:

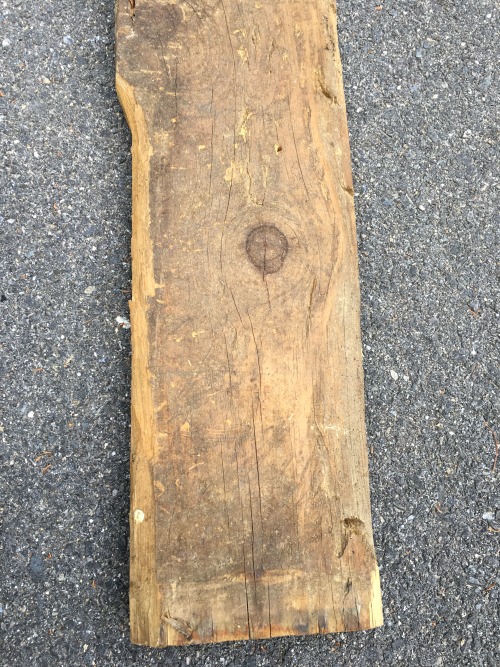
  • 1  1″ x 6″ board at 5′ long (The length can be altered to suit your needs but will also alter the number and placement of the flanges so adjust accordingly.)
  • 2 D-rings for hanging
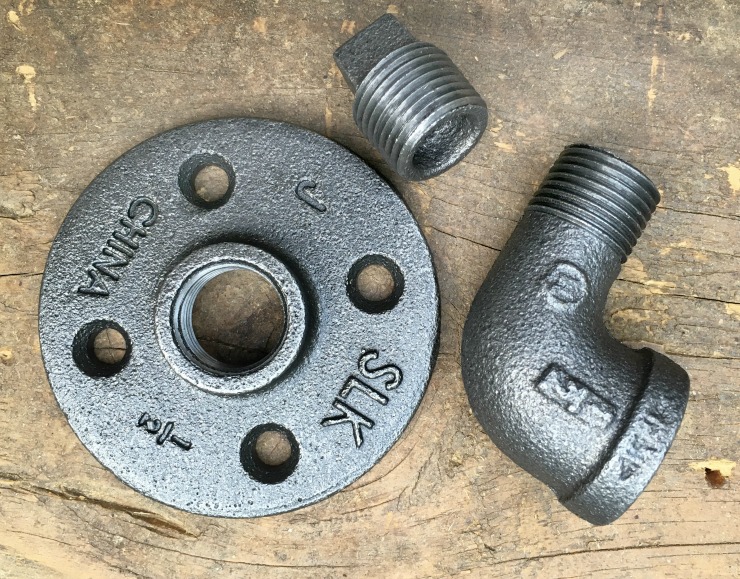
  • 5   1/2″ iron floor flanges
  • 5   1/2″ iron 90 degree street elbows
  • 5   1/2″ iron plugs
  • 20  1/2″ screws (choose a finish that matches your flanges or spray paint them to match)

Instructions:

Step 1:

Cut the 1″ x 6″ board to the desired length. Sand the edges and finish to your style.

How to build an industrial hat rack to keep all your hats organized. | prettyhandygirl.com

Step 2: 

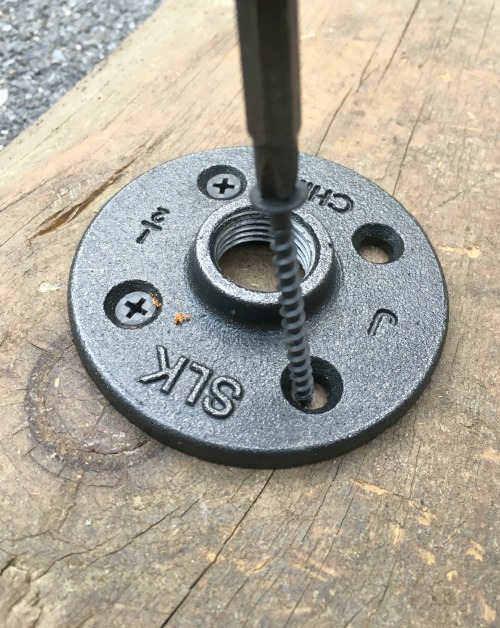
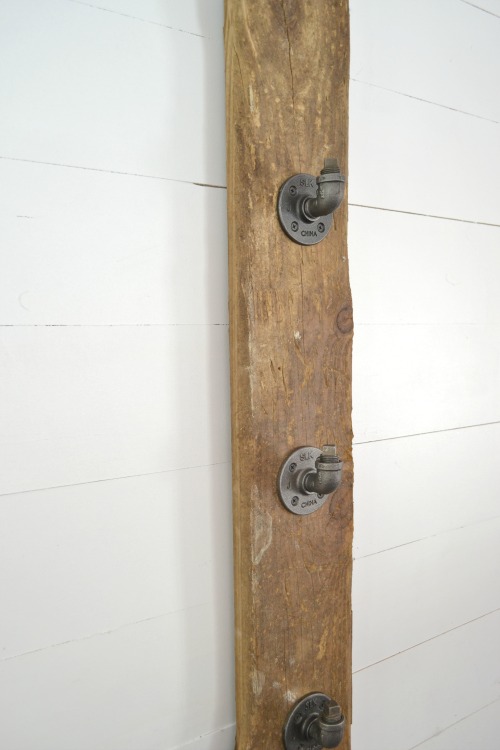
Place the top flange 1″ below the top of the board. Attach to the board with screws. Attach the remaining flanges to the board 8½” apart.

How to build an industrial hat rack to keep all your hats organized. | prettyhandygirl.com

Step 3:

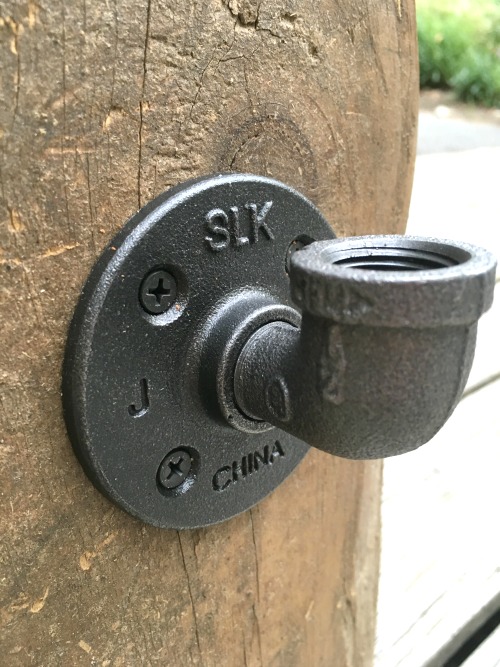
Add the street elbows to the flanges. (I chose to make this rack to hang vertically to make the best use of a narrow wall space.)

How to build an industrial hat rack to keep all your hats organized. | prettyhandygirl.com

Step 4:

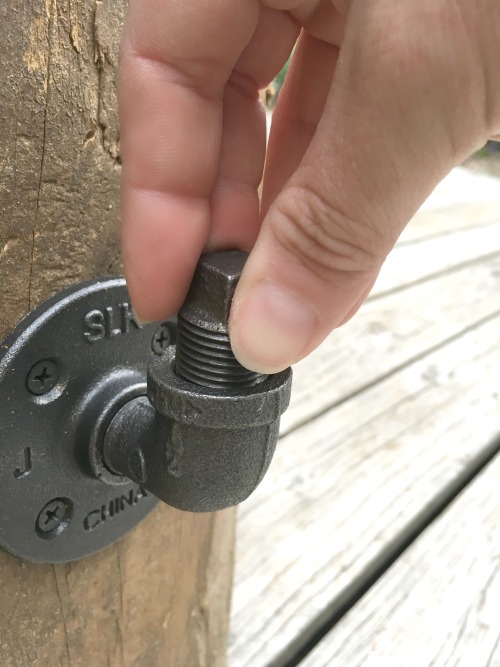
Add the plug into the top of the elbow and screw it in tightly.

How to build an industrial hat rack to keep all your hats organized. | prettyhandygirl.com

Step 5:

Attach the D-rings to the back for hanging.

How to build an industrial hat rack to keep all your hats organized. | prettyhandygirl.com

Another display option is to skip the D-ring and just lean it against the wall. I like it this way, but I don’t think free standing is the safest option for a child’s room. A furniture tether could be used to prevent tipping while still allowing it to stand on the floor.

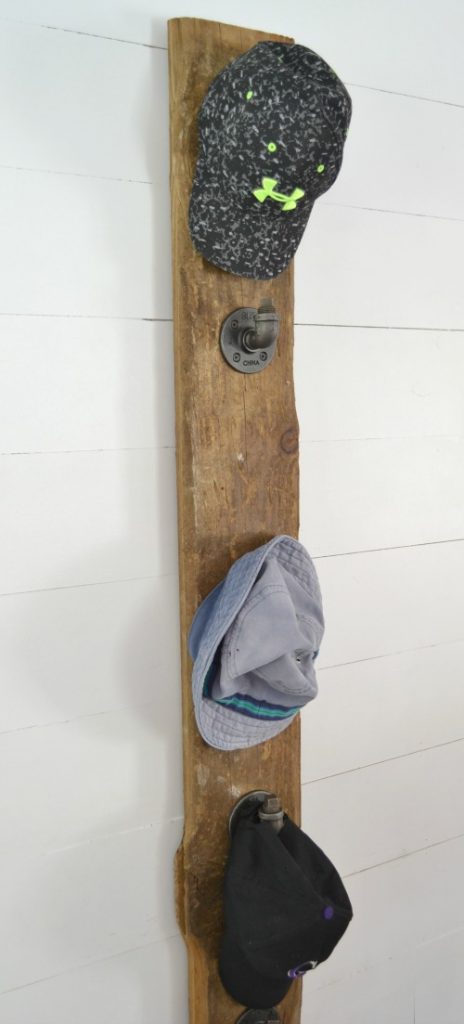
All that’s left to do is gather up all your hats and have fun hanging them on their new, industrial hooks.

How to build an industrial hat rack to keep all your hats organized. | prettyhandygirl.com

With different D-ring placement and a little turn of the 90 degree elbow, you can easily hang this rack horizontally. You can also hang almost anything on this rack. How about towels? Flowers? Jewelry or purses? Use your imagination and get organized.

How to build an industrial hat rack to keep all your hats organized. | prettyhandygirl.com

I hope you enjoy this idea. Hopefully it pushes you to use your imagination and explore the hardware store.

Jillian's Signature

-Read more of Jillian’s Tutorials-


Pin for later!


How to build an industrial hat rack to keep all your hats organized. | Industrial DIY project | DIY hat rack | Pretty Handy Girl #prettyhandygirl #DIY #industrialdecor #homeorganization

How to build an industrial hat rack to keep all your hats organized. | Industrial DIY project | DIY hat rack | Pretty Handy Girl #prettyhandygirl #DIY #industrialdecor #homeorganization


DIY Drawer Organizer | Pretty Handy Girl | Storage and Organization

DIY Drawer Organizer | Pretty Handy Girl | Storage and Organization

I like to think of myself as an organized person, but that isn’t 100% true. I spend 15 minutes searching for my son’s baseball hat on the way out the door to his game; I shuffle papers from one pile to another; and I have that dreaded “drop spot” in my kitchen where everything seems to land when I walk in the door. The one thing I am good at is putting things back where they belong.  If an item has a spot to live in my home, it is easy for me to put it there.

Drawers can be tricky when it comes to organization because when you toss things that belong in, they can still become cluttered.  DIY Drawer Dividers help get your drawers more orderly and I can show you how to build them to suit your exact needs!

Materials:

  • 1/4″ poplar hobby boards (width and length will be determined by the size of your drawer)
  • Wood glue
  • Shelf paper
  • Old newspaper or other scrap paper
  • Painter’s tape

Tools:

  • Hand saw or miter saw

Instructions:

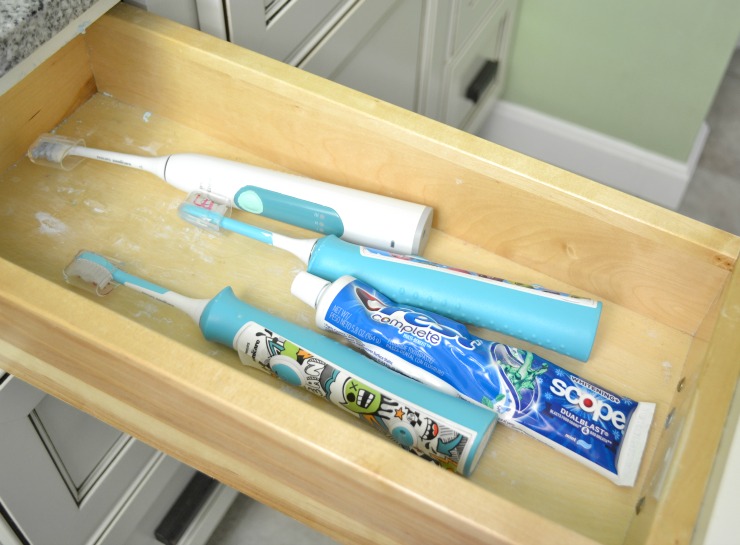
The first step is the most important.  Clean out your drawer. By emptying it completely and then adding back what you intend to keep, you are designing your storage around things you actually need.

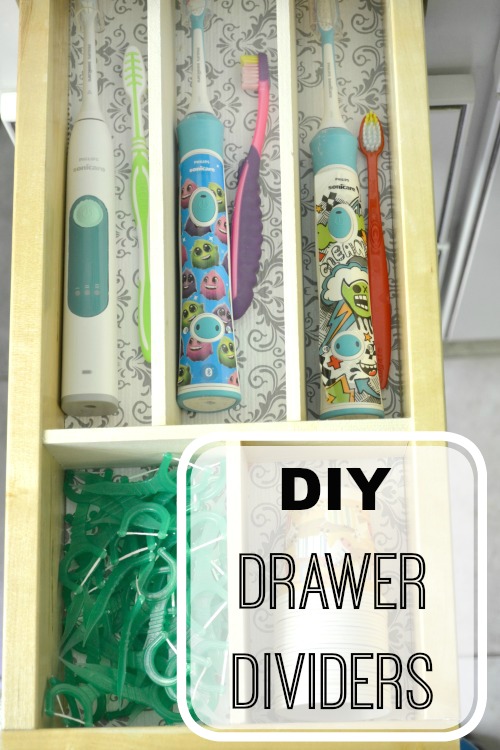
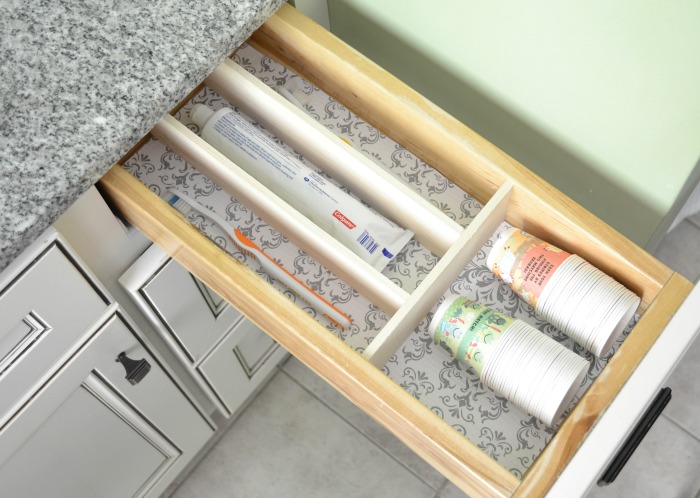
I built my dividers for my bathroom drawers that hold our toothbrushes, toothpaste and floss so there wasn’t much to throw away, but there was plenty of cleaning to do.

DIY Drawer Organizer | Pretty Handy Girl | Storage and Organization

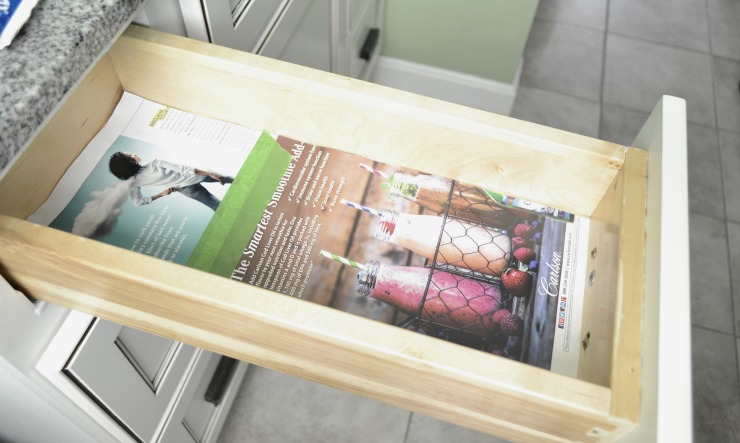
Once your drawer is cleaned out, line it with some pages from an old magazine or craft paper. This will protect the drawer from the wood glue later on.

DIY Drawer Organizer | Pretty Handy Girl | Storage and Organization

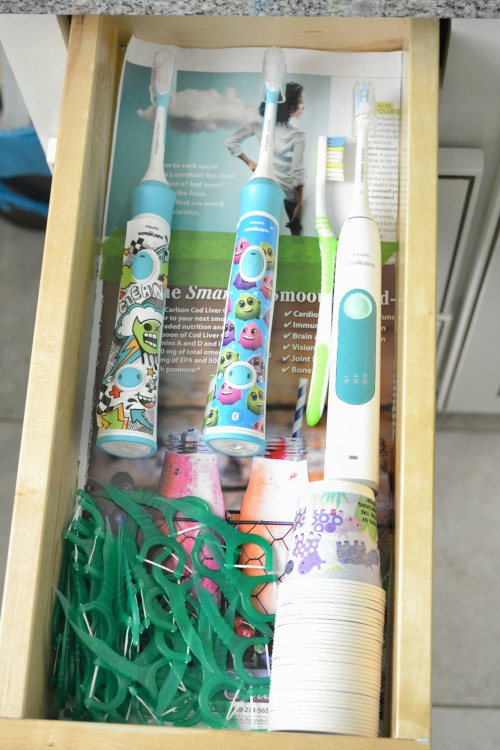
Next, add back the items you want to keep in your drawer.  This will help you with measuring and planning where the dividers will go. Use a marker to map out the compartments by drawing lines on the magazine pages.

DIY Drawer Organizer | Pretty Handy Girl | Storage and Organization

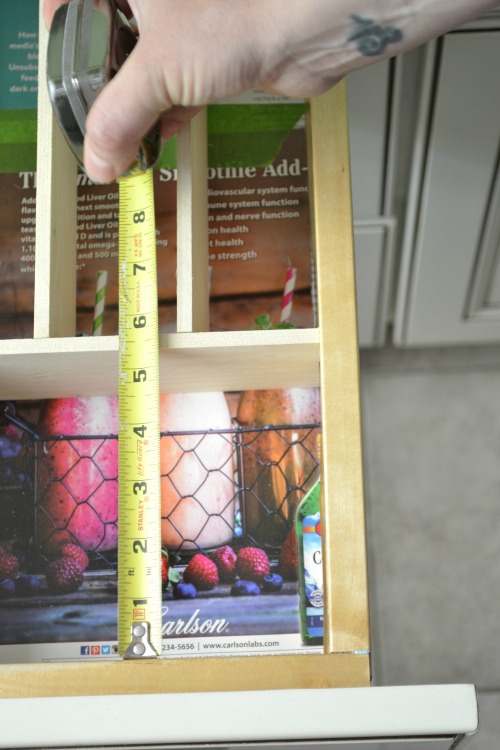
Take your measurements and cut your wood.  Then place them in the drawer for a dry fit.

You may need to do this in sections to get the right measurements.

DIY Drawer Organizer | Pretty Handy Girl | Storage and Organization

If you have a section that will run the entire width of the drawer, you can cut that piece to fit snug so it stays in place and then glue other pieces to it.

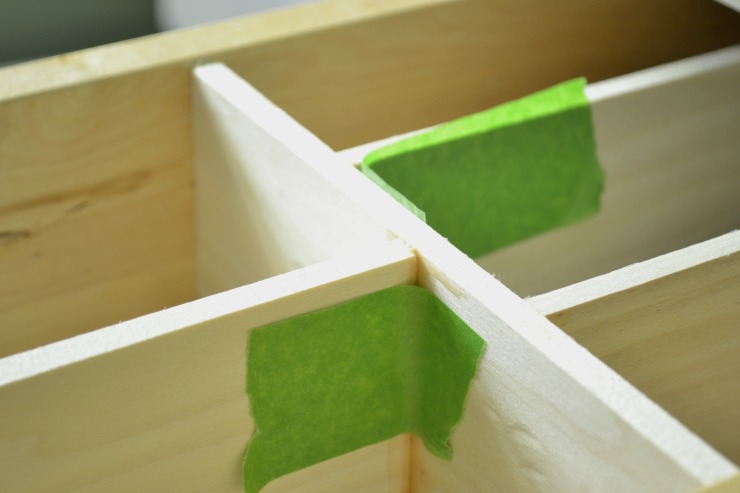
Glue the pieces together in your desired configuration and use the painters tape to hold them while the glue dries.

DIY Drawer Organizer | Pretty Handy Girl | Storage and Organization

(I don’t recommend gluing the dividers to your drawer sides. You never know when you may want to change the configuration.  By only gluing the sections to each other, you can remove them easily to clean without any damage to your drawers.)

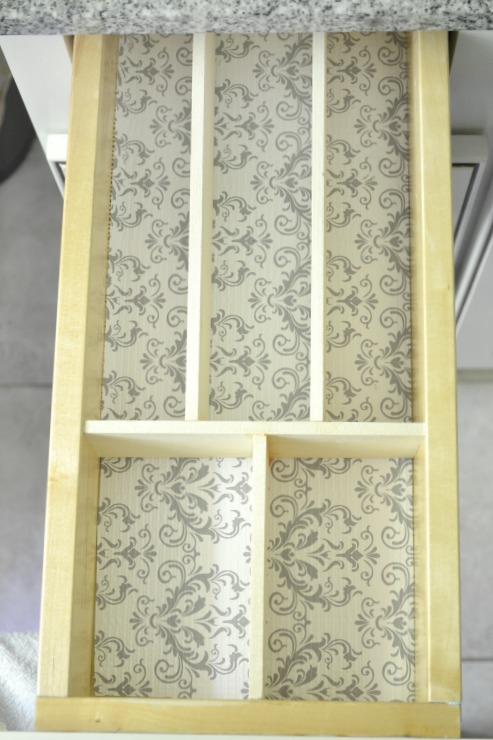
After the glue has dried, remove the dividers from the drawer and remove the tape. Add shelf paper to the bottom of the drawer and put your dividers in place.

DIY Drawer Organizer | Pretty Handy Girl | Storage and Organization

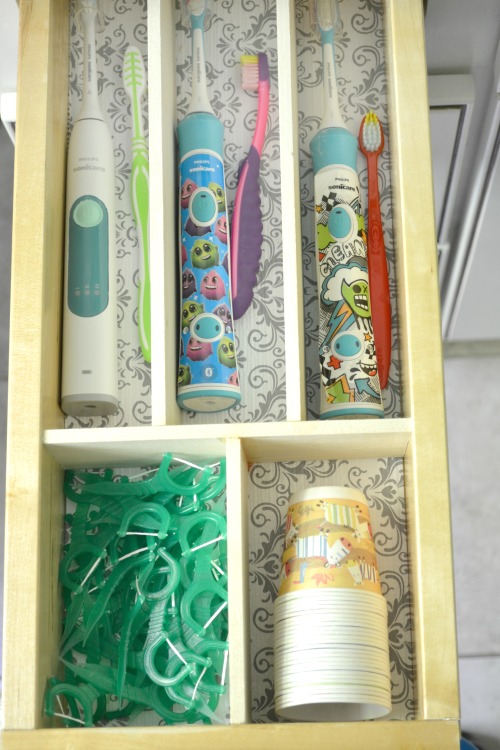
All that’s left to do is add in all your perfectly organized items.

DIY Drawer Organizer | Pretty Handy Girl | Storage and Organization

This project was so easy, I made a DIY Drawer Divider.  My kids aren’t the only ones who need organized toothbrushes.  Now my husband and I have ours neat and tidy too.

DIY Drawer Organizer | Pretty Handy Girl | Storage and Organization

By creating custom drawer dividers you save time, effort and money. I have tried so many different ways to organize these drawers with no success.  These DIY drawer dividers have finally made this storage space work for me. I hope you have the same success.

Jillian's Signature

~ Read more of Jillian’s tutorials ~


Pin for later!

wooden drawer dividers