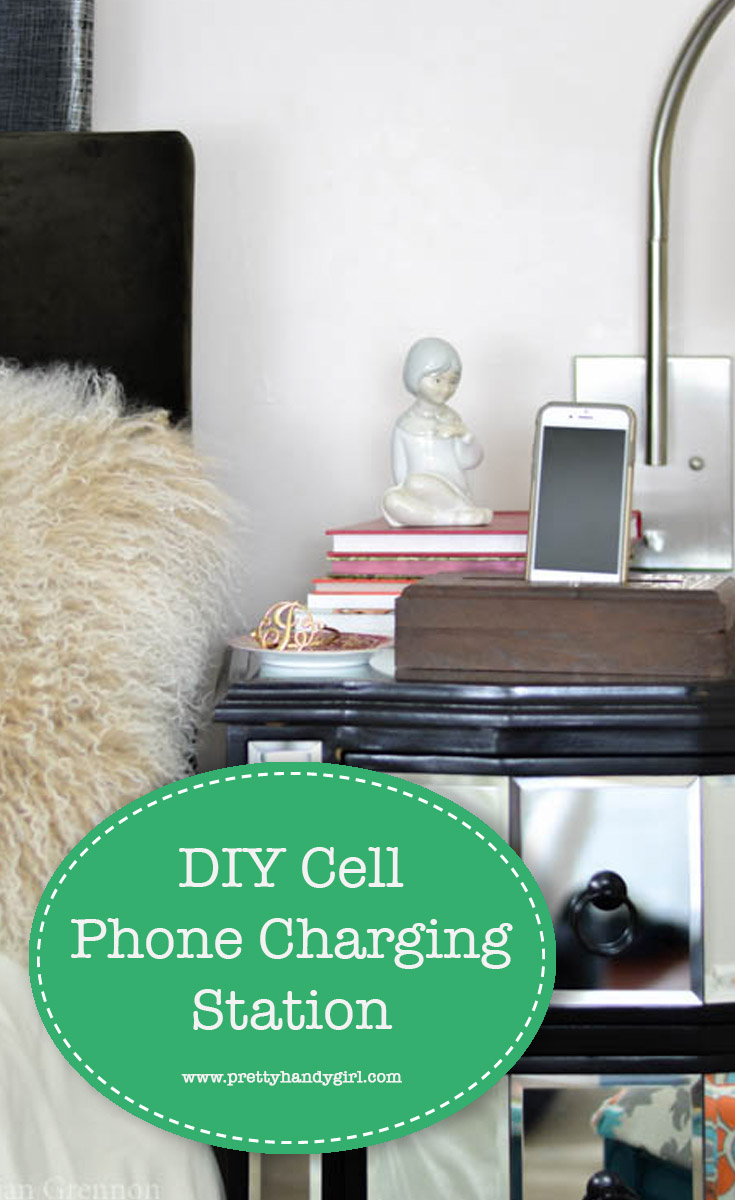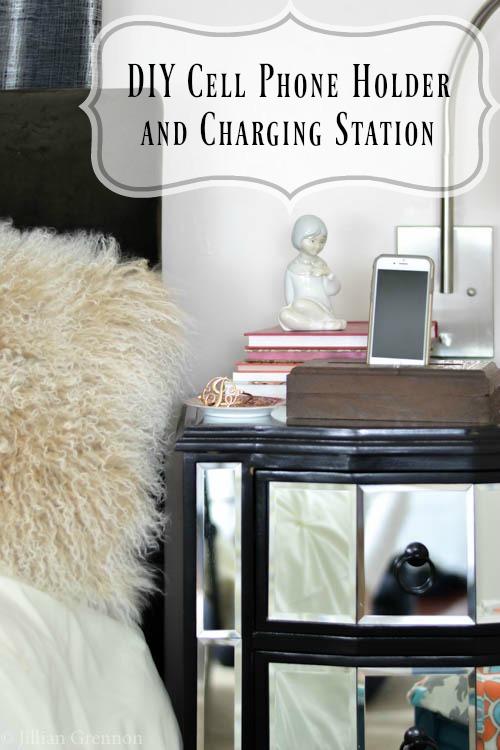
Hello Pretty Handy readers, it’s Jillian here from I Am a Homemaker and I have a great last minute gift idea for that person on your list that has it all! Does anyone what to know how to build a DIY Cell Phone Holder and Charging Station?
Whether you see it as a blessing or a curse, we are pretty much tethered to our cell phones. They usually end up on our nightstands or kitchen counters at night. I don’t know about you but I use mine as an alarm clock (no worrying about forgetting to turn the clock back or the power going out and missing your wake up time.) I thought it was time to make a designated spot for my phone that would double as a convenient way to charge it. I came up with this simple DIY cell phone holder and charging station. Ready to learn how to make one of your own?
These directions will adequately hold an iPhone 6. You may need to adjust things slightly if you have a different phone.
(I’ve included affiliate links for your convenience. I earn a small percentage from a purchase using these links. There is no additional cost to you. You can read more about affiliate links here.)
Materials:
- 2 – 5/4 x 6′ cut to 9″ long
- Wood Glue
- Clamps
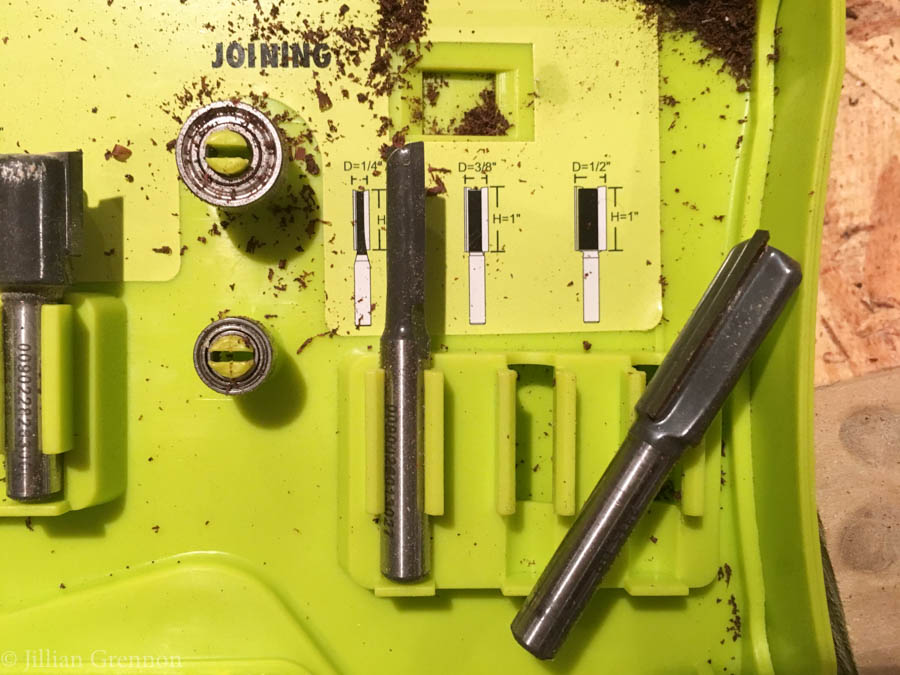
- Router with 1/2″ straight bit and 1/4″ straight bit and a round over bit(optional)
- 5/16 Drill bit
Instructions:
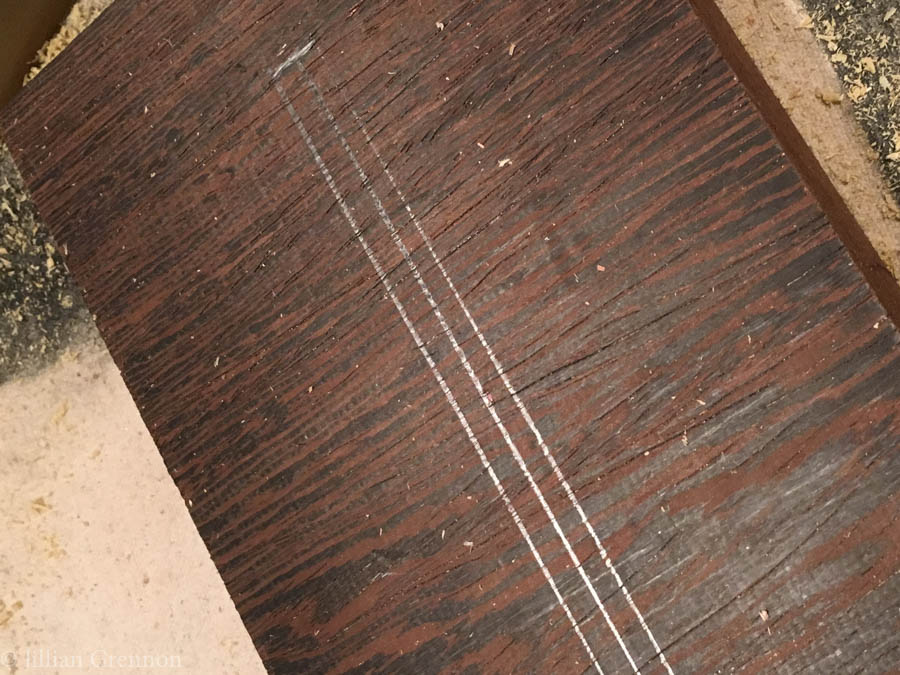
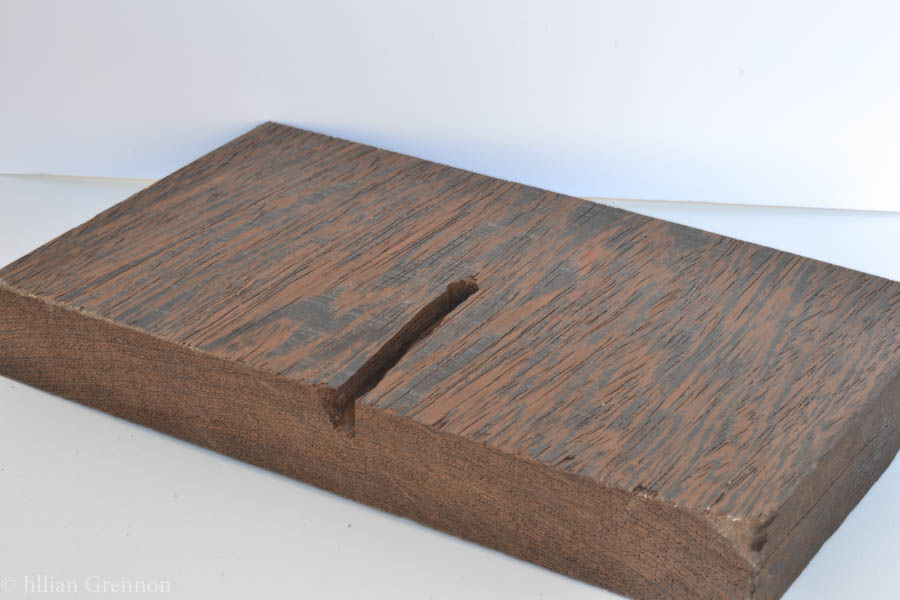
Step 1: Measure and mark a 6″ long and 3/4″ wide guide down the center of your one of your boards. This is the section you will remove from the wood to make a space for your phone.
Step 2: Set your router for a 3/4″ depth setting and use the 1/2″ router bit to remove the channel you outlined with your pencil.
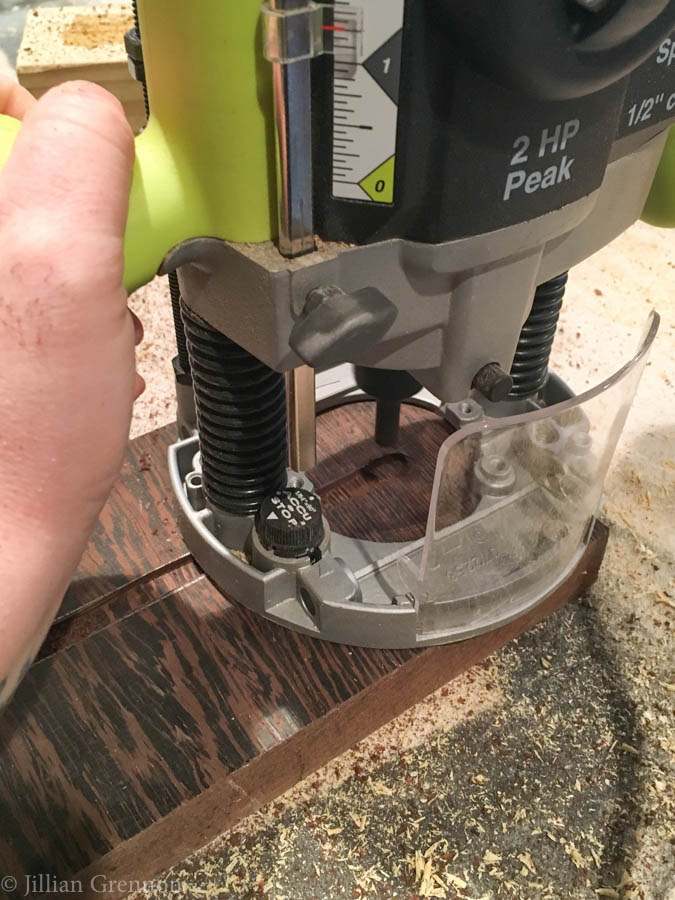
Step 3: Use the 1/4″ bit for more control to clean up the edges of your channel. Be sure to have your phone on hand to check the fit.
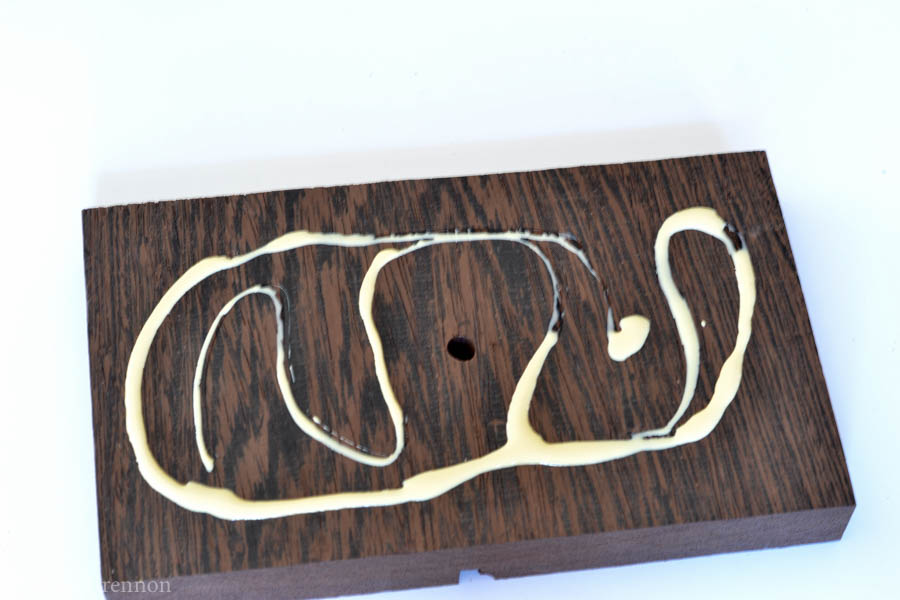
Step 4: Add glue to the top of the second piece of wood. Stack the routered piece on top and clamp them together. Allow to dry according to the wood glue instructions. (You can ignore the hole in my piece, I did things a little backwards but you can save some time by learning from my mistakes.)
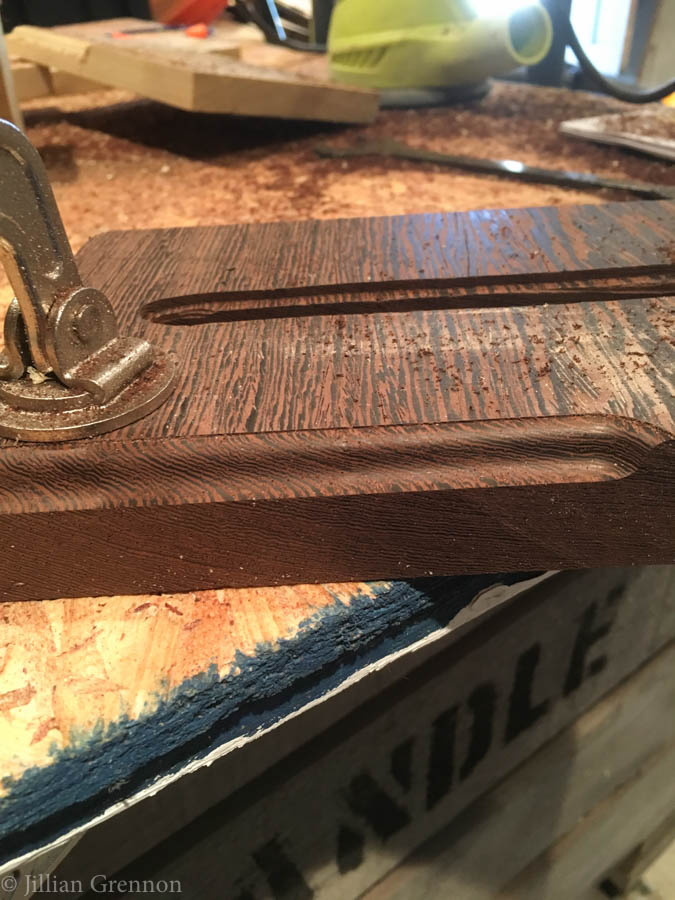
Step 5: Once the glue has dried, drill a hole through both pieces starting in the center of the channel and coming straight out the bottom. Flip the piece over. Beginning at the hole you drilled and continuing to the back of the piece, use your 1/2″ router bit to cut a groove for the cord to rest in.
Step 6: This is totally optional, but you can go back and edge the top of your cell phone holder with a round over bit on your router to make a decorative edge. It gives the piece a more decorative look.
Step 7: Now all you need is the perfect person to gift this to. Or you could always keep it for yourself. 😉
The phone can sit vertically or horizontally. When it is placed vertically, the charger will be completely hidden in the hole. When it is horizontal, the cord will need to be pulled up a bit and tucked behind the phone.

Want a few more last minute gift ideas? Check out these DIY gift ideas!

-Read more of Jillian’s posts-
Pin for later!