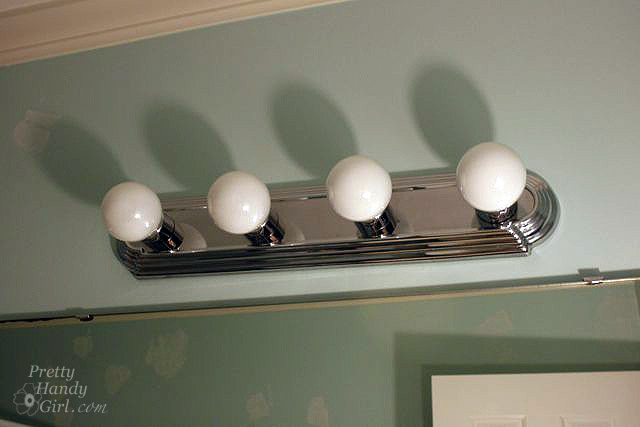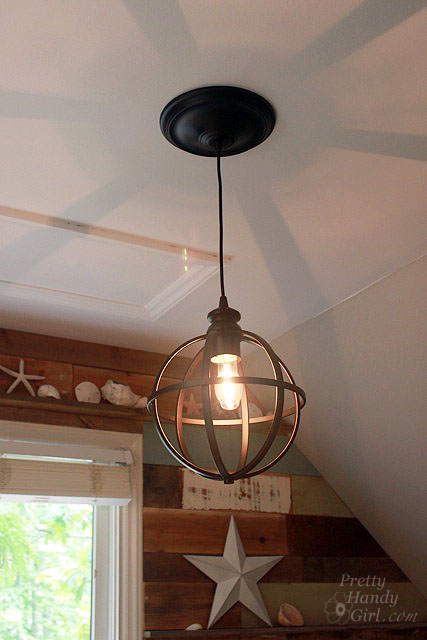
Last week when I finally said adios to the Hollywood style strip light, I was eager to put in some energy efficient light bulbs.
While purchasing the light fixture I also checked out the light bulb display. I found myself being drawn to the bulb comparison display at Home Depot. I looked at the different lights and their color effect in the “display room”. Confident with my new knowledge, I walked out with several Soft light CFLs in my bag. But, when I got home and installed them I was NOT happy! They were harsh, bluish and just made the bathroom feel cold and clinical. I can’t tell you how many times this has happened to me. Those displays are so deceiving! They don’t REALLY show you what the bulbs will look like in your home. And don’t even get me started on the paint chip displays! Let’s just say you should NEVER EVER make a final decision on paint at the store!
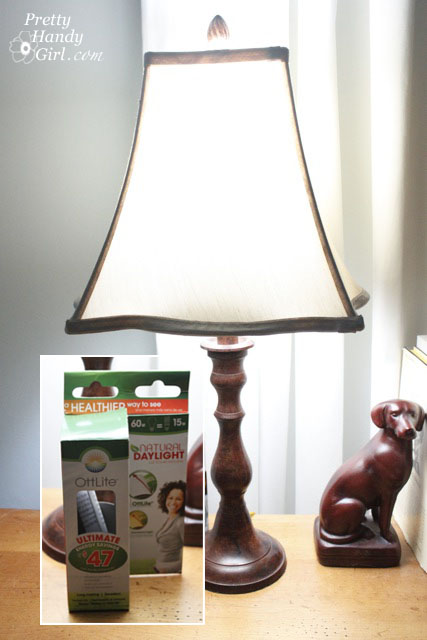
One of my facebook fans mentioned that she really liked Ottlite bulbs, and that they were just like daylight. I promptly contacted the company and they shipped me out several bulbs to try.
It was at this point that I decided an unscientific test was in order. I started out systematically using just four bulbs, but then I bought a $30 (gulp!) LED lightbulb at the grocery store. And soon, all scientific conditions were thrown to the wind. So, I hope none of you yell at me for my lack of consistency. The test was more for myself , but I figured there might be a few inquiring minds.
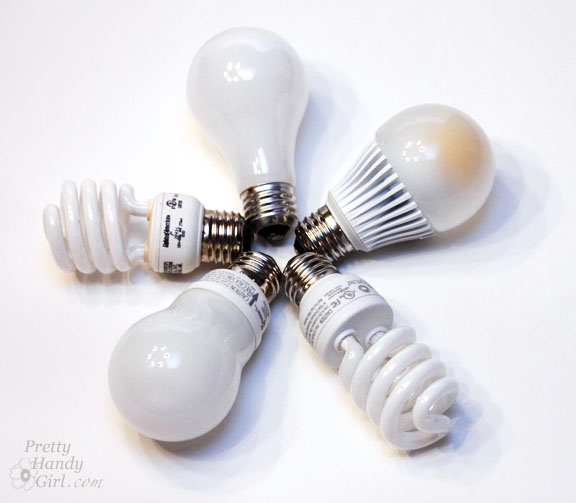
One more note on the unscientific-ness of my experiment. All the photographs were taken using the fluorescent setting on my camera (to try to give the best view of the CFLs. Which will explain why the incandescent bulbs look extra yellow. I kept the exact same shutter speed and aperture in each setting. Only the bulbs changed in each photo. These were the various bulbs I used in my test:

I hope you find this comparison as helpful as I did!
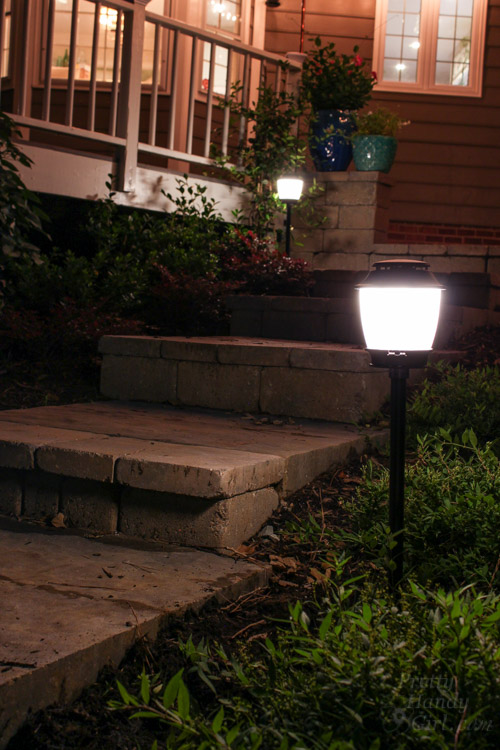
First up was an outdoor setting. This light fixture lights up our side door entrance. I was using the regular CFL in the fixture, but it was so cold in appearance and looked odd with the warm yellow light the lanterns by our front door emit.
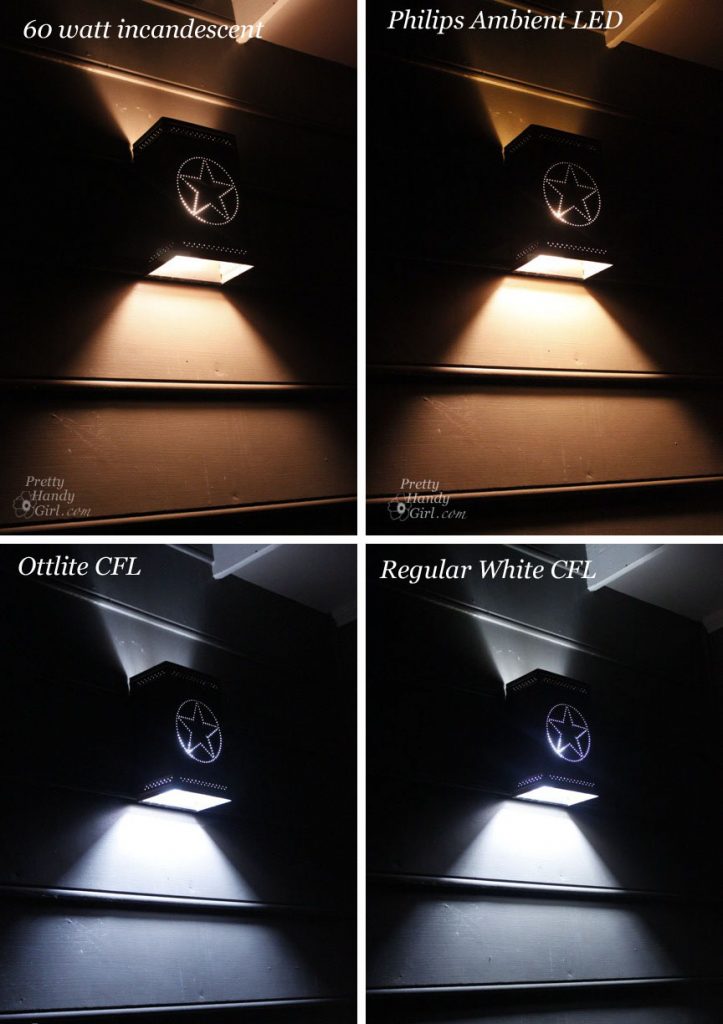
I really liked the Philips Ambient LED in this fixture and was about to choose that one, but then read that it wasn’t recommended for outdoor or damp locations. Boo. Ultimately I decided on the the incandescent 60 watt bulb. In the meantime I will be on the lookout for a outdoor approved LED lightbulb.
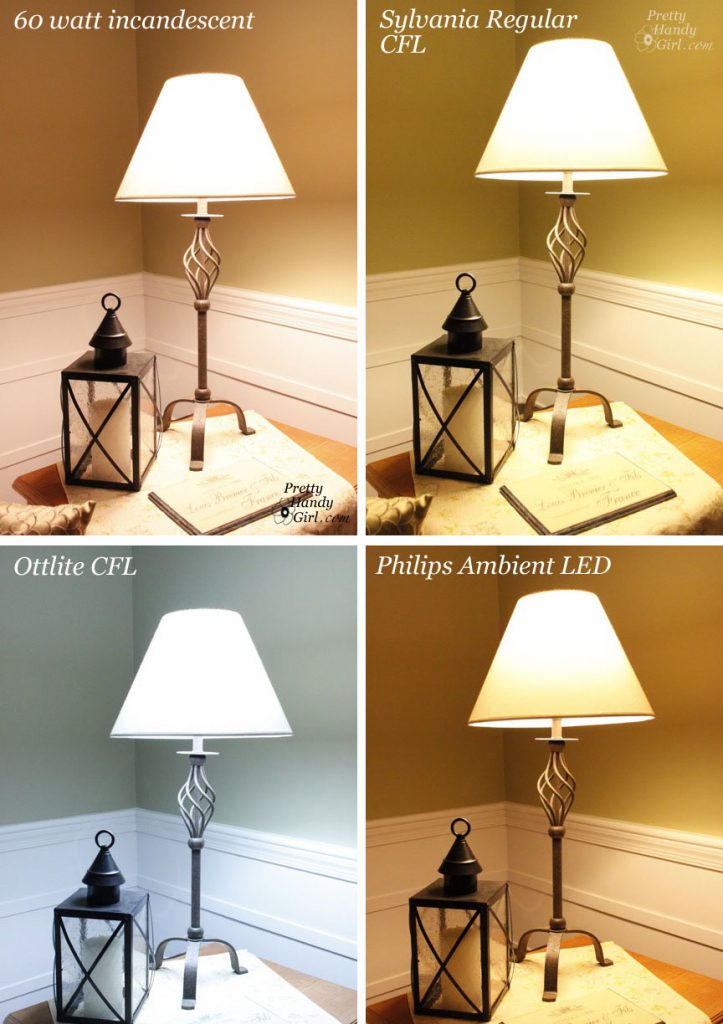
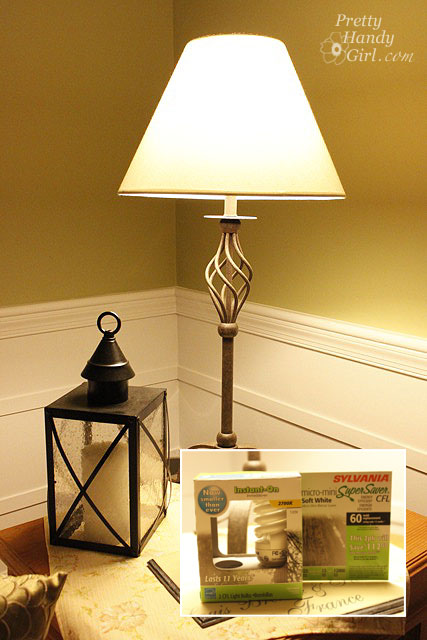
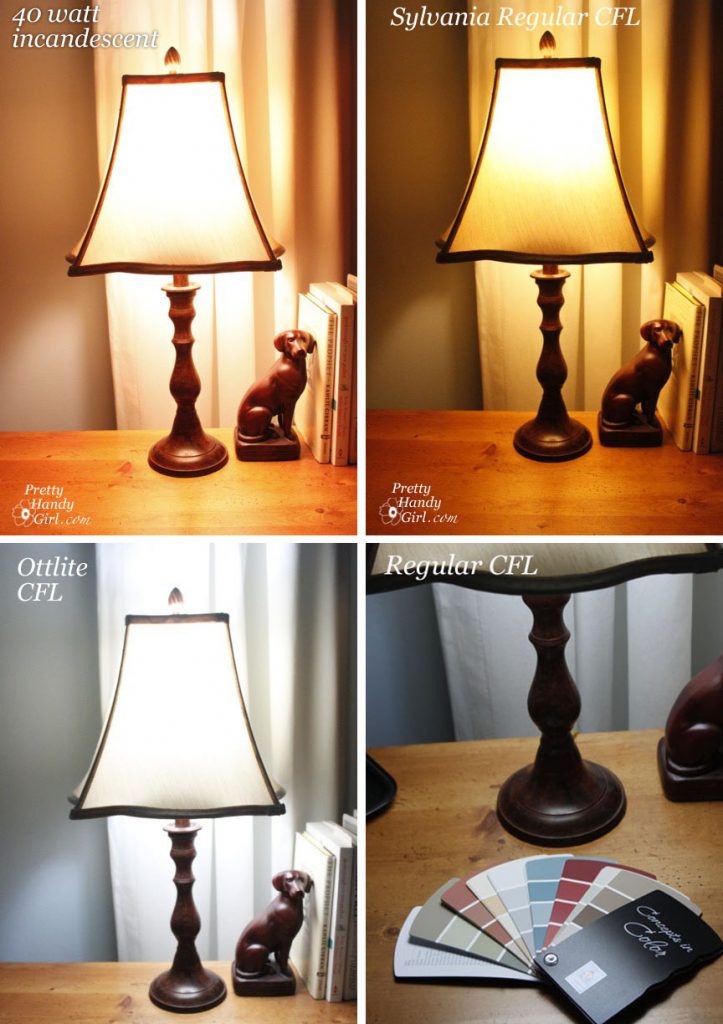
The living room table lamp was the most forgiving light situation. The white shade and medium green walls made most of the light bulbs look good. But, ultimately I decided I liked the Sylvania CFL light bulb best in this fixture.
Our foyer is small, dark and has bright yellow walls. This is also the light we leave on all night to protect sleepwalkers who might otherwise tumble down the stairs. All the bulbs looked pretty good in this location except the Ottlite. It was too harsh, bright and cold feeling.
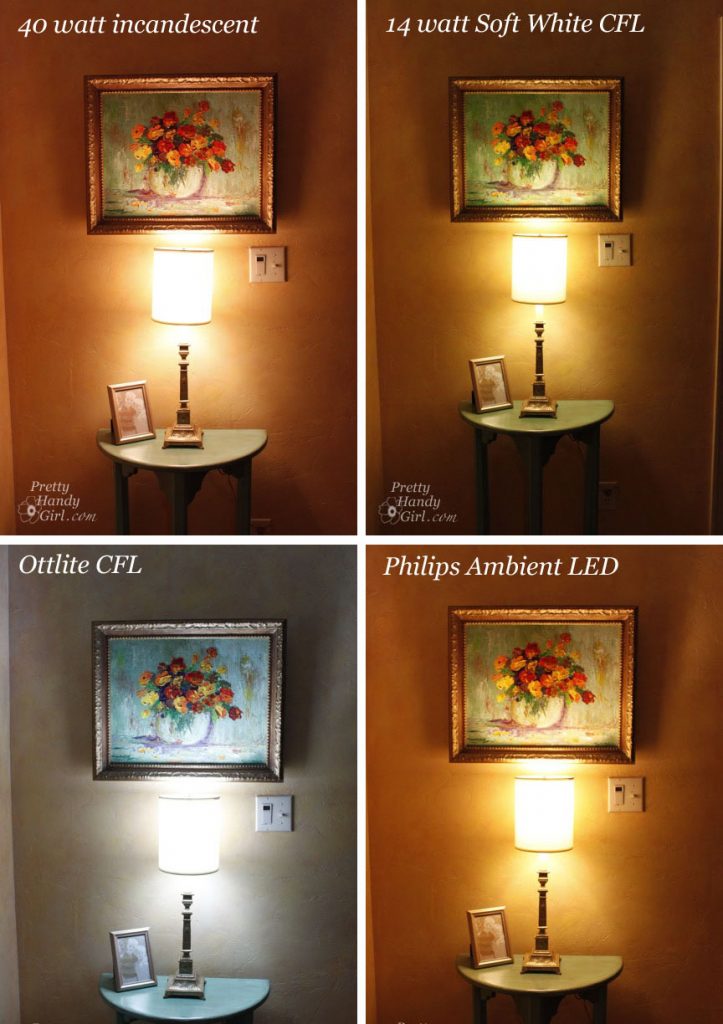
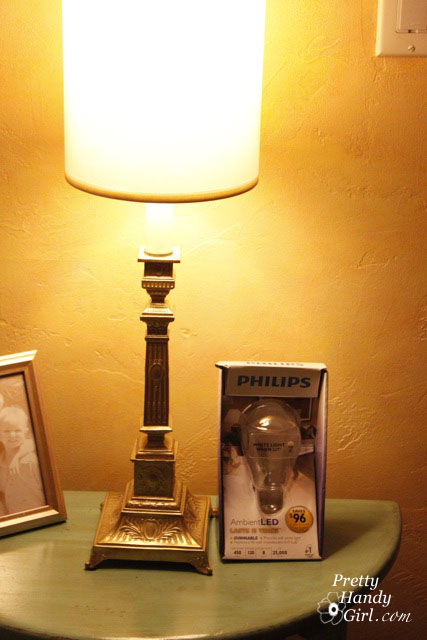
Ultimately I decided I liked the Philps LED light bulb here. This bulb was by far my favorite light bulb. But, with a hefty price tag of $30, I can’t be buying more than one or two of them!
Our master bedroom was the only location that I liked the Ottlite. The lamp shades have a beige color. This tones down the harsh white of the Ottlite. Plus, it was the only bulb that didn’t make my wall color look sickly brownish gray.
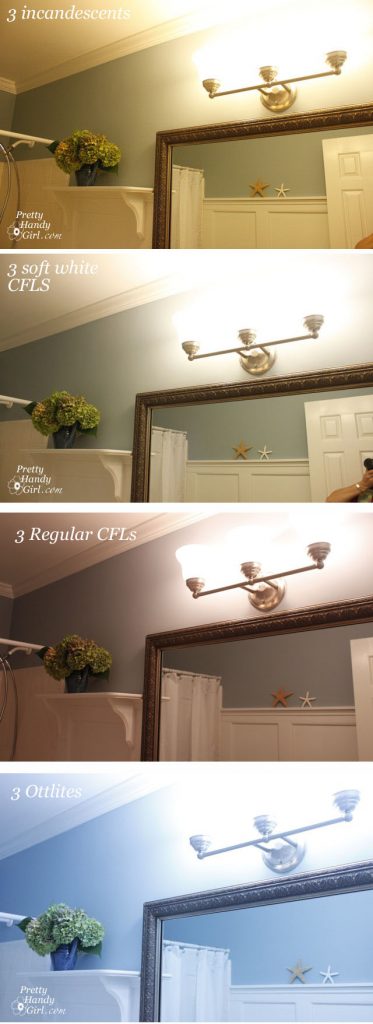
Finally, the room that started this whole pursuit of scientific knowledge: The kids’ bathroom, which has many requirements. The bulbs can’t be too dim that guests can’t see themselves in the mirror. And yet the room can’t be too bright to blind anyone who turns the light on in the wee hours of the night. The light couldn’t be too cold or bluish in cast. Basically I had a lot of requirements for this light fixture.
I also had our friend, Greg, model for me to show the lighting on skin tones.

I felt like Goldilocks in this room (too bright, too dark, too blue!)
1. The incandescents were not very eco-friendly.
2. The soft white CFLS were okay, but still a little harsh and bluish cast.
3. Regular CFL bulbs, these were pretty bad. They were darker and I really didn’t like the light color.
4. The Ottlite was way too bright and harsh for the blue and white bathroom. So, I finally figured out the perfect bulb formula.
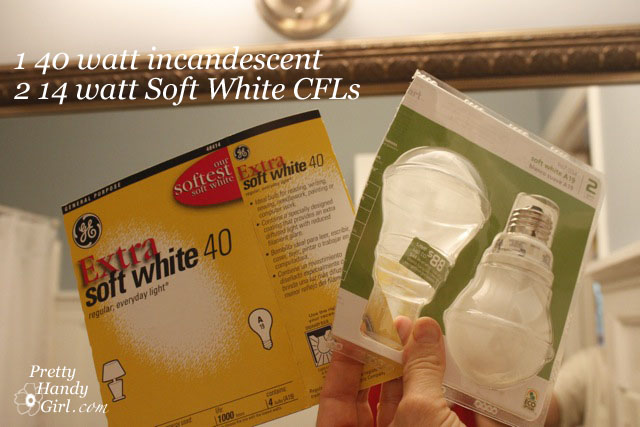
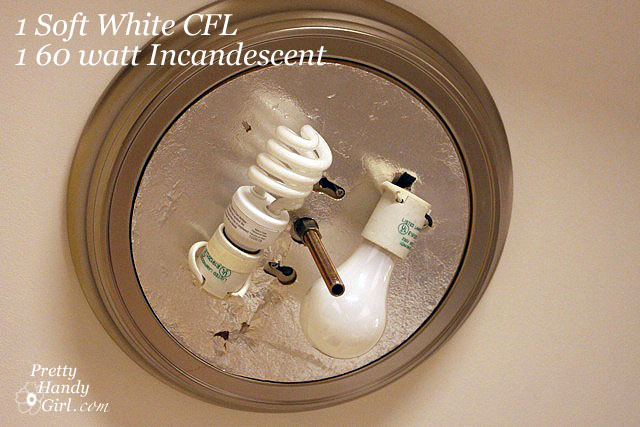
That’s right, I’m a bulb mixer. We found that two soft white CFLs and one incandescent light bulb was the magic formula. The two soft white CFLs gives enough light and energy savings without being too clinical. But, the incandescent works to soften the bluish cast.
So although I can’t tell you that I found the PERFECT light bulb. And I still can’t embrace the CFLs, I work with them to try to go easy on my energy bill and lesson my carbon footprint. I mix bulbs in our multi-light (non-dimming) fixtures. I do have to warn you though, if you use CFLs in a closed fixture (like the one shown below with the dome removed.) They will not last as long as they are supposed to.
I also noticed a big difference between the “soft white” CFL bulbs I bought. The Sylvania ones were not nearly as warm as the Ecosmart ones, proving that all CFLs are not created equal.
I did find that I liked different bulbs in different locations. And ultimately I made a decision that allowed me to be eco-conscious but also be happy with our lighting.
But, I really hope that the Philips Ambient LED bulbs will come down in price. They use the least amount of energy, don’t get hot, and give off a light that is very close to an incandescent. So for those of us that still love incandescents, there is hope!

Disclosure: I was NOT paid by any companies to review the above mentioned light bulbs. Ottlite did send me bulbs for free, but I was not swayed to write a positive review. This post is my honest and unswayed opinion.
