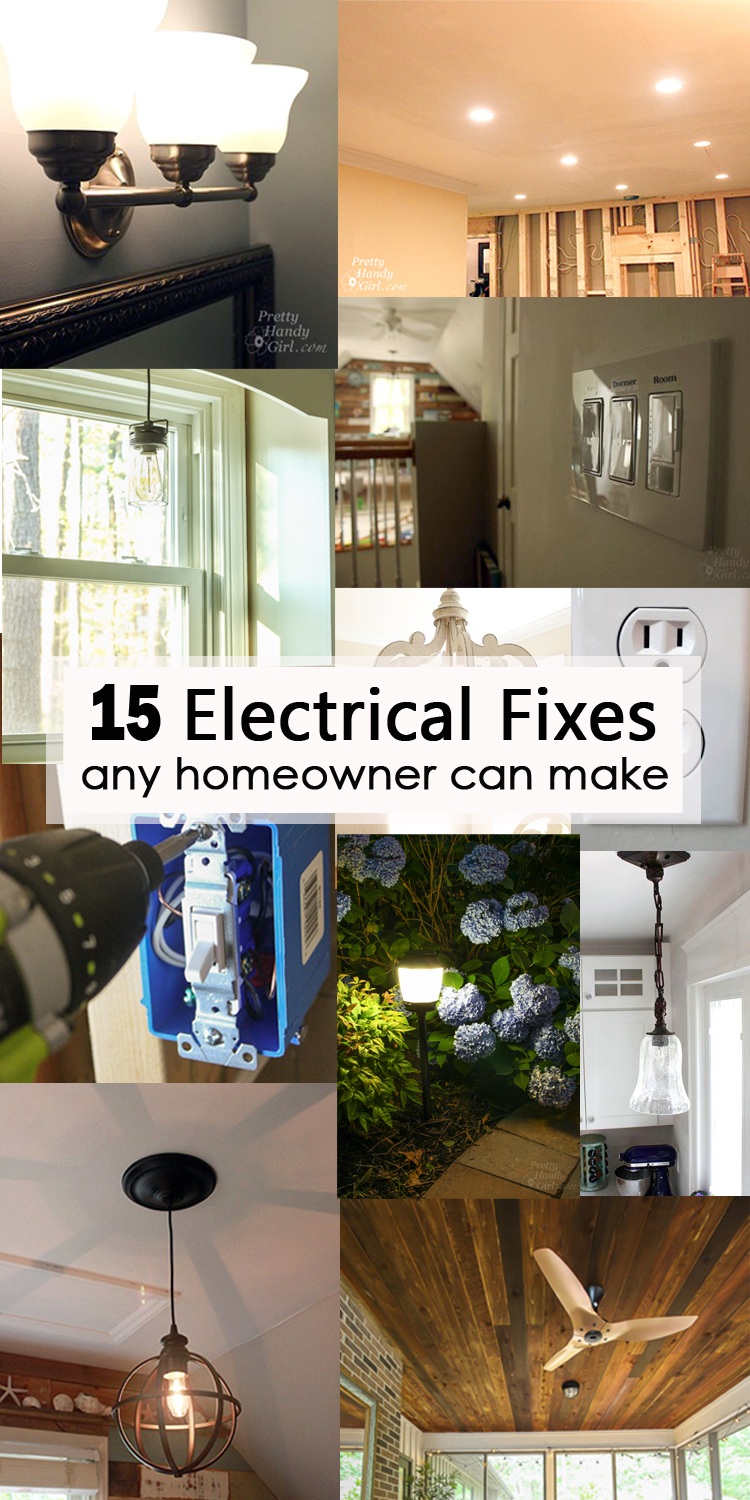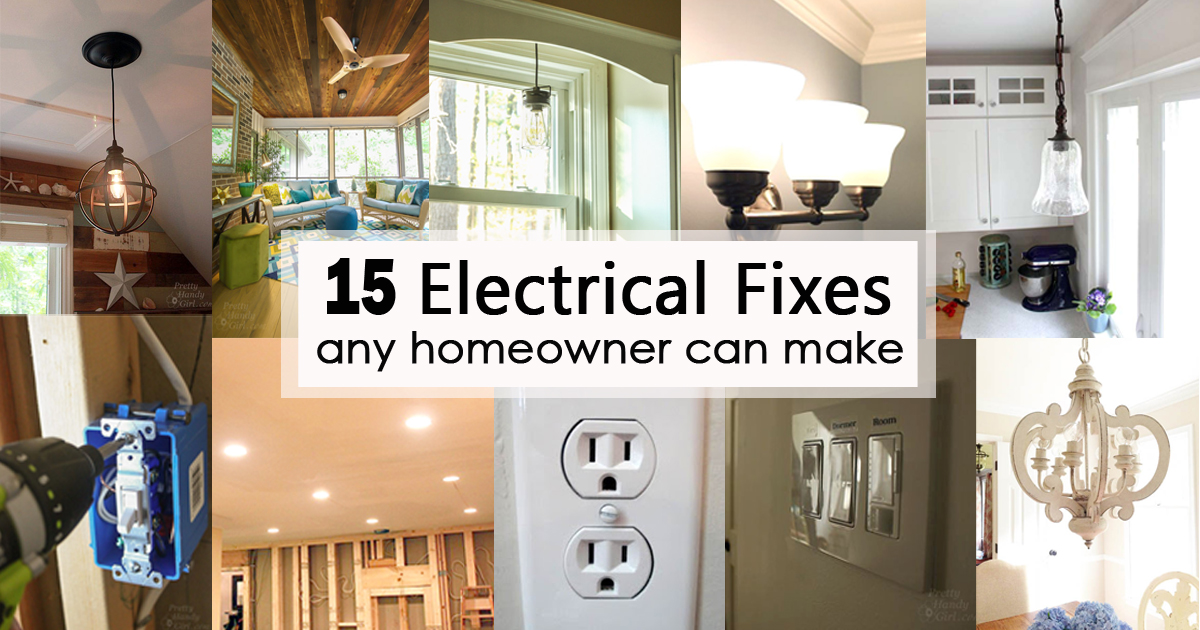
15 Electrical Fixes Any Homeowner Can Make
Electrical work can be scary, even for seasoned DIYers who haven’t delved into electricity. Many people have a fear of electrocution or fear of burning their house down. There are definitely times to hire a licensed electrician (when adding new wiring or outlets or working with dryer or stove 240 volt circuits.) But, there are so many electrical fixes and updates you can make as a homeowner! All you need to know are the tools needed, what the wire colors mean, and how to turn off the circuit. The rest is easy! Here are 15 Electrical Fixes Any Homeowner Can Make. I hope you like these projects and they help you take on some basic home owner electrical changes!
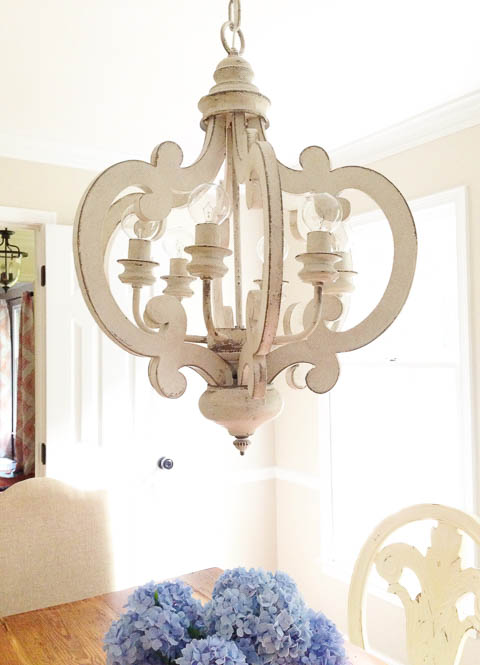
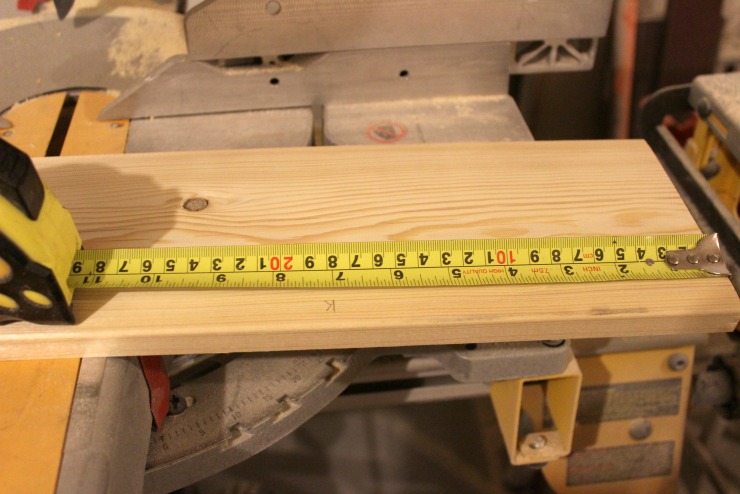
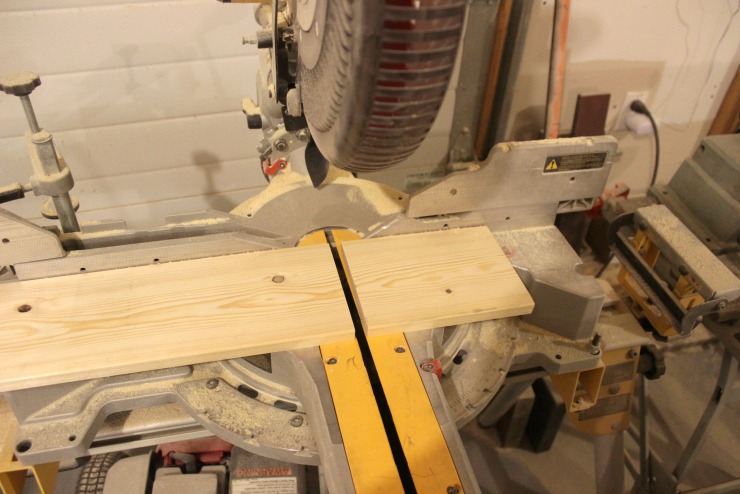
How to Install a New Chandelier.
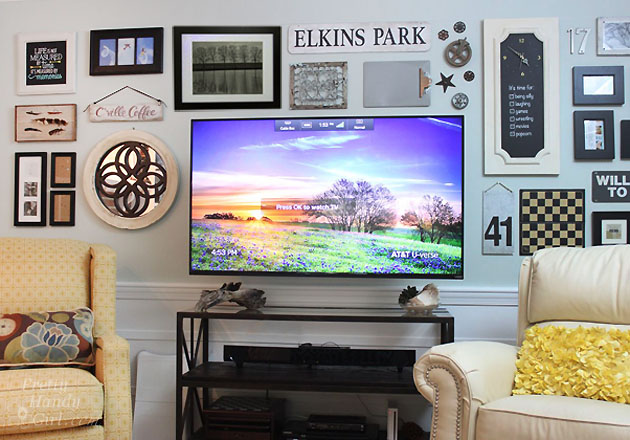
How to Hide the Wires, Install, and Mount Your TV
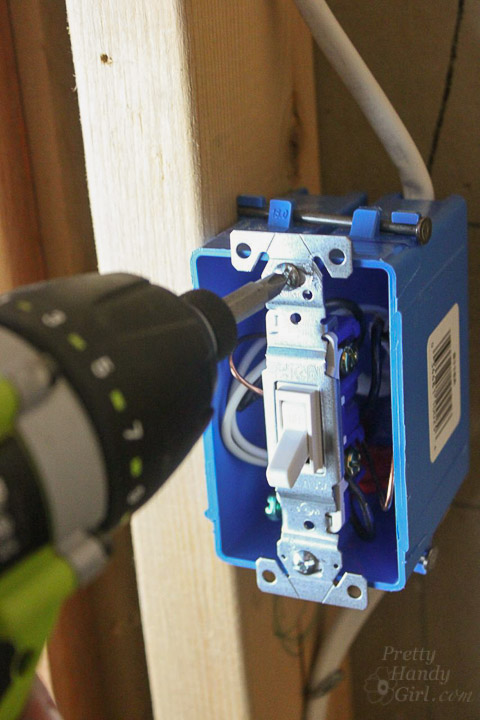
How to Add a Switch to a Light Fixture
How to Convert a Recessed Light to Accept a Hardwire Fixture
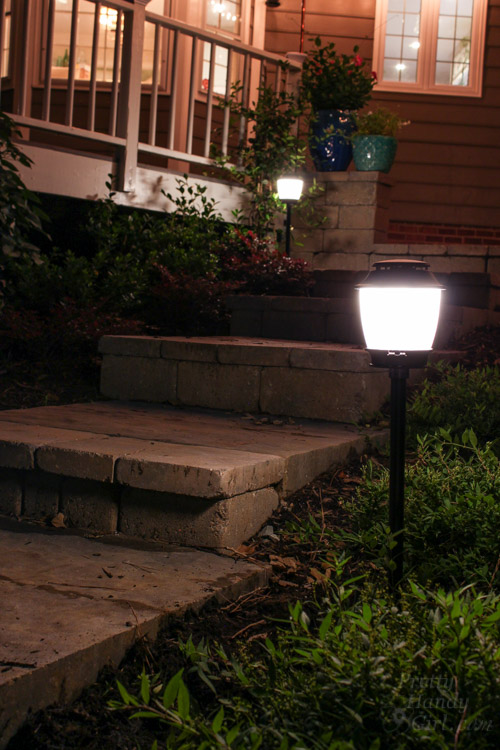
How to Install Landscape Lights

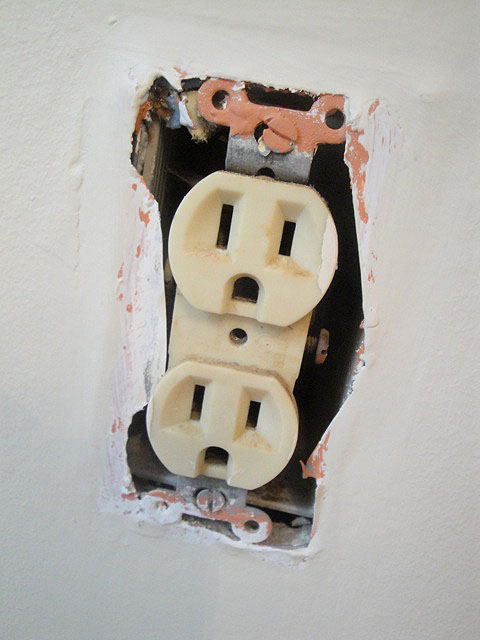
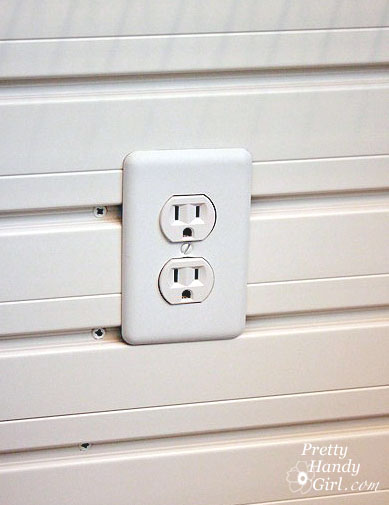
Replace an Old Ugly Outlet with a New One
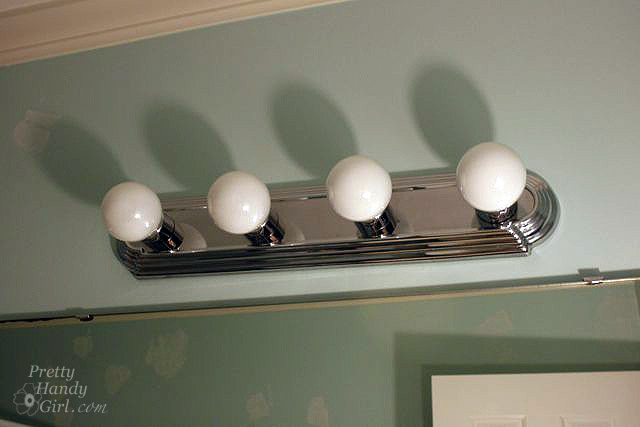
Replacing an Old Hollywood Strip Light with a New Fixture
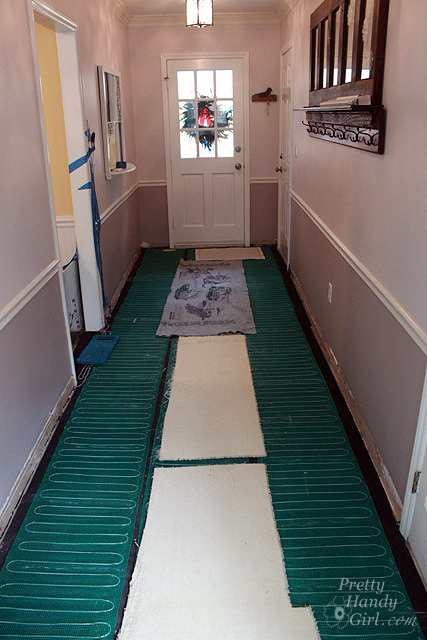
How to Install Radiant Floor Heating
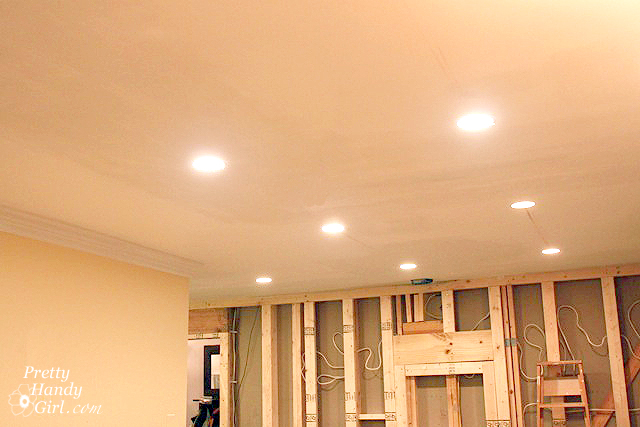
How to Install Recessed Lights

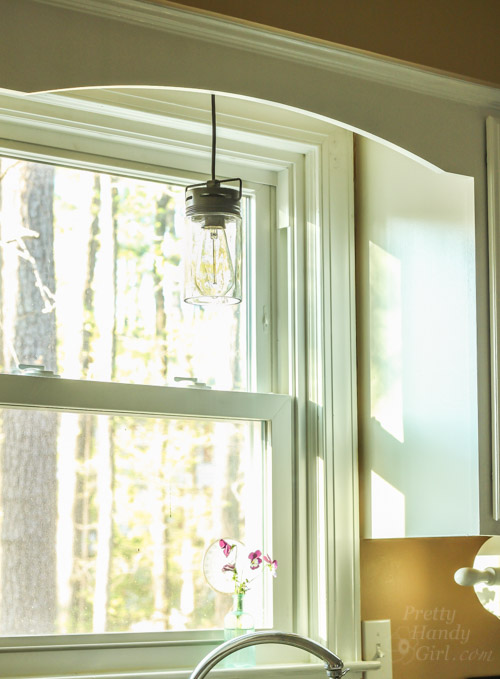
How to Install a Hard-Wired Pendant Light
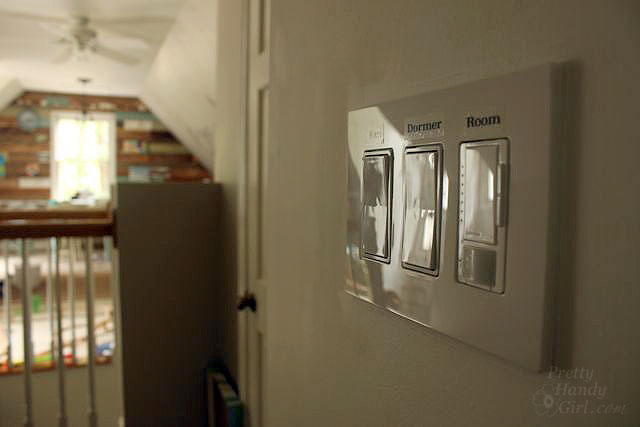
How to Install a Light Occupancy Sensor

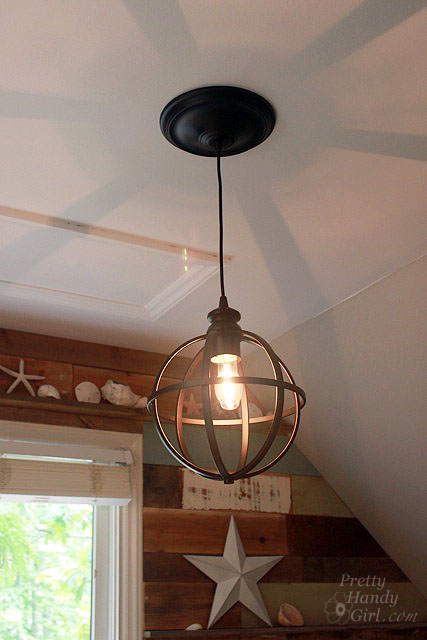
Converting a Recessed Light to a Pendant
What do you think? Could you do these projects, or have you? What other electrical fixes are great for DIYers? I’d love to read your comments.
If you like this collection, please Pin this image to share with others: