Tag Archive for: how to

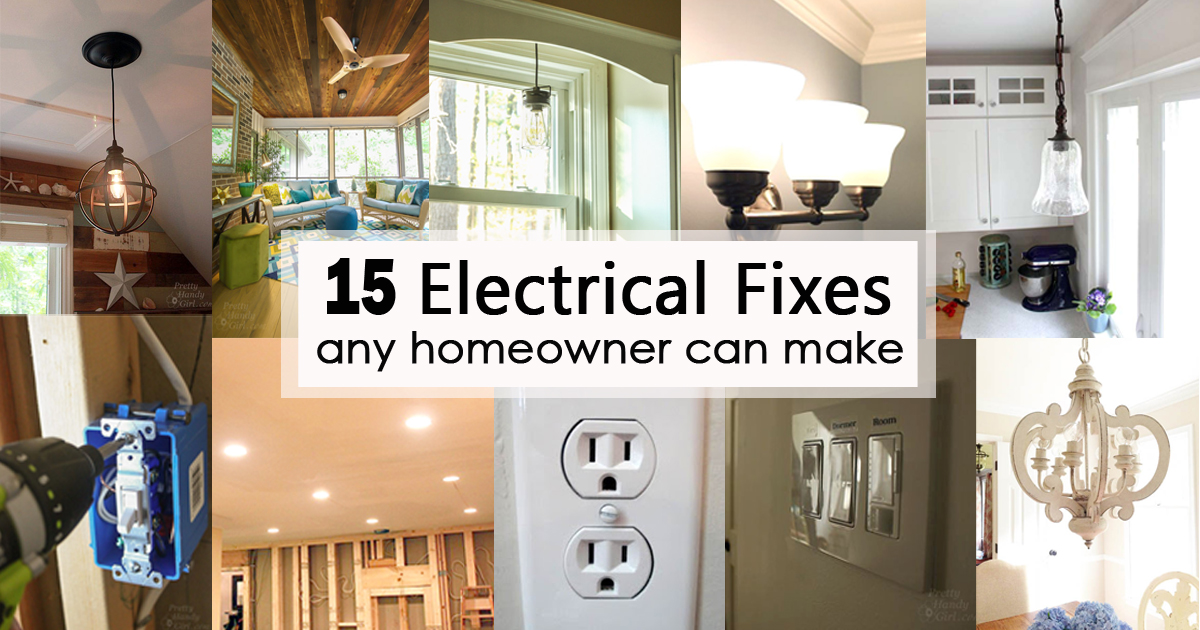
15 electrical fixes any homeowner can make social media image

15 Electrical Fixes Any Homeowner Can Make

Electrical work can be scary, even for seasoned DIYers who haven’t delved into electricity. Many people have a fear of electrocution or fear of burning their house down. There are definitely times to hire a licensed electrician (when adding new wiring or outlets or working with dryer or stove 240 volt circuits.) But, there are so many electrical fixes and updates you can make as a homeowner! All you need to know are the tools needed, what the wire colors mean, and how to turn off the circuit. The rest is easy! Here are 15 Electrical Fixes Any Homeowner Can Make. I hope you like these projects and they help you take on some basic home owner electrical changes!


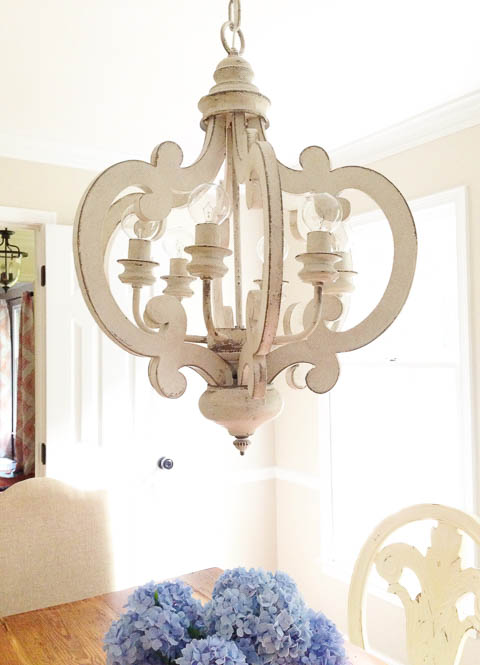
How to Install a New Chandelier

How to Install a New Chandelier.


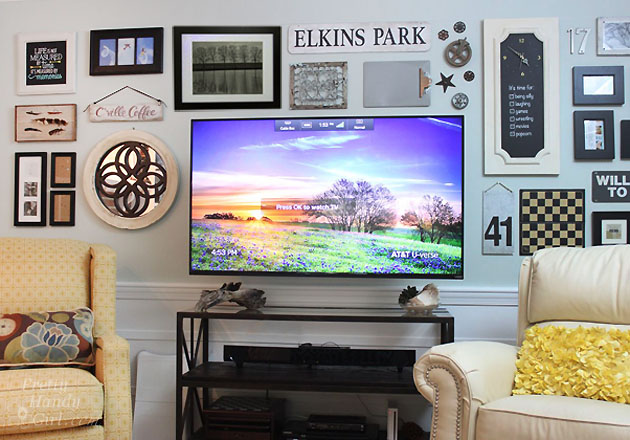
How to Hide Wires Behind a Wall Mounted TV

How to Hide the Wires, Install, and Mount Your TV 


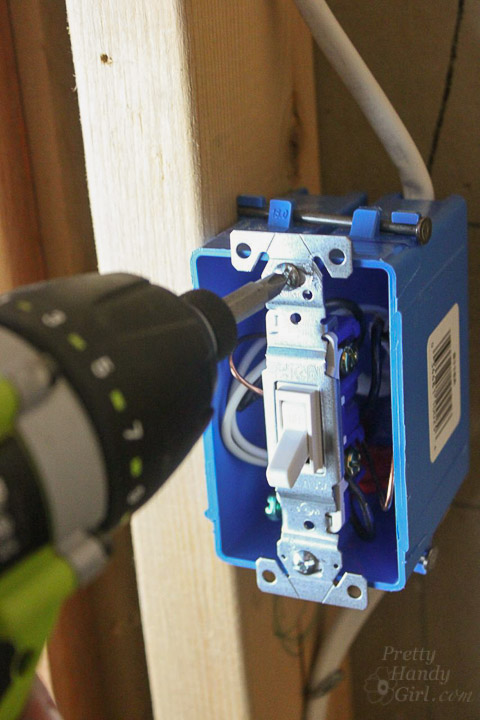
How to Add a Switch to a Light Fixture

How to Add a Switch to a Light Fixture


How to Convert a Recessed Light to Accept a Hardwire Fixture

How to Convert a Recessed Light to Accept a Hardwire Fixture


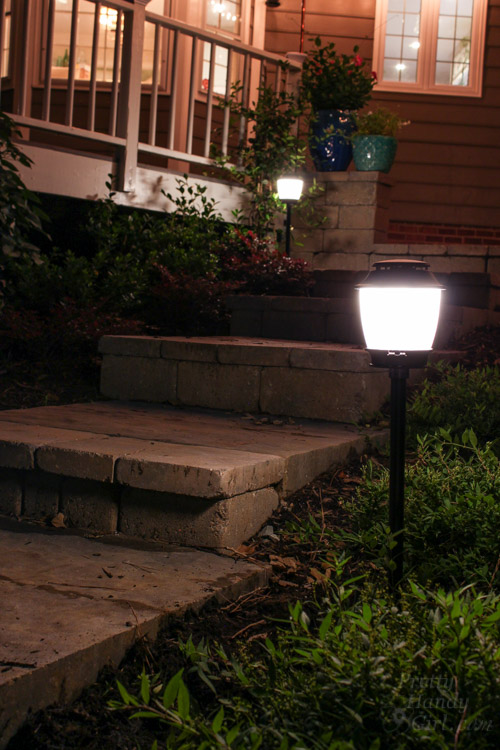
How to Install Landscape Lights and Repel Mosquitoes

How to Install Landscape Lights


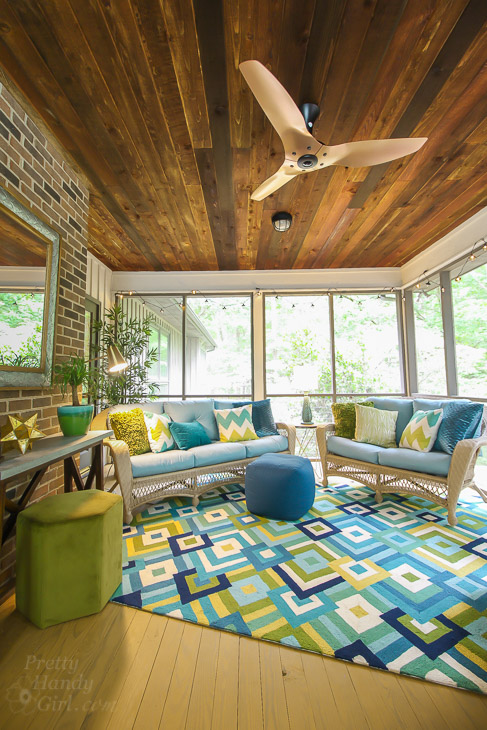
How to Install the Most Beautiful Ceiling Fan I Ever Laid Eyes Upon

How to Install a Ceiling Fan


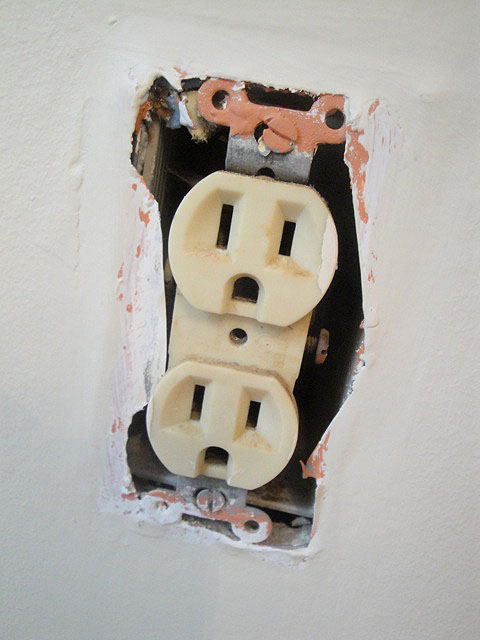
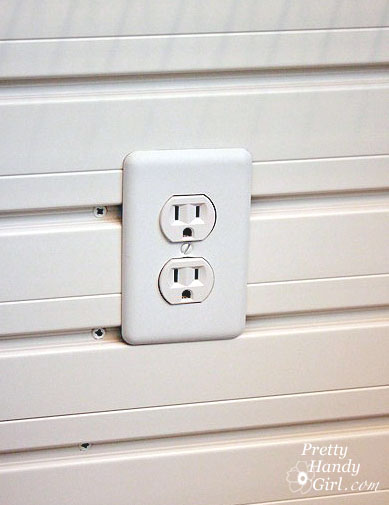
Replace an Old Ugly Outlet with a New One


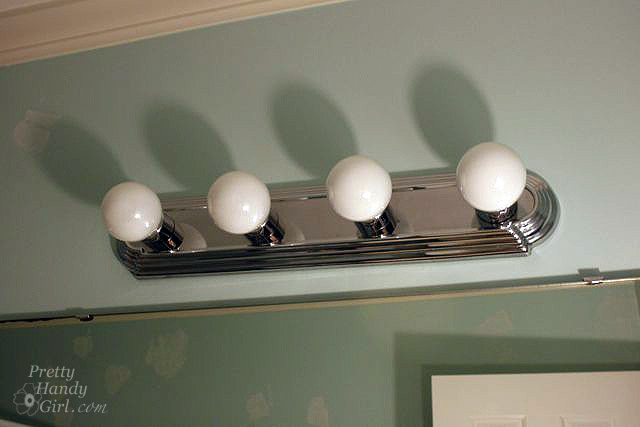
Replacing an Old Hollywood Strip Light with a New Fixture


How to Add an Outlet Extender

How to Add an Outlet Extender


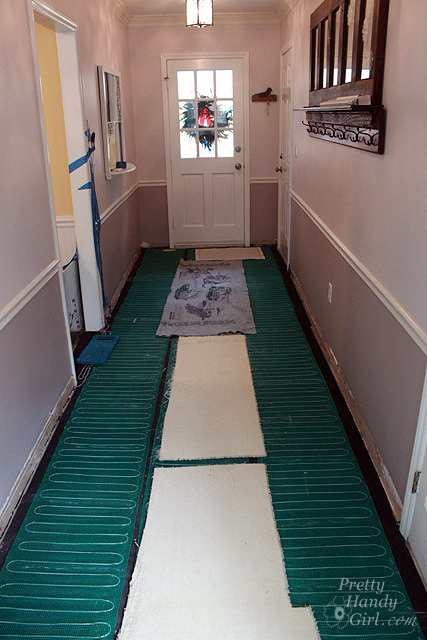
How to Install Radiant Floor Heating using WarmlyYours

How to Install Radiant Floor Heating


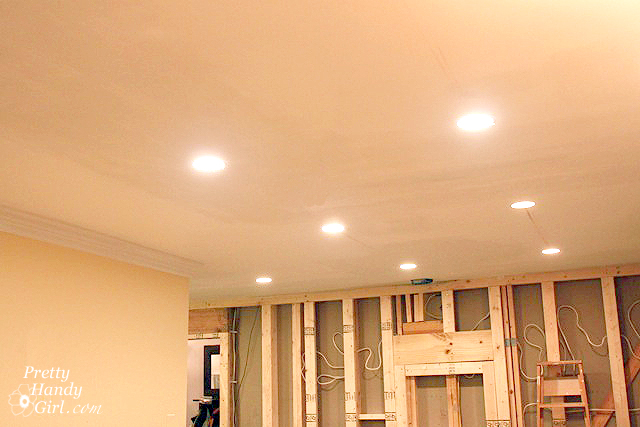
How to Install Recessed Lights

How to Install Recessed Lights


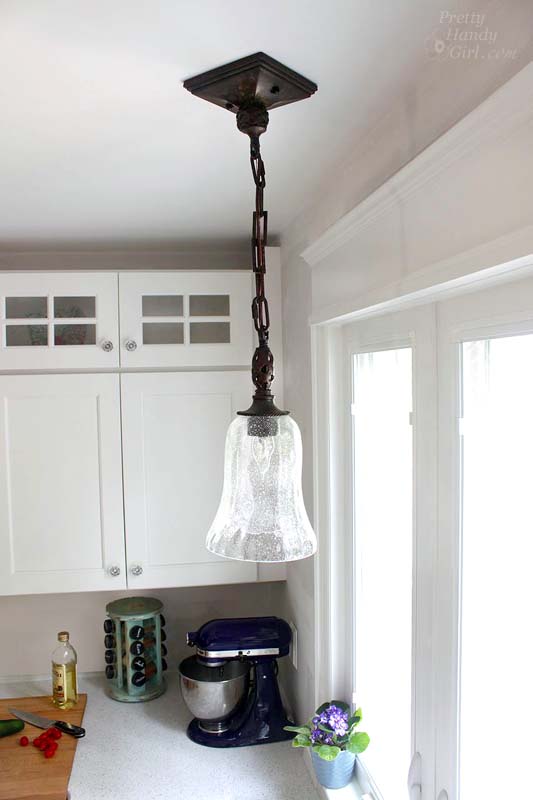
How to Install a Hard-Wired Pendant Light

How to Install a Hard-Wired Pendant Light


How to Install a Light Occupancy Sensor 3 Way Switch.

How to Install a Light Occupancy Sensor


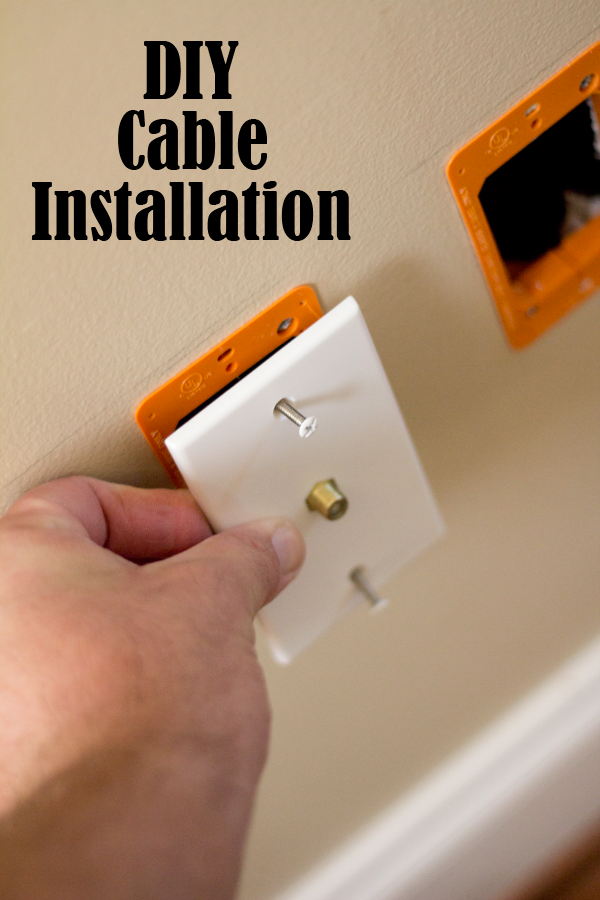
How do Install a Cable Outlet

How to Install a Cable Outlet


Converting a Recessed Light to a Pendant

Converting a Recessed Light to a Pendant


What do you think? Could you do these projects, or have you? What other electrical fixes are great for DIYers? I’d love to read your comments.

If you like this collection, please Pin this image to share with others:

15 electrical fixes any homeowner can make pinterest image


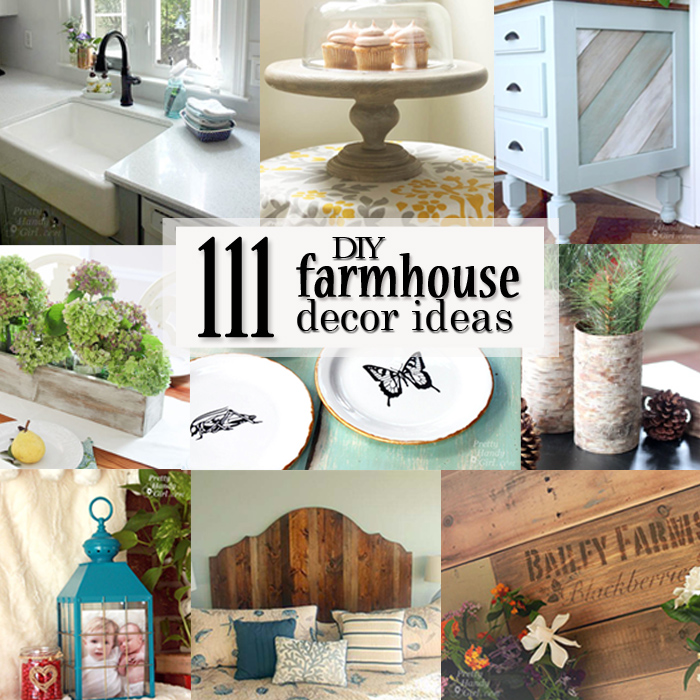
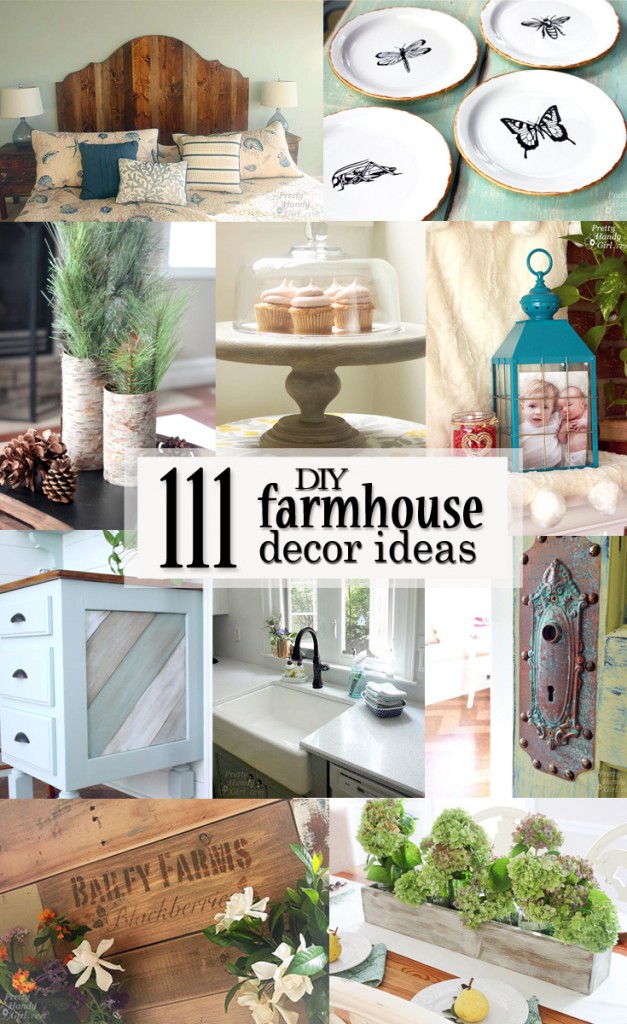
Check out these 111 DIY Farmhouse Decor ideas and get a ton of inspiration on how you can decorate your house in the farmhouse style without breaking the bank!

Check out these 111 DIY Farmhouse Decor ideas and get a ton of inspiration on how you can decorate your house in the farmhouse style without breaking the bank!

111 DIY Farmhouse Decor Ideas

Do you love farmhouse decor as much as I do? What is Farmhouse Style exactly? It can be described as worn, weathered, rustic, comfy, or anything that reminds us of a simpler time. If you’re like me (and love all things farmhouse), you may find yourself being lured into buying new decor that can put a dent in your budget. But, rest assured, today I’m giving you 111 DIY Farmhouse Decor Ideas to help you create the space you desire for less money. Get ready to be inspired!
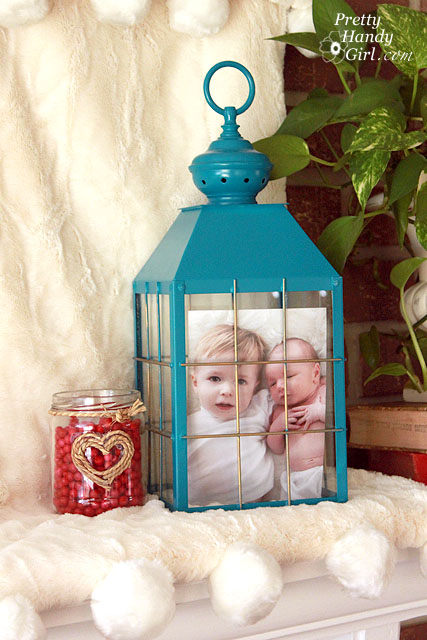
DIY Lantern

DIY Lanterns for your mantel or side table.
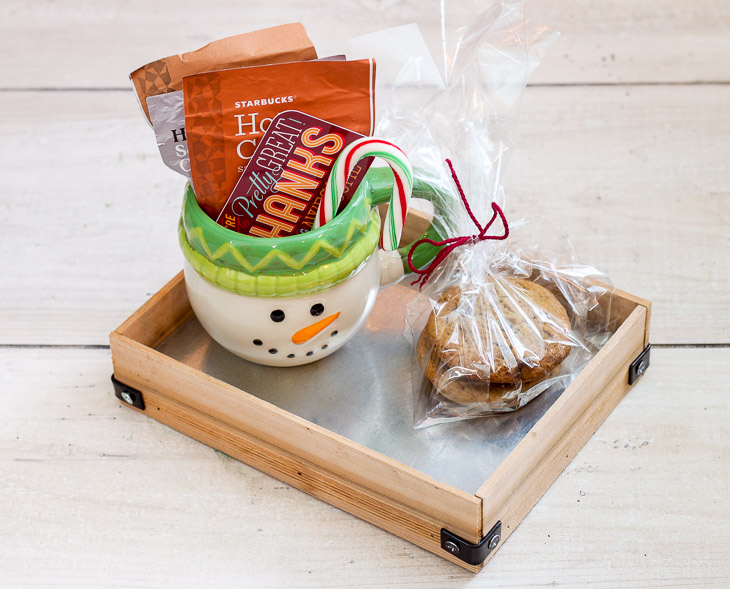
diy sheet metal gift trays

DIY Sheet Metal Trays to display on tables, counters, or your desk.
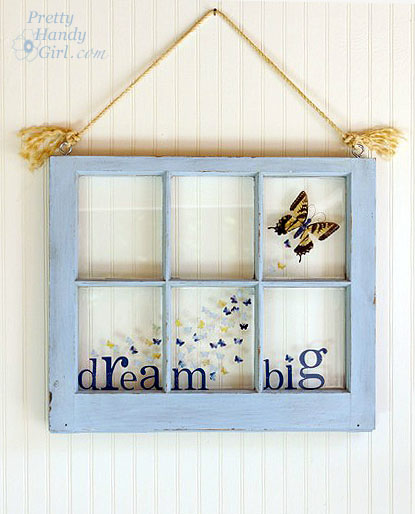
DIY Farmhouse Decor Ideas

Upcycle an old window into sweet wall decor.
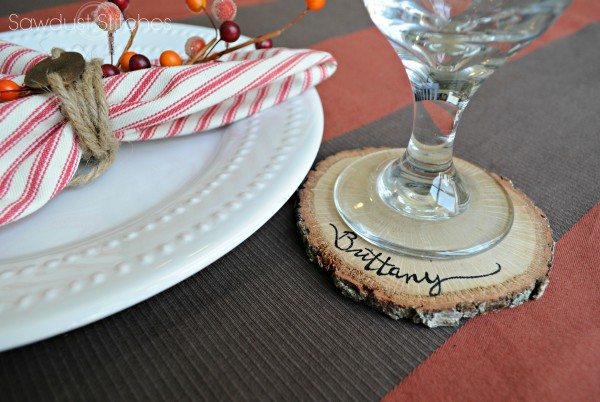
 

personalized wood slice coasters

DIY Personalized Wood Slice Coasters to decorate your table.
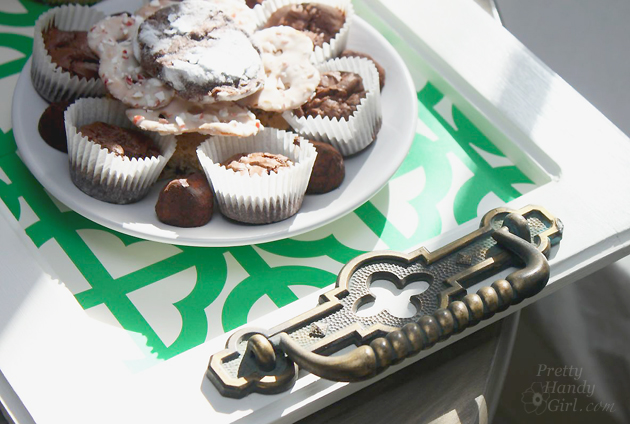
 

make a tray from a cabinet door

Make a tray from a cabinet door for serving drinks at your next party.
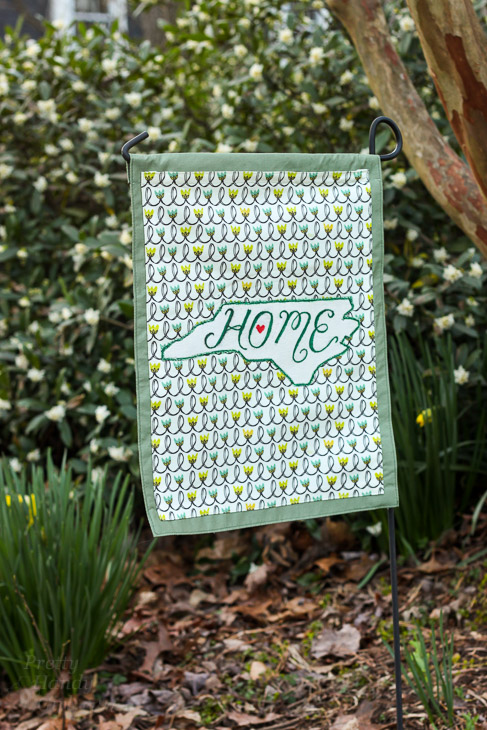
 

Home State Pride Garden Flag from a Placemat

Make this Home State Pride Garden Flag from a Placemat to add some interest to your yard.
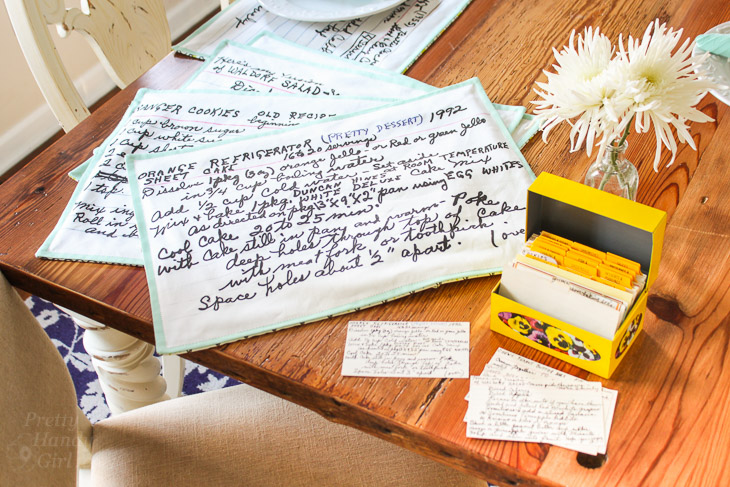


how to sew reversible recipe placemats

Sew these memory making Reversible Recipe Placemats for a personal touch to your tablescape.
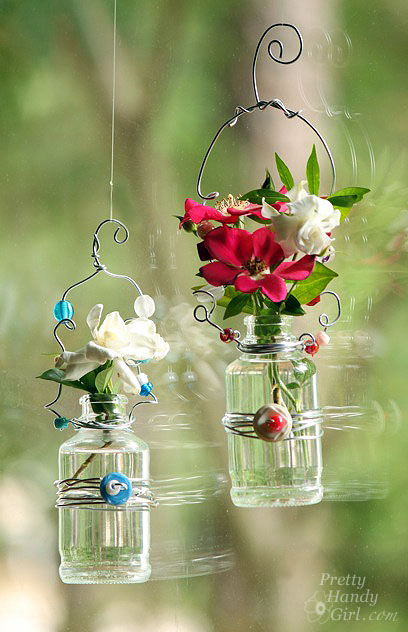
 

Hanging Beaded Glass Flower Vases

Hanging Beaded Flower Vases add color and sparkle to your windows.
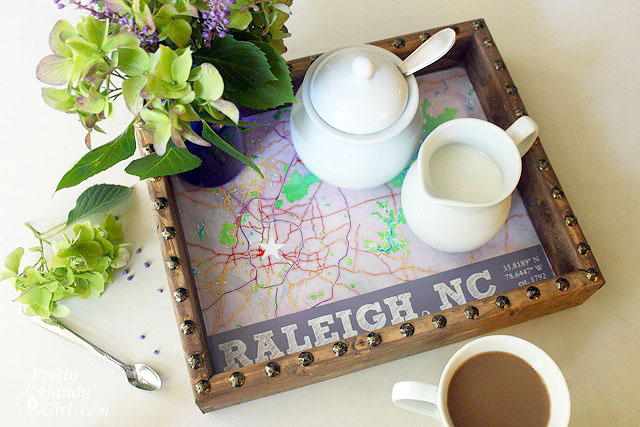
 

north carolina state capital rustic tray

Make this State Capital Rustic Tray to carry coffee each morning.
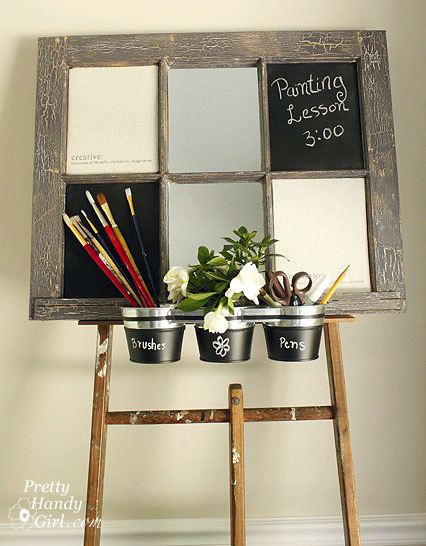
 

Artist imspiration board from an old window

This Artist Inspiration Board is made from an Old Window for the artist in your home.
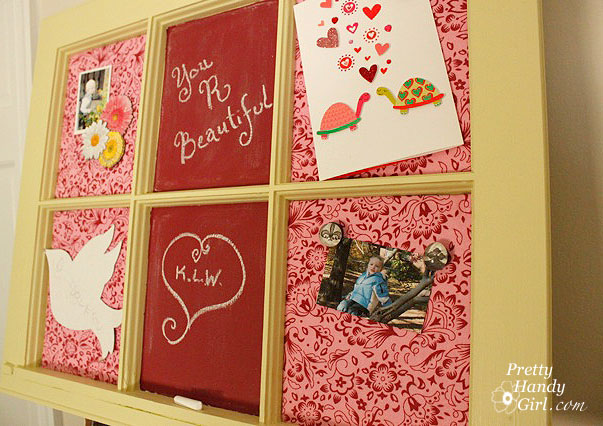
 

How to Make Colored Chalkboard Paint

Another window can be transformed into a memo board with Colored Chalkboard Paint (make custom colors for your chalkboard projects.)
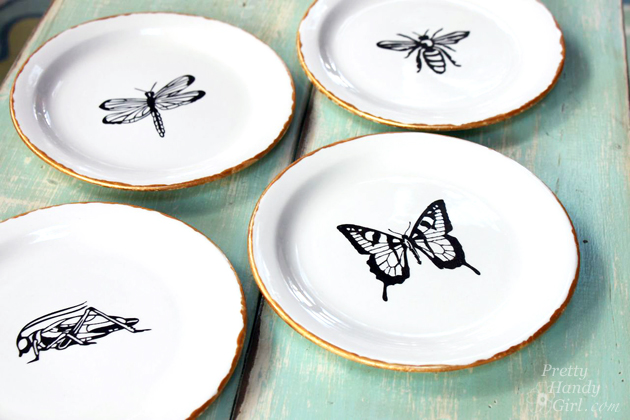
 

pen and ink sketch decorative plates

Gorgeous Pen and Ink Sketch Decorative Plates to hang on your wall.
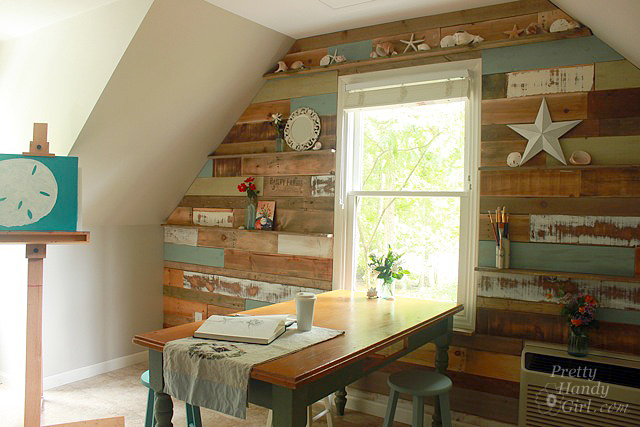
 

how to install a scrap wood wall

How to Install a Scrap Wood Wall to add character to any room!
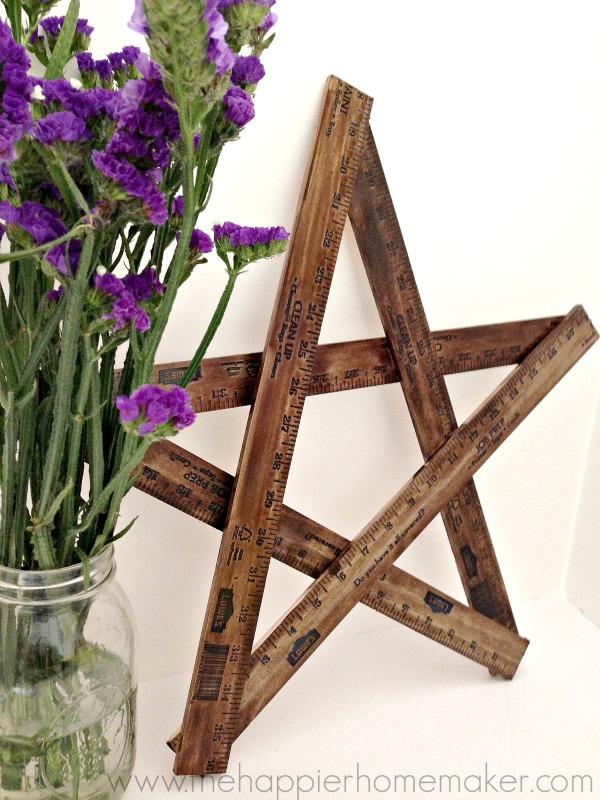


easy diy yard stick star

Easy DIY Yard Stick Star to stand or display on your mantel.
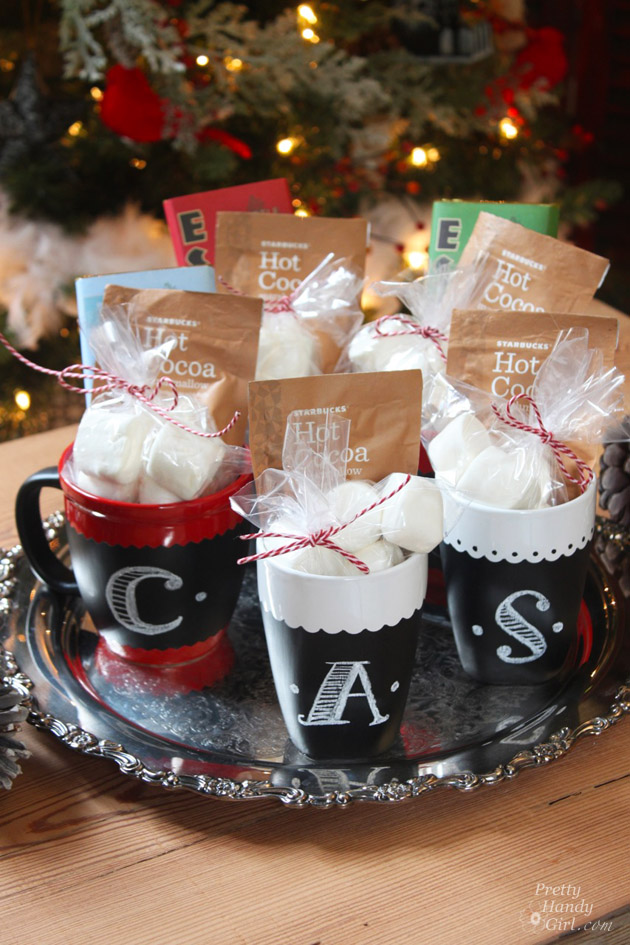
 

DIY Chalkboard Painted Mugs

DIY Chalkboard Painted Mugs to give to guests at your next holiday party.
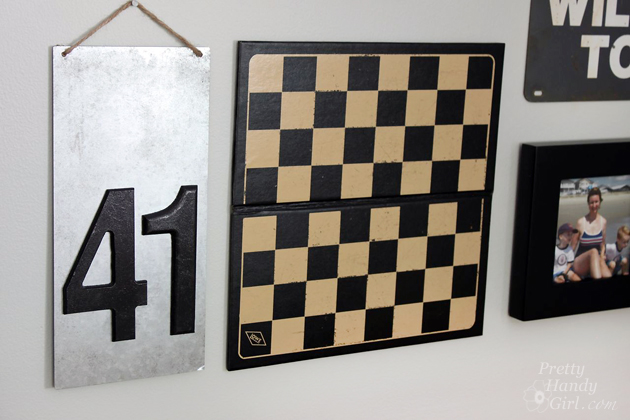
 

DIY Metal Number Sign

A DIY Metal Number Sign adds rustic/industrial interest to your wall collage.
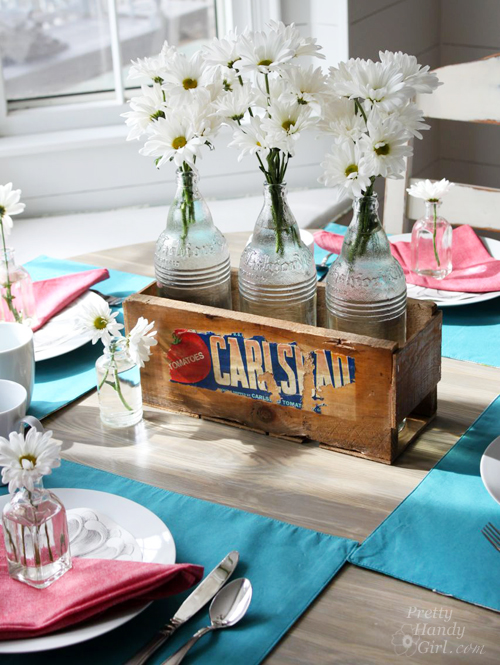
 

Build a Vintage Produce Crate Centerpiece

This DIY Vintage Produce Crate Centerpiece adds rustic beauty to your table. Best of all, you don’t need any power tools to make it!
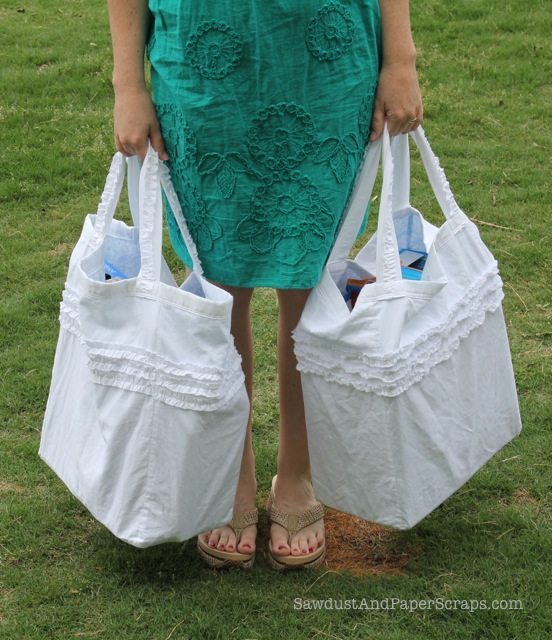
 

Reusable Tote Bag Sewing Tutorial

Reusable Tote Bag Sewing Tutorial would be cute hanging on a wall hook in your mudroom. Or use them at the grocery store and watch the other shoppers gawk.
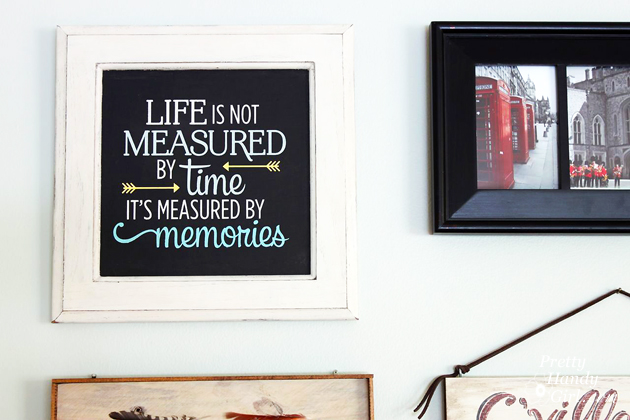
 

Upcycled Cabinet Door Chalkboard Art

Make Upcycled Cabinet Door Chalkboard Art to add a sweet quote to your wall.
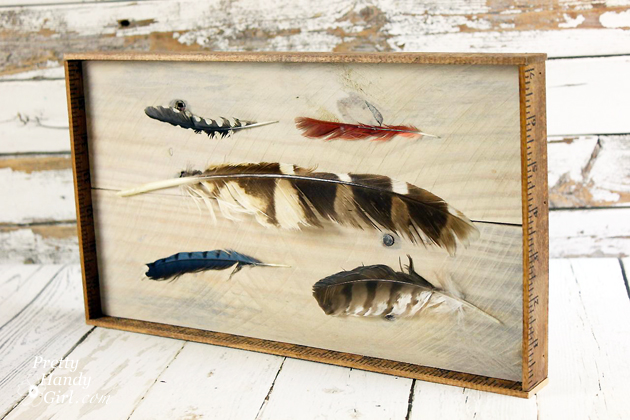
 

DIY Feather Art

DIY Feather Art is unique and eye-catching.
 

DIY Farmhouse Decor Ideas

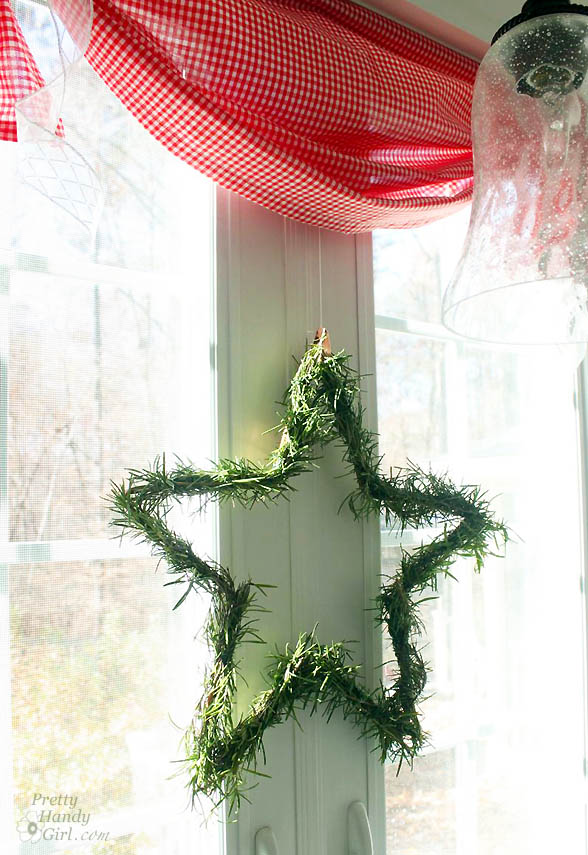
This DIY Star Garland is simple yet impactful for year round decor.
 

customizing a tote bag with an old shirt

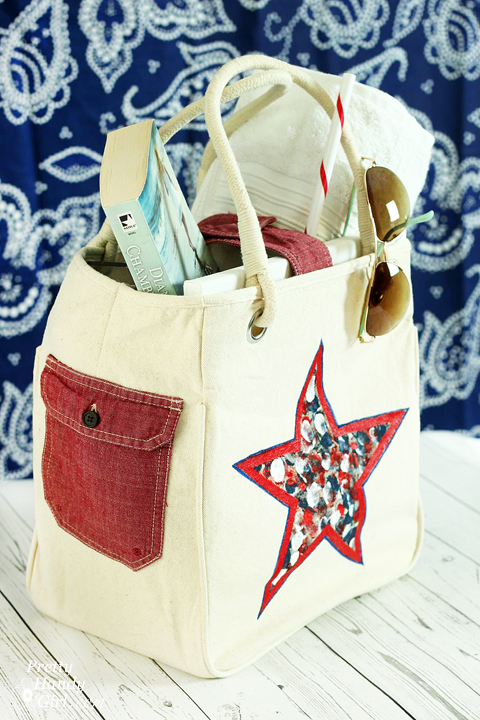
Customize a tote bag with an old shirt to carry everything you need.
 

Make a Driftwood Gift Crate

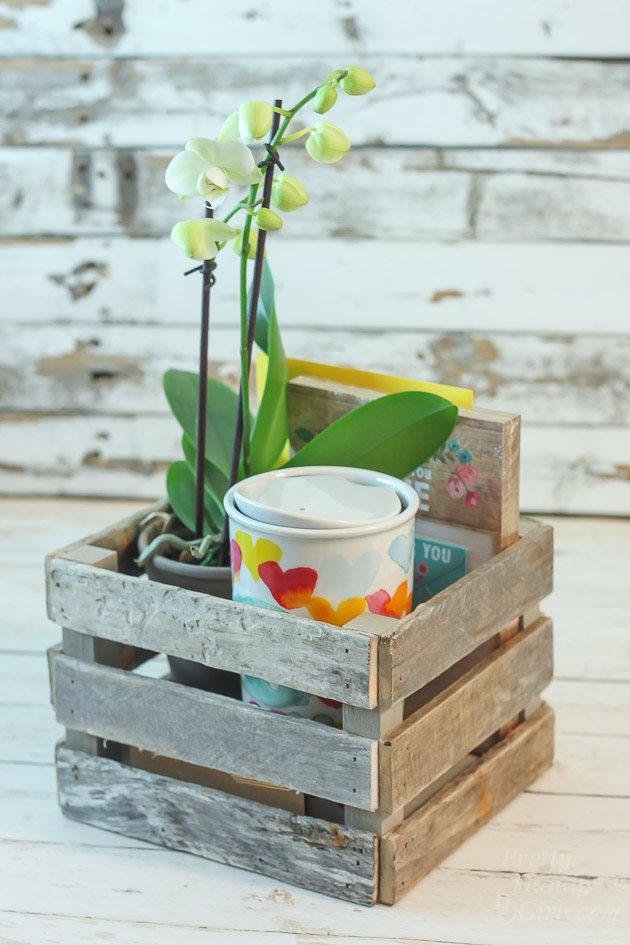
Make a Driftwood Gift Crate to attractively store books, trinkets, or any small items in your home.
 

Frosted Glass Vases from the Recycled Bin

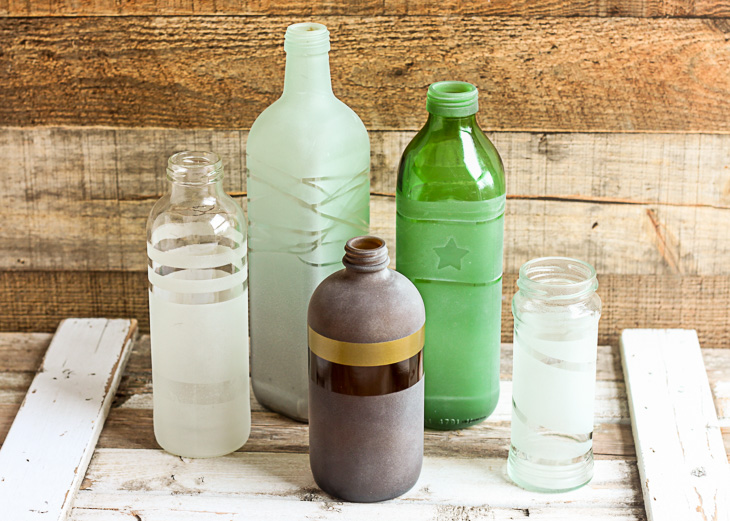
Frosted Glass Vases from the recycling bin can be used all over your home, with flowers or none.
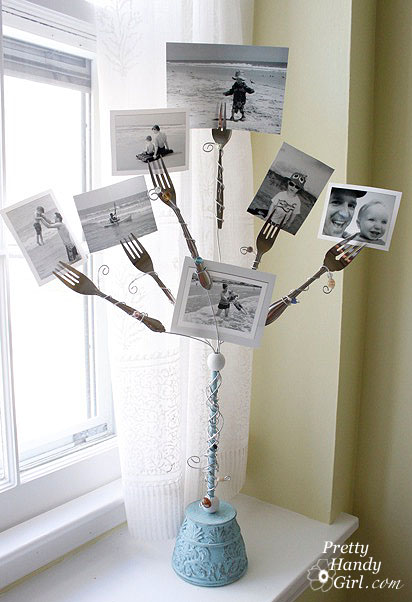
 

Fork Photo Holder

This Fork Photo Holder is a simple and fun way to display photos!
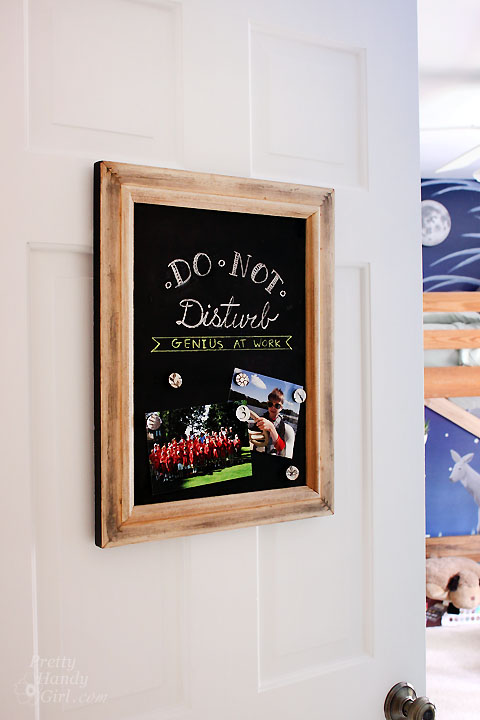
 

Upcycled Magnetic Chalkboard Frame

An Upcycled Magnetic Chalkboard Frame lets your kids write messages on their door.


Decorated Chalkboard Clipboards

Decorated Chalkboard Clipboards are a great way to stay organized or give as gifts to the teachers.
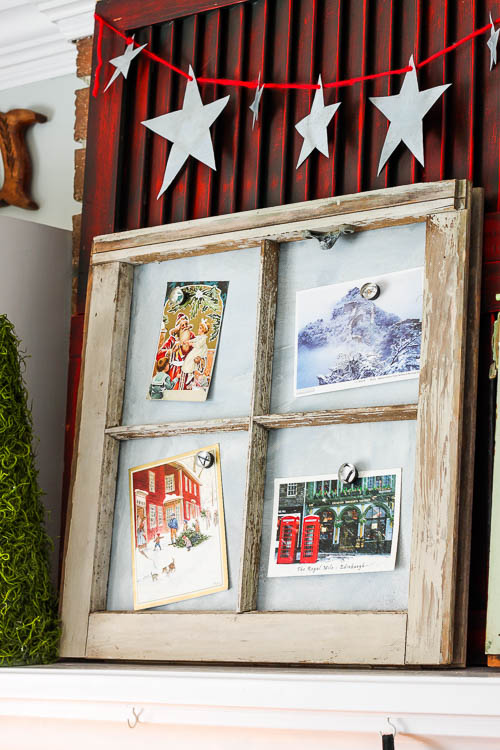
 

Rustic Metal Magnetic Window Frame

Create a Rustic Metal Magnetic Window Frame to display photos anywhere.
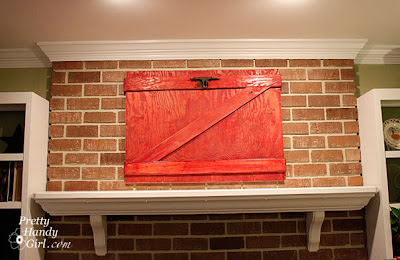
 

Making a Decorative Barn Door

Make a Decorative Barn Door for impactful wall decor.


Dressing up Dormer Window with Shutters

Dress up a Dormer Window with Shutters to add cute character to a window.
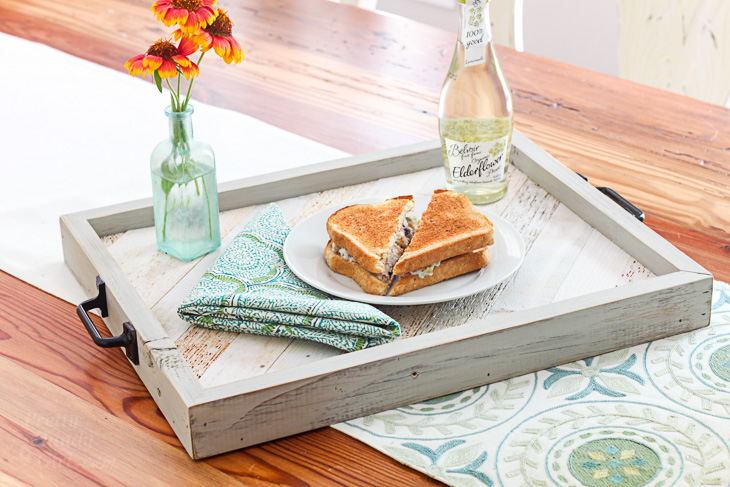
 

How to make a DIY Tray Gift Box

Build a DIY Gift Tray or Box (because you can always use trays for a multitude of things.)
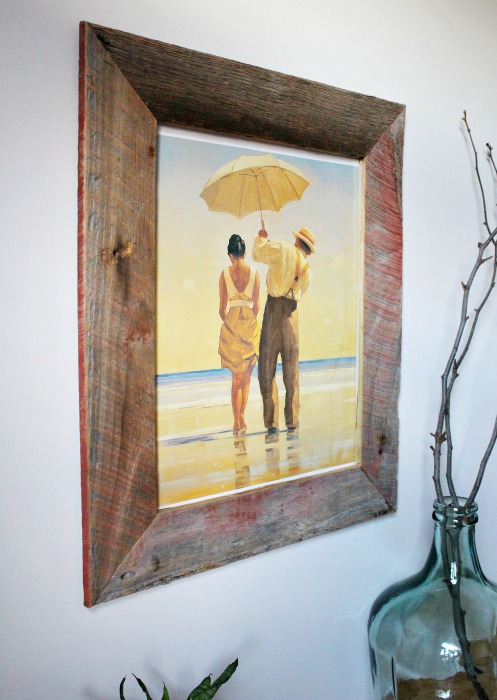
 

How to DIY a Barn Wood PIcture Frame

A DIY Barn Wood Picture Frame adds some rustic charm to your art.
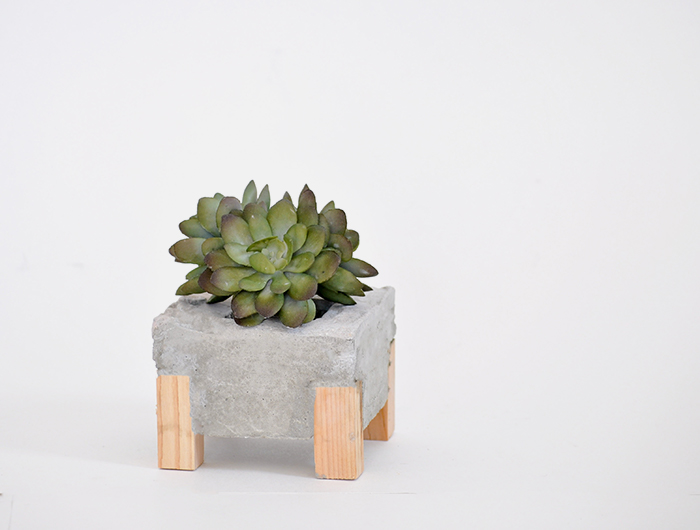
 

how to make a concrete wood planter

Make a Concrete and Wood Planter for your sweet succulents.


Pottery Barn Inspired Lantern

This Pottery Barn Inspired Lantern came from a super inexpensive source! You too can score one like it for less than $10!
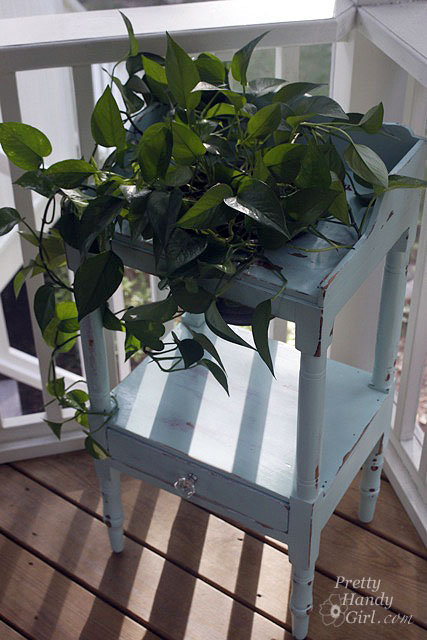
Painting an Antique Wash Stand with Wagner Power Painter Plus Sprayer

Learn how to paint and antique an old wash stand or any furniture.
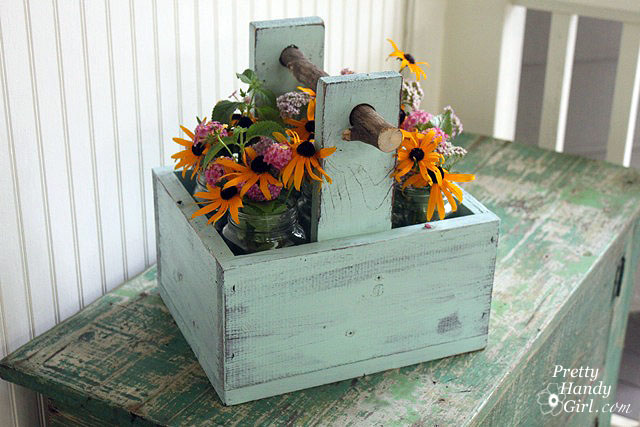
 

Rustic Wooden Caddy with a Branch Handle

This Rustic Wooden Caddy with a Branch Handle is the perfect farmhouse accent with rustic charm.
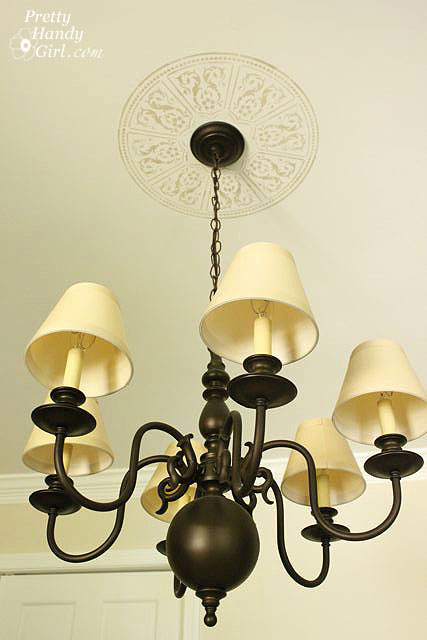
 

Creating a Faux Ceiling Medallion with Stencils

Create a Faux Ceiling Medallion with Stencils to add instant decorative detail to your room.
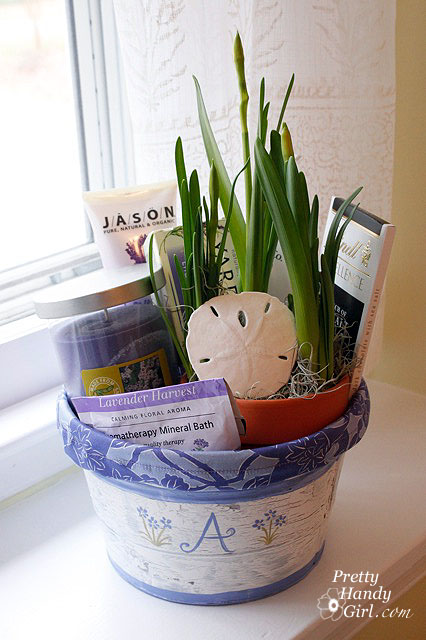
 

Aged Painted Pail Tutorial

Follow this Aged Painted Pail Tutorial to create chippy paint on almost any surface.
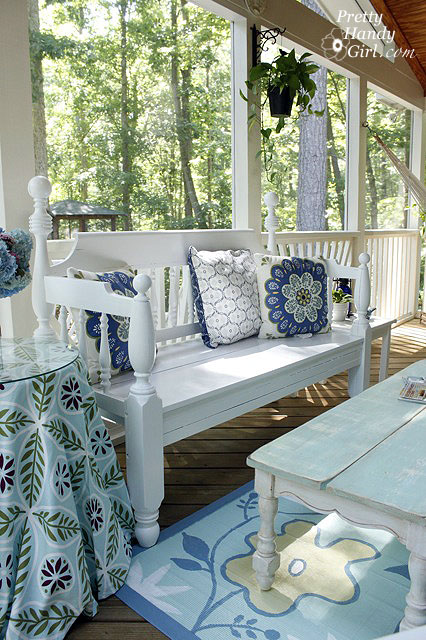
 

Refinishing a Garden Bench

Try Refinishing a Garden Bench to update furniture that has seen better days.
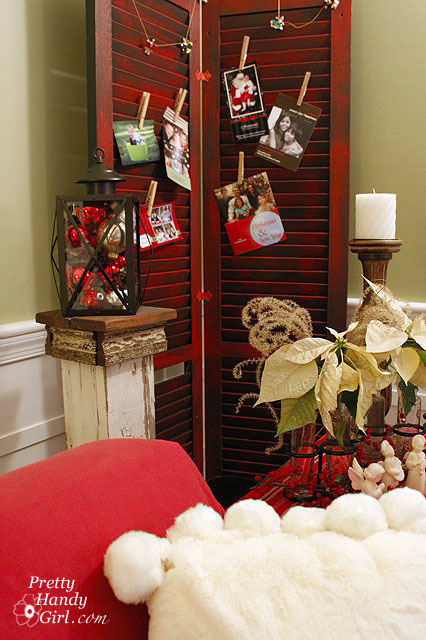
 

Shutters for Displaying Christmas Cards

Shutters are great for Displaying Christmas Cards or any cards throughout the year. It’s the perfect tall decorating item for your farmhouse look.
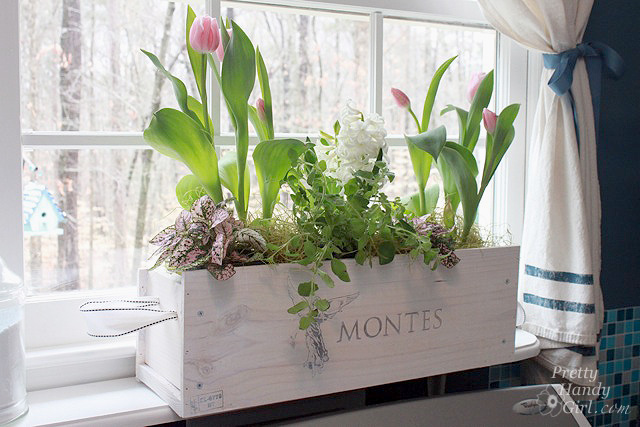
 

White Washed Window Box From a Wine Crate

A White Washed Window Box from a Wine Crate is perfect for a farmhouse accent for any window.
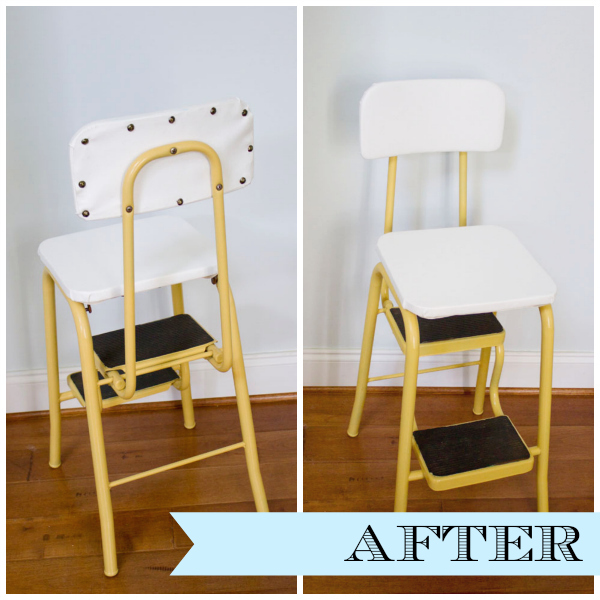
 

Curbside Vintage Step Stool Makeover

This Vintage Step Stool Makeover transformed from an old worn out style to new farmhouse style.
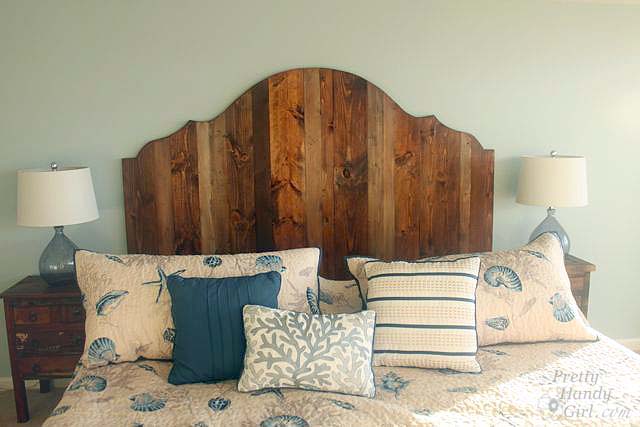
 

Create a Rustic Wood King Headboard

Create a Rustic Wood Headboard to add farmhouse beauty to your bedroom. You’ll be surprised by how affordable this project is.
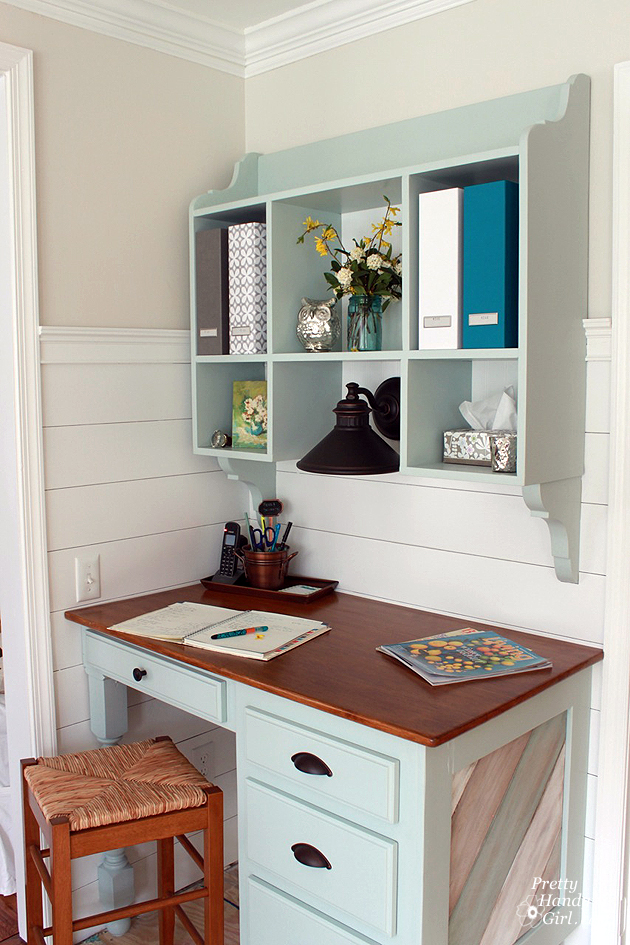
 

How to Cut and Finish an Old Tabletop To Create a Wood Desktop

Cut and Finish an Old Tabletop To Create a Wood Desktop in your kitchen instead of spending big money on countertops.
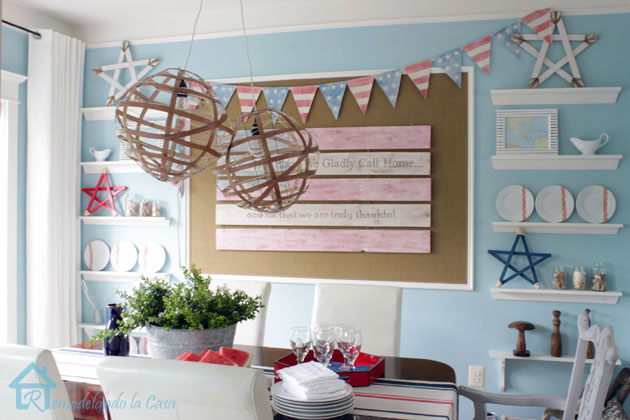
 

White Washed Patriotic Flag Tutorial

A White Washed Patriotic Flag adds a patriotic farmhouse feel.
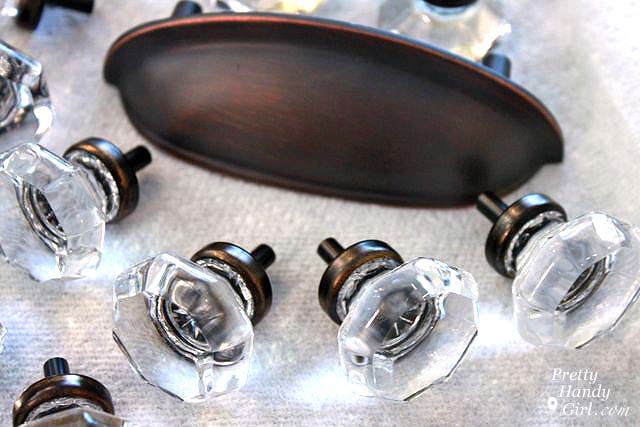
 

Rubber Bronzing Cabinet Hardware

Rubber Bronzing Cabinet Hardware can update your dated cabinet knobs and pulls.
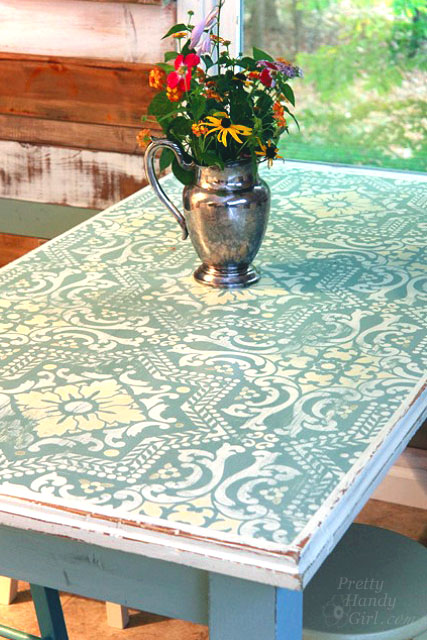
 

Chalk Painted Stenciled and Distressed Table from a dumpster

A Painted, Stenciled, and Distressed Table was previously a dumpster cast off.
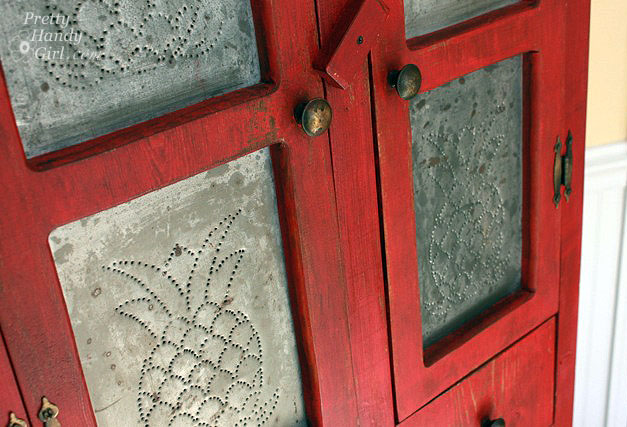
 

Rustic Red Pie Safe Painted with Milk Paint

A Rustic Pie Safe got a vintage makeover with some Milk Paint in a bright color. (Farmhouse style doesn’t have to be colorless.)
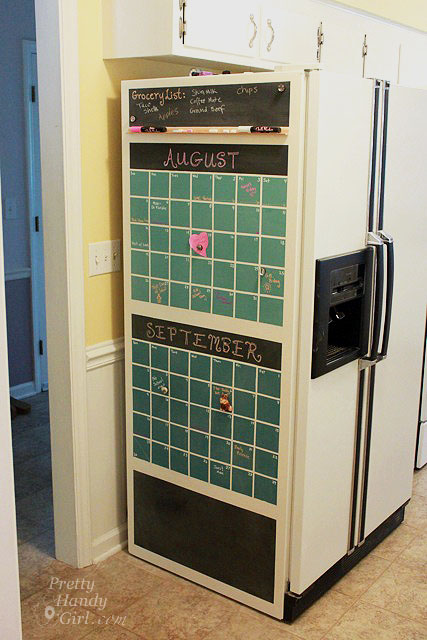
 

Chalkboard Calendar for the Refrigerator

Have an old fridge you don’t mind painting? Add a Chalkboard Calendar to keep your family on schedule.
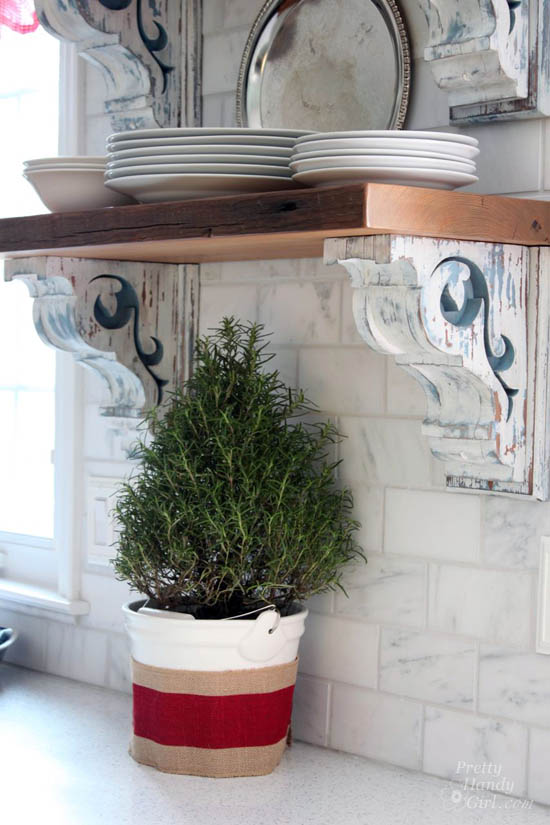
 

Chippy Painted Corbels

Chippy Painted Corbels are the definition of farmhouse style. This is one tutorial you must read!
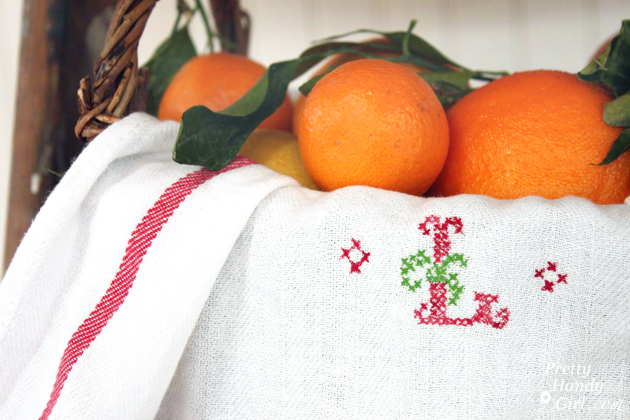
 

Faux Cross Stitch Tea Towel

This Easy Faux Cross Stitch Tea Towel is a sweet farmhouse accent to your kitchen.
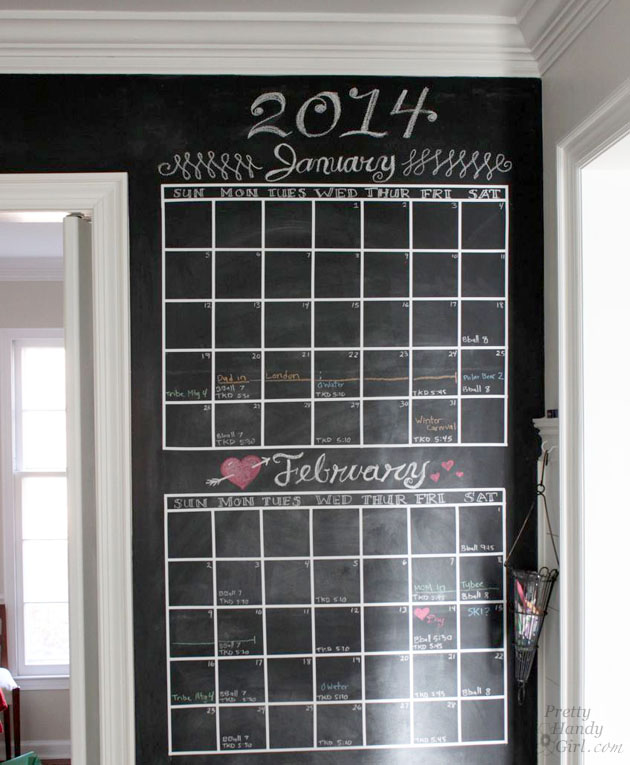
 

DIY Chalkboard Calendar

This DIY Chalkboard Calendar Wall is one way to be sure you don’t miss an activity.
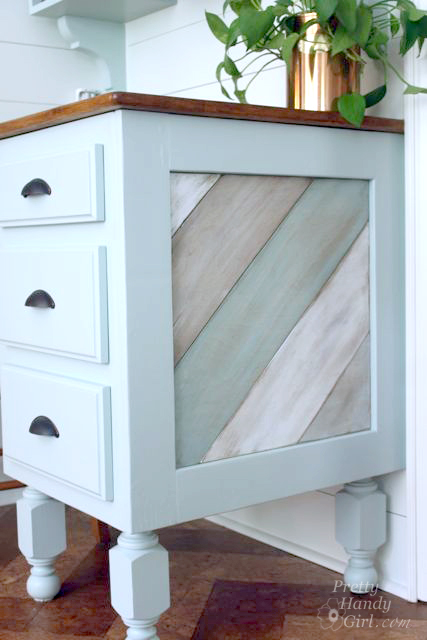
 

DIY Painted and Distressed Wood Panels Tutorial

A Painted and Distressed Wood Tutorial will help you add rustic colorful wood anywhere you want.
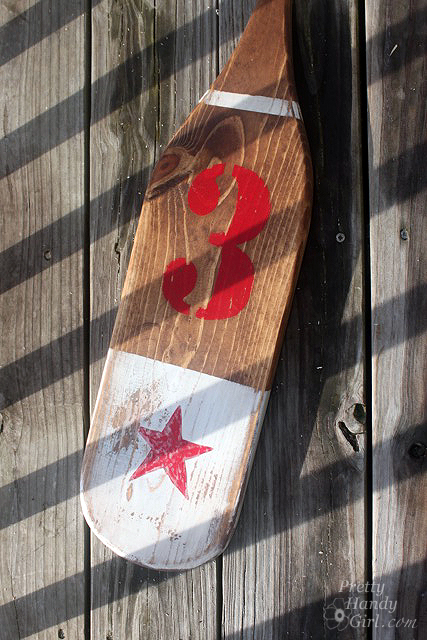
DIY Vintage Painted Oars

DIY Vintage Painted Oars are a fun way to add nautical accents.
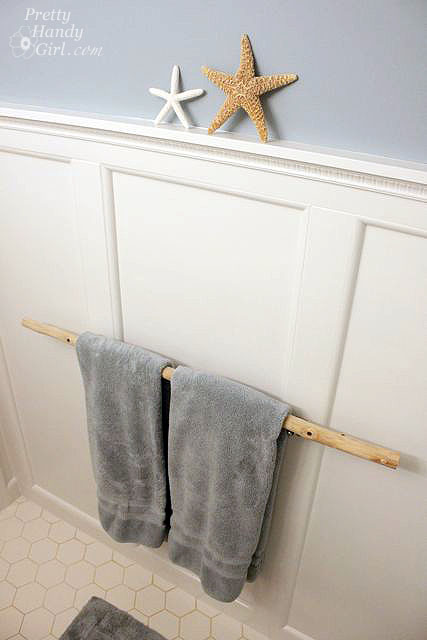
 

Installing a Branch Towel Bar

Install a Branch Towel Bar to add some nature to your bathroom.
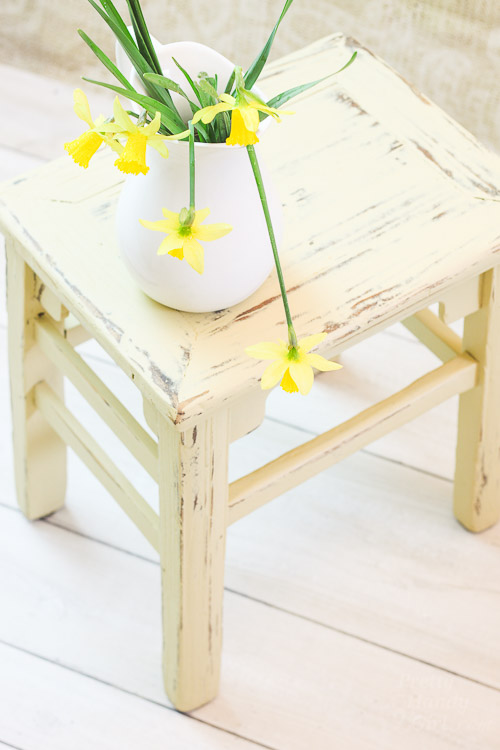
 

Chalk Painted Wooden Stool

Chalk Painted Wooden Stools are handy and attractive to have around.
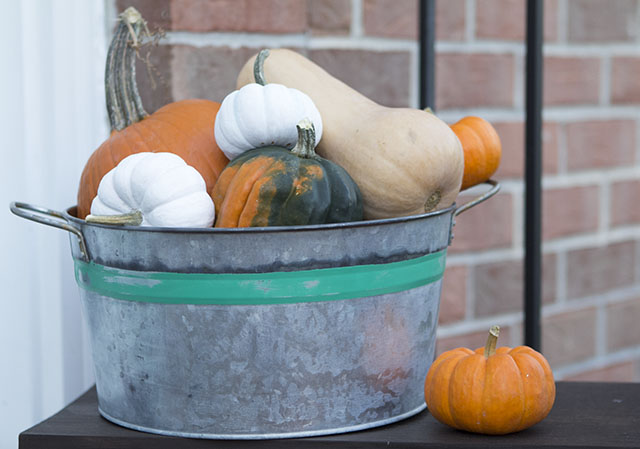
 

Aging Galvanized Metal Quickly

Learn How to Age Galvanized Metal Quickly and save some money on that aged metal look.
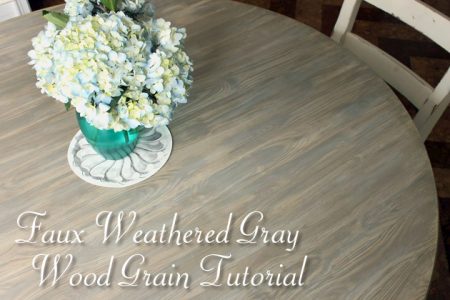
 

The Gray Restoration Hardware Stain Recipe

My Personal Gray Restoration Hardware Stain Recipe is perfect for the farmhouse aesthetic.


Scrap Wood Christmas Tree

A Scrap Wood Christmas Tree is a great farmhouse holiday centerpiece.
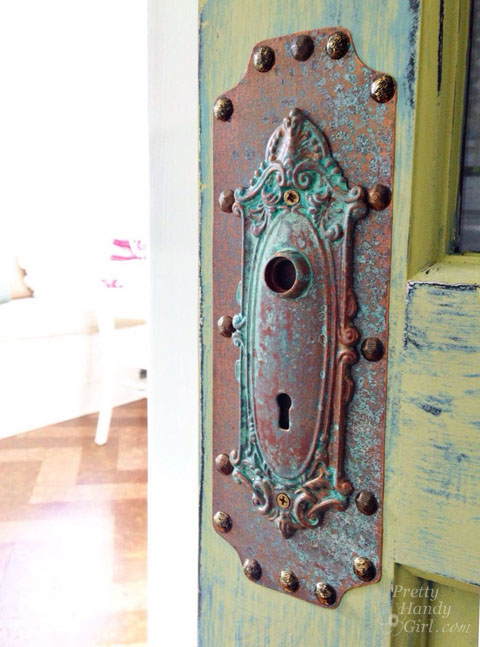
 

Create Inexpensive Faux Copper Patina

Create Inexpensive Faux Copper Patina to add gorgeous character to your home.
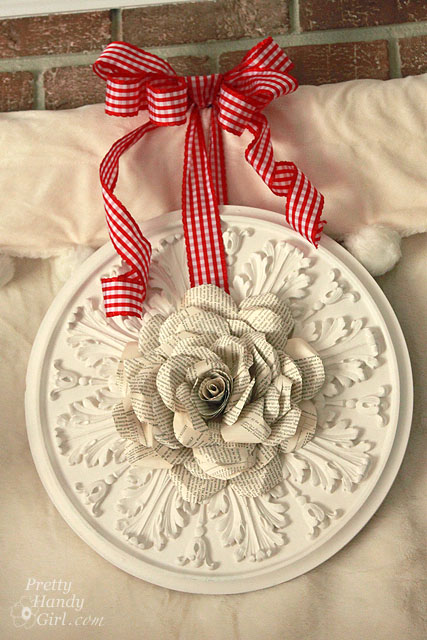
 

Book Page Rose Wreath

This Book Page Rose Wreath is a beautiful DIY craft.
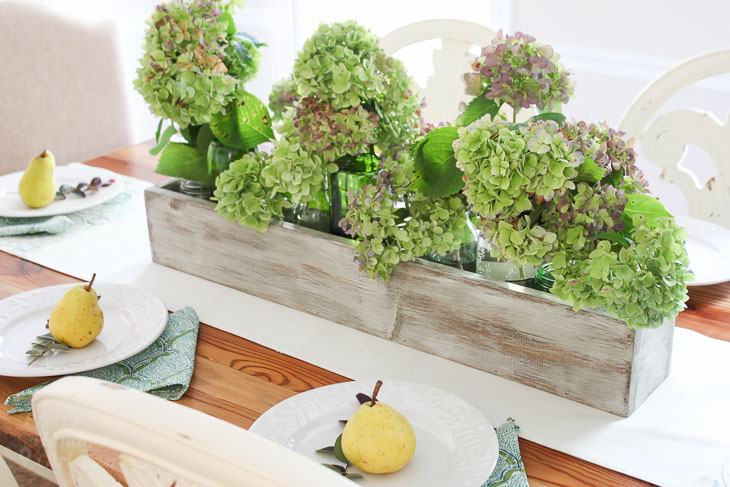
 

Perfect Rustic Paint Technique Tutorial

The Perfect Rustic Paint Technique Tutorial can be used for many items or furniture for a farmhouse look.
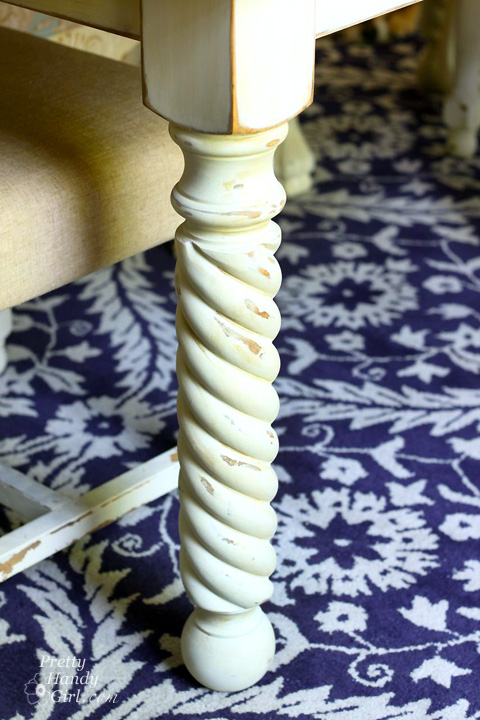
 

DIY Farmhouse Decor Ideas

Aging and Antiquing Furniture Legs gives it an old, worn and beautiful look.
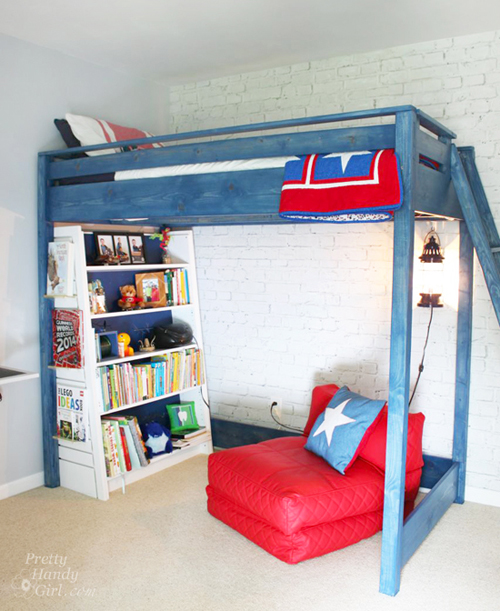
 

Blue Loft Bed Kids Room

Build a Blue Loft Bed with colorful wood stain, so pretty!
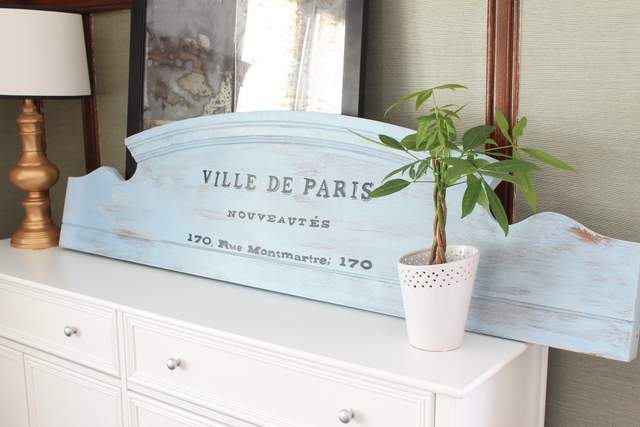
 

Make an Old Sign from a Footboard

Make an Old Sign from a Footboard to decorate your mantel. Signs like this sell for hundreds of dollars, but this one will cost you much less!


Create a Unique Wine Rack From an Old Dresser

Create a Unique Wine Rack From an Old Dresser for an instant bar cart.
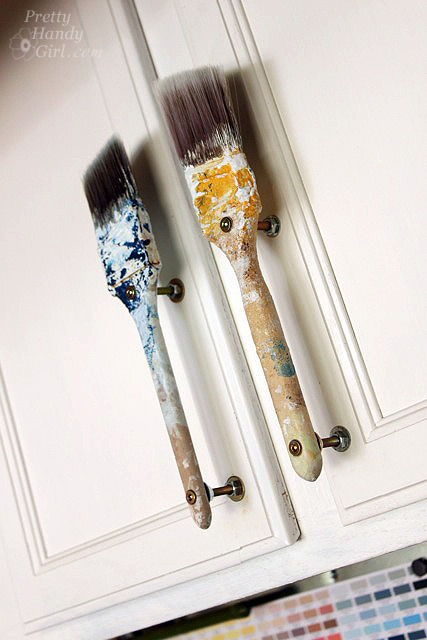
Old Paintbrush Cabinet Door Handles

Old Paintbrush Cabinet Door Handles are a clever addition to your craft room.
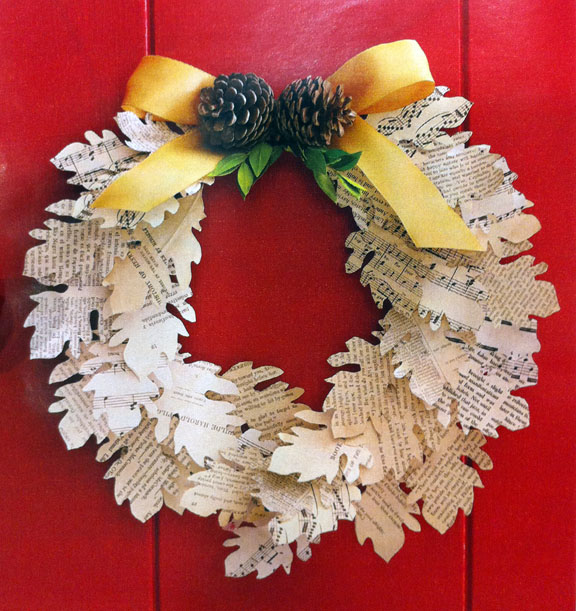
 

An Autumn Book Page Leaf Garland

An Autumn Book Page Leaf Garland is a pretty and simple DIY craft that looks great.
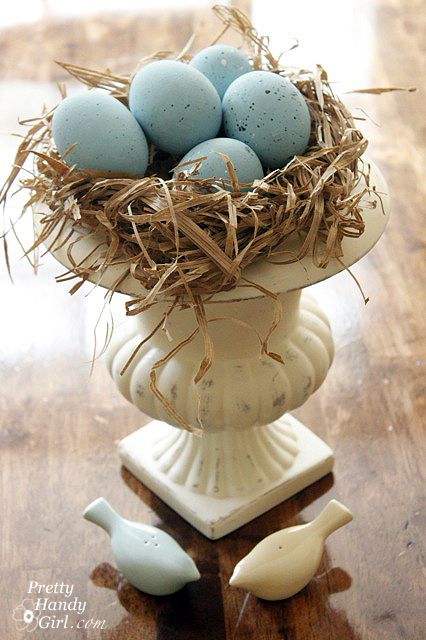
 

DIY Springtime and Easter Blue Bird Nest

For your springtime tablescape, make this DIY Springtime and Easter Blue Bird Nest.


Rustic Farm Crate Sign

DIY a Rustic Farm Crate Sign to fake a farm in your family name.
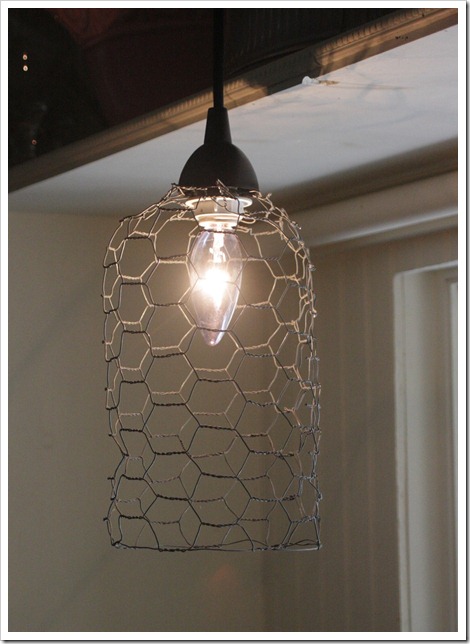
 

Anthropologie Inspired Pendant Light

This Anthropologie Inspired Pendant Light looks like it came right from the farm.
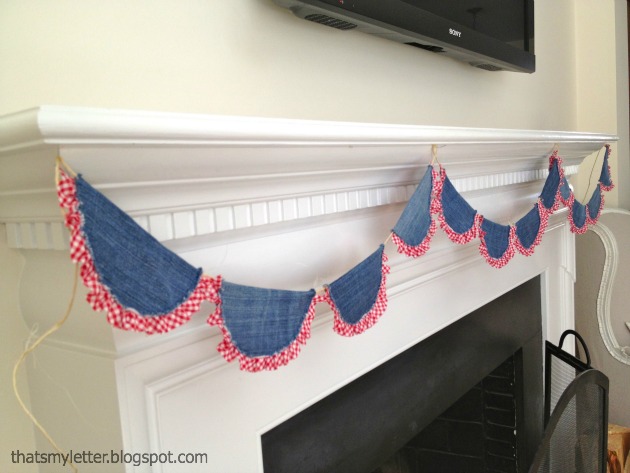
 

denim bunting

This Patriotic Denim Bunting Tutorial is perfect for your summer decor.
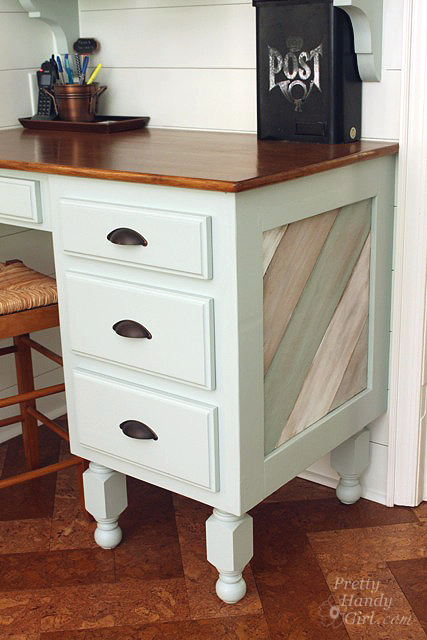
 

Building a Kitchen Counter Height Desk

Build a Kitchen Counter Height Desk to customize your organization center.
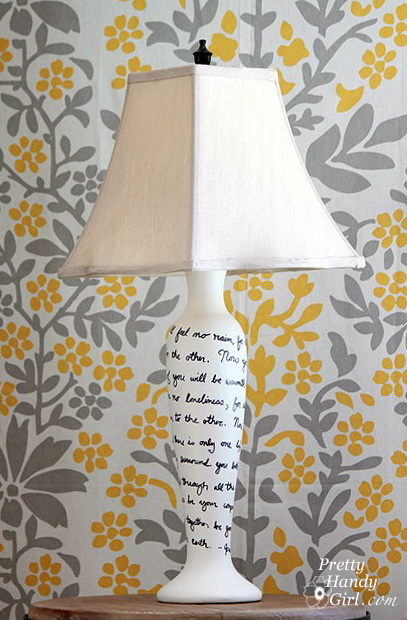
 

Song Lyrics Lamp Makeover

This Song Lyrics Lamp Makeover has simple colors and is perfect for a bedroom.


Twig Star Decorations

Twig Star Decorations are quick and cute farmhouse decorations.
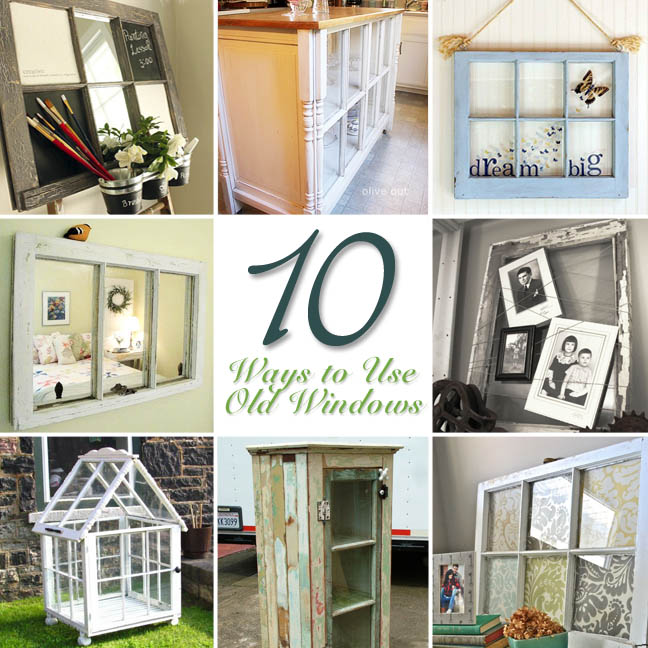
 

10 Uses for Old Windows

10 Uses for Old Windows help you achieve farmhouse aesthetic in any room.
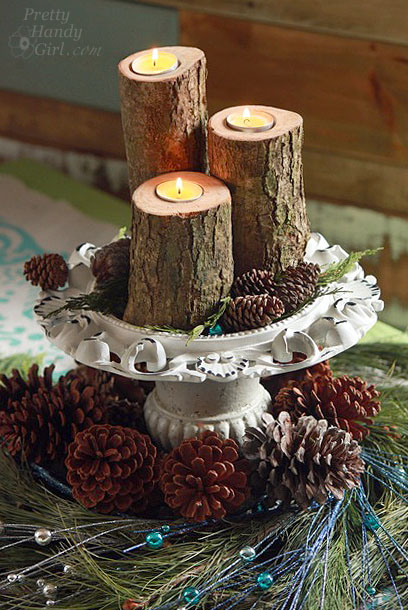
 

Log Tea Light Pillar Candles

Log Tea Light Pillar Candles are rustic yet elegant.


How to Make a Chalkboard Surface Desk

How to make a Chalkboard Surface Desk to create a built in workspace for your kids.
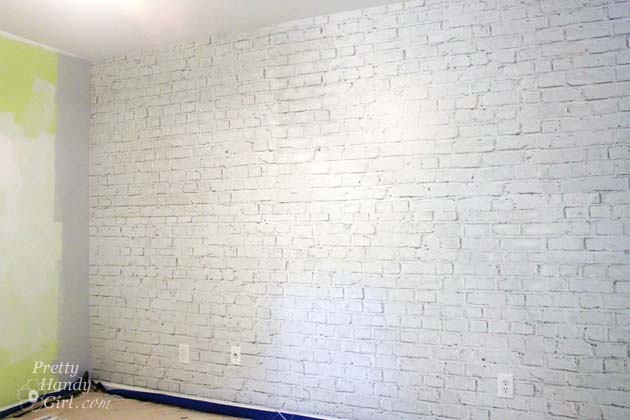
 

How to Install Brick Wallpaper Mural

Installing Brick Wallpaper Mural gives an aged feel to any room.
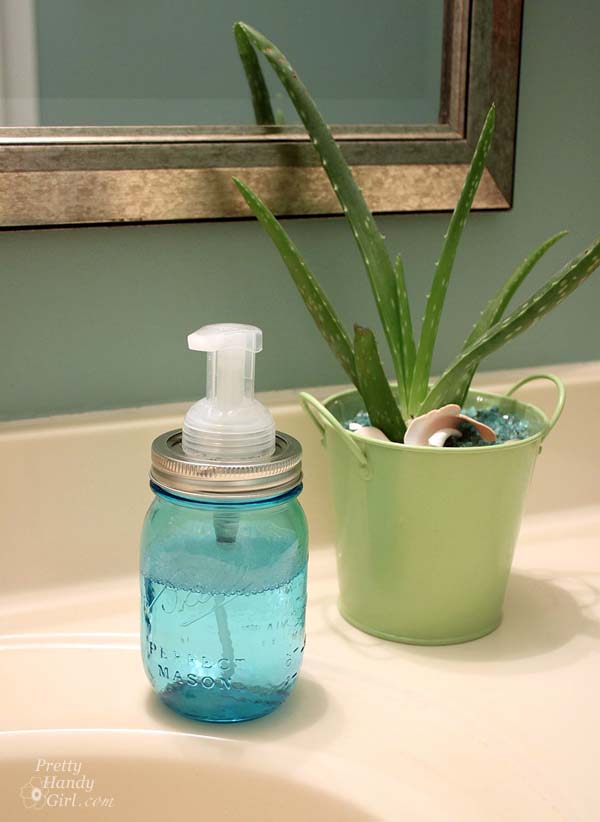
 

Make a Mason Jar Soap Pump

Make a Mason Jar Soap Pump and use that blue ball glass to remind you of old times.
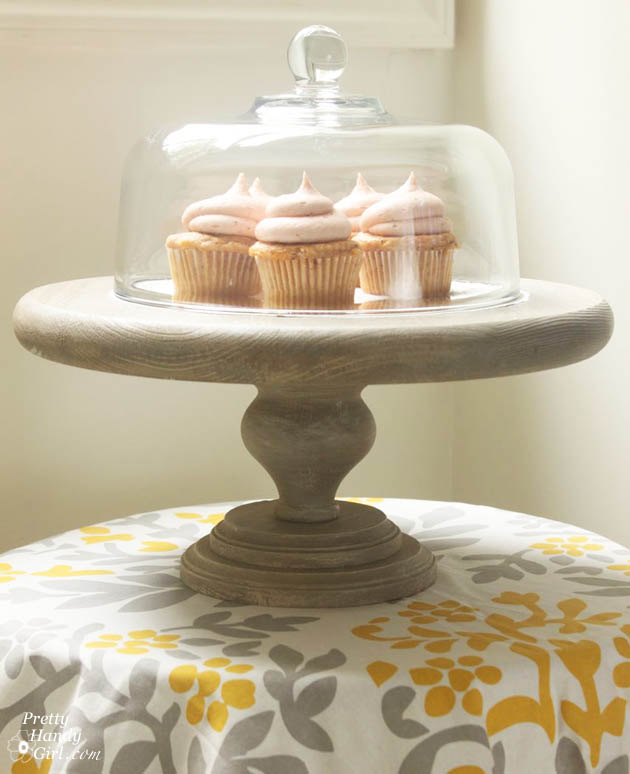
 

diy rustic cake stand

This DIY Rustic Cake Stand can be decorative and functional.
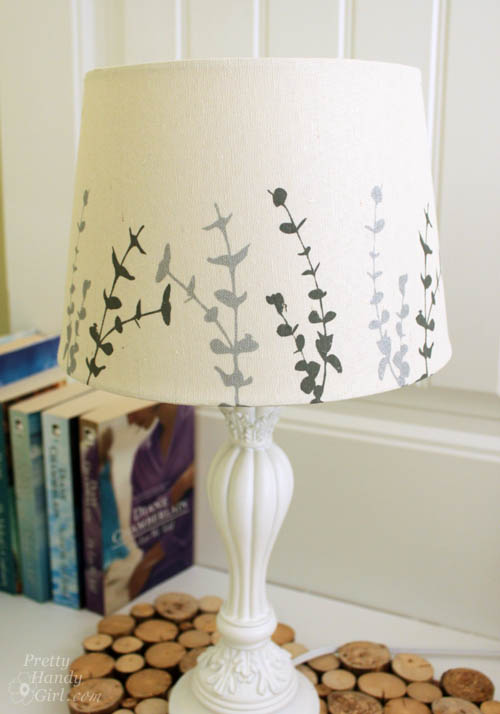
 

Painted Lampshade and Guest Room Makeover

Take a plain lampshade and paint it to match your farmhouse-inspired room.
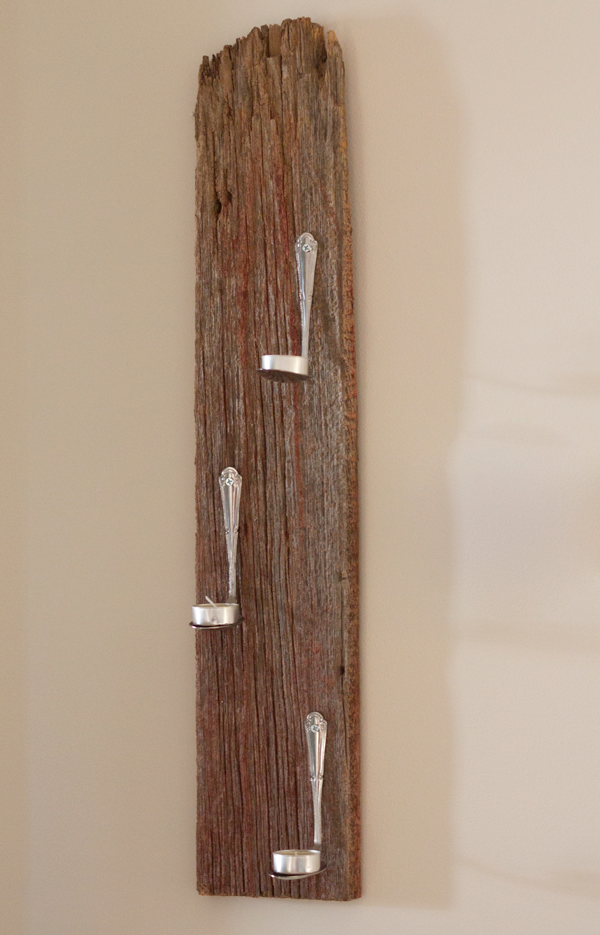
 

Spoon Tealight Candle Holder

A Spoon Tealight Candle Holder is a great use of old spoons.
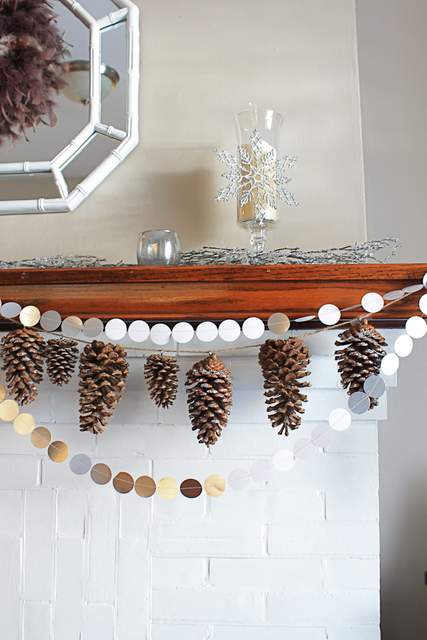
 

make a simple pinecone garland

Make a Simple Pinecone Garland to bring some outdoors to your indoors.
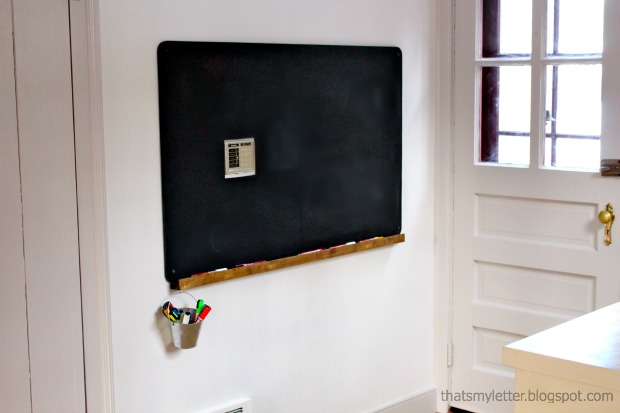
 

Build a Wall Chalkboard With a Chalk Ledge

Build a Wall Chalkboard with a Chalk Ledge for the entire family to use.
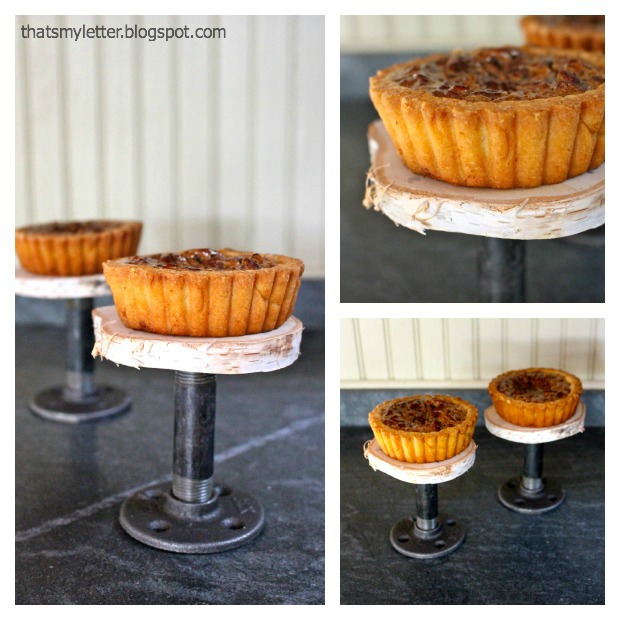
 

DIY Industrial Cupcake Stands

DIY Industrial Cupcake Stands are a cute farmhouse style addition to any party.
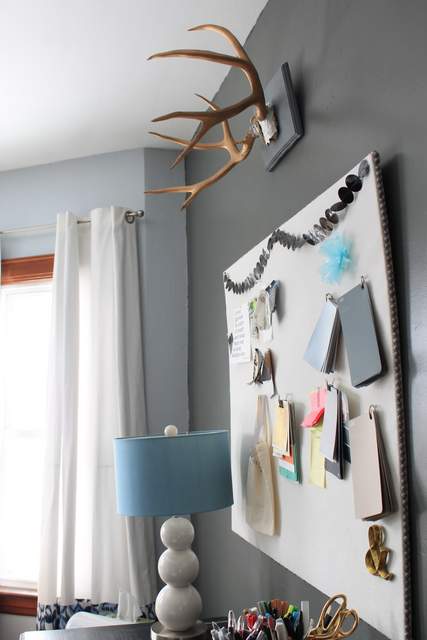
 

How to Mount Antlers

Learn How to Mount Antlers and bring some farm to your decor.
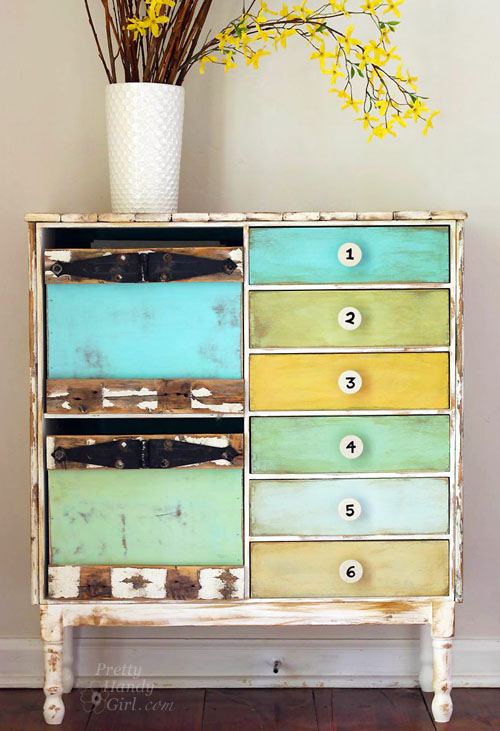
 

how to build diy rustic wood box crates

Here’s How to Build Custom Rustic Wood Box Crates that will fit into many spaces.
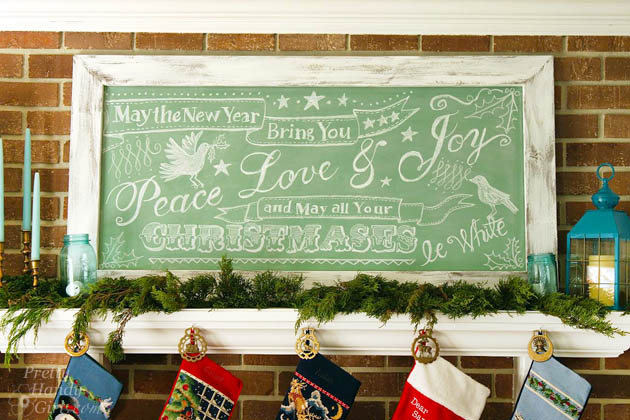
 

How to build a giant chalkboard

You must Build a Giant Chalkboard to decorate for all the holidays.
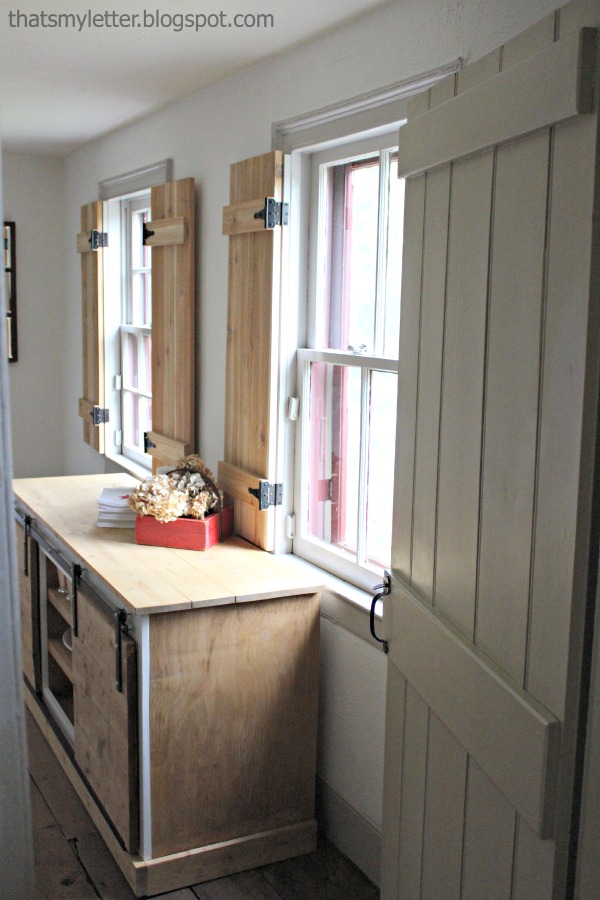
 

DIY Interior Cedar Shutters

DIY Interior Cedar Shutters are a staple for any farmhouse home.
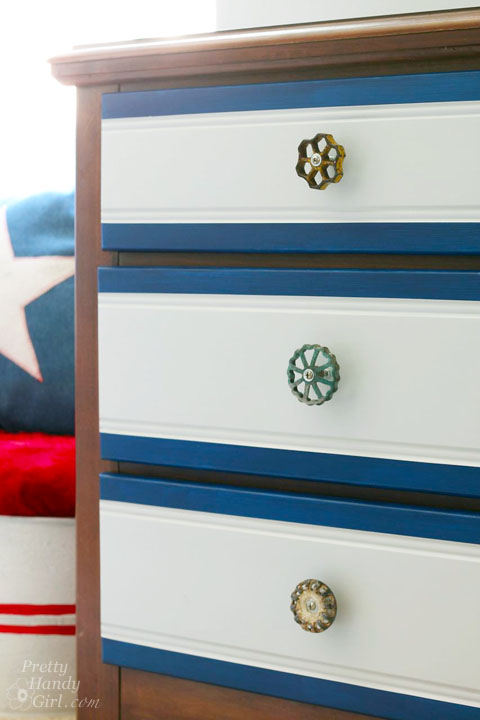
 

Spigot Handle Drawer Pulls

Adding these Spigot Handle Drawer Pulls is a cute and creative way to update a dated dresser.
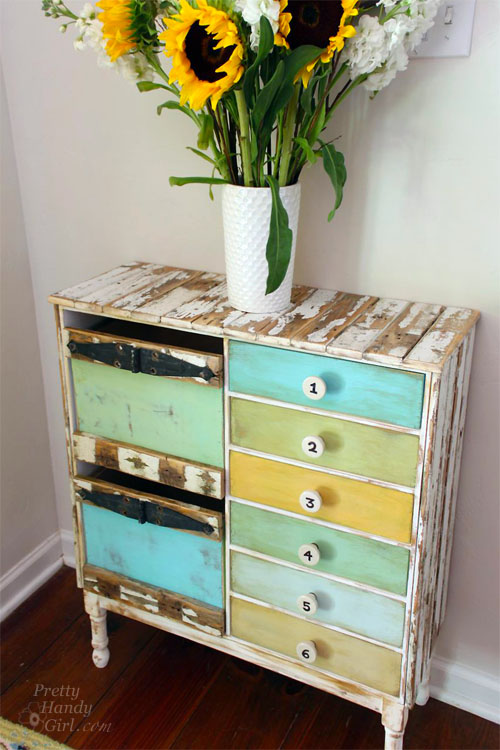
 

rustic ikea hacked cabinet

Learn How I Took a Standard IKEA Cabinet and gave it a rustic farmhouse look.
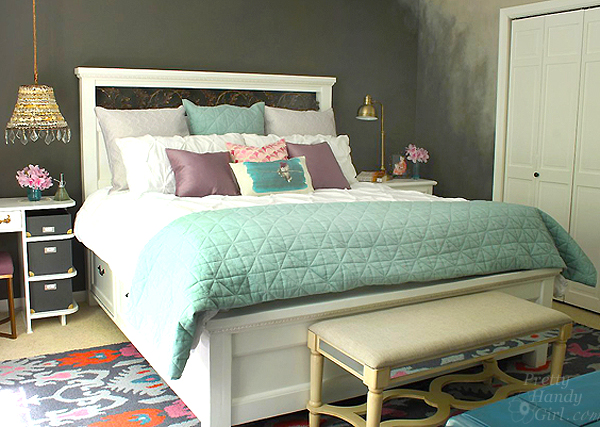
 

Farmhouse King Size Bed with Storage

A Farmhouse Bed with Storage is a great addition to your farmhouse styled bedroom.
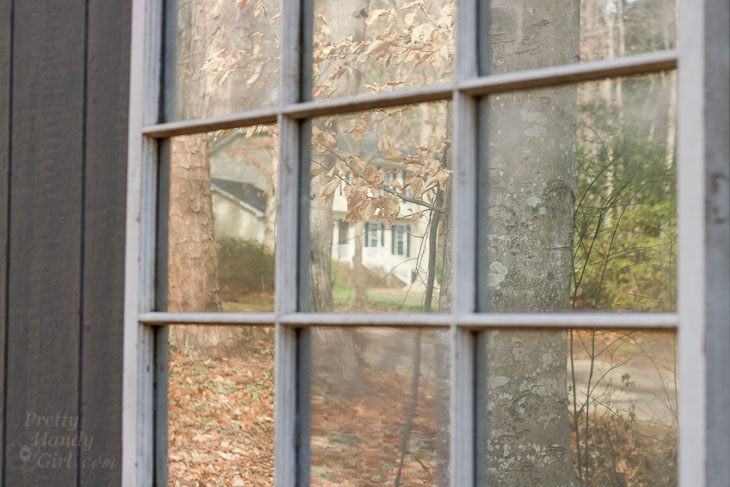
 

Mirrored Glass with Spray Paint

Use Mirrored Glass Spray Paint to give glass an aged look and make it reflective.
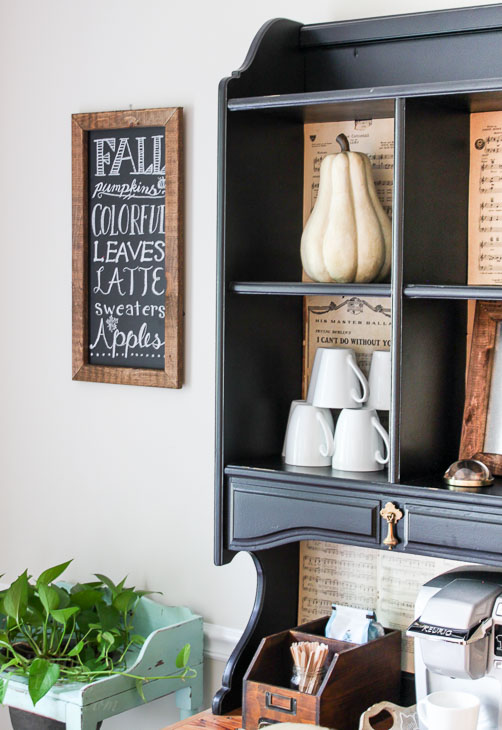
 

Fall Chalkboard Art

FREE Printable: Fall Chalkboard Art is a great wall decor item.
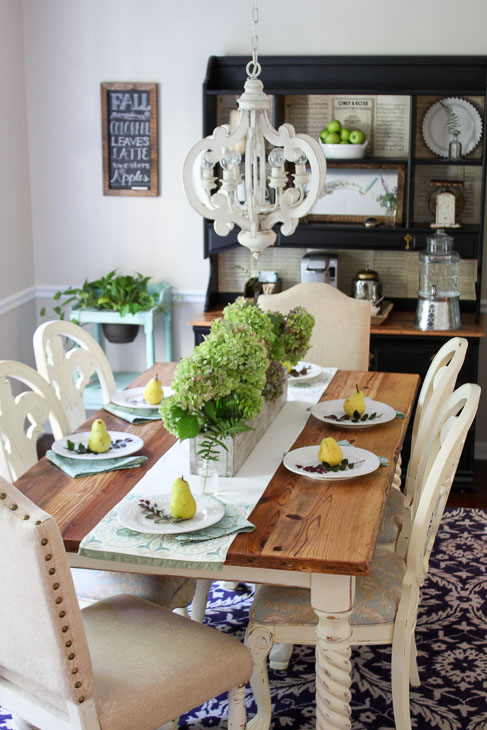
 

Build a Trough Centerpiece

Build a Trough Centerpiece to add to your farmhouse style dining room.
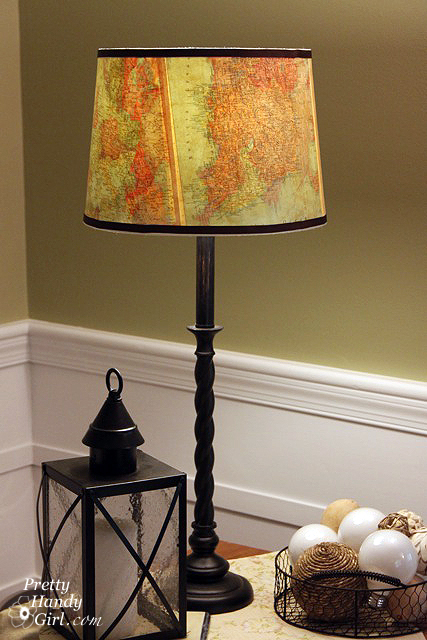
 

Vintage Map Lampshade

This Vintage Map Lampshade is perfect for your living room or office.
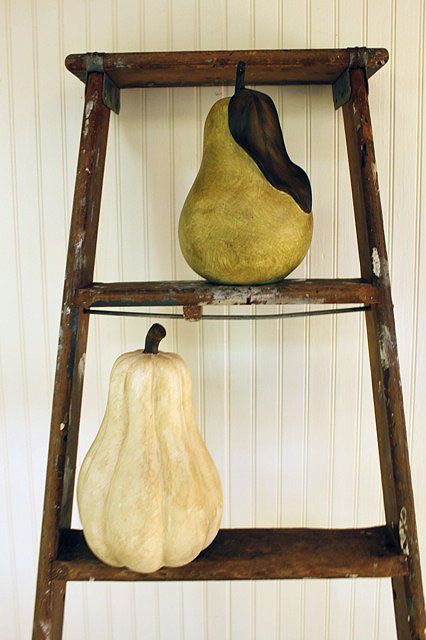
 

Re-Paint Home Decor

Re-paint Dated Home Decor to update old decor and transform it into farmhouse style.
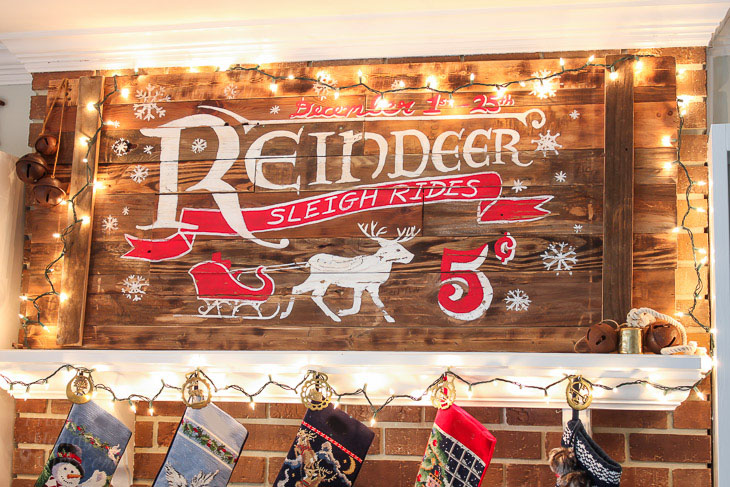
 

How to Build Vintage Rustic Sleigh Ride Sign

How to Build Vintage Rustic Sleigh Ride Sign and keep the farmhouse look through the holidays.
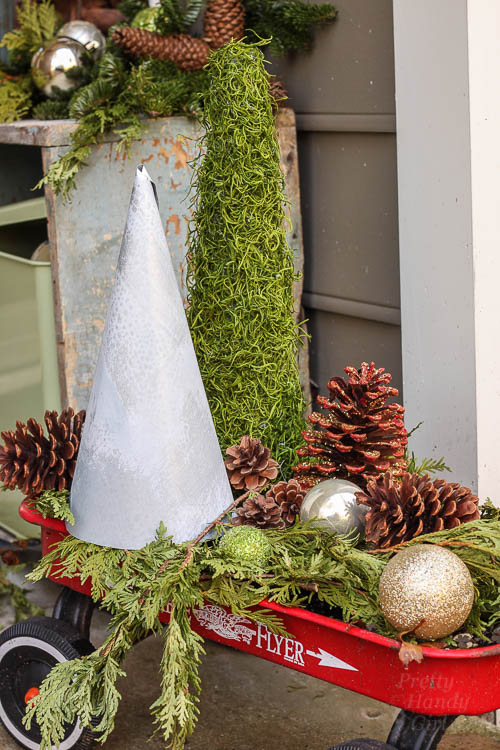
 

Metal Tree Form

This Metal Tree Form is simple and beautiful.
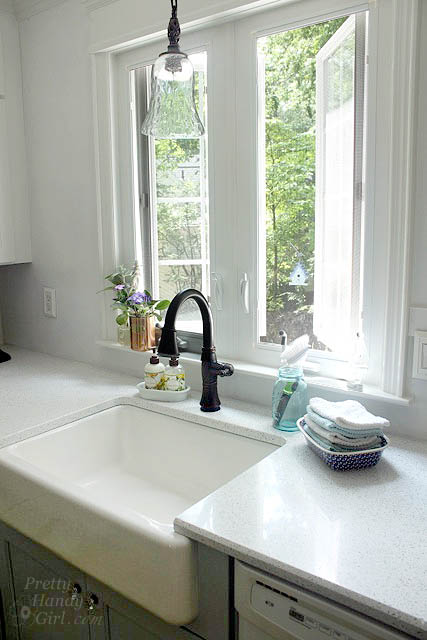
 

Pros and Cons of a Farmhouse Sink

This isn’t a DIY, but thought you should know the Pros and Cons of a Farmhouse Sink before you purchase one.
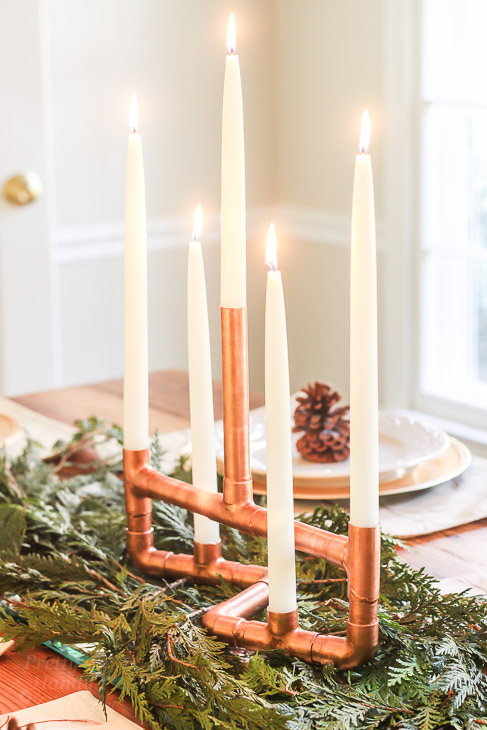
 

DIY Copper Pipe Centerpiece

A DIY Copper Pipe Centerpiece adds some shiny and industrial farmhouse feel.
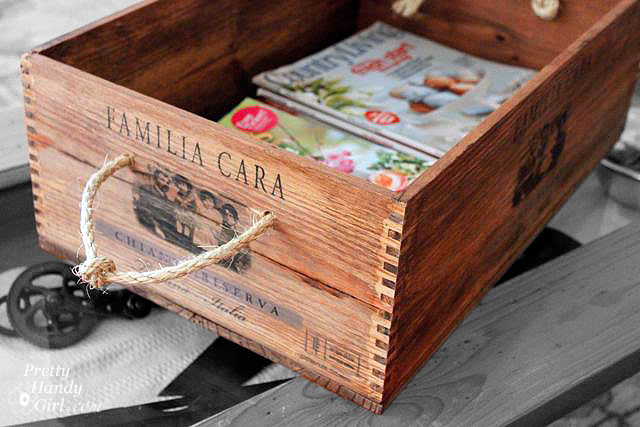
 

Rustic Wine Crate with Rope Handles

Rustic Wine Crate with Rope Handles are an attractive way to store magazines or books.
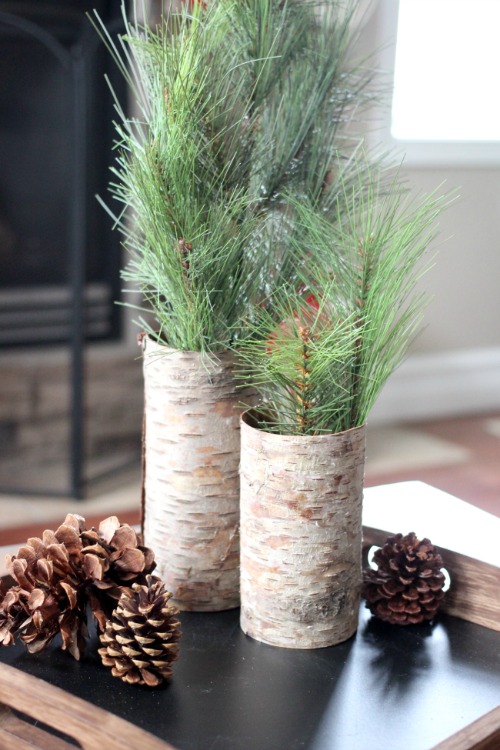
 

Rustic Bark Vases

Rustic Bark Vases are so easy to make and look perfect anywhere in your home.
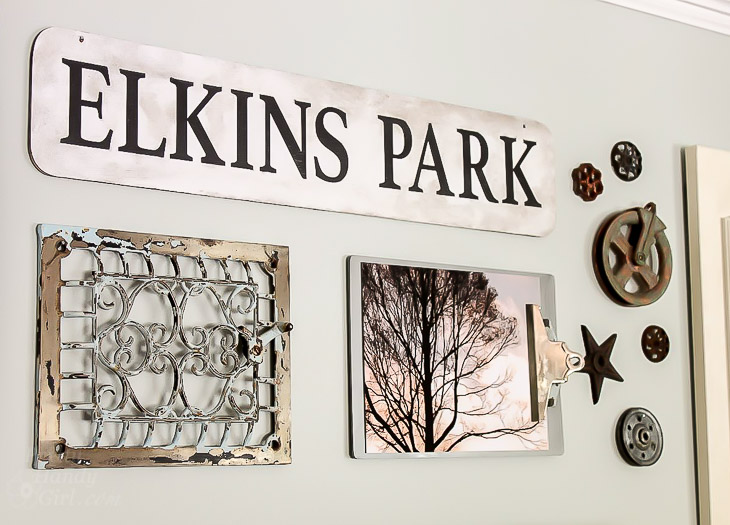
 

Make Your Own Street Sign

Make Your Own Street Sign to add your personal flair to your gallery wall.
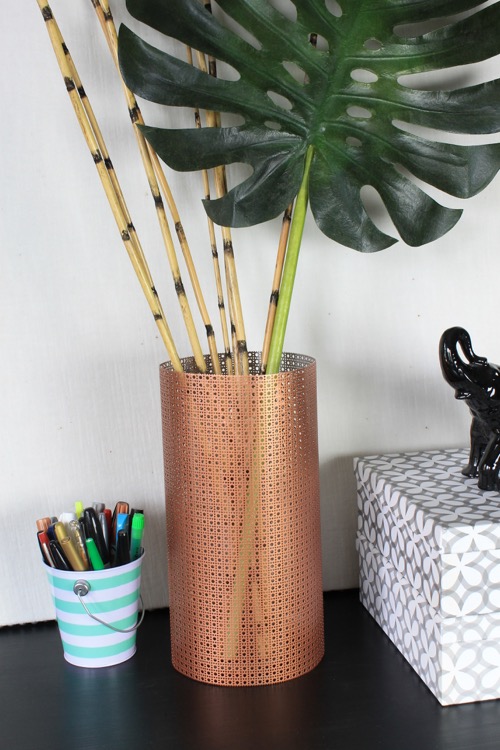
 

DIY Sheet Metal Vase

DIY Sheet Metal Vase is shiny, industrial and beautiful.


Magazine File Box Facelift

Give Tired Magazine File Boxs a Facelift with rustic, natural papers.
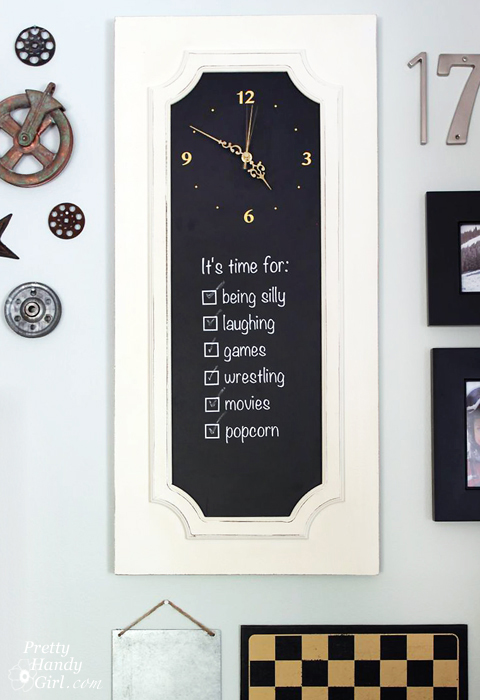
 

Make Your Own Clock Sign

Make Your Own Clock Sign from any flat surface material.
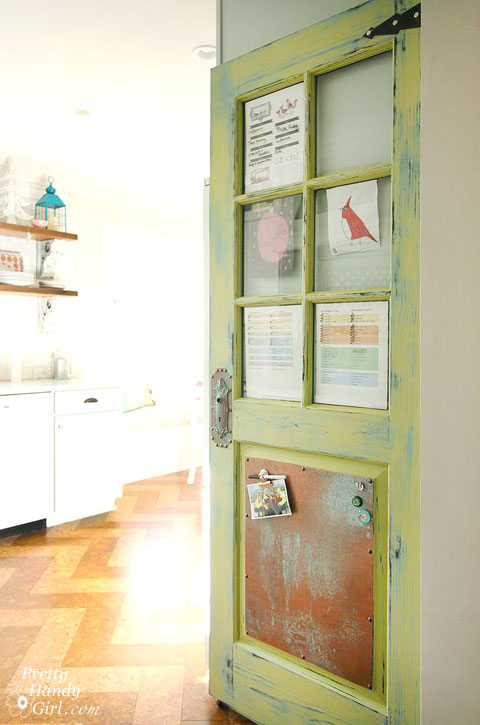
 

Family Organization Center Door

A Family Organization Center Door with aged copper and distressed paint screams of farmhouse charm.
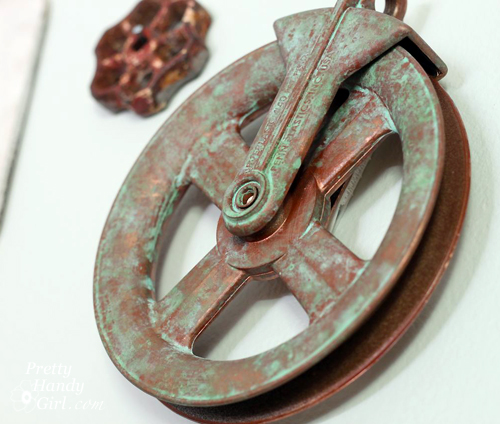
 

DIY Faux Aged Metal Pulley

Guess what?! This DIY Faux Aged Metal Pulley is actually a cheap plastic pulley I painted!
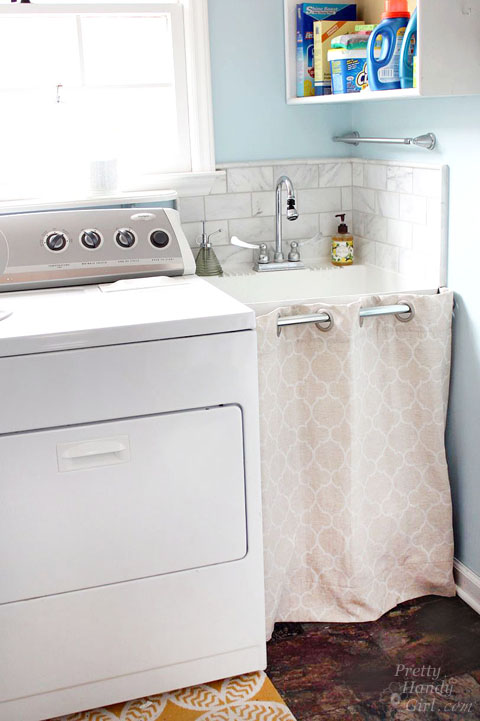
 

Hidden Storage Under Laundry Room Sink

Hidden Storage Under Laundry Room Sink makes an otherwise messy space beautiful.

I hope you liked these 111 DIY Farmhouse Decor Ideas and found a lot of inspiration! Share it on social media and PIN this image to show your friends how they can save money on Joanna Gaine’s worthy decorating.

Check out these 111 DIY Farmhouse Decor ideas and get a ton of inspiration on how you can decorate your house in the farmhouse style without breaking the bank!

If you liked 111 DIY Farmhouse Decor Ideas, you’re going to love:
20 clever diy upcycled vases social media image

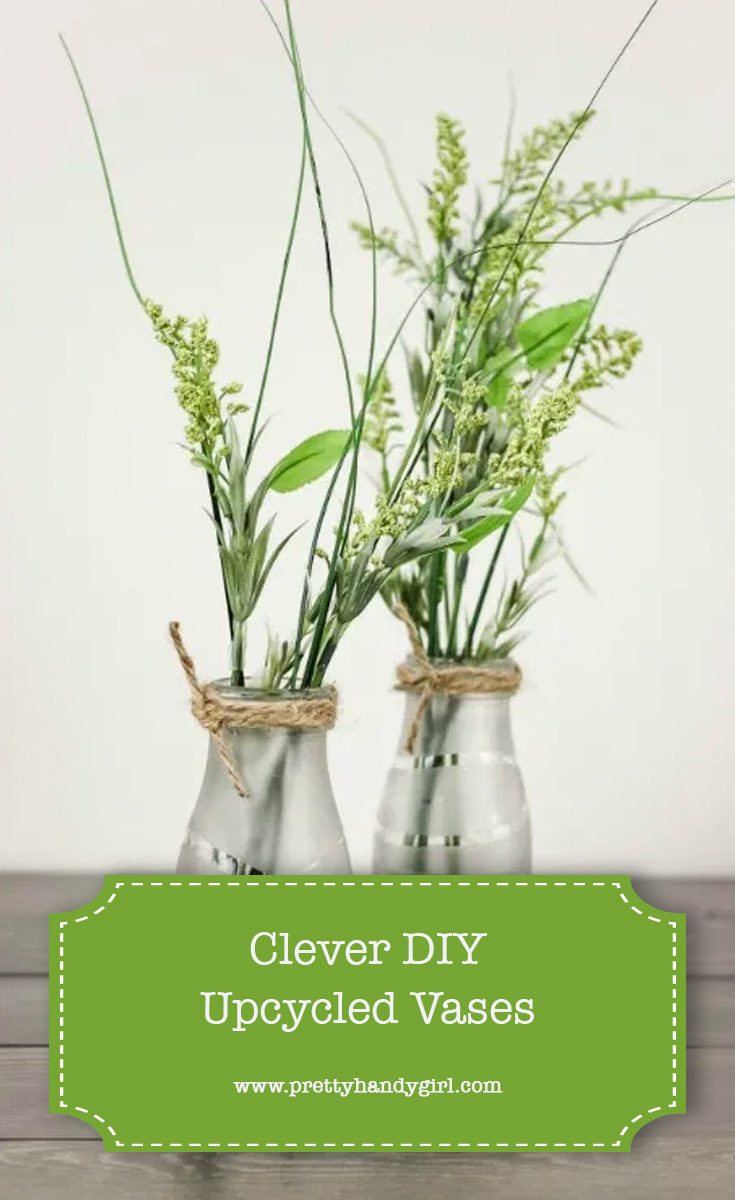
Clever DIY Upcycled Vases

Hostess gift ideas pinterest image

16 Unique DIY Hostess Gift Ideas
20 clever diy upcycled vases social media image

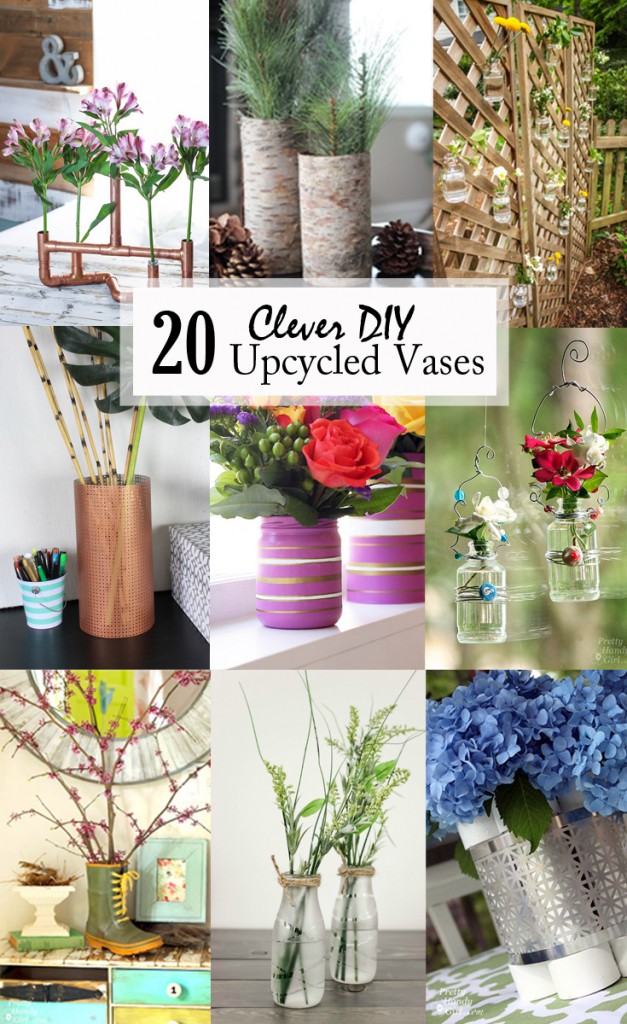
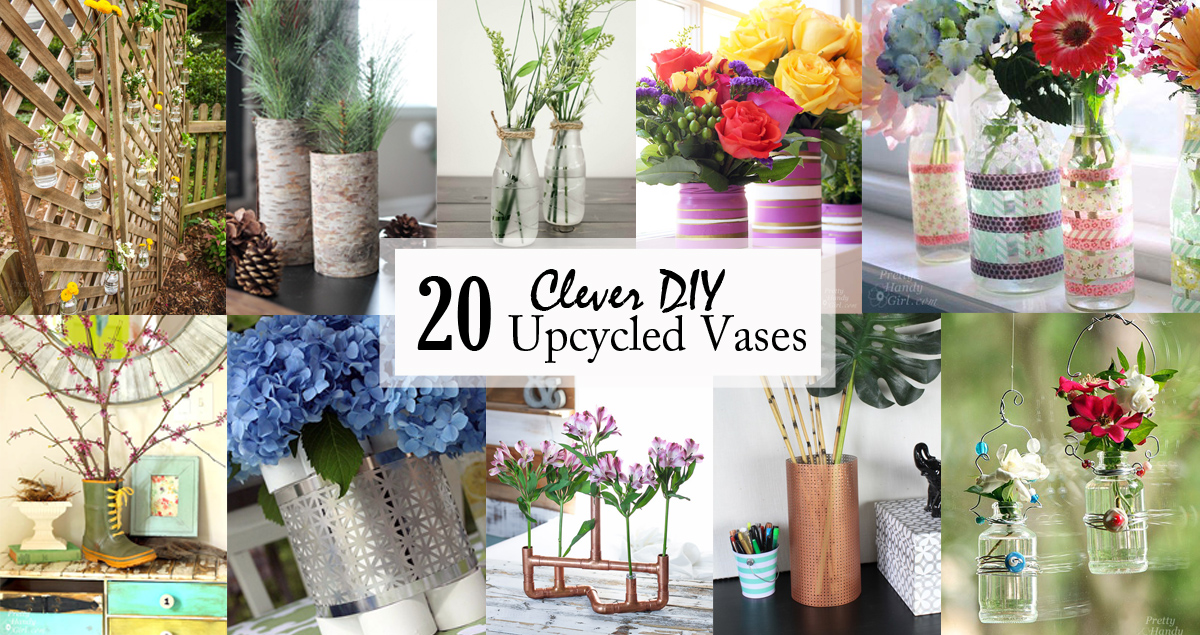
20 Clever DIY Upcycled Vases

Vases are beautiful and one of those home decor items that can be used in many different ways. They can sit empty on a shelf adding to the style of the room, hold beautiful flower arrangements, or be given as loving gifts.  These clever upcycled vases show only a few creative ways you can make a vase from items you already own, can be found in your recycling bin, or at local yard sales. I hope one of these many ideas inspire you to think outside the bottle ;-).

DIY aluminum sheet metal vase

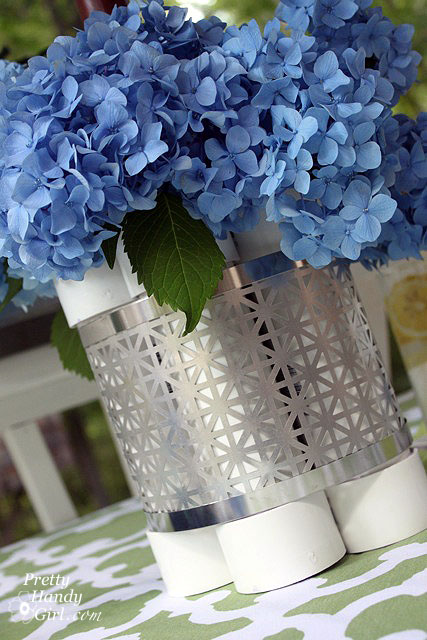
Can you believe this DIY Sheet Metal Vase is made from a decorative aluminum sheet found at your local hardware or craft store?


test tube wall mounted vase

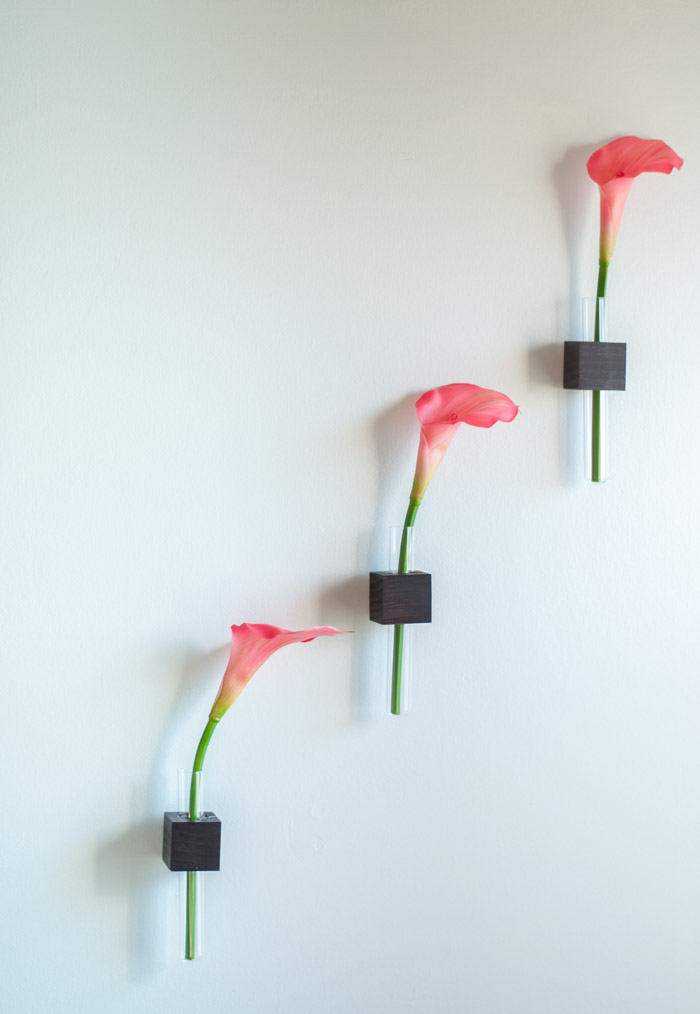
These DIY Wall-Mounted Test Tube vases look really cute on the wall and can be used in any room.


Make these sweet personalized gifts by wrapping Pounded Flower Artwork around a jar. It would make a great gift!


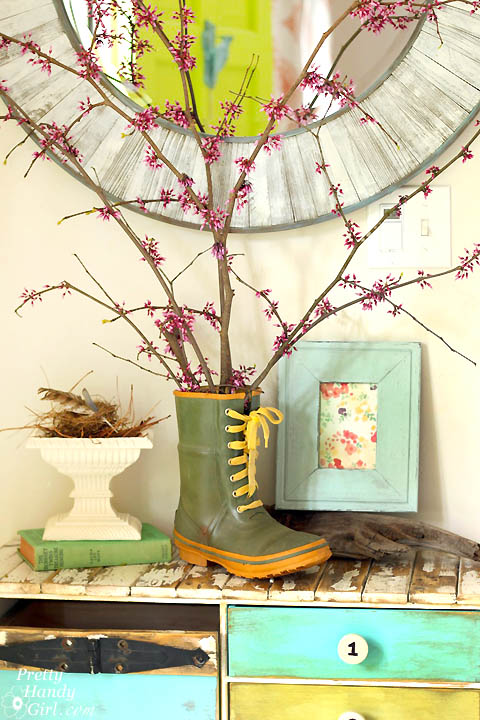
Simply slip a Mason Jar into a Boot to create this fun and quirky vase.


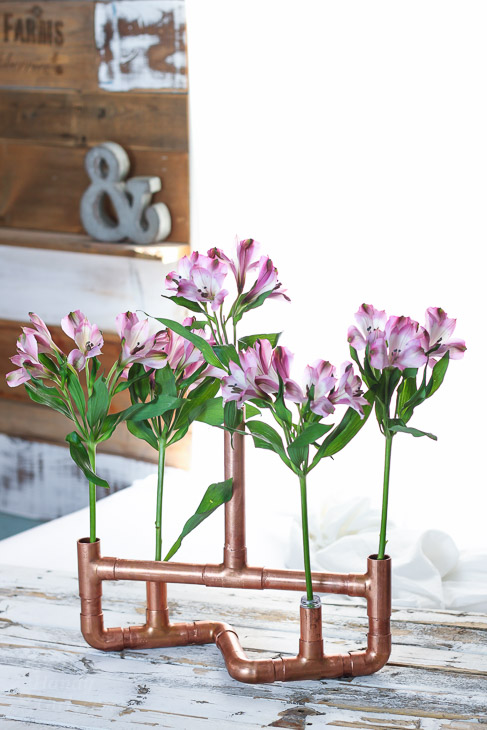
Practice your soldering skills to create this unique and pretty Copper Pipe Flower holder.


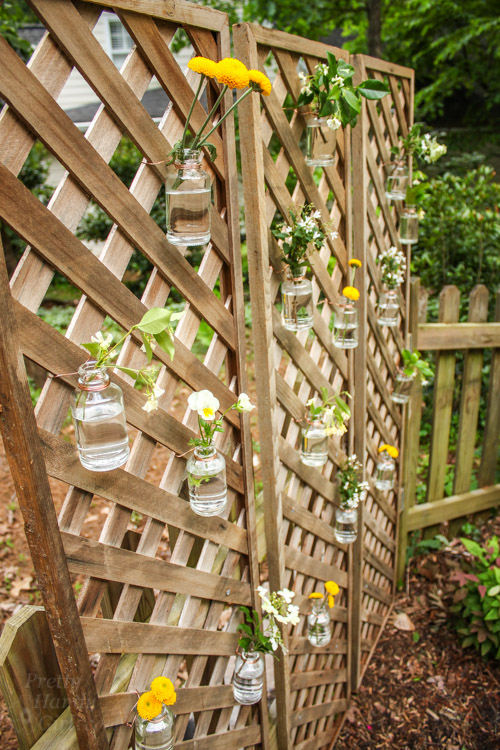
Decorate lattice and add some privacy to your yard with these gorgeous Glass Jar and Copper Wire vases.


No power tools? No problem! Create this gorgeous Produce Crate Centerpiece to hold your flowers using only hand tools.


Create this Outdoor Patio Living Flower Centerpiece vase using PVC pipe and decorative tin.


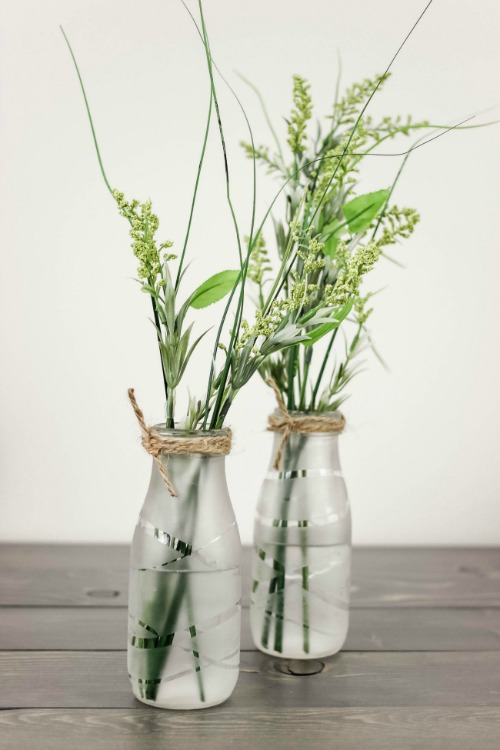
Check your recycle bin for bottles and make these Frosted Glass Vases for your springtime flowers or to give as a pretty gift.


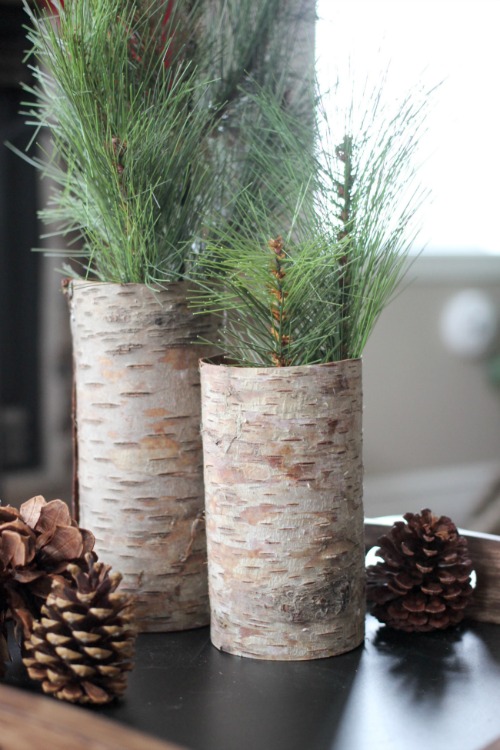
Use some beautiful pieces of tree bark to make these beautiful Rustic Birch Bark Vases that can be used year-round.


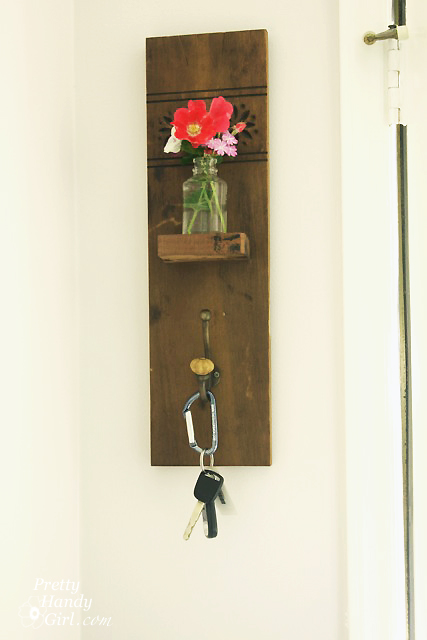
Make this functional and pretty Reclaimed Wood Hook and Vase to decorate your entryway.


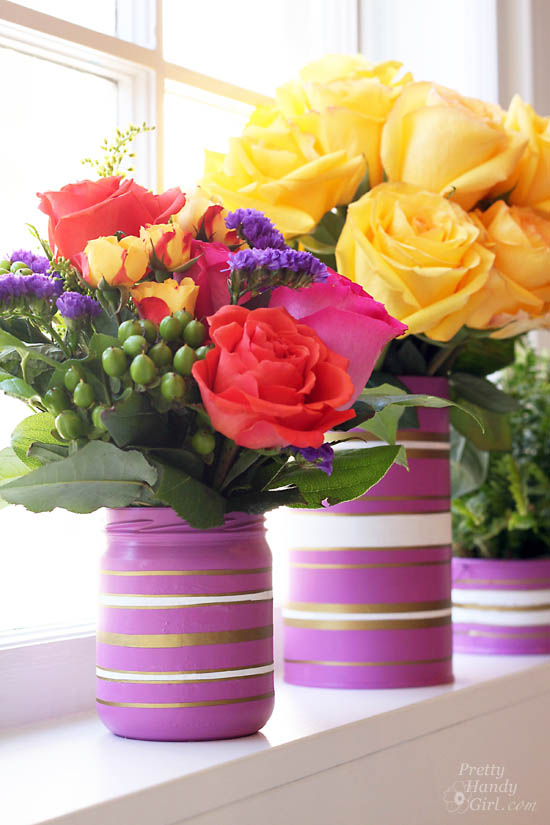
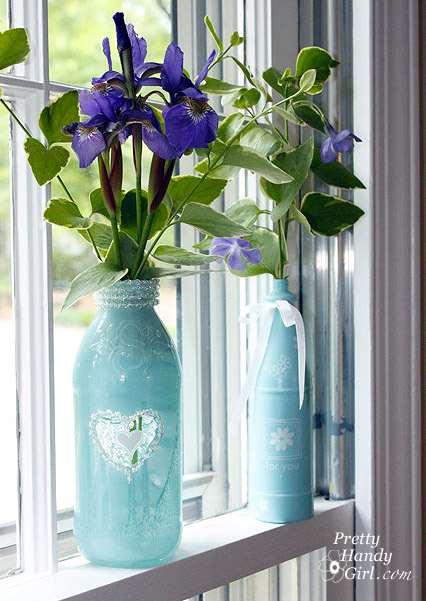
These Simple Bright Colored Vases can be made using recyclables, some paint and tape, and look absolutely gorgeous holding a variety of flowers.


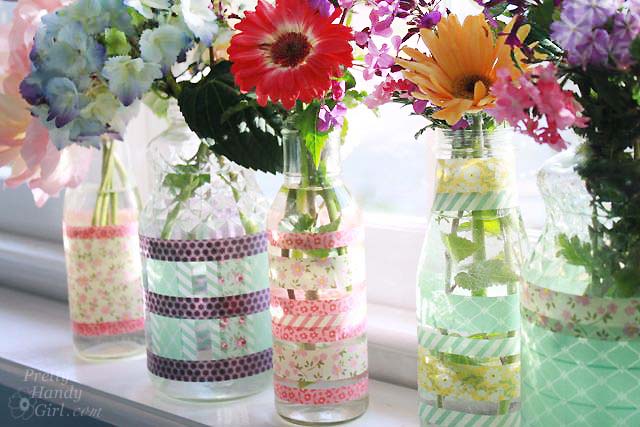
Beautiful Simple Springtime Flower Striped Vases are created just using some decorative washi tape. They make great gifts!


You’ll just need a couple supplies to create beautiful Spray Painted Glass Jars and Bottles.


Use some small glass bottles to make these pretty Hanging Beaded Glass Flower Vases to hang near a window.


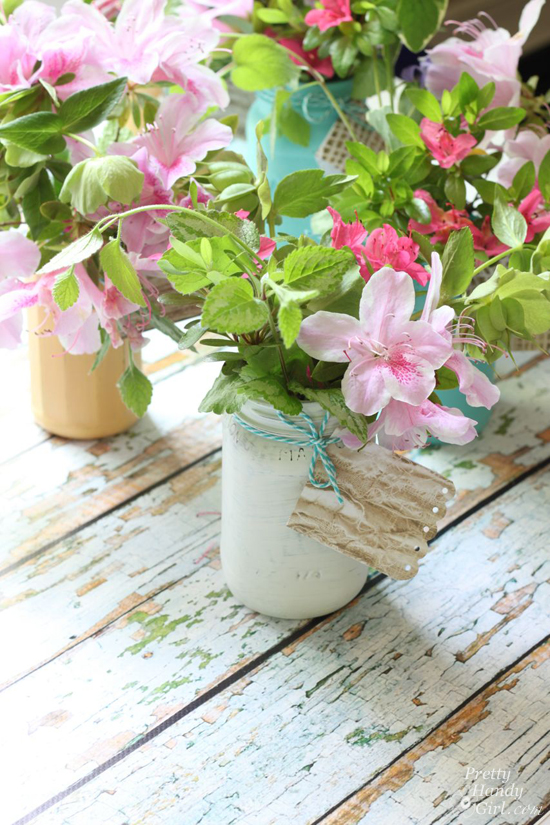
Paint some jars, fill them with flowers and show your teachers some love any day of the year with these Painted Vases.


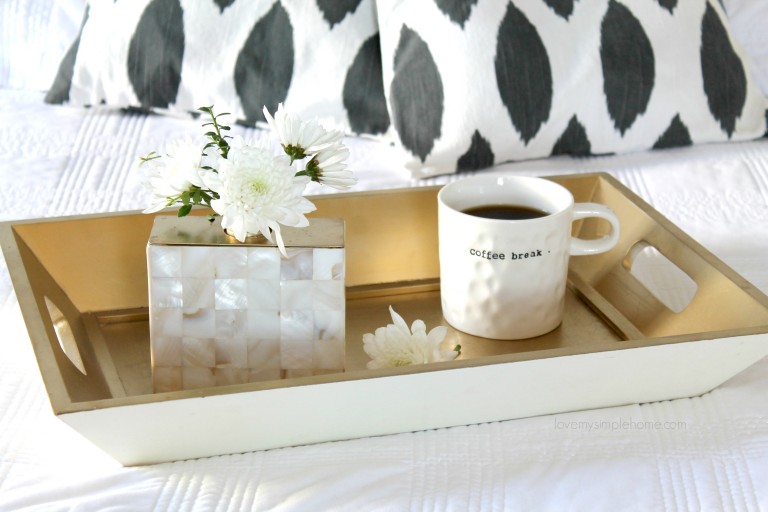
Would you believe you can turn a soap dispenser into a vase like this unique Mother-of-Pearl flower vase.


Use old milk bottles to create these modern DIY Glass-Etched Vases.


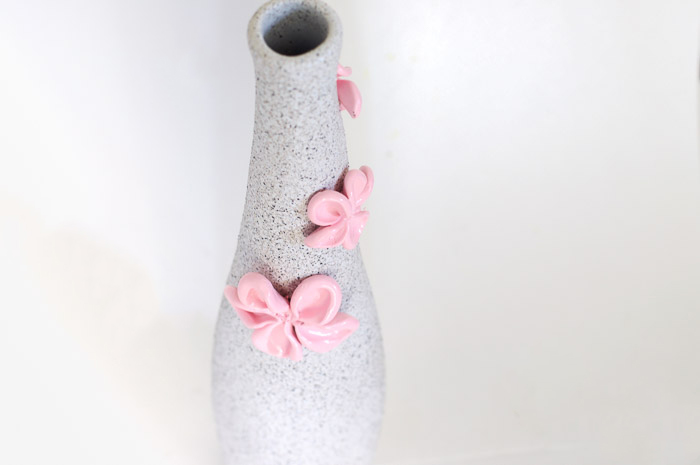
Turn an old glass bottle into this fun textured Faux Stone Vase. 


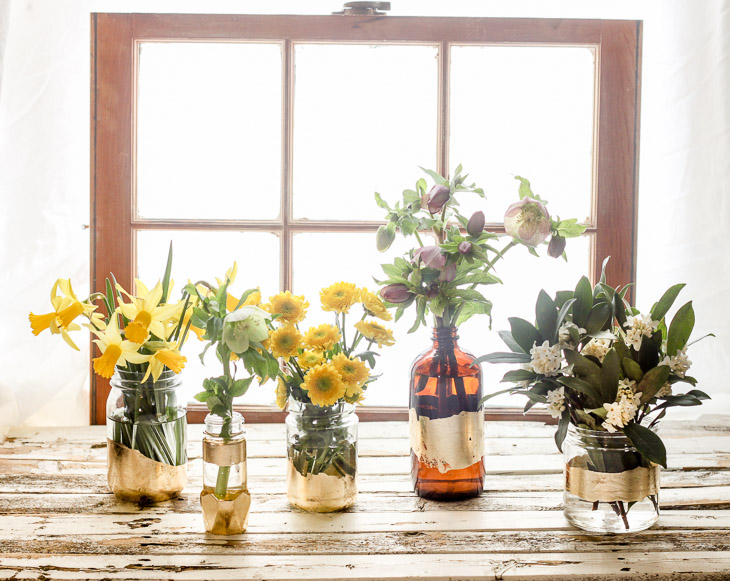
Still have some recycled bottles left? Make these super simple (but super elegant) Gold Leaf Bottle Vases to display or give as gifts.

What do you think? I hope these 20 DIY Upcycled Vases collection inspired you to use something old to make something new and beautiful. All of these make great home decor items or gifts to others to show how much you appreciate them. Enjoy, and get out there and create something!

If you liked this collection, please pin this image to Pinterest:

20 clever diy upcycled vases pinterest image

Happy upcycling.

~Read more of Sheri’s posts~


Other posts you may like:

12 Inexpensive Ways to Decorate Your Bathroomways to decorate your bathroom

Decorating Ideas for an Outdoor Garden Partygarden outdoor party ideas


Pin for later!

Clever DIY Upcycled Vases | Pretty Handy Girl

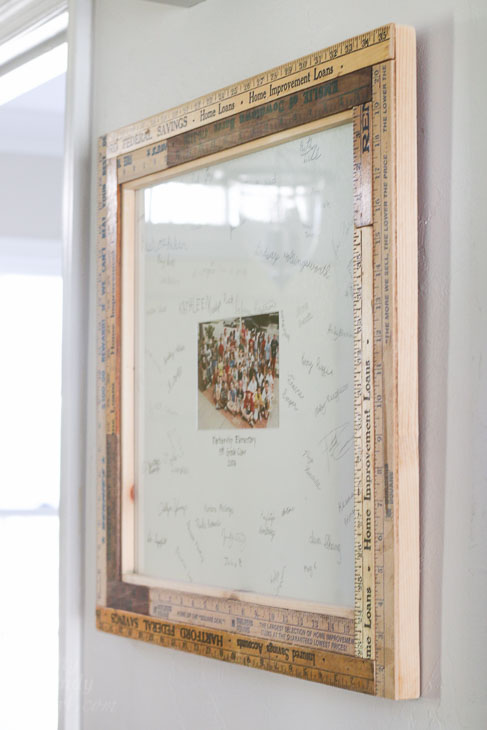
How to Custom Build a Vintage Ruler Picture Frame

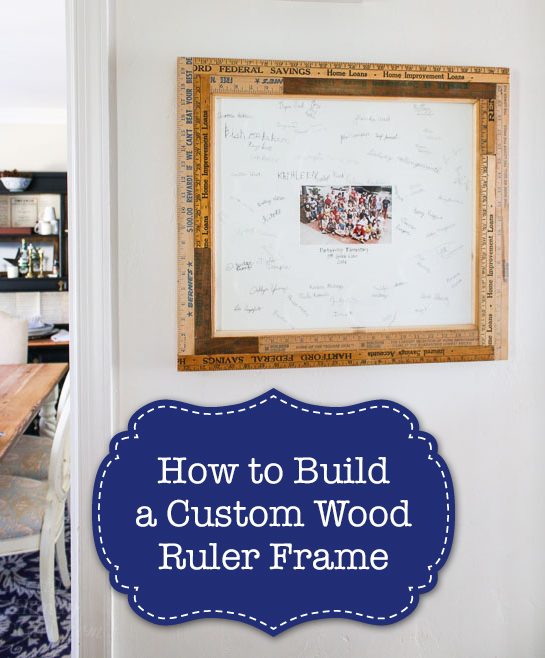
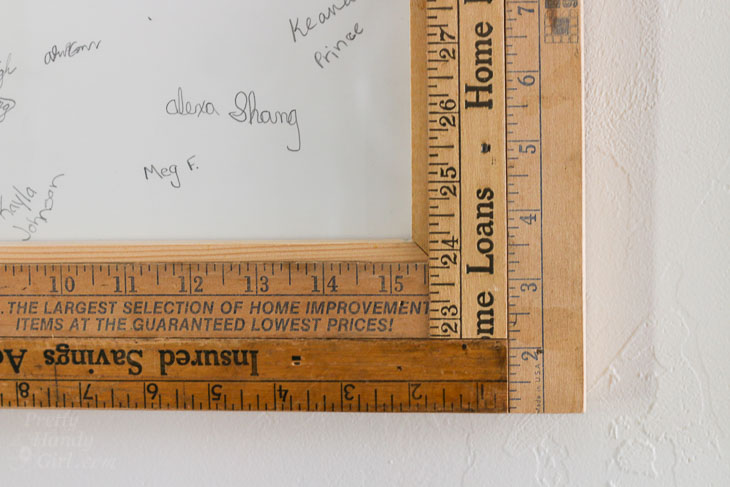
How to Build a Custom Vintage Wood Ruler FrameHow to Build a Custom Vintage Ruler Picture Frame

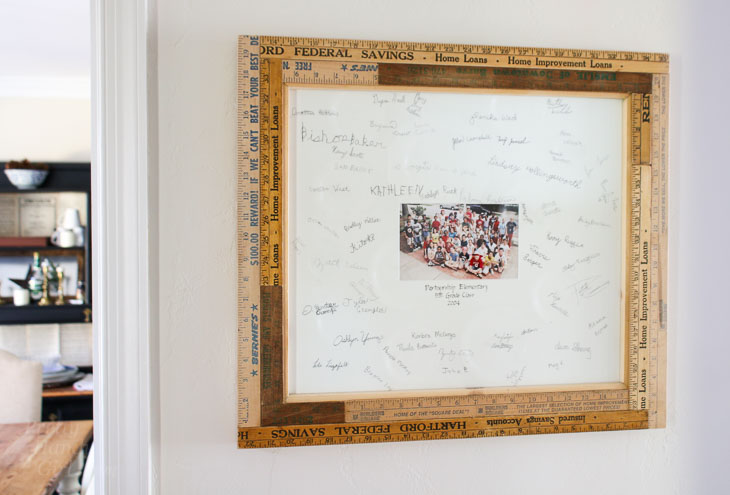
Every year when I go to meet my sons’ new teachers, I tell them if there is anything that needs fixing to let me know. It’s my small show of appreciation for all they do for my kids. Before Christmas, one of the teachers took me up on my offer. She asked me to fix a frame that had fallen off the wall and broke. I took one look at the cheap MDF frame and knew it was beyond repair. I didn’t tell her, because I wanted to surprise her with a Custom Built Vintage Ruler Picture Frame.

The great thing about this project is it uses cheap 1″ x 4″ lumber. And you can add your own moulding to dress up the frame if you like. Or just leave the frame plain, either way you’ll save major money by building your own custom frames!

Ready to learn how to build your own custom vintage ruler picture frame? Let’s get framing!

Materials:

(I’ve included affiliate links for your convenience. I earn a small percentage from a purchase using these links. There is no additional cost to you. You can read more about affiliate links here.)

Instructions:

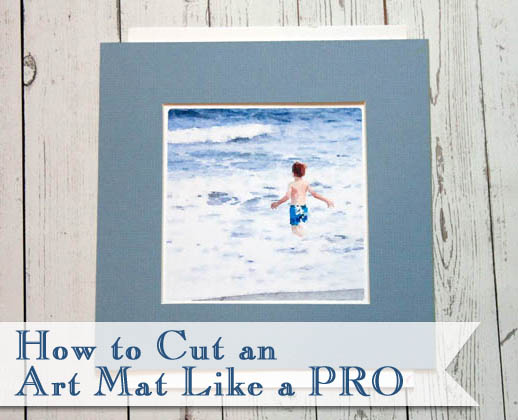
This tutorial assumes you have mounted art and glass, but if you don’t you can follow this tutorial for cutting your own art mats.

How to Cut an Art Mat Like a Pro | Pretty Handy Girl

Cutting the Frame:

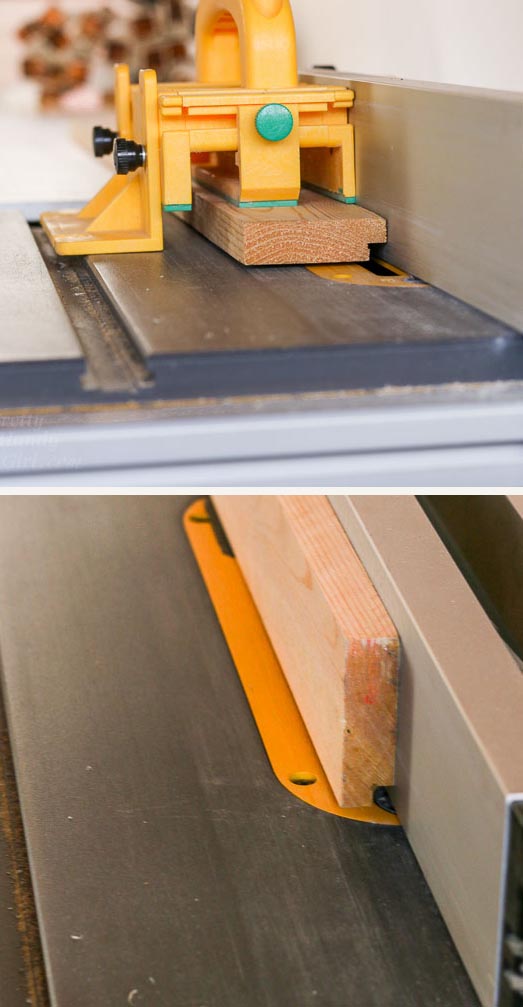
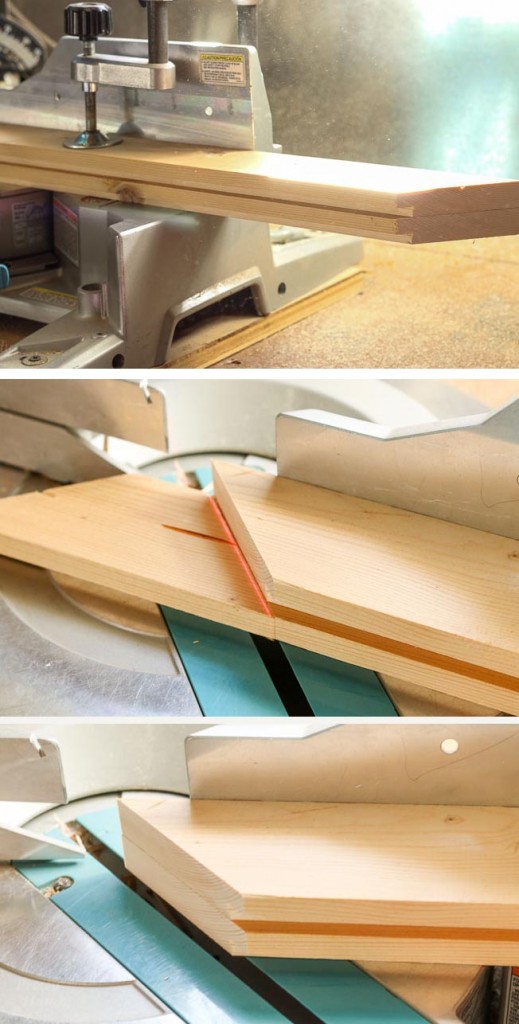
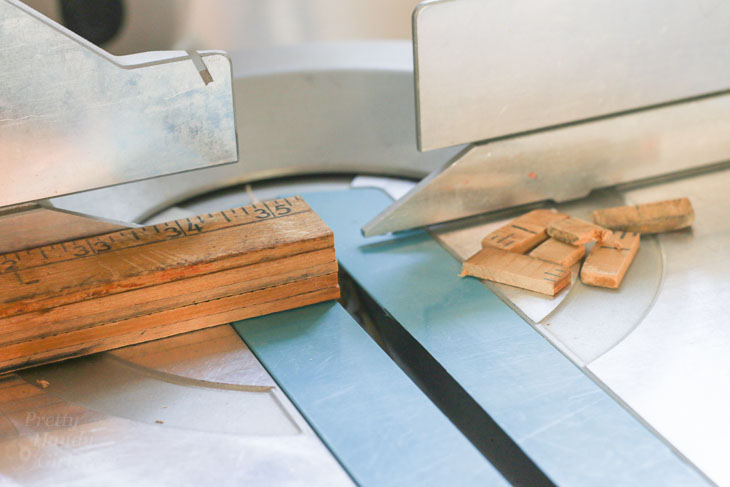
Use a table saw to rip your 1″ x 4″ lumber. Run your board through the saw along the 4″ side, then flip the wood up and run it through again. This will take 1/4″ off one corner to create a rabbet to place your art into.

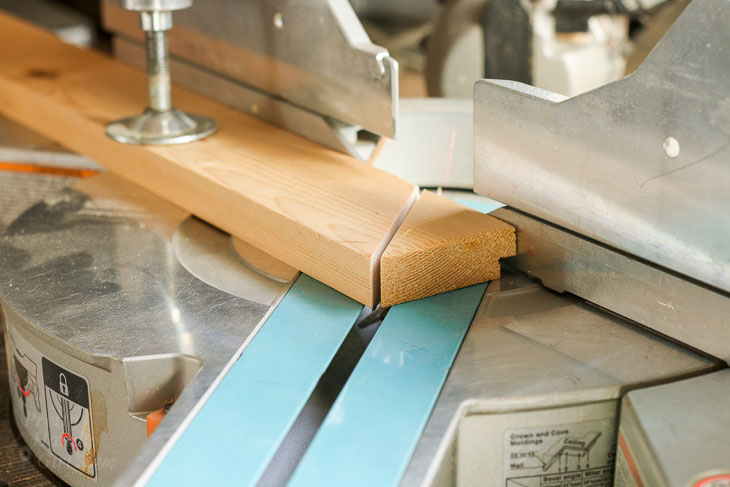
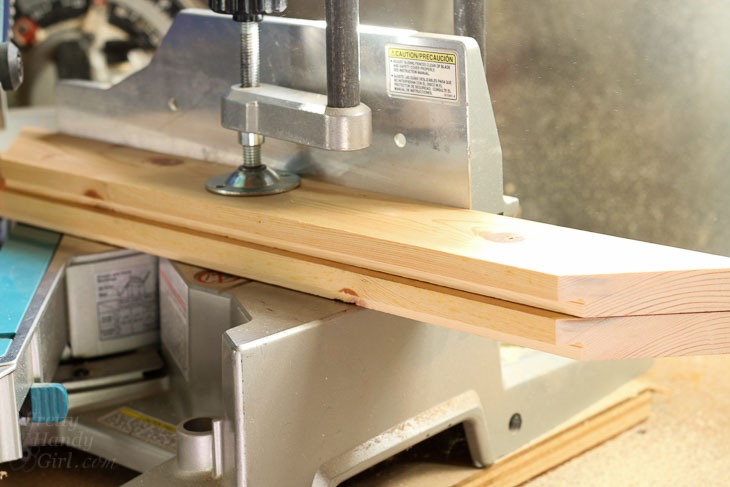
Lay your ripped 1″ x 4″ boards against the fence of your miter saw. (I like to pre-cut four pieces a few inches larger than my artwork.) Cut one end of your boards at a 45° angle (angle the saw blade to position the rabbet on the short side.)

Set one board against your art. Before cutting the other side, measure the width of the art. Add an extra 1/8 inch. Mark the inside corner and cut to length (angling the miter saw blade in the opposite direction as your first cut.)

Take your first cut board and lay it on to of a second board. A quick way to cut them exactly the same length is to place the already cut board on top of the second board and line up the ends. Then line the blade up with the cut on your first board.   Clamp the boards down and cut.

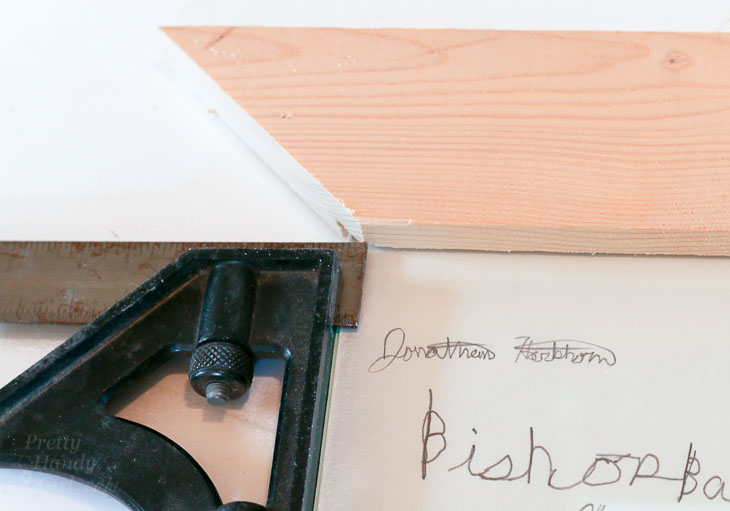
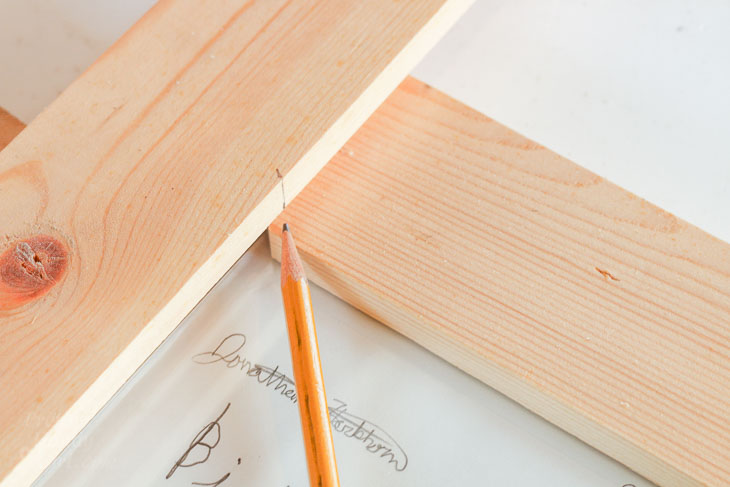
Dry fit the two identical sides. Lay one 1″ x 4″ board over the cut boards at a 9o° angle. Mark the inner corner where you need to cut.

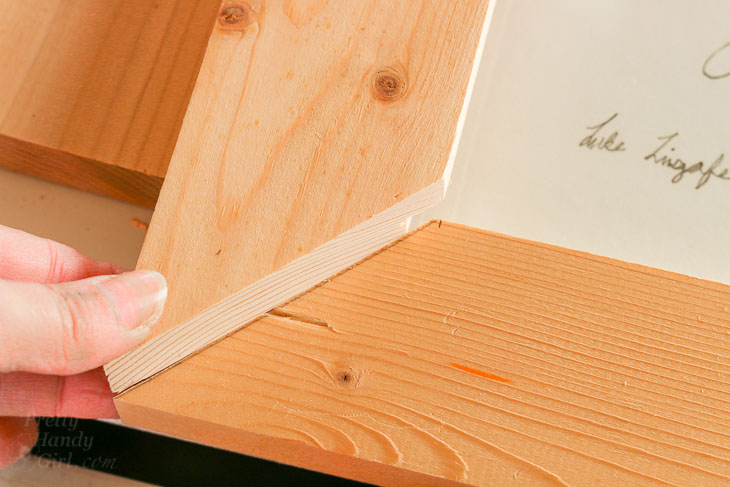
Cut the side piece and dry fit to make sure the cut is perfect.

Repeat the process above to cut two identical parallel side pieces.

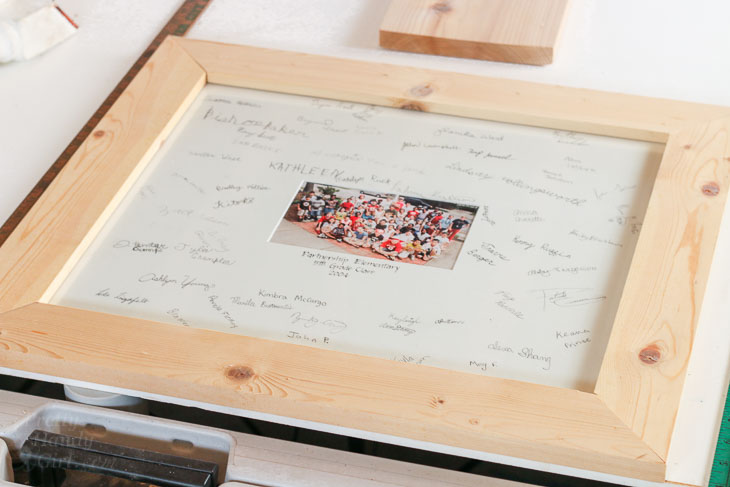
Dry fit the frame around your artwork to make sure everything is square and fits inside the rabbet.


Assembling the Frame:

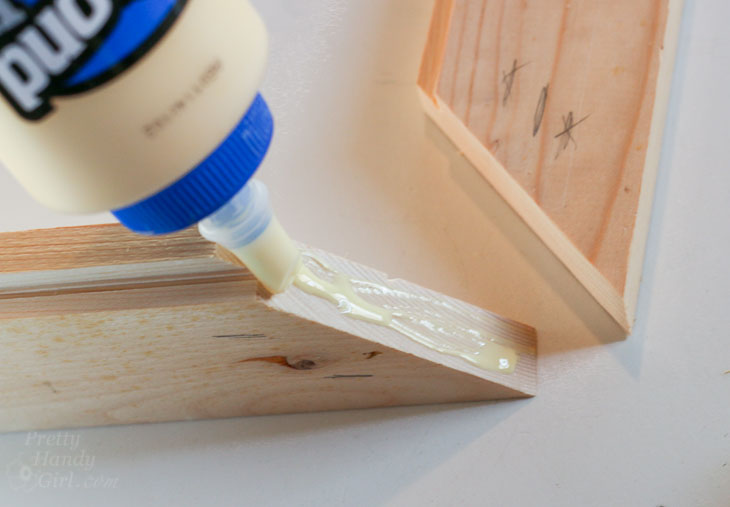
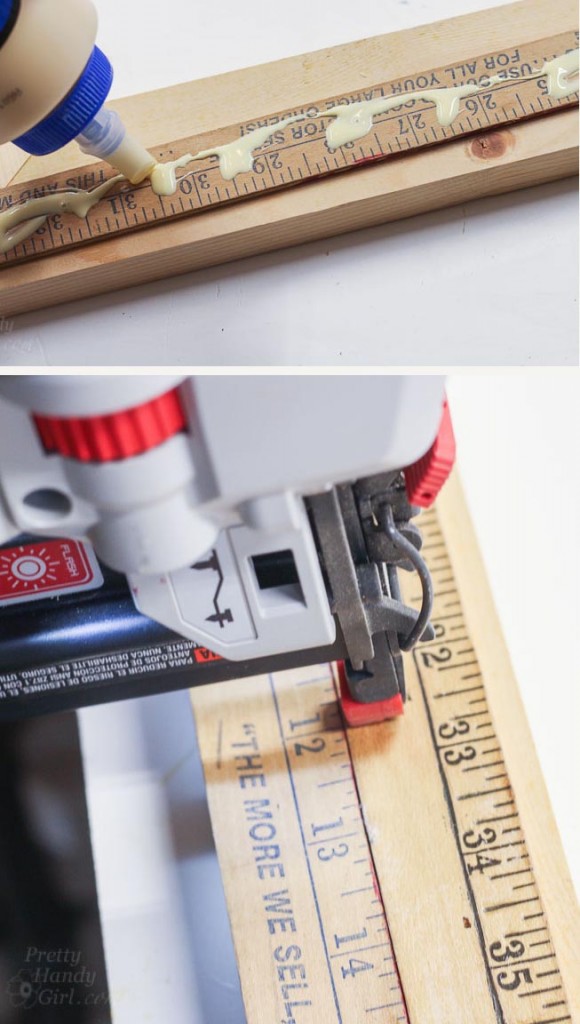
Apply a line of wood glue on the corners.

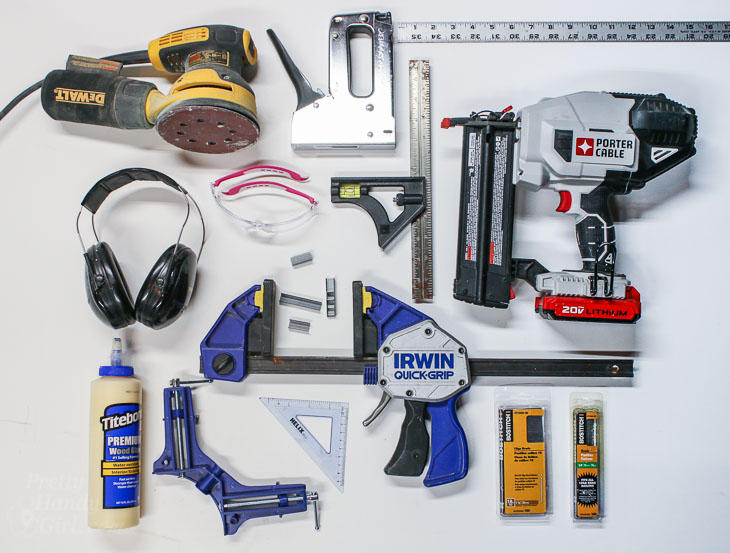
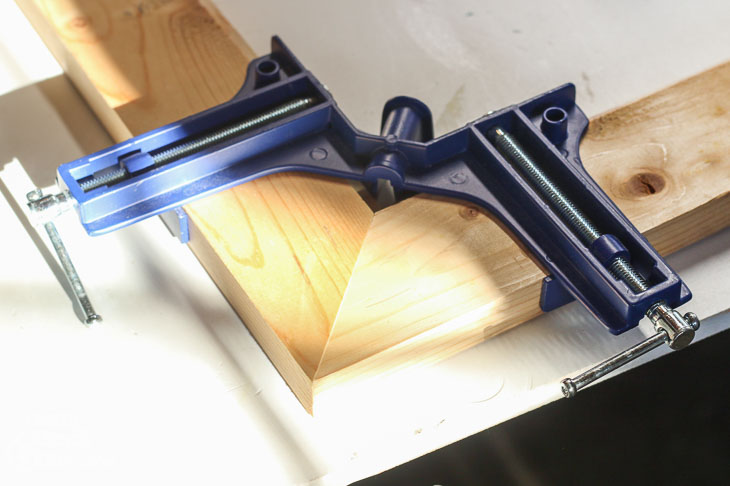
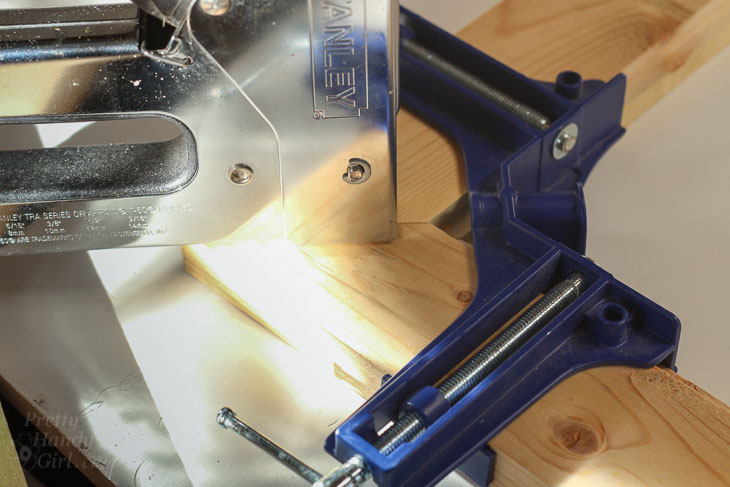
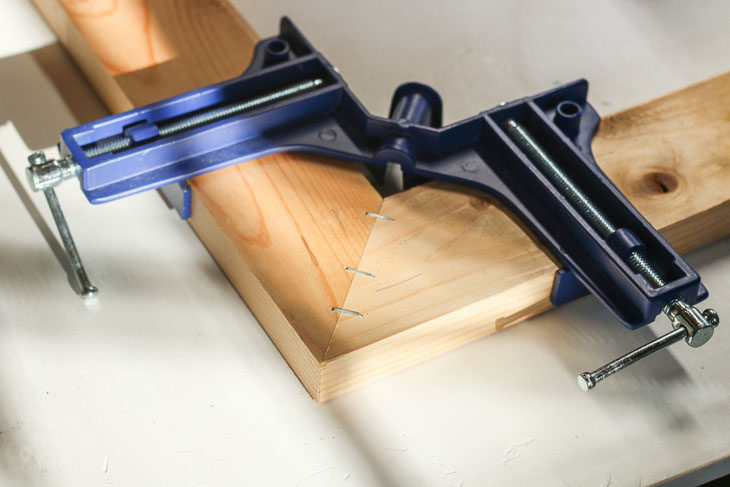
Clamp the corners with a 90° clamp then use your staple gun to fasten them together (on the back side of your frame). The wood glue is strong, but this will hold it in place while the glue dries.

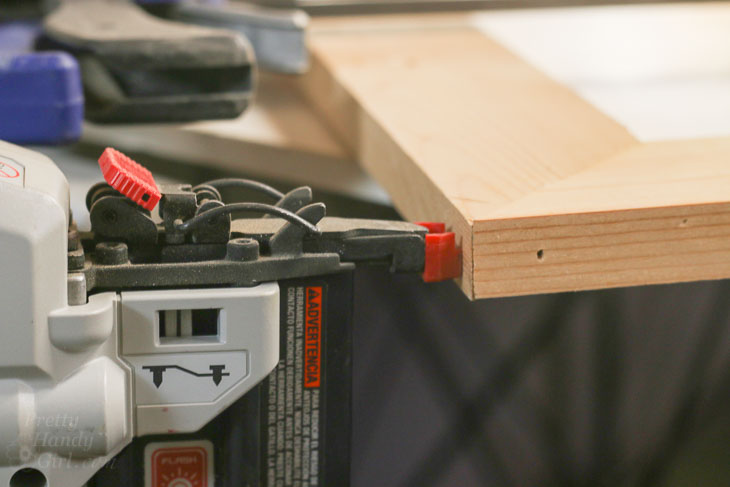
I like to add 1 ½” brad nails (one on each side of the corners) to further hold the frame together. (I don’t want the teacher’s frame to fall apart ever again!)

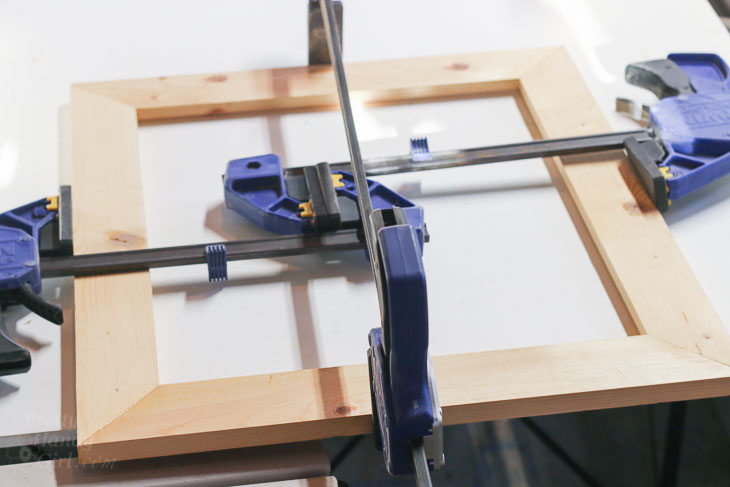
Clamp the frame and let the wood glue harden. If you don’t have clamps long enough, here is how to make one long clamp with two short clamps!

While the glue cures, cut off any chipped, broken, or rounded ends from your vintage rulers.

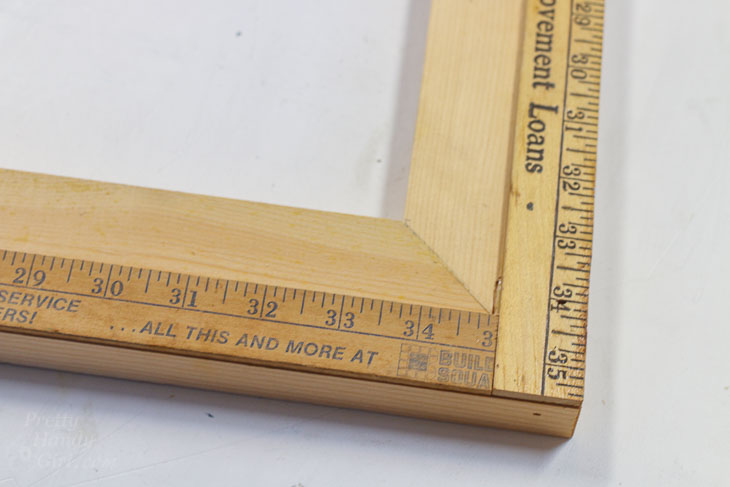
Lay the first two rulers against the outer edge of your frame.

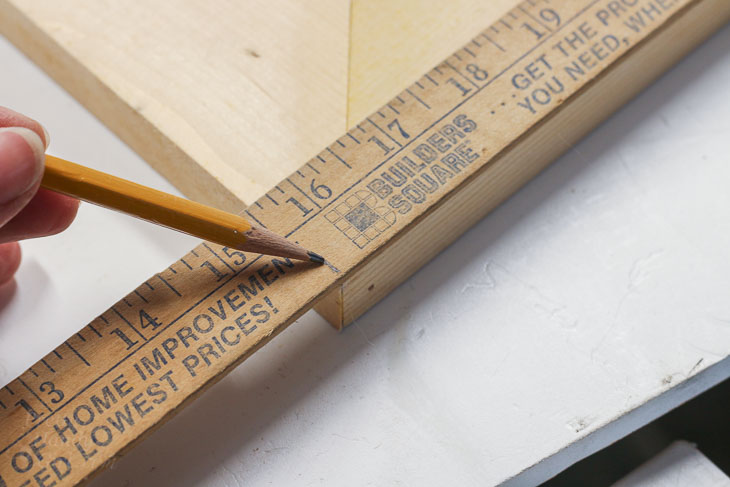
Mark the ruler where you need to trim and cut off the excess.

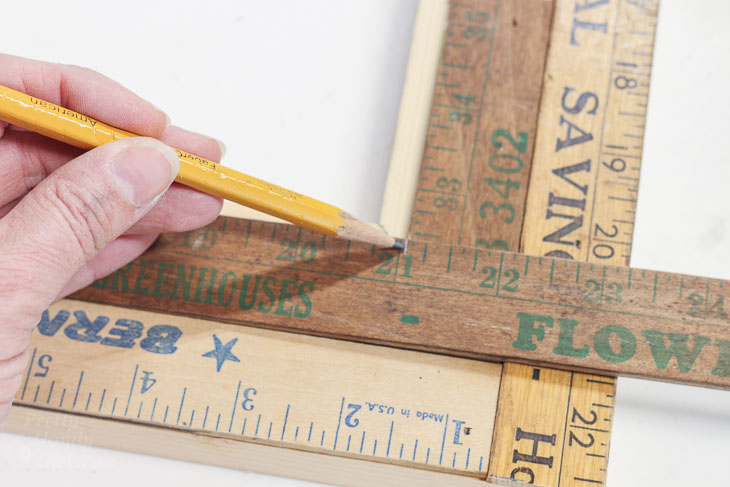
Continue until the outer edge of your frame is covered by rulers. Then start working on the inside of the first rulers. Measure, mark and cut the rulers to fit. Don’t worry if you are left with a small section of frame showing.

After all the rulers are measured and cut, use wood glue to adhere them to the frame. Follow up with a few brad nails to hold the rulers in place while the glue dries.

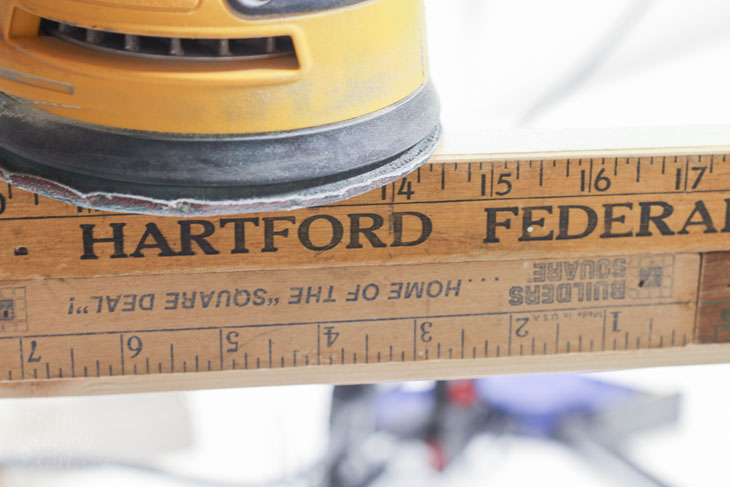
Sand the edges lightly with your sander to remove any splinters or rough edges.

Securing Artwork and Adding Hanging Hardware:

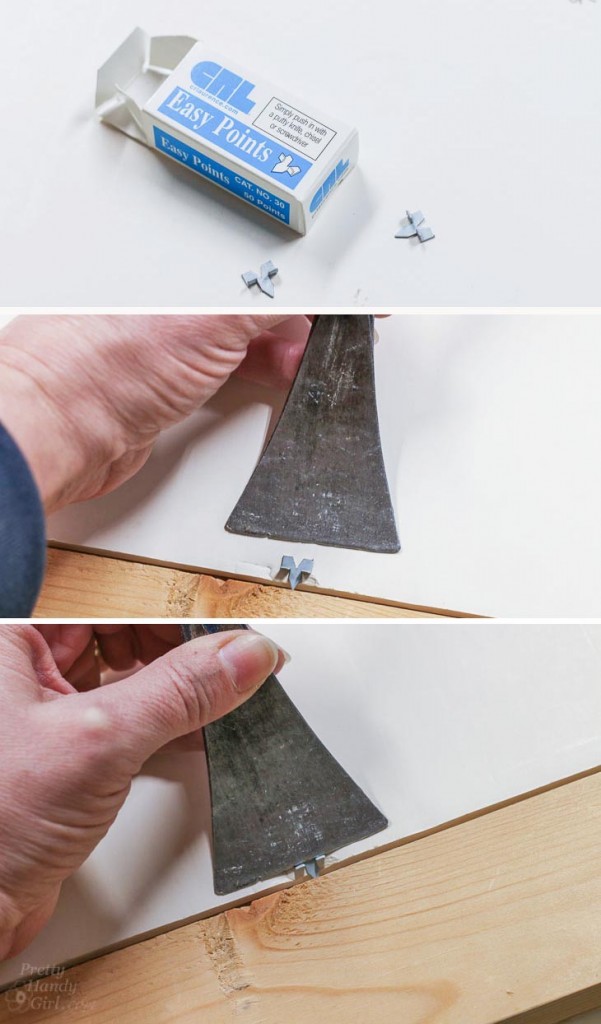
Fit your artwork into the frame. Place a framing point onto the back of the artwork with the point toward the frame. Use a 5-in-1-painter’s tool (or other flat tool) to push the point into the wooden frame. These will hold your artwork secure within the frame.

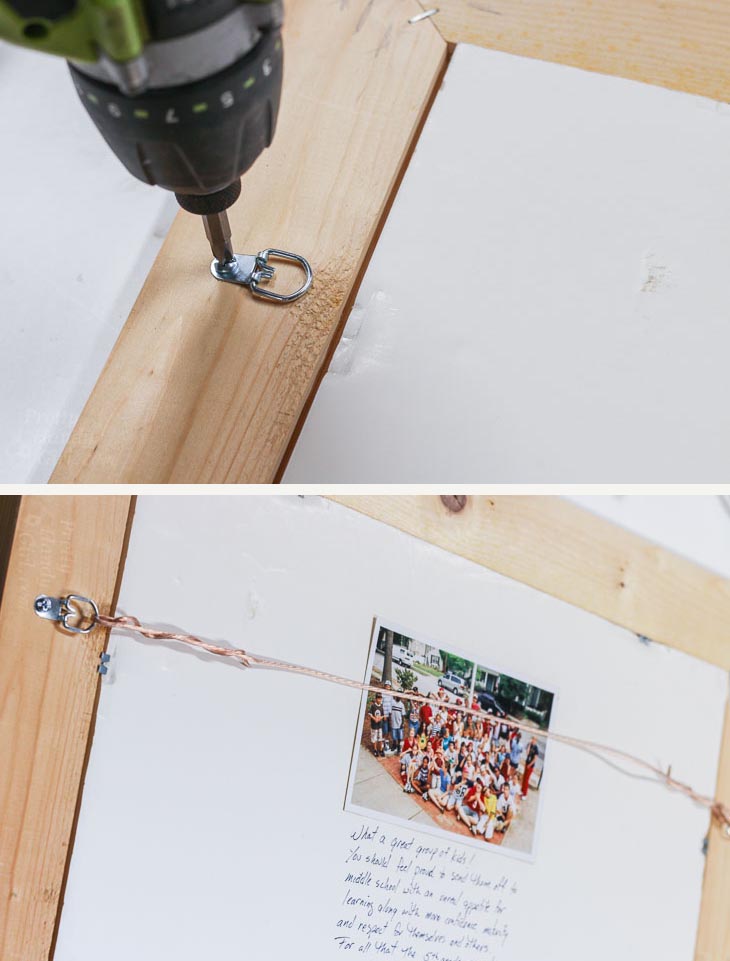
Add your hanging hardware. I prefer using D-rings and picture hanging wire, but you can use any hanging hardware you like.

Congratulations! You are done and now have a beautiful (and unique) Custom Vintage Ruler Picture Frame!

This is an easy project to build and enables you to customize the frame to any size that you need. The vintage rulers add some character and charm to the frame.

I hope you liked this tutorial on How to Build a Custom Vintage Ruler Picture Frame. Check your local vintage shops, Craig’s List or Ebay for some rulers and make one of your own!
Pin or Share this project with your friends! Because friends don’t let friends spend lots of money on art frames!

If you liked this tutorial, you’ll love these frames:

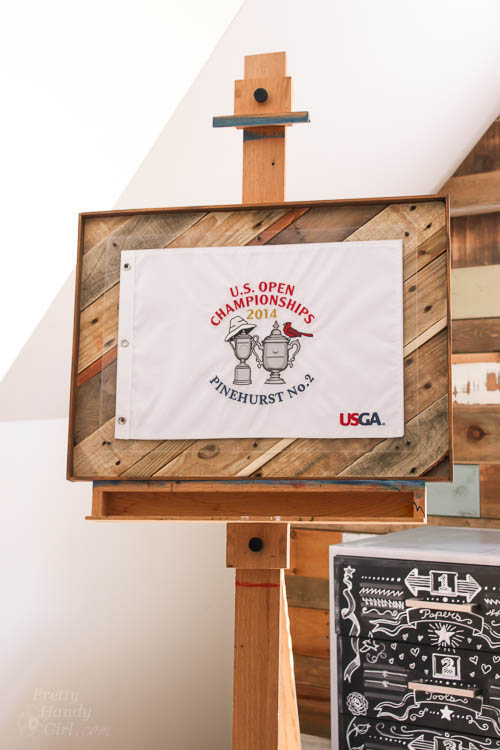
Scrap Wood Shadow Box Frame:

Rustic Scrap Wood Shadow Box Frame | Pretty Handy Girl
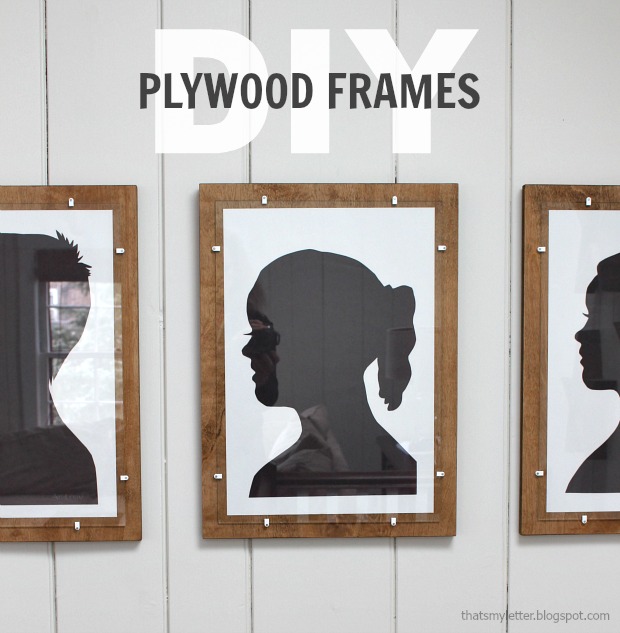
DIY Plywood Frames:Simple Plywood Frames

9 holiday storage hacks social media image

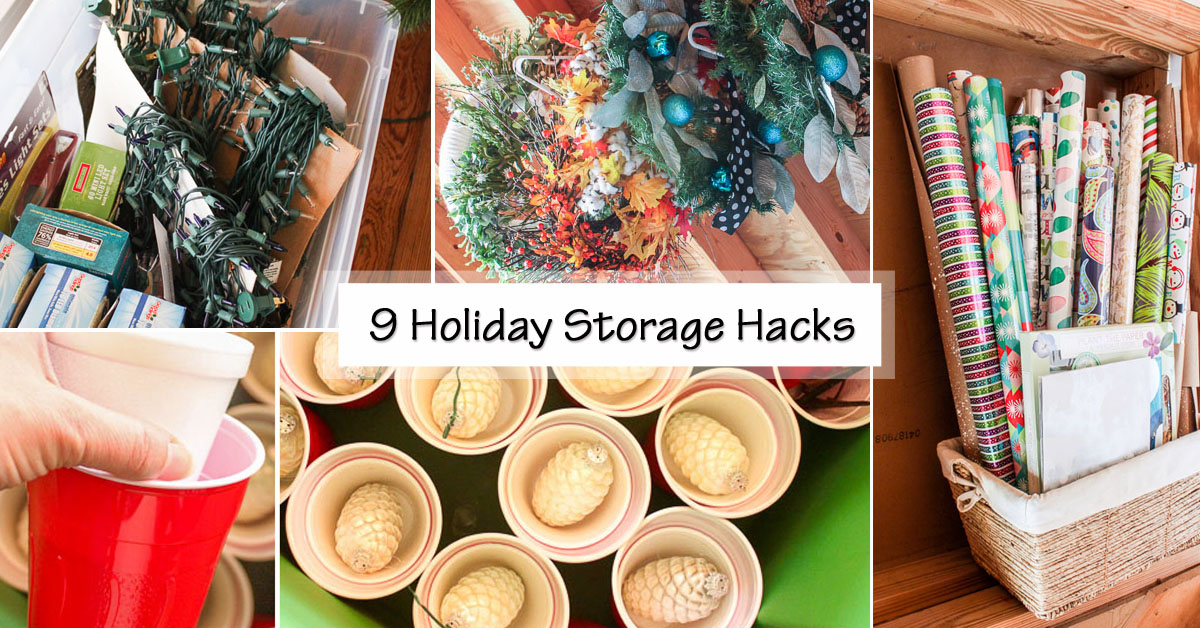
9 Holiday Storage Hacks

Now that Christmas is over, you’re probably in one of these two camps.

  • Camp #1: Christmas is over, time to pack everything away pronto.
  • Camp #2: Christmas is over, but I want to enjoy the decorations for a while longer. I’ll put them away in the new year.

Regardless of which camp you belong to, I have several Holiday Storage Hacks to help you store the holiday items for next year!

Plastic and Foam Cups:

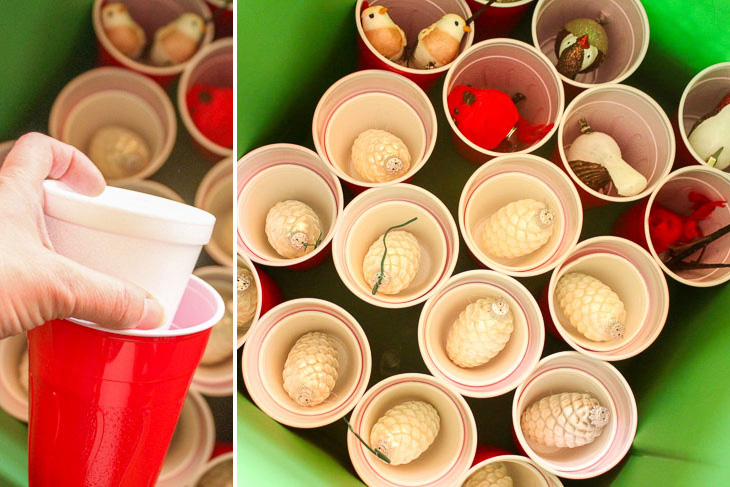
There will always be ornaments to pack away after the holidays. Protect them from getting crushed or breaking by storing them inside individual disposable cups. For fragile ornaments, insert a foam cup inside the larger plastic cup before placing the breakable ornament inside. This gives a nice cushion around the ornament and creates a nice even layer in the bottom of your storage bin, which is helpful for the next hack.

Storage Hacks for Holiday Decorations | Pretty Handy Girl

Lasagna Method:

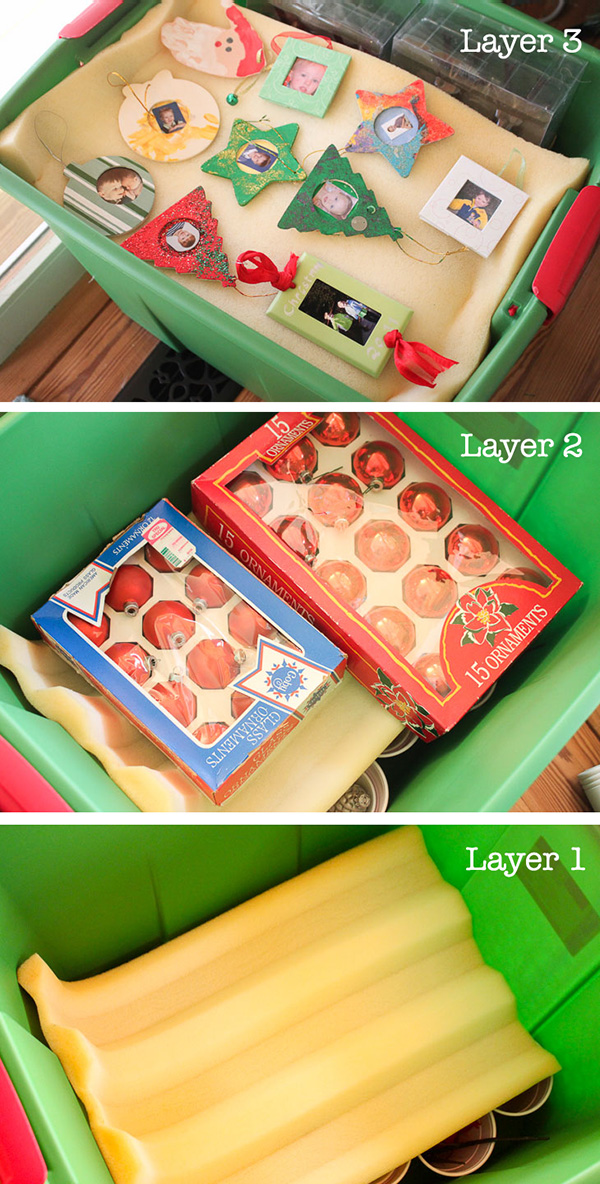
Don’t just throw your ornaments in the bin. Start at the bottom of your bin and place a layer of ornaments stored in cups. (Easy to do if you use the first hack above!) Place a piece of foam over the cups and continue with a second layer of ornaments. Again, add another piece of foam, then place ornaments that lay flat or are very thin on top of that last layer of foam. They will be protected and ready to go for decorating next year.

Storage Hacks for Holiday Decorations | Pretty Handy Girl

Saran Wrap the Tree:

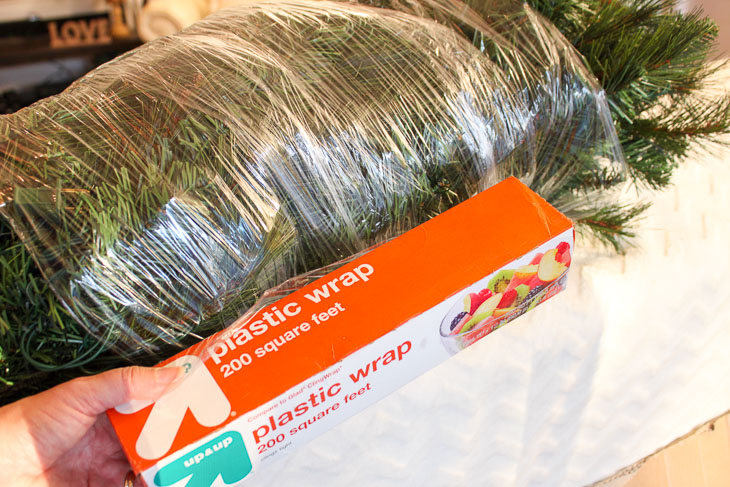
Artificial trees can be cumbersome and messy when store them away. To neatly pack your artificial trees use a roll of plastic wrap to secure the branches together, making it easier to carry and store. Bonus, you might actually be able to get that tree back in the box you bought it in!

Storage Hacks for Holiday Decorations | Pretty Handy Girl

Linen Zipper Pouches:

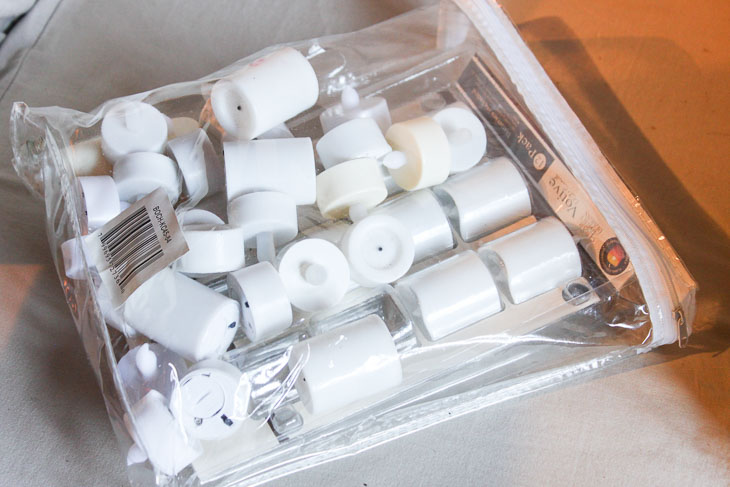
If you have a collection of small tea lights and candles, use an old linen zippered pouch from your last blanket purchase. These are perfect for storing your tea lights, batteries, and other similar items until next year. The clear bag also lets you see exactly what’s inside.

Storage Hacks for Holiday Decorations | Pretty Handy Girl

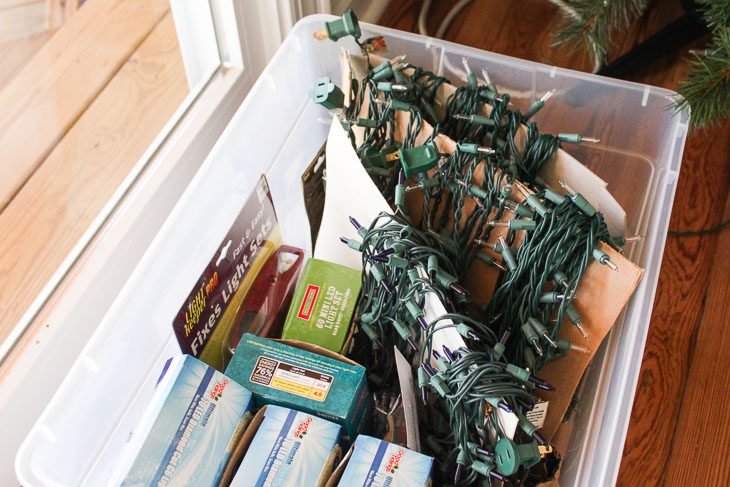
Cardboard Light Holder:

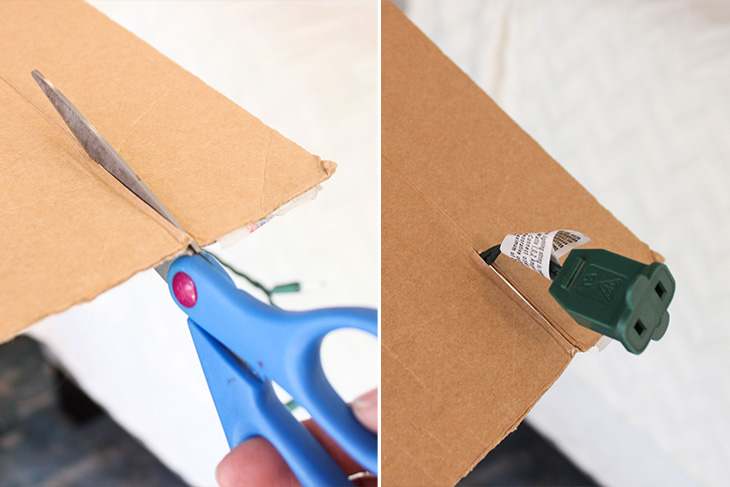
Do your lights get tangled up by the following year? This year put an end to the frustration by cutting out a large rectangular section of cardboard (shipping boxes or cereal boxes work great.) Make a small slit on one end to hold the end plug of your light strand. Wrap the lights around the cardboard to keep them secure and organized and ready to put up next year. This hack also allows you to store the strands upright to save on space. It may take a bit of extra time now, but will save you time (and curse words) next year!

Storage Hacks for Holiday Decorations | Pretty Handy Girl

Store Like Items Together:

I don’t know about you, but in the past my bins were filled with random holiday items. I struggled to find a particular item. To solve this issue, put similar items into one bin. Next year you’ll know exactly where all of the lights are in an instant. Label the outside of each bin to help speed through the decorating process.

Storage Hacks for Holiday Decorations | Pretty Handy Girl

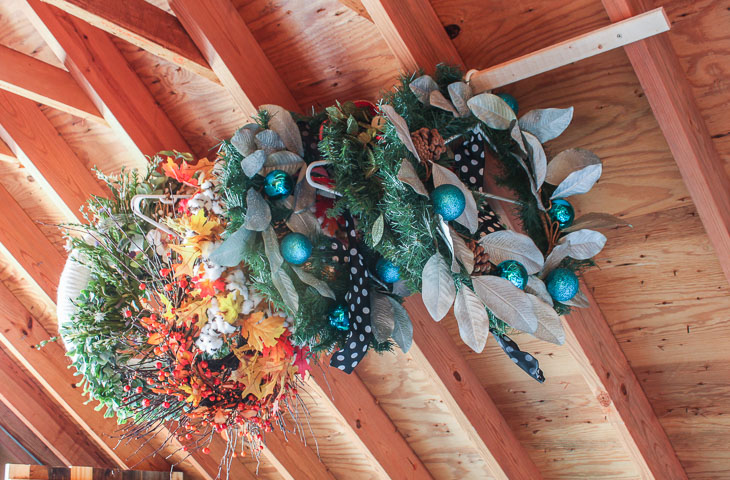
Hang Wreaths:

Wreaths are large and take up a lot of bin space. To store your wreaths, put them on hangers in an extra closet. If you don’t have closet space, nail a horizontal board to the rafters in your attic or garage and hang them there.

Storage Hacks for Holiday Decorations | Pretty Handy Girl

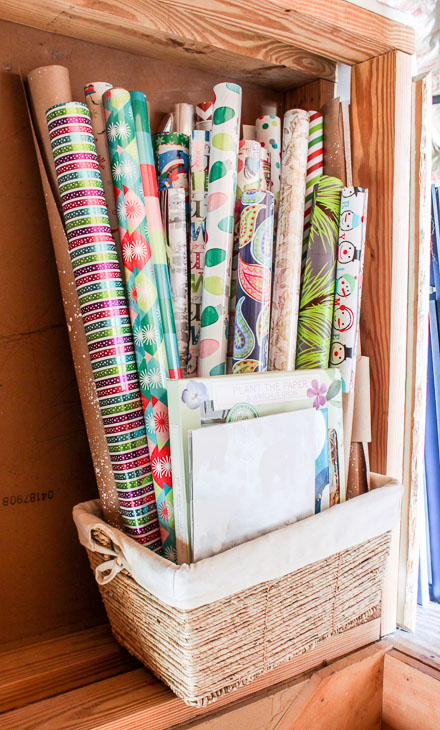
Gift Wrap Storage:

Gift wrap rolls are long and can be difficult to store. Use a bin or basket in the corner and store your gift wrap upright. This prevents the rolls from getting crushed and they are easy to grab next time you need to wrap a present. Feel free to store birthday and other holiday wraps as well.

Storage Hacks for Holiday Decorations | Pretty Handy Girl

Or, create this under the bed gift wrap station like Her Toolbelt made:

Bins for Gift Bags, Ribbons, & Tissue Paper:

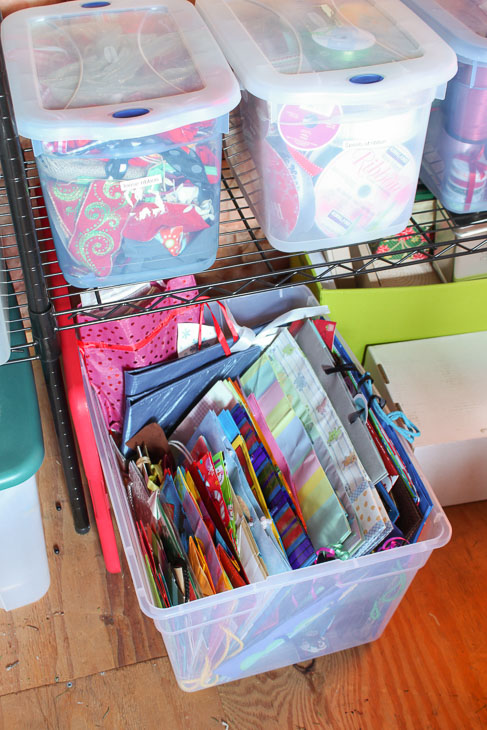
Fold your gift bags neatly and place them inside clear storage bins. Organize by size or celebration and you’ll have a great place to go whenever you need to quickly wrap a gift. Use another bin for ribbon spools and yet another for scrap ribbons (never let those scraps go to waste.) The clear bins make it easy to grab the correct bin, no matter how last minute you’re putting the gift together.

Storage Hacks for Holiday Decorations | Pretty Handy Girl

There you have it! Holiday clean up doesn’t have to be stressful, just keep it organized and use these hacks to make your holiday decor last for years to come. Do you have any storage hacks for holiday decorations that you would add to this list? Please share them in the comments!