Most of us love to decorate for the holidays, but the mess and chaos after you take all the decorations down can be overwhelming. Instead of letting that stress into your life, use these 15 Holiday Decoration Storage and Organization Ideas to keep everything in order and easy to handle.
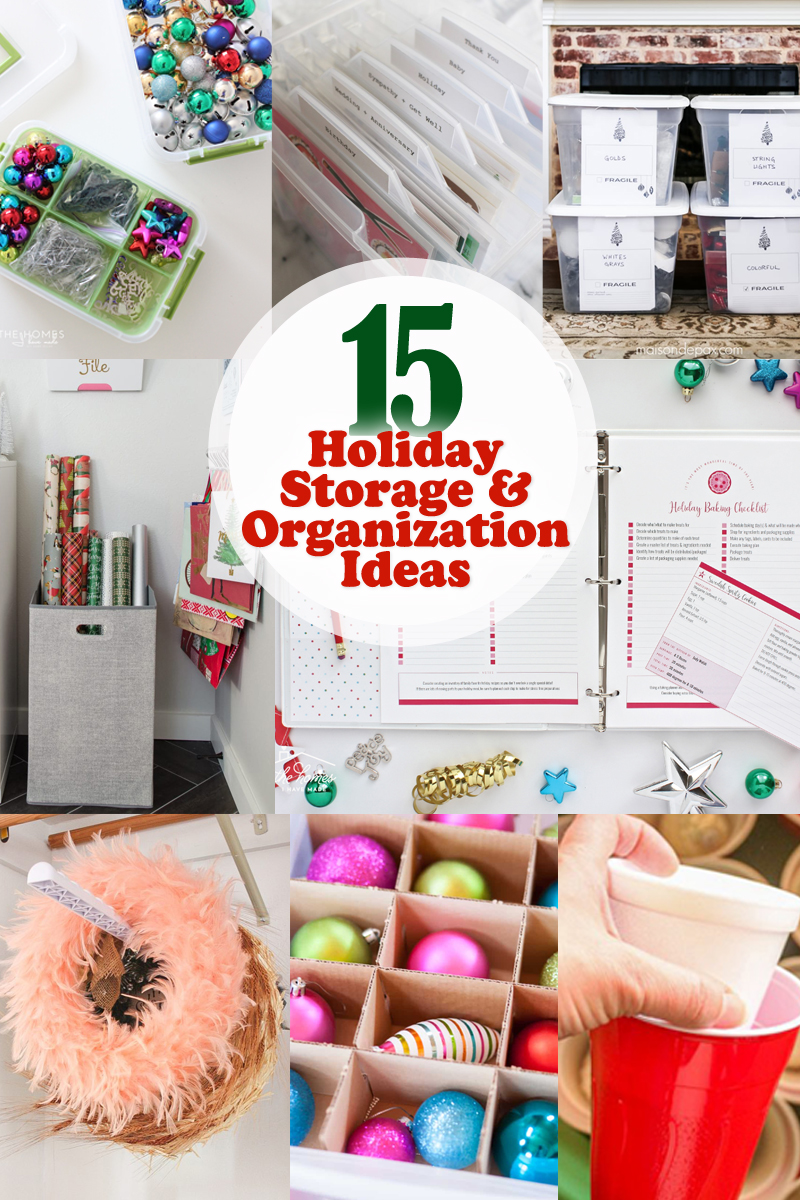
Holiday Decoration Storage and Organization Ideas:
When the holidays hit, things can be chaotic and you might feel a bit disorganized. Use these ideas to stay organized before, during, and after the holidays!
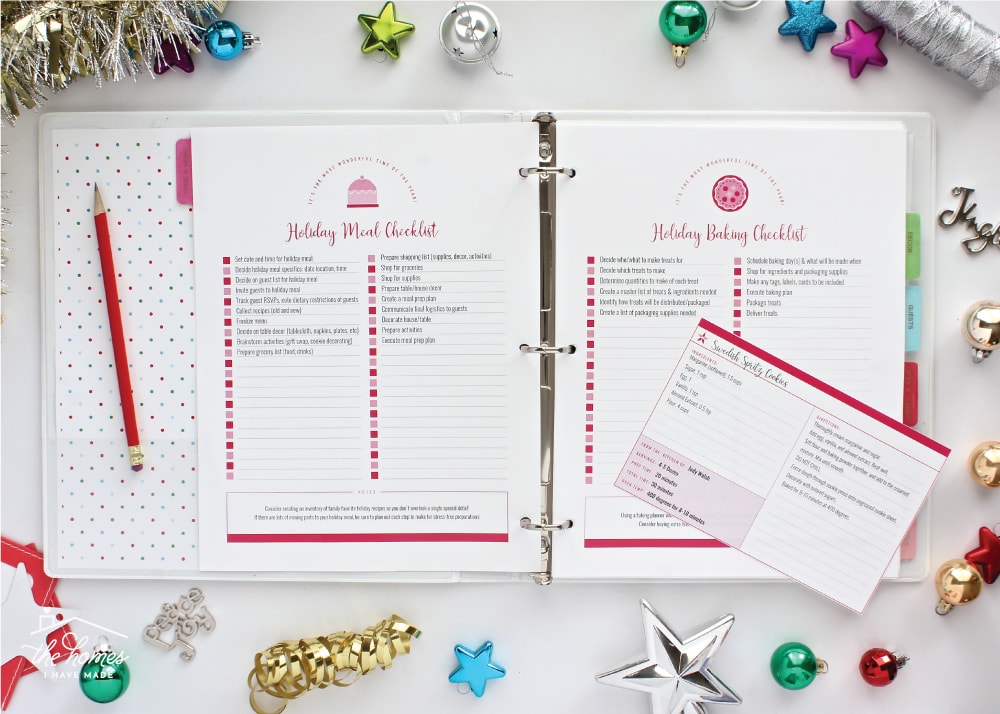 Print off an amazing printable Holiday Planner like this one to keep yourself organized before, during, and after the holidays.
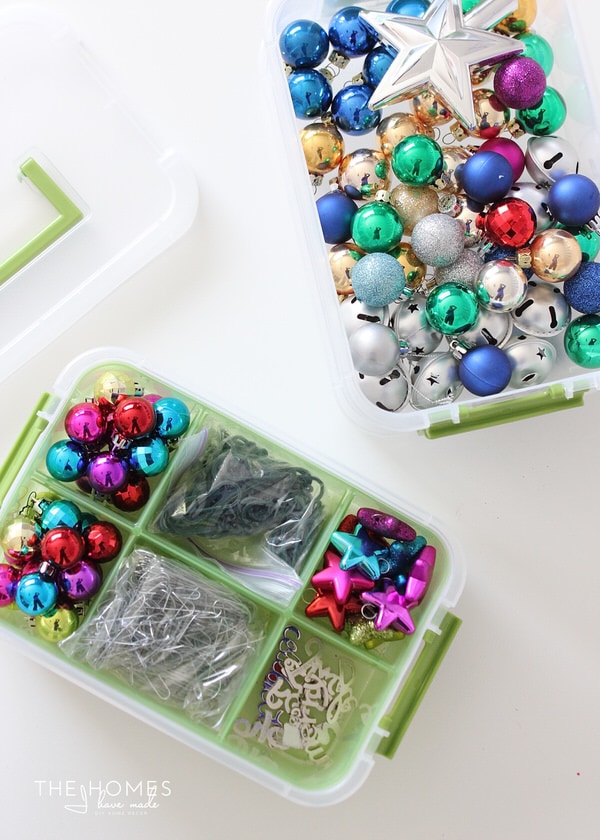 Use small compartment containers to organize the little ornaments, hooks, and other small pieces you’ll want to save for next year.
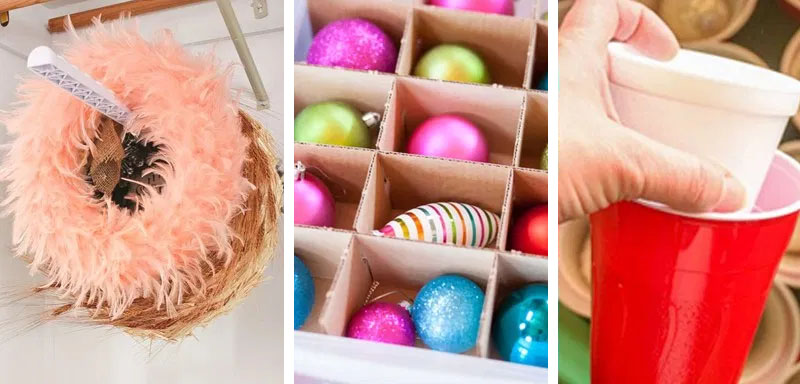
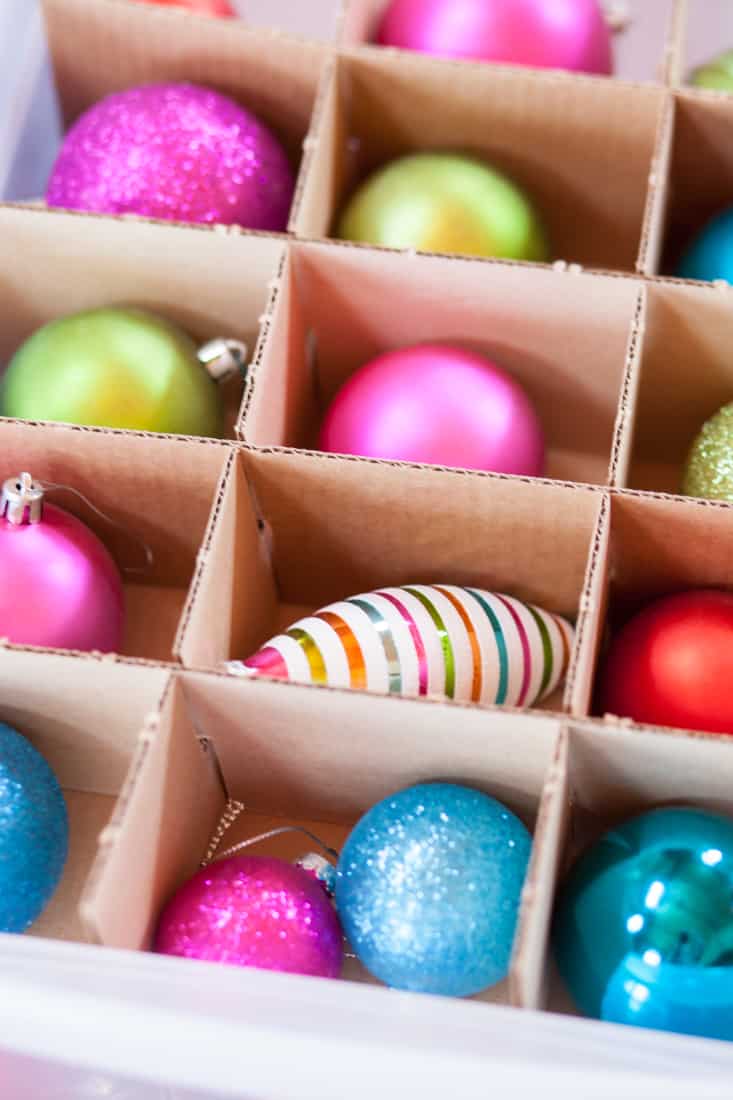 Create a grid of compartments using cardboard to keep your ornaments safe from breaking and perfectly organized.
 Use a plastic filing bin to keep all holiday cards organized year-round for quick access when you need to mail one off!
 Build a wrapping paper holder on your wall where you can store the paper for gifts all year long!
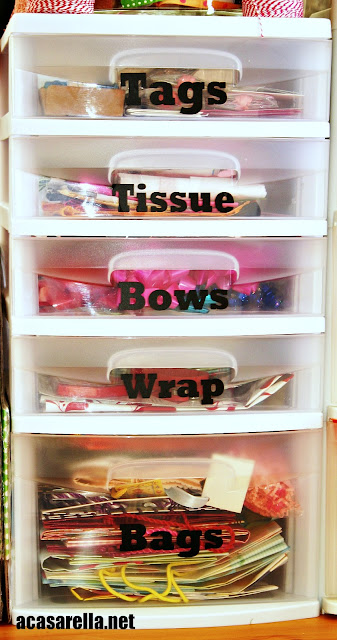 Use plastic drawer sets to store different holiday gift supplies and be sure to label what each drawer holds.
 Prevent broken ornaments next year by using styrofoam cups inside of plastic cups to insulate glass ornaments.
 Wrap your entire tree in plastic wrap to keep it secure and prevent any critters from getting into it during storage. It also makes the tree much easier to move!
 Save plastic apple containers after eating the fruit and use them to store all your nice ornaments until next year.
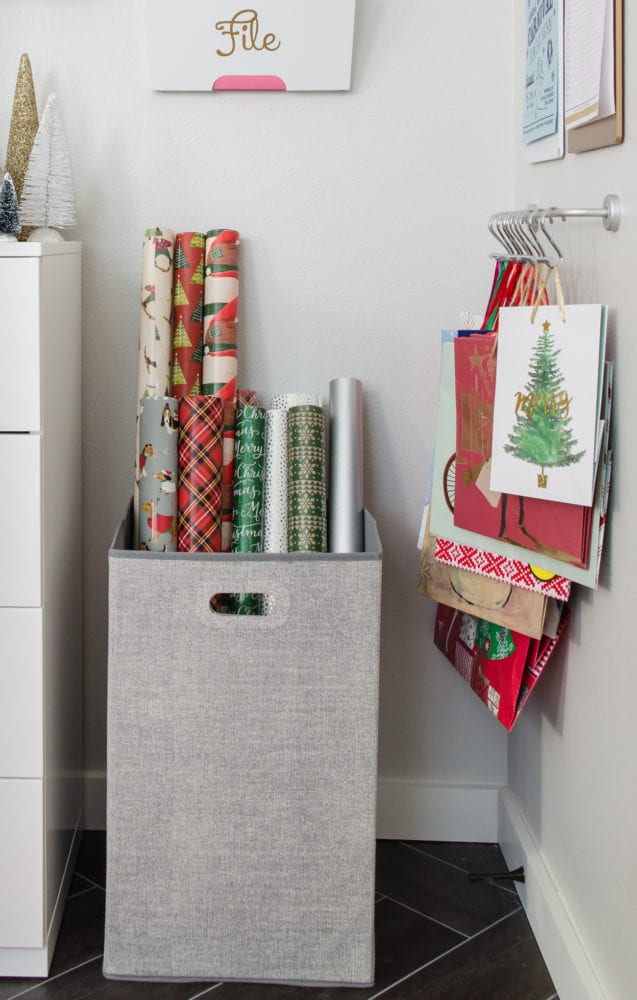 Place your long wrapping paper rolls into a square hamper to keep them organized and safe from damage.
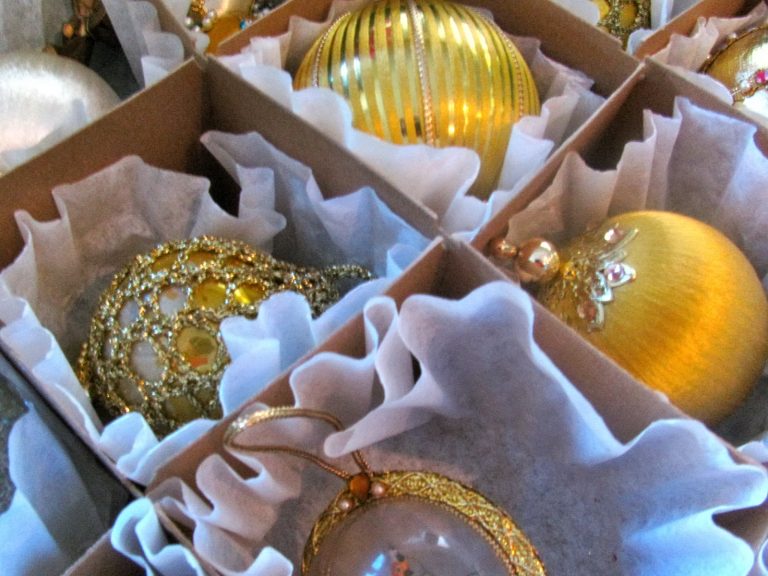 Coffee filters make a great liner for glass ornaments to keep them from shifting and breaking.
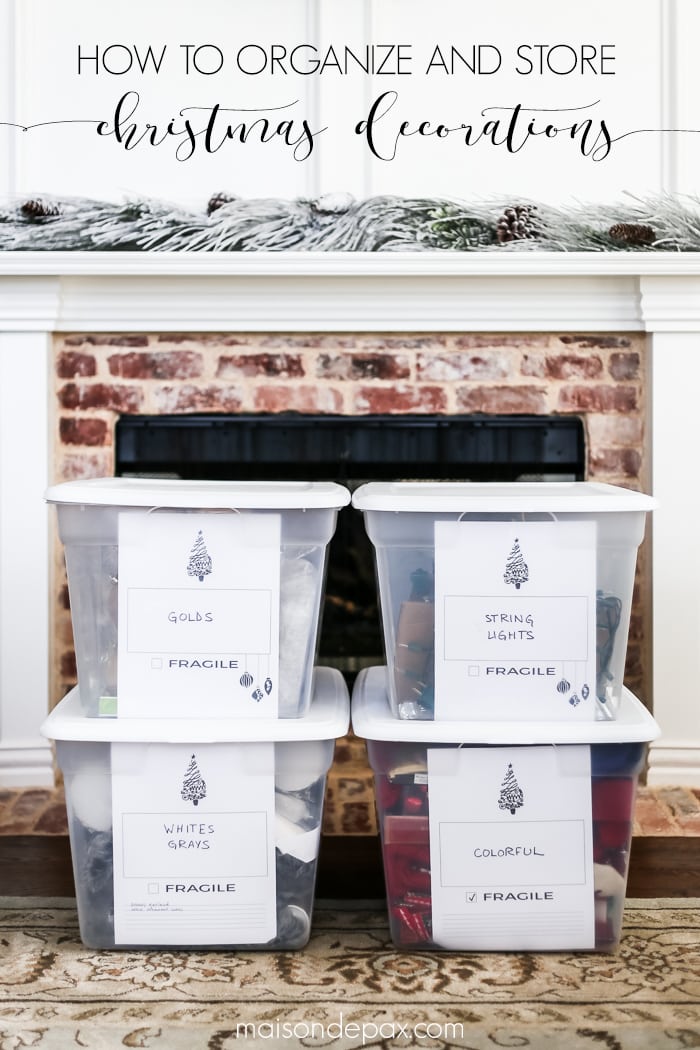 Use large labels in clear bins to keep your holiday decorations sorted by color theme.
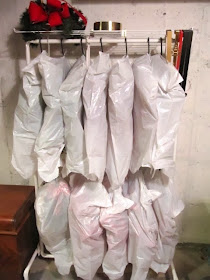 Wrap wreaths in plastic bags to keep them organized and clean from bugs or critters during storage.
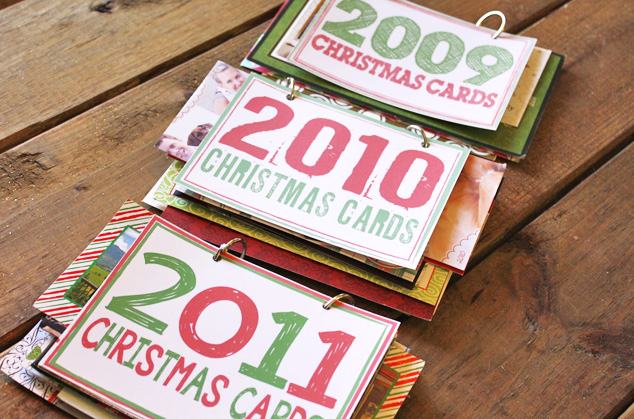 Make booklets out of holiday cards from previous years to continue to enjoy the memories and see how friends and family grow over the years.
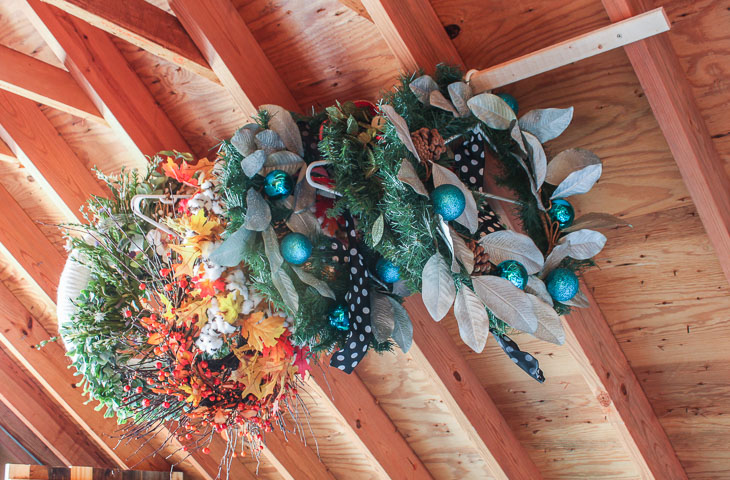
Hang wreaths on a rod, so they don’t get smashed or flattened during storage.
I hope you found these ideas helpful with the upcoming holiday season! Do you have any other great ideas? Feel free to share them in the comments. As always, thanks for reading! Please remember to share on Pinterest to inspire others as well!
![]()

When not working on projects, I enjoy spending time with my husband, four children, perfect dog, and ornery cat. You can find me on Facebook, Pinterest, Instagram and Twitter.
Read all of Sheri’s tutorials.

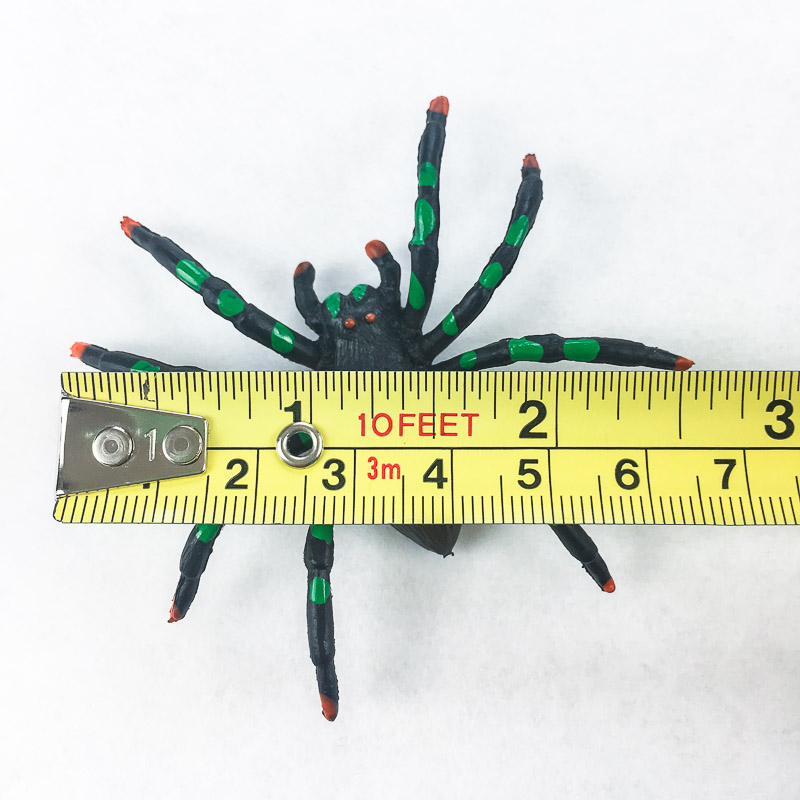
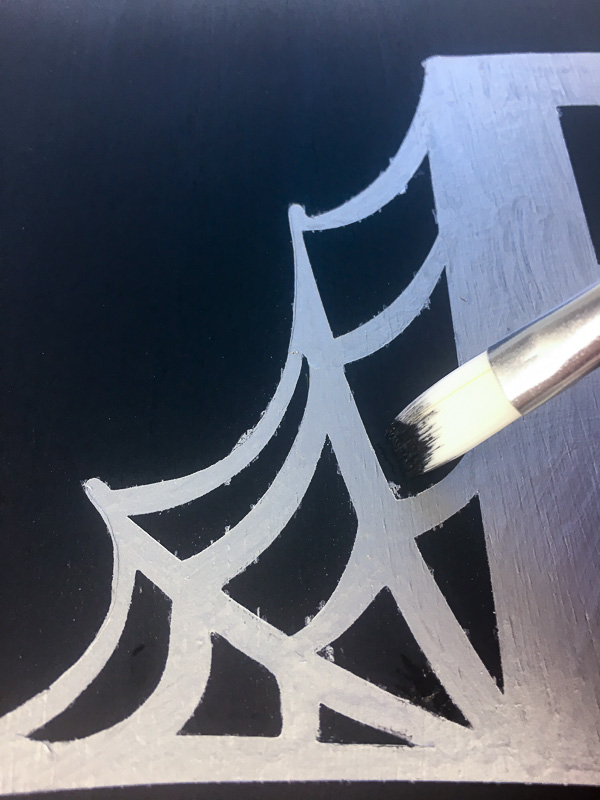
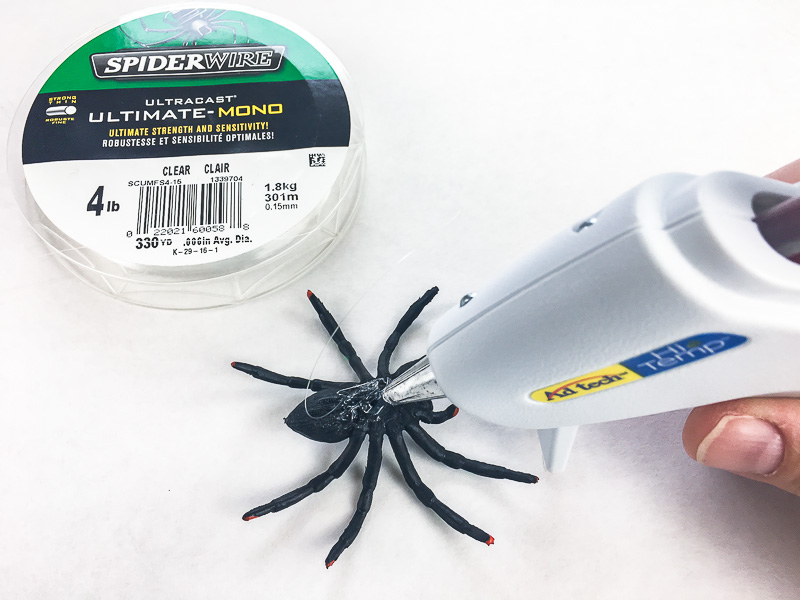
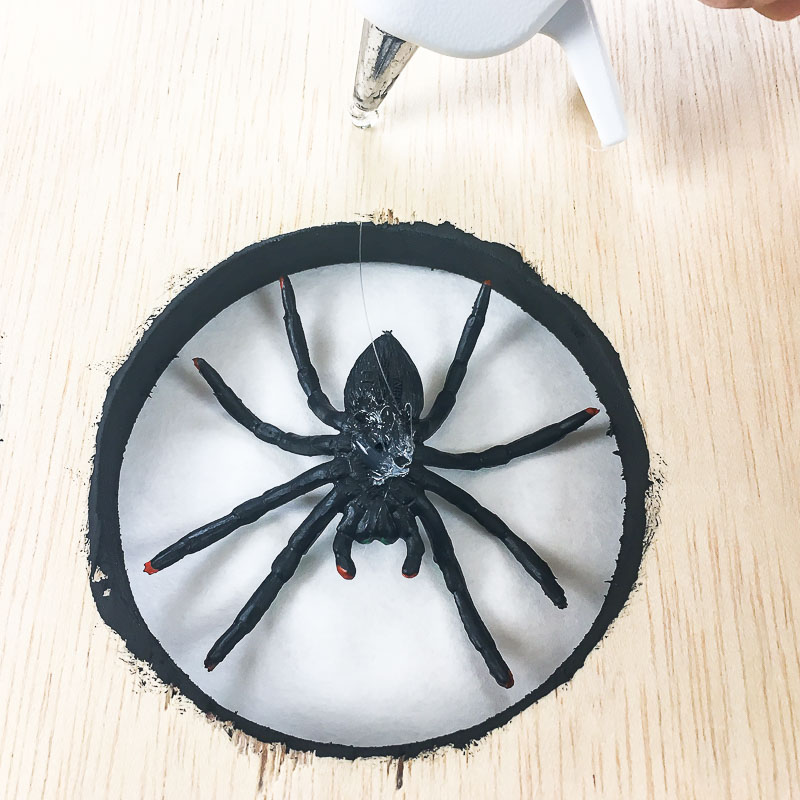
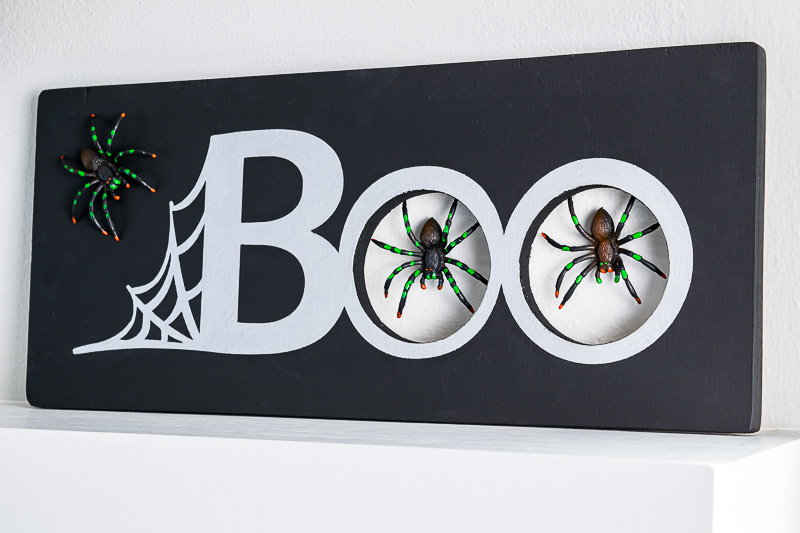
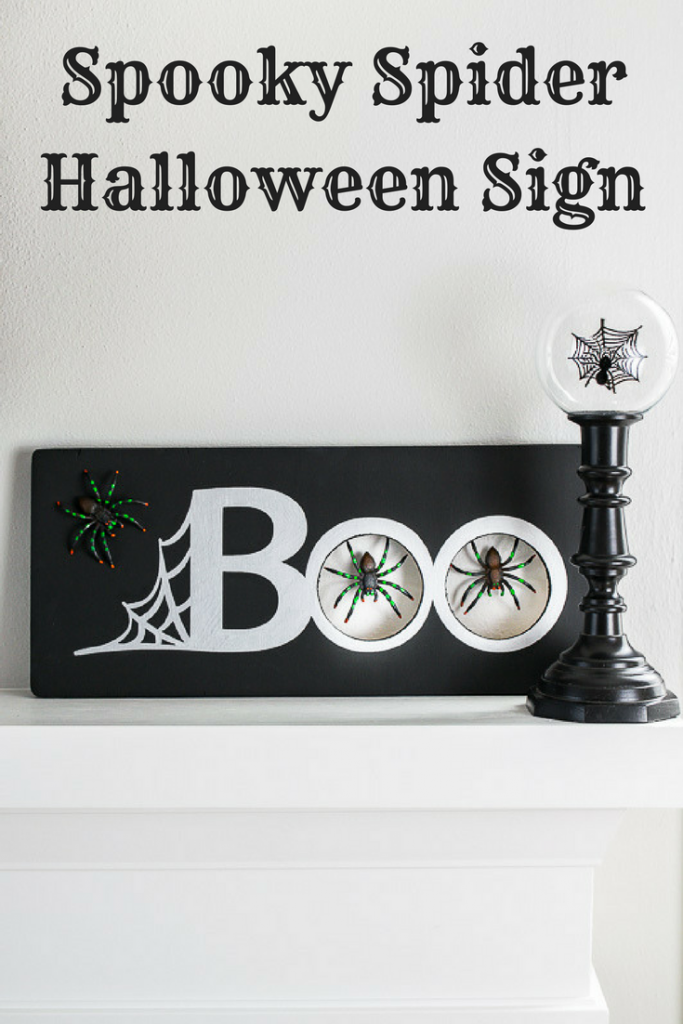 Spooky Spider Halloween Sign